

Why This 5-Minute Food Board Is Taking Over Social Media
There is something inherently magical about a shared meal that looks as good as it tastes. Lately, my feed has been flooded with these incredible, rustic-yet-refined food boards that seem to capture the essence of a slow Sunday afternoon. It’s more than just a trend; it’s a movement toward intentionality, where we take five minutes to arrange something beautiful for the people we love, turning a simple snack into a core memory.
I remember the first time I set out a board for my friends; the room immediately felt warmer, the conversation flowed easier, and the stresses of the week just seemed to melt away. This guide is my love letter to that aesthetic—a collection of the most viral, beautiful components you can use to build your own social-media-worthy spread, from sweet rhubarb treats to the perfect graduation celebration snacks.
A Guide on Decorating Graduation Cakes
Why we love this
A graduation cake is more than just dessert; it is a sugary monument to years of hard work, late-night study sessions, and the bright future ahead. We adore the way a smooth Swiss meringue buttercream provides a silk-like canvas for delicate gold leaf and fresh, vibrant blooms that match the school colors. The aroma of vanilla bean wafting through the kitchen as you frost the layers creates an atmosphere of pure celebration, while the sight of a perfectly leveled tier brings a sense of professional satisfaction to any home baker.
Ingredients
- Three 8-inch vanilla sponges
- 4 cups Swiss meringue buttercream
- Edible gold leaf sheets
- Fresh organic flowers (roses or carnations)
- Acrylic cake topper
- Offset spatula and cake scraper
How to make it
- Begin by chilling your baked cake layers for at least two hours; cold cakes are much firmer and produce fewer crumbs during the frosting process.
- Place your first layer on a revolving cake stand and apply a generous half-cup of buttercream, spreading it outward with an offset spatula until it slightly overhangs the edges.
- Stack the remaining layers, ensuring they are perfectly centered, and apply a thin ‘crumb coat’ of frosting over the entire exterior to lock in any loose particles.
- Chill the cake for 20 minutes until the crumb coat is firm to the touch, then apply a thick final layer of buttercream using a bench scraper held at a 45-degree angle to achieve those sharp, professional edges.
- Carefully apply gold leaf using a dry, soft-bristled brush, then crown the top with your fresh flowers and a custom topper for a stunning finish.
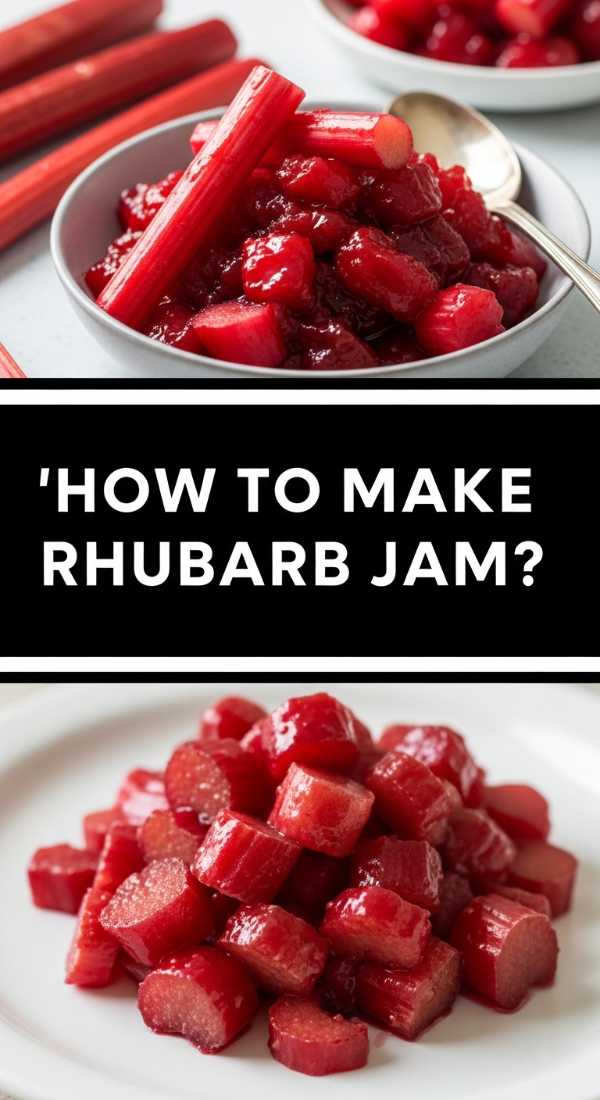
Easy Homemade Rhubarb Jam Tutorial

Why we love this
Opening a jar of homemade rhubarb jam is like capturing the very first breath of spring and keeping it on your shelf. The texture is beautifully thick and glossy, with a deep ruby hue that looks stunning when the morning light hits it on a piece of toasted sourdough. There is a sophisticated balance between the sharp, lip-puckering tang of the rhubarb stalks and the mellow, comforting sweetness of the sugar, creating a sensory experience that is both nostalgic and excitingly fresh.
Ingredients
- 2 lbs fresh rhubarb, chopped into 1-inch pieces
- 3 cups granulated sugar
- 1/4 cup fresh lemon juice
- 1 teaspoon lemon zest
- 1/2 teaspoon vanilla bean paste
How to make it
- In a large, heavy-bottomed Dutch oven, toss the chopped rhubarb with the sugar and let it macerate at room temperature for about 30 minutes until the juices begin to release.
- Place the pot over medium-high heat and bring the mixture to a rolling boil, stirring constantly with a wooden spoon to prevent the sugar from scorching on the bottom.
- Add the lemon juice and zest, then reduce the heat to medium-low, allowing the mixture to simmer and thicken for about 20 to 25 minutes.
- Skim off any foam that rises to the surface with a metal spoon to ensure your jam remains clear and vibrantly colored.
- Test for doneness by placing a small spoonful on a chilled plate; if the jam wrinkles when pushed with your finger, it has reached the setting point and is ready to be jarred.
Creative Graduation Cupcake Styling
Why we love this
Cupcakes offer the perfect bite-sized canvas for creativity, allowing every guest to feel like they have their own personalized piece of the party. We love the contrast between a dark chocolate base and a bright, piped rosette that mimics the texture of a graduation tassel. The joy is in the details—the tiny edible pearls and the miniature mortarboards made of chocolate that sit proudly atop the swirl, making these treats the undisputed stars of any dessert board or social media flat-lay.
Ingredients
- 12 pre-baked chocolate cupcakes
- 2 cups stiff vanilla buttercream
- Black fondant
- Small square chocolate pieces (Ghirardelli squares work well)
- Miniature sour belts or licorice strings
- Gold sanding sugar
How to make it
- Fit a piping bag with a large star tip (like a 1M) and pipe a high, swirling mound of buttercream onto each cooled cupcake, starting from the outside and moving inward.
- To create the mortarboards, place a square chocolate piece on top of each cupcake, using a tiny dot of frosting as ‘glue’ to keep it stable.
- Cut your sour belts or licorice into 1-inch strips and fray the ends with a sharp knife to create a tassel effect.
- Attach the tassel to the center of the chocolate square with another dot of frosting, then place a single gold pearl or ‘M&M’ on top of the tassel join.
- Dust the edges of the buttercream with gold sanding sugar to add a shimmering, celebratory glow that catches the light.
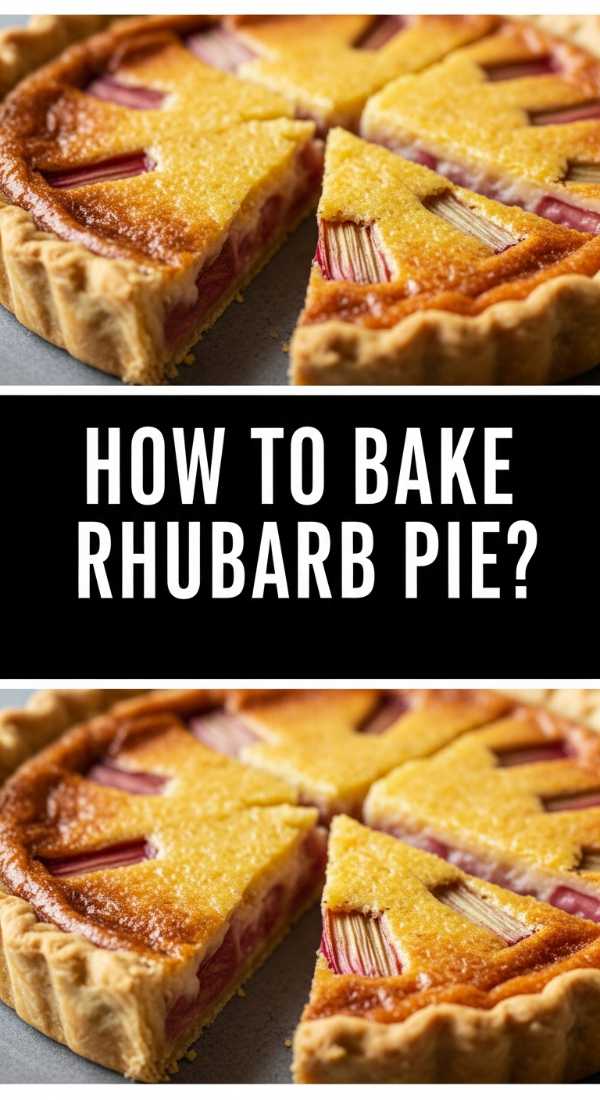
Perfect Strawberry Rhubarb Pie Guide

Why we love this
There is nothing quite as evocative as the aroma of a strawberry rhubarb pie bubbling in the oven, filling the house with the scent of caramelized fruit and buttery pastry. The filling is a masterpiece of contrasts: the strawberries melt into a sweet, jammy syrup, while the rhubarb retains a slight bite and a bright acidity that cuts through the richness of the crust. Each slice reveals a beautiful mosaic of reds and pinks, encased in a golden, flaky lattice that shatters delightfully with every forkful.
Ingredients
- 2 disks of homemade flaky pie crust
- 3 cups sliced rhubarb
- 3 cups sliced strawberries
- 1 cup granulated sugar
- 1/4 cup cornstarch
- 1 tablespoon butter, cubed
- 1 egg (for egg wash)
How to make it
- Roll out your bottom crust on a floured surface and fit it into a 9-inch pie plate, leaving an inch of overhang; chill this in the fridge while you prepare the filling.
- In a large bowl, gently fold together the fruit, sugar, and cornstarch, ensuring every piece is evenly coated to prevent the pie from becoming too watery during baking.
- Pour the fruit mixture into the chilled crust and dot the top with the small cubes of butter to add an extra layer of silkiness to the sauce.
- Roll out the second disk of dough and cut into strips to weave a lattice top, crimping the edges securely to seal the juices inside.
- Brush the lattice with a beaten egg wash and bake at 400°F for 20 minutes, then reduce the heat to 375°F and bake for another 35-40 minutes until the crust is deep golden and the filling is thick and bubbling.
Healthy Toddler Lunch Ideas
Why we love this
Creating a food board for a toddler is about turning nutrition into an adventure, using shapes and colors to engage their growing minds and picky palates. We love the soft, creamy texture of ripe avocado slices paired with the satisfying crunch of cucumber ‘stars’ cut with a cookie cutter. It’s a sensory playground that encourages independent eating, filled with the mild sweetness of berries and the savory, protein-packed goodness of rolled turkey, all presented in a way that feels like a game rather than a chore.
Ingredients
- Cucumber slices cut into stars
- Whole grain crackers
- Mild cheddar cheese cubes
- Rolled deli turkey slices
- Blueberries and halved strawberries
- A small pot of hummus or Greek yogurt dip
How to make it
- Begin by selecting a small, durable wooden board or a compartmentalized plate to keep the different textures and flavors separate, which toddlers often prefer.
- Use small metal cookie cutters to transform standard vegetable slices and cheese into fun shapes like stars, hearts, or animals to spark visual interest.
- Roll the deli meat tightly and slice into small ‘sushi’ rounds that are easy for tiny hands to grasp and dip.
- Arrange the items in a rainbow pattern, placing the brightest fruits in the center to draw the child’s eye and encourage them to try the whole variety.
- Ensure all items are cut into safe, age-appropriate sizes (like halving round berries) to prevent choking hazards while maintaining a beautiful aesthetic.
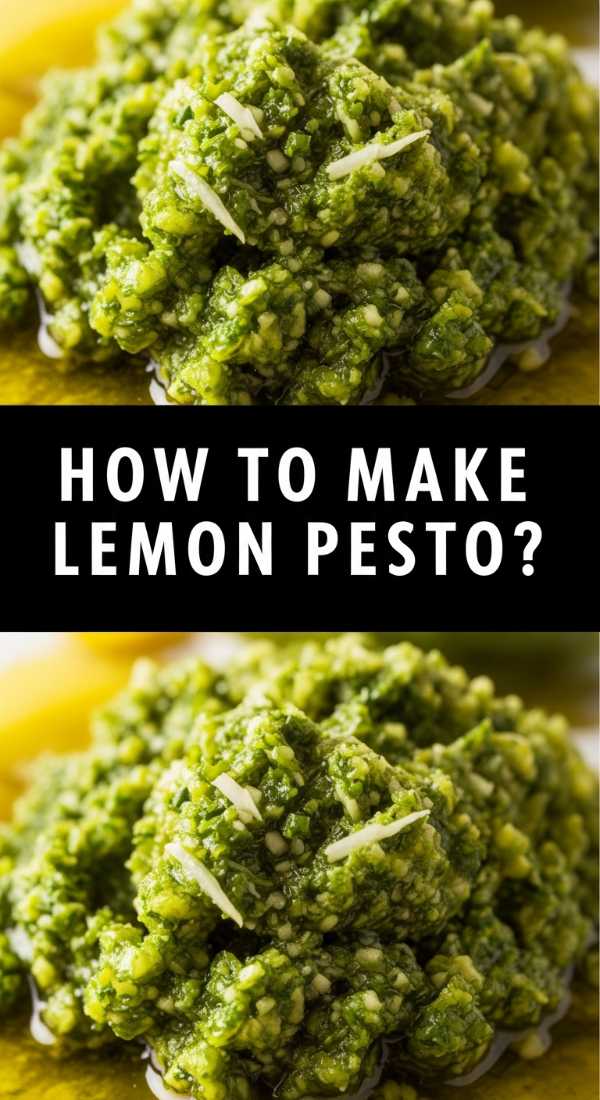
Zesty Lemon Pesto Recipe

Why we love this
This lemon pesto is a vibrant explosion of flavor that tastes like a sunny afternoon in a coastal Italian town. The sharp, citrusy zing of fresh lemon zest cuts through the earthy, nutty richness of toasted pine nuts and the salty depth of Pecorino cheese. It has a beautiful, coarse texture that clings perfectly to pasta or crusty bread, releasing a fragrance of fresh basil and garlic that is absolutely intoxicating as it warms up on your plate.
Ingredients
- 2 cups fresh basil leaves, packed
- 1/2 cup extra virgin olive oil
- 1/3 cup toasted pine nuts
- 2 cloves garlic, peeled
- 1/2 cup grated Parmesan or Pecorino cheese
- Zest and juice of 1 large organic lemon
- Salt and pepper to taste
How to make it
- Start by toasting your pine nuts in a dry pan over medium heat for 2-3 minutes until they are golden brown and fragrant; this step is crucial for unlocking their oils.
- In a food processor, pulse the garlic and pine nuts together until they form a coarse paste, ensuring you don’t over-process them into a complete liquid.
- Add the fresh basil leaves and lemon zest to the processor, then pulse again while slowly drizzling in the olive oil through the feed tube until a rustic, chunky consistency is reached.
- Stir in the grated cheese and lemon juice by hand with a spatula to preserve the texture of the cheese and control the final acidity level.
- Taste and adjust with salt and pepper, then serve immediately or store with a thin layer of olive oil on top to prevent the vibrant green color from oxidizing.
Flaky Rhubarb Scone Tutorial

Why we love this
A warm rhubarb scone is the ultimate comfort food, offering a delicate, crumbly texture that melts into a buttery softness on the tongue. The pockets of tart, roasted rhubarb provide little bursts of moisture and acidity that perfectly balance the heavy cream and sugar in the dough. We love the rustic look of a coarse sugar topping that crunches between your teeth, followed by the pillowy interior that smells faintly of cold butter and sweet cream.
Ingredients
- 2 cups all-purpose flour
- 1/3 cup granulated sugar
- 1 tablespoon baking powder
- 1/2 cup cold unsalted butter, cubed
- 1 cup fresh rhubarb, diced small
- 1/2 cup heavy cream (plus more for brushing)
- 1 egg
- Turbinado sugar for topping
How to make it
- Whisk the dry ingredients together in a large bowl, then use a pastry cutter or your fingertips to work the cold butter into the flour until it resembles coarse meal with some pea-sized lumps remaining.
- Gently fold in the diced rhubarb, being careful not to crush the fruit, which would add too much moisture to the delicate dough.
- Whisk the cream and egg together in a separate jug, then pour into the center of the flour mixture, stirring with a fork until the dough just begins to come together.
- Turn the dough onto a lightly floured surface and pat it into an 8-inch disk; cut it into 8 wedges with a sharp knife, making clean, vertical cuts to ensure the scones rise straight up.
- Brush the tops with extra cream, sprinkle generously with turbinado sugar, and bake at 400°F for 18-20 minutes until the edges are a deep golden brown and the centers are set.
Icing Graduation Sugar Cookies

Why we love this
Icing graduation sugar cookies is a therapeutic process that results in edible works of art, perfect for gifting or displaying on a celebration board. The smooth, matte finish of royal icing creates a sophisticated look that feels high-end and modern. We adore the ‘pop’ of a well-executed flood technique, where the icing settles into a flawless, mirror-like surface that smells of sweet almond and vanilla, providing a satisfyingly crisp snap when you take that first celebratory bite.
Ingredients
- Batch of chilled sugar cookies (cap and diploma shapes)
- Royal icing (stiff and flooding consistencies)
- Gel food coloring
- Piping bags and small round tips
- Scribe tool or toothpick
How to make it
- Prepare your royal icing and divide it into bowls to color; you will need a ‘stiff’ consistency for outlining and a ‘flood’ consistency (similar to honey) for filling.
- Pipe a thin outline around the edge of the cookie using the stiff icing, which acts as a dam to prevent the thinner icing from spilling over the sides.
- Immediately fill the center of the outline with the flood icing, using a scribe tool to move the icing into the corners and pop any tiny air bubbles that appear.
- Allow the base layer to dry completely for at least 6-8 hours; this is essential to prevent the top decorations from ‘bleeding’ into the base.
- Once dry, use the stiff icing to add details like the graduation year, tassel lines, or the ‘ribbon’ on a diploma, creating a beautiful 3D effect.
Crafting Fun Coffee Drinks at Home
Why we love this
There is a profound joy in becoming your own barista, turning the morning caffeine routine into a ritual of self-care and artistry. We love the sound of the milk frother creating a thick, velvety foam that sits like a cloud atop a dark, aromatic espresso. Whether it’s a lavender-infused latte or a salted caramel cold brew, the ability to customize the sweetness and strength makes every sip feel like a luxury, filling the house with the rich, toasted scent of high-quality beans.
Ingredients
- 2 shots of hot espresso or 1/2 cup cold brew concentrate
- 1 cup milk of choice (oat, almond, or dairy)
- 1 tablespoon flavored syrup (lavender, vanilla, or caramel)
- Ice cubes (if making a cold drink)
- Cinnamon or cocoa powder for dusting
How to make it
- For a hot latte, steam your milk to approximately 150°F, using a frother to create a micro-foam with tiny, uniform bubbles rather than large, soapy ones.
- Pour your flavored syrup into the bottom of a large glass or mug, then add the hot espresso shots and stir gently to combine the flavors.
- Slowly pour the steamed milk over the coffee, holding back the foam with a spoon until the cup is nearly full, then dollop the foam on top.
- For a cold version, fill a tall glass with ice, add the syrup and coffee, then pour the cold milk over the top to create those beautiful, swirling ‘clouds’ of color.
- Garnish with a light dusting of cinnamon or a drizzle of extra syrup to give it that professional coffee-shop aesthetic.
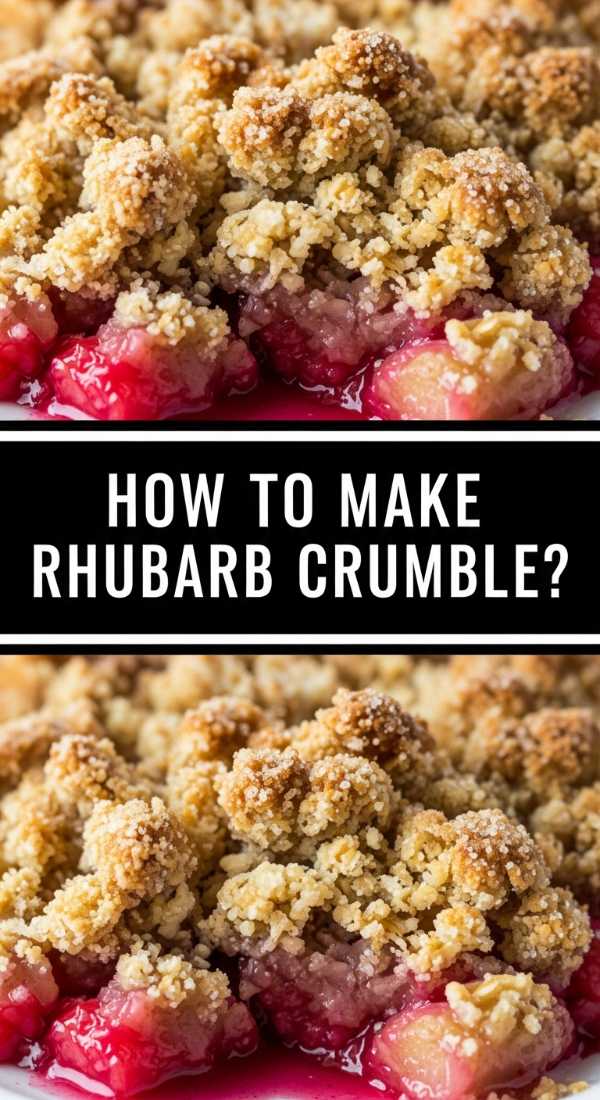
Crispy Rhubarb Crumble Recipe
[IMAGE_10]
Why we love this
Rhubarb crumble is the unpretentious queen of desserts, prized for the incredible contrast between the soft, molten fruit and the jagged, buttery peaks of the topping. As it bakes, the rhubarb juices bubble up through the crust, creating chewy, caramelized edges that are the most sought-after part of the dish. The smell of toasted oats and cinnamon mingling with the sharp scent of the fruit is enough to bring anyone to the kitchen table, especially when served with a melting scoop of cold vanilla bean ice cream.
Ingredients
- 4 cups rhubarb, chopped
- 1/2 cup sugar (for fruit)
- 1 cup rolled oats
- 1 cup all-purpose flour
- 1/2 cup brown sugar, packed
- 1/2 cup cold salted butter, cubed
- 1 teaspoon cinnamon
How to make it
- Toss the chopped rhubarb with the half-cup of granulated sugar directly in your baking dish, ensuring an even layer that will cook uniformly.
- In a medium bowl, combine the oats, flour, brown sugar, and cinnamon, mixing well to ensure the spices are evenly distributed.
- Add the cold, cubed butter to the dry mixture and use your hands to rub it in until you have a variety of sizes, from fine crumbs to large, thumb-sized clusters.
- Spread the crumble topping generously over the rhubarb, making sure to cover the fruit completely to trap the steam and soften the stalks.
- Bake at 375°F for 35-40 minutes until the fruit juices are thick and bubbling vigorously around the edges and the topping is a deep, crunchy golden brown.
Wrapping Up the Magic
Whether you are celebrating a big milestone like a graduation or just making a Tuesday afternoon a little more special for a toddler, these recipes and styling tips are designed to help you create something beautiful. A food board isn’t just about the food; it’s about the invitation to sit down, slow down, and enjoy the vibrant colors and flavors of the season together. I can’t wait to see how you make these your own!