

There’s something truly magical about the way food brings us together, isn’t there? Whether it’s the chaotic energy of a graduation party or a quiet Sunday morning with a steaming cup of coffee, the rituals we create around our meals define the warmth of our homes. Lately, I’ve been obsessed with the idea of ‘viral food boards’—not just the kind with cheese and crackers, but boards that tell a story of skill, season, and celebration. It’s about taking those Pinterest-perfect moments and making them actually happen in your own kitchen without the stress.
Today, I’m sharing my ultimate guide to mastering those viral moments. We are diving deep into everything from the tart snap of fresh rhubarb to the delicate art of icing a celebratory cookie. Think of this as your toolkit for creating memories that taste as good as they look. Let’s roll up our sleeves and get into the heart of the kitchen!
How to Decorate Graduation Cakes

Why we love this
A graduation cake is more than just dessert; it is a centerpiece of pride and achievement. We love the way the smooth, velvet-like finish of a perfectly chilled buttercream provides the ultimate canvas for celebratory messages. The contrast between a sharp, professional-looking mortarboard topper and the soft, pillowy texture of the sponge beneath creates a sensory experience that feels both grand and intimate. When you slice into it, the aroma of classic vanilla or rich chocolate fills the room, signaling that it is finally time to celebrate the hard work.
Ingredients
- Pre-baked tiered cake (chilled)
- Batch of stiff-peak buttercream frosting
- Fondant (black and school colors)
- Edible gold luster dust
- Food-grade dowels for support
How to make it
- Begin by applying a ‘crumb coat’ to your chilled cake. Use an offset spatula to spread a thin layer of buttercream over the top and sides, sealing in any loose crumbs. Refrigerate for 30 minutes until the surface is firm to the touch.
- Apply the final layer of frosting. For a viral ‘smooth’ look, hold a metal bench scraper at a 45-degree angle against the cake while rotating your turntable slowly. Keep your hand steady and apply even pressure to remove excess frosting and create a sharp edge.
- Roll out your black fondant to a 1/4-inch thickness. Cut a perfect square for the mortarboard top and a small cylinder for the base. Let these dry for an hour so they hold their shape before assembling with a dab of water.
- Create the tassel by extruding thin strands of colored fondant or using a clean clay extruder. Drape it over the fondant cap and secure it with a tiny drop of water.
- Finish the cake by mixing gold luster dust with a drop of clear vanilla extract to create a ‘paint.’ Use a fine-tip brush to paint the year or the graduate’s name onto the side of the cake for a high-end, metallic pop.
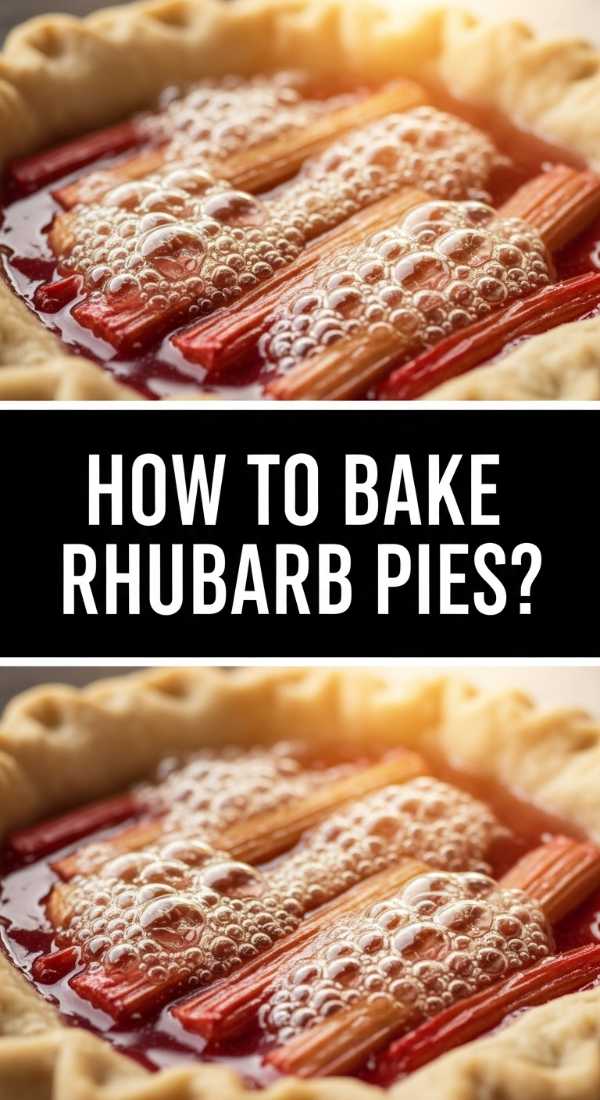
How to Bake Rhubarb Pies
Why we love this
Rhubarb pie is the quintessential taste of early summer, offering a sophisticated balance of bracing tartness and deep, caramelized sweetness. We adore the way the vibrant pink stalks soften into a jammy consistency during the bake, releasing a floral aroma that wafts through the entire house. The contrast of the flaky, buttery crust breaking against the luscious, thickened fruit filling is a textural masterpiece. It’s a nostalgic dish that feels like a warm hug on a plate, especially when served with a melting scoop of cold vanilla bean ice cream.
Ingredients
- Double pie crust pastry (homemade or high-quality store-bought)
- 5 cups fresh rhubarb, chopped into 1/2-inch pieces
- 1 1/4 cups granulated sugar
- 1/4 cup cornstarch
- 1 tablespoon lemon juice
- 1 teaspoon cinnamon
- Egg wash (1 egg beaten with 1 tablespoon milk)
How to make it
- Preheat your oven to 400°F (200°C) and place a baking sheet on the middle rack to catch any drips. This ensures the bottom of the pie gets blasted with immediate heat for a crispier crust.
- In a large mixing bowl, toss the chopped rhubarb with sugar, cornstarch, lemon juice, and cinnamon. Let this sit for about 15 minutes; this ‘macerating’ process allows the juices to release so the cornstarch can begin to dissolve.
- Roll out your bottom crust and fit it into a 9-inch pie plate. Trim the edges to leave a 1/2-inch overhang. Pour in the rhubarb mixture, ensuring you get all the sugary liquid from the bottom of the bowl.
- Roll out the top crust and cut into 1-inch strips to create a lattice design. Weave the strips over and under each other, then crimp the edges tightly to seal the juices inside.
- Brush the entire top with egg wash and sprinkle with extra sugar. Bake for 20 minutes at 400°F, then reduce the heat to 375°F (190°C) and bake for another 35-45 minutes. You are looking for the filling to bubble thickly in the center and the crust to be a deep, golden brown.
How to Ice Graduation Cookies

Why we love this
There is something incredibly satisfying about the ‘snap’ of a perfectly dried royal icing on a buttery sugar cookie. We love the precision of icing graduation cookies because they allow for such personalized creativity, from miniature diplomas to tiny graduation caps. The smooth, glass-like finish of the icing against the crumbly, sweet cookie base is a delight for the senses. As the icing sets, it creates a beautiful, matte or glossy sheen that looks like professional edible art, making them the perfect takeaway gift for guests.
Ingredients
- Baked sugar cookies (cap or diploma shapes)
- Royal icing (stiff and flooding consistencies)
- Gel food coloring
- Scribe tool or toothpick
- Piping bags and small round tips
How to make it
- Start by preparing two consistencies of royal icing: ‘outline’ (the thickness of toothpaste) and ‘flood’ (the thickness of heavy cream). Color them as desired using gel colors, which won’t thin out the icing.
- Use the outline icing to trace the border of your cookie. This creates a dam that will hold the thinner icing in place. Allow this to dry for about 5 to 10 minutes until it sets.
- Fill the center of the outlined area with the flood icing. Use a scribe tool or toothpick to move the icing into the corners and pop any tiny air bubbles that rise to the surface.
- For a ‘wet-on-wet’ design (like polka dots), immediately drop small amounts of a different colored flood icing into the wet base. For a layered look (like writing), let the base dry for at least 4 hours before piping on top.
- Place the cookies in front of a small fan on a low setting. The moving air helps the icing dry with a high-shine finish and prevents ‘cratering’ in small areas. Let them dry completely overnight before stacking.
How to Frost Graduation Cupcakes

Why we love this
Cupcakes are the ultimate party food, and frosting them is where the real personality comes out. We love the airy, whipped texture of a high-quality buttercream that stands tall without wilting. There is a specific joy in the rhythmic motion of piping a perfect swirl, watching the frosting fold over itself in satiny layers. When topped with a tiny chocolate mortarboard or a sprinkle of school colors, these cupcakes become tiny, edible trophies that are as fun to look at as they are to eat.
Ingredients
- Freshly baked cupcakes (cooled completely)
- American or Swiss Meringue buttercream
- Large open star piping tip (like Wilton 1M)
- Disposable piping bags
- Themed sprinkles or chocolate graduation caps
How to make it
- Ensure your cupcakes are 100% cool. Even a hint of warmth will cause the fat in the buttercream to melt, ruining your structural integrity.
- Fit your piping bag with the large star tip and fill it only halfway. Overfilling the bag makes it harder to control the pressure and warms up the frosting with your hands.
- Hold the bag vertically, exactly 90 degrees above the center of the cupcake. Start in the middle, move to the outer edge, and spiral inward and upward in one continuous motion.
- To get that ‘viral’ professional peak, stop squeezing the bag before you lift up. This prevents a ‘tail’ of frosting from ruining the silhouette of the swirl.
- Immediately apply your sprinkles or toppers while the frosting is still ‘tacky.’ If you wait too long, the crust will form and decorations will simply bounce off.
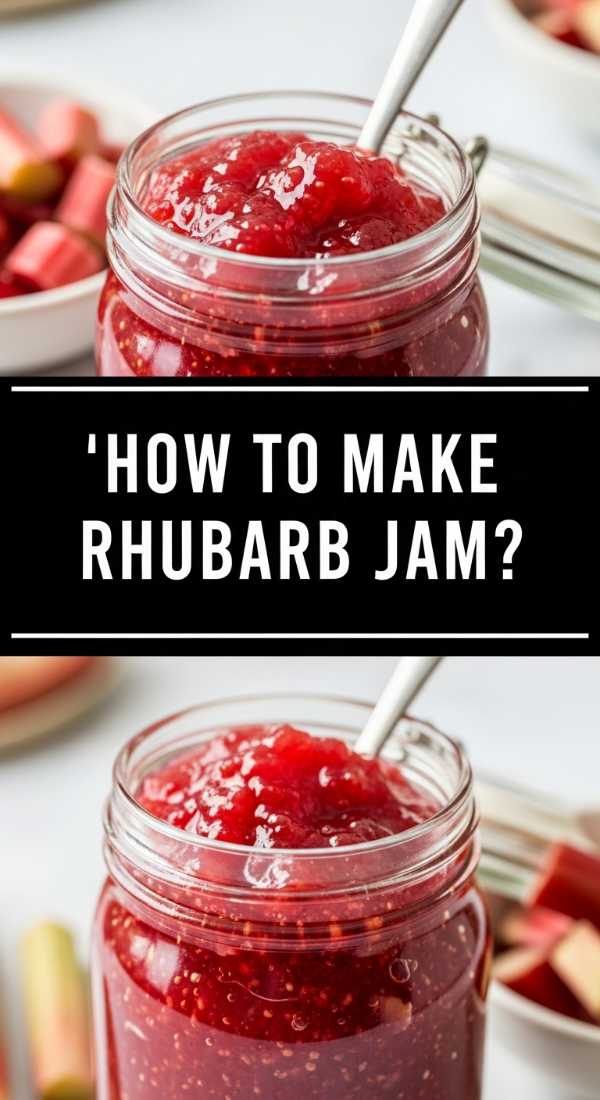
How to Make Rhubarb Jam
Why we love this
Rhubarb jam is like capturing springtime in a jar. We love the way the ruby-red stalks transform into a thick, glistening preserve that balances sharp acidity with a honeyed finish. The aroma during the simmering process is intoxicating—earthy, bright, and sweet all at once. Spreading this jam onto a warm, buttered biscuit is a sensory experience that brings out the rustic charm of home cooking. It’s a simple luxury that makes every breakfast feel like a special occasion at a boutique farmhouse.
Ingredients
- 2 lbs fresh rhubarb (trimmed and chopped)
- 4 cups granulated sugar
- 2 tablespoons lemon juice
- 1 teaspoon lemon zest
- Optional: 1 vanilla bean (split and scraped)
How to make it
- In a large, non-reactive pot (like stainless steel or enameled cast iron), combine the rhubarb, sugar, lemon juice, and zest. Stir well and let it sit for 2 hours to draw out the natural pectins and moisture.
- Place the pot over medium-low heat and stir until the sugar is completely dissolved. Do not let it boil until you can no longer feel any sugar granules against the bottom of the spoon.
- Increase the heat to medium-high and bring the mixture to a rolling boil. Stir frequently to prevent the bottom from scorching. If using a vanilla bean, add it now to infuse the jam with warmth.
- Boil the jam until it reaches the ‘setting point’ (220°F or 104°C). If you don’t have a thermometer, place a small plate in the freezer. Drop a bit of jam on the cold plate; if it wrinkles when pushed with your finger, it’s done.
- Ladle the hot jam into sterilized jars, leaving 1/4 inch of headspace. Wipe the rims clean, seal with lids, and process in a boiling water bath for 10 minutes for long-term storage, or simply keep in the fridge for immediate use.
How to Brew Specialty Coffee

Why we love this
Brewing specialty coffee is a meditative morning ritual that engages every sense. We love the initial ‘bloom’—that moment when hot water hits fresh grounds and releases a cloud of toasted nuts, bright citrus, and deep cocoa. The visual of the dark liquid swirling into a clear carafe is incredibly satisfying, promising a cup that is complex and nuanced rather than just bitter. It turns a daily caffeine fix into an artisanal experience, making you feel like a master of your own morning craft.
Ingredients
- Freshly roasted whole coffee beans (single origin)
- Filtered water (heated to 205°F)
- Paper filter (rinsed)
- Scale and timer
How to make it
- Grind your coffee beans to a medium-coarse consistency, similar to sea salt. Use a ratio of 1 gram of coffee to 16 grams of water for a balanced extraction. For a standard mug, use 20g of coffee and 320g of water.
- Place your filter in the dripper and rinse it with hot water. This removes any paper taste and warms up your brewing vessel. Discard the rinse water before adding your coffee grounds.
- Start your timer and pour 40g of water over the grounds. Stir gently with a spoon to ensure all grounds are wet. This is the ‘bloom’ phase; wait 30 seconds for the CO2 to escape, which allows for better flavor extraction.
- Pour the remaining water in slow, concentric circles, starting from the center and moving outward. Avoid pouring directly onto the paper filter, as water will bypass the coffee. Keep the water level consistent throughout the brew.
- The entire brewing process should take between 3 and 3.5 minutes. Once the flow slows to a drip, remove the filter. Give the carafe a quick swirl to aerate the coffee before pouring it into your favorite mug.
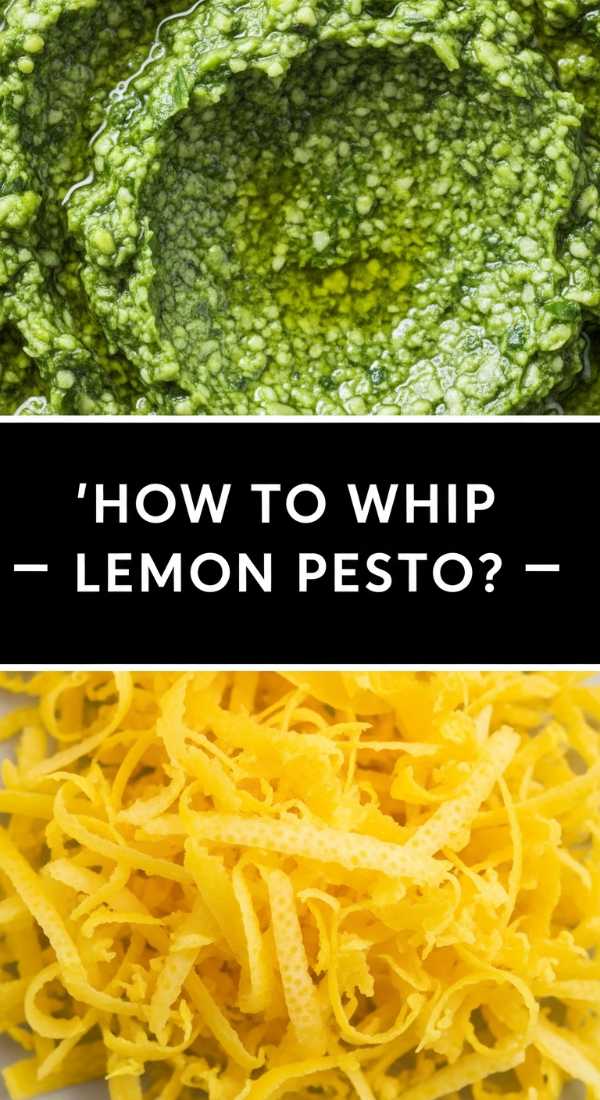
How to Whip Lemon Pesto
Why we love this
Lemon pesto is a vibrant, sun-drenched twist on the classic Genovese sauce. We love the explosive freshness of the basil combined with the sharp, clean zing of fresh lemon juice and zest. The texture is what makes it truly viral—by ‘whipping’ the oil in slowly, you create an emulsion that is creamier and more luxurious than standard pesto. It smells like a Mediterranean garden in mid-July and has a way of brightening up even the simplest pasta or grilled vegetable dish with its electric green hue.
Ingredients
- 2 cups fresh basil leaves (packed)
- 1/3 cup pine nuts (lightly toasted)
- 2 cloves garlic (minced)
- 1/2 cup high-quality extra virgin olive oil
- 1/2 cup grated Parmesan cheese
- Zest and juice of 1 large lemon
- Pinch of sea salt and black pepper
How to make it
- Begin by toasting your pine nuts in a dry skillet over medium heat for 2-3 minutes. Watch them closely; they go from golden to burnt in seconds. Let them cool completely to avoid ‘cooking’ the basil.
- In a food processor, pulse the basil, cooled pine nuts, and garlic until coarsely chopped. Do not over-process at this stage, or the heat from the blades will turn the basil brown.
- With the processor running on low, drizzle the olive oil in a very slow, steady stream. This ‘whipping’ action incorporates air and creates a creamy, emulsified texture rather than an oily one.
- Transfer the mixture to a bowl and stir in the Parmesan cheese, lemon juice, and lemon zest by hand. Adding the cheese at the end preserves its texture.
- Taste and season with salt and pepper. If the pesto is too thick, add another tablespoon of lemon juice or oil. Serve immediately for the brightest flavor, or store in a jar with a thin layer of oil on top to prevent oxidation.
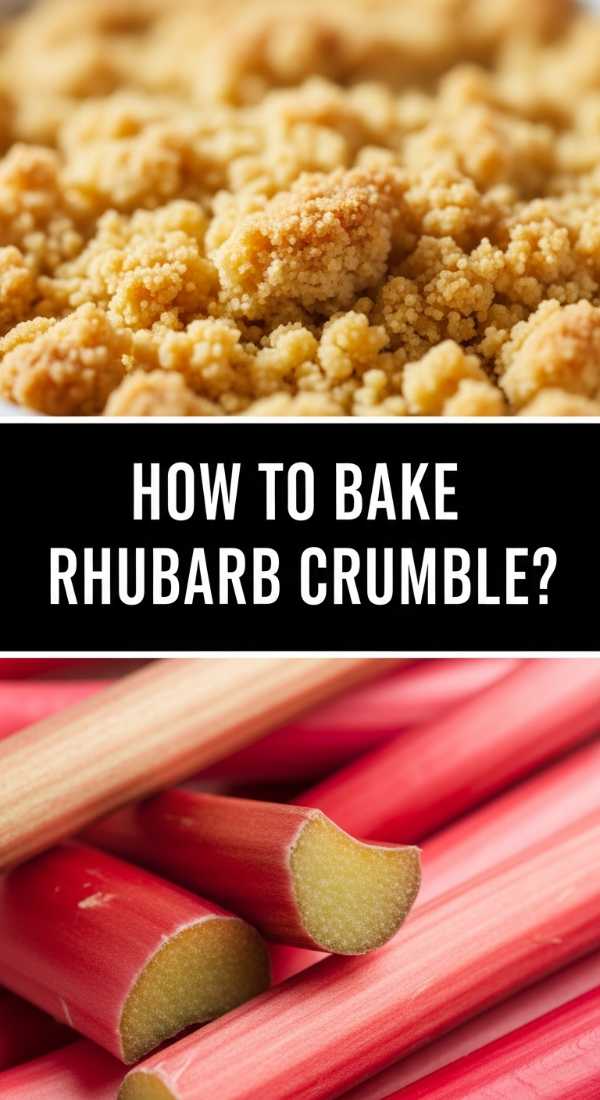
How to Bake Rhubarb Crumble
Why we love this
Rhubarb crumble is the definition of rustic comfort. We love the contrast between the bubbling, molten fruit filling and the crunchy, buttery oat topping that shatters with every spoonful. The scent of cinnamon and brown sugar caramelizing in the oven is enough to draw anyone into the kitchen. It’s a dish that doesn’t require perfection—the more the fruit juices purple and spill over the edges, the more beautiful it looks. It’s warm, tart, and deeply satisfying, especially when the cold cream of a topping begins to melt into the hot fruit.
Ingredients
- 6 cups chopped rhubarb
- 3/4 cup granulated sugar
- 1 tablespoon cornstarch
- 1 cup rolled oats
- 1 cup all-purpose flour
- 1 cup brown sugar (packed)
- 1/2 cup cold unsalted butter (cubed)
- 1 teaspoon cinnamon
How to make it
- Preheat your oven to 375°F (190°C) and grease a 9×9 inch baking dish. In a large bowl, toss the rhubarb with the granulated sugar and cornstarch until the fruit is well coated. Spread this evenly into the baking dish.
- In a separate bowl, combine the oats, flour, brown sugar, and cinnamon. Use your fingers or a pastry cutter to work the cold, cubed butter into the dry ingredients.
- Continue mixing until the topping resembles coarse crumbs with some pea-sized chunks of butter remaining. This unevenness is key to a variety of textures in the finished crumble.
- Sprinkle the crumble topping generously over the rhubarb. Do not press it down; you want it to stay loose so the heat can circulate through the topping for maximum crunch.
- Bake for 35 to 45 minutes. You are looking for the fruit to be bubbling vigorously around the edges and the topping to be a deep, toasted golden brown. Let it cool for 10 minutes before serving to allow the fruit juices to set slightly.
How to Design Funny Cakes

Why we love this
Funny cakes are the ultimate icebreakers at any party. We love the way a cleverly designed cake can turn a standard celebration into a viral moment of laughter. Whether it’s an ‘ugly’ vintage-style cake with a sassy quote or a hyper-realistic cake that looks like a taco, the joy is in the surprise. The texture of soft cake combined with the whimsy of bright, bold colors and humorous piping makes it a multi-sensory experience that prioritizes fun and personality over traditional elegance.
Ingredients
- Layered cake (firm crumb, like pound cake)
- Brightly colored buttercream
- Fondant for sculpting small details
- Edible markers or fine-tip piping bags
- Whimsical cake toppers or plastic props
How to make it
- Start with a solid concept. Viral funny cakes often use ‘anti-perfection’—think purposefully messy piping or ‘ugly’ color palettes like neon green and pink. Sketch your design on paper first.
- If you are carving the cake into a shape (like a giant potato or a wine bottle), freeze the layers for 1 hour beforehand. Cold cake is much easier to carve without it crumbling or tearing.
- Apply a base layer of frosting. For a ‘vintage’ funny cake, use a small star tip to create rows of ruffles and shells in clashing colors. The goal is ‘more is more.’
- Use an edible marker to write a humorous phrase on a piece of dried fondant, or pipe it directly onto the cake with a very steady hand. If you make a mistake, chill the cake until the frosting is hard, then gently scrape the letters off and try again.
- Add ‘props’—these can be edible (fondant shapes) or non-edible (funny plastic figurines). The key is the placement; put them in unexpected spots, like a plastic dinosaur ‘eating’ the corner of the cake, to enhance the humor.
How to Prepare Toddler Lunches
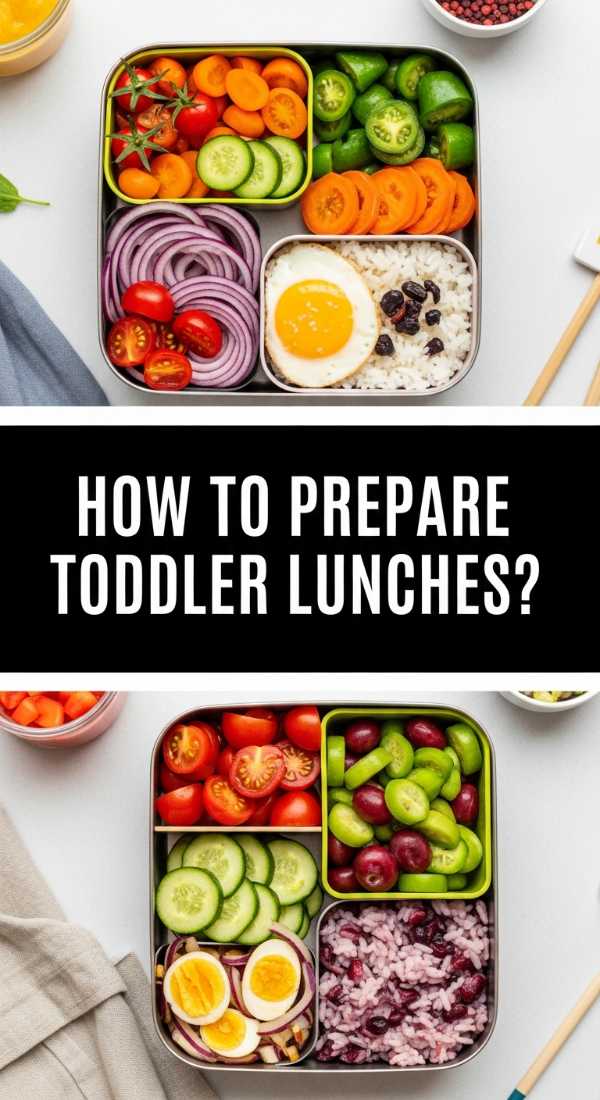
Why we love this
Preparing a toddler’s lunch is an exercise in creativity and love. We love the challenge of turning healthy, whole foods into a visual ‘board’ of colors and shapes that entice a picky eater. The sensory appeal of small, bite-sized pieces—crunchy cucumbers, soft cheese cubes, and juicy berry stars—makes the meal feel like a game rather than a chore. There is a quiet satisfaction in seeing a rainbow of nutrients neatly arranged in a bento box, knowing every bite is fueling a day of play and growth.
Ingredients
- Assorted fruits (berries, grapes, melon)
- Whole grain bread and lean protein (turkey or hummus)
- Colorful vegetables (carrots, bell peppers)
- Cheese slices or cubes
- Fun-shaped cookie cutters
How to make it
- Focus on the ‘Rule of Three’: include a protein, a fruit/veggie, and a complex carb. This ensures a balanced meal that keeps energy levels steady.
- Use small metal cookie cutters to turn sandwiches or slices of cheese into stars, hearts, or animals. Toddlers are statistically more likely to eat a ‘star’ than a plain square of bread.
- Prep ‘dip-able’ veggies. Cut carrots or cucumbers into thin matchsticks that are easy for small hands to grip. Pair them with a small container of hummus or Greek yogurt dip to add a sensory element of play.
- Prioritize safety: always quarter grapes lengthwise and cut cherry tomatoes into small pieces to prevent choking. Ensure all textures are age-appropriate—softening harder fruits like apples by lightly steaming them if necessary.
- Arrange the items in a divided container or a ‘snack board’ style. Keep the colors separated to make the plate look vibrant and appealing. A splash of color, like a few bright raspberries next to white cheese, makes the lunch look like a professional catering job.
The Final Flourish
Cooking and creating aren’t just about the final product; they are about the confidence you gain with every whisk, fold, and pour. Whether you are tackling a complex rhubarb pie or just trying to make lunch more exciting for your little one, remember that the ‘viral’ part is the love you put into it. I hope these tips inspire you to try something new tonight and turn your kitchen into a place of celebration. Happy creating!