
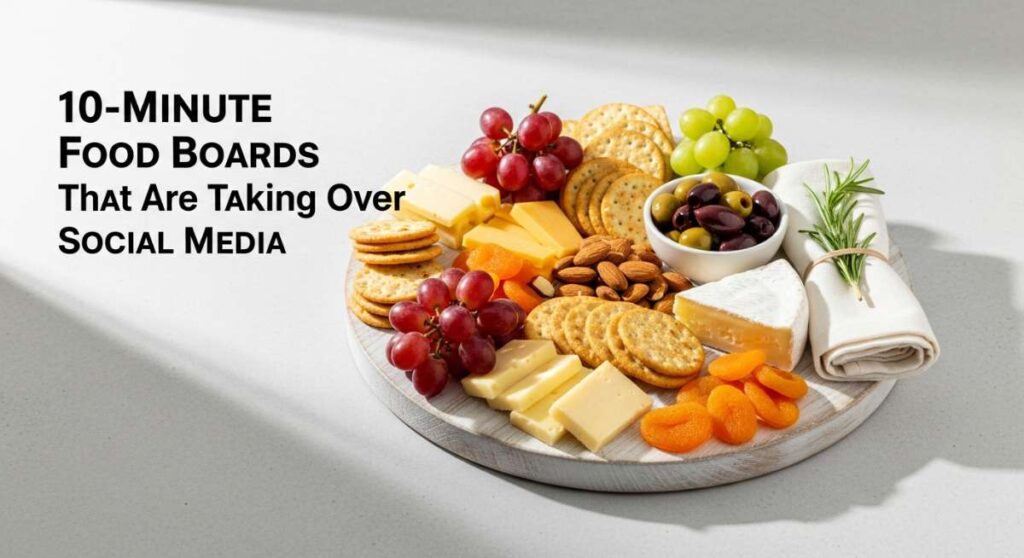
10-Minute Food Boards That Are Taking Over Social Media
There is something inherently magical about gathering around a beautifully curated spread. Whether it is a quiet Sunday morning with your family or a bustling celebration for a major life milestone, food has a way of anchoring our memories. Lately, my social media feed has been a kaleidoscope of vibrant colors and textures, proving that we are all craving a bit of aesthetic joy in our daily routines. It is not just about the taste; it is about the visual invitation to slow down and savor the moment.
I have spent the last few weeks experimenting with the latest trends that are dominating our screens—from the tart zest of seasonal fruits to the sophisticated flair of celebratory bakes. These ‘boards’ and platters are more than just food; they are conversation starters. In this guide, I am sharing my favorite viral-inspired creations that will make your next gathering feel like a curated editorial shoot, without the stress of a professional kitchen.
A Guide on Decorating Elegant Graduation Cakes
Why we love this
An elegant graduation cake is the crowning jewel of a commencement celebration, offering a sophisticated departure from the overly bright, commercial designs we often see. We love this approach because it focuses on a minimalist palette—think soft creams, metallic gold accents, and the delicate organic texture of fresh florals. When you slice into a perfectly frosted cake, the velvet-smooth buttercream provides a luxurious mouthfeel that complements the light, airy sponge beneath, while the faint aroma of Madagascar vanilla wafts through the air, creating a truly sensory experience of triumph and elegance.
Ingredients
- Pre-baked layered cake (chilled)
- Swiss meringue buttercream
- Edible gold leaf sheets
- Organic, food-safe flowers (like roses or ranunculus)
- Offset spatula and cake scraper
- Acrylic cake topper
How to make it
- Begin by placing your chilled cake layers on a rotating cake stand. Apply a thin ‘crumb coat’ of Swiss meringue buttercream to the top and sides using an offset spatula. This layer seals in any loose crumbs; refrigerate the cake for 20 minutes until the frosting is firm to the touch.
- Once chilled, apply a generous second layer of buttercream. Use a metal cake scraper held at a 45-degree angle against the side of the cake. While spinning the turntable, maintain steady pressure to create a perfectly smooth, sharp-edged finish.
- Carefully pick up small fragments of edible gold leaf using a dry paintbrush. Gently press the leaf onto the sides of the cake in a random, organic ‘speckled’ pattern. Avoid touching the leaf with your fingers, as the oils from your skin will cause it to stick and tear.
- Trim the stems of your food-safe flowers to about two inches and wrap the stems in floral tape or insert them into small flower spikes. Arrange them in a crescent shape on one side of the cake’s top, ensuring they look balanced but not overly symmetrical.
- Place your acrylic topper slightly off-center for a modern look, and give the cake one final chill before serving to ensure the decorations stay perfectly in place during the heat of the party.
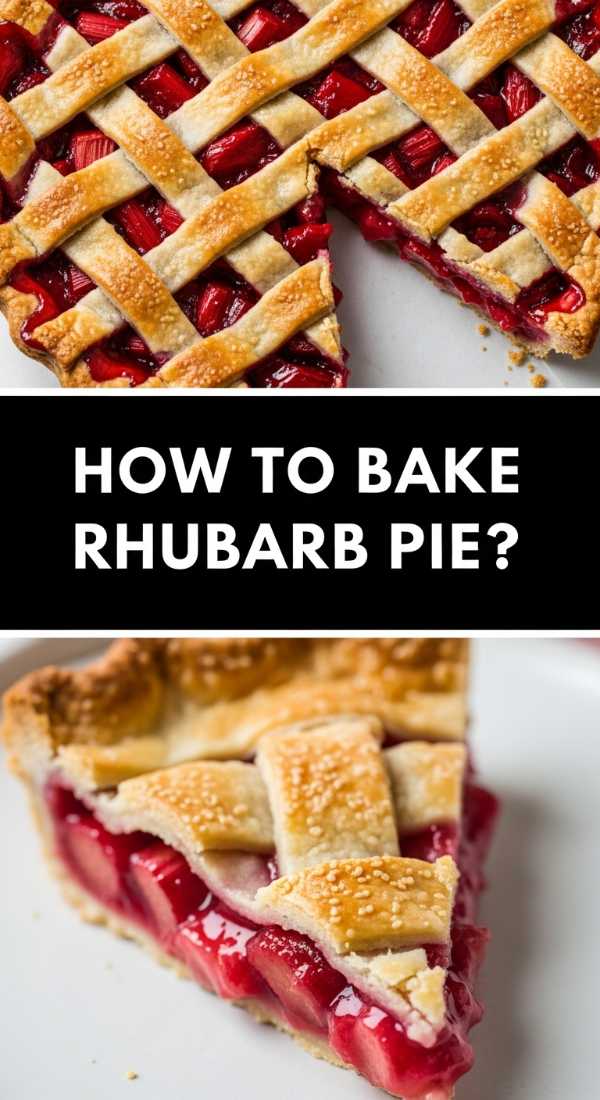
Steps to Making the Perfect Strawberry Rhubarb Pie
Why we love this
Nothing screams ‘summer is here’ quite like the fragrance of a strawberry rhubarb pie bubbling over in a hot oven. The contrast between the bracingly tart rhubarb and the jammy, honey-sweet strawberries creates a flavor profile that is both nostalgic and sophisticated. We love the architectural beauty of a well-crafted lattice crust, which provides a satisfying, buttery crunch that shatters against the soft, warm fruit filling. Every bite is a balance of textures—the flaky, salted pastry and the gooey, ruby-red center that smells like pure sunshine and home-cooked comfort.
Ingredients
- Double pie crust dough (chilled)
- 3 cups fresh rhubarb, chopped into 1/2 inch pieces
- 3 cups fresh strawberries, hulled and sliced
- 3/4 cup granulated sugar
- 1/4 cup cornstarch
- 1 tablespoon lemon juice
- 1 egg (for wash) and turbinado sugar
How to make it
- Roll out the bottom disc of your chilled dough on a floured surface until it is 12 inches in diameter. Drape it over a 9-inch pie plate, gently pressing it into the corners without stretching the dough, and refrigerate while you prepare the filling.
- In a large mixing bowl, toss the chopped rhubarb, sliced strawberries, granulated sugar, cornstarch, and lemon juice. Let the mixture sit for 15 minutes; this allows the fruit to macerate and the cornstarch to begin thickening the juices so your pie isn’t ‘soupy’ after baking.
- Roll out the second disc of dough and cut into 1-inch wide strips using a pastry wheel. Fill the bottom crust with the fruit mixture, then weave the strips over and under each other to create a classic lattice pattern across the top.
- Trim the excess dough to within 1/2 inch of the rim, then fold the bottom crust over the lattice ends and crimp the edges firmly with your fingers or a fork to seal the pie.
- Whisk one egg with a splash of water and brush the lattice and edges generously. Sprinkle with turbinado sugar for a glittering, crunchy finish. Bake at 425°F for 20 minutes, then reduce heat to 375°F and bake for another 35-45 minutes until the juices are thick and bubbling slowly in the center.
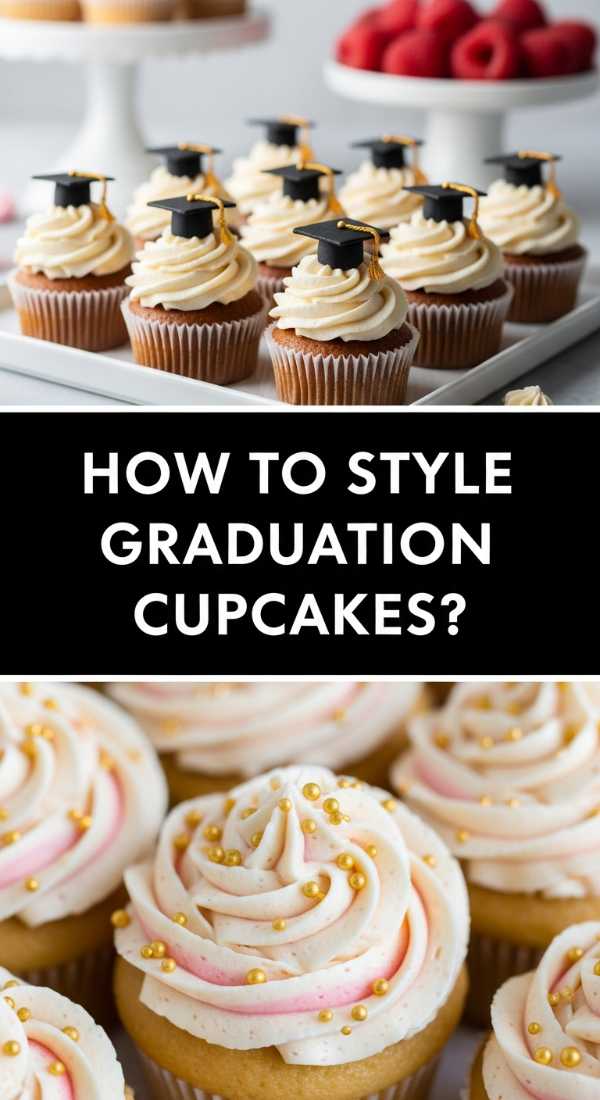
Creative Ideas for Graduation Cupcakes
Why we love this
Cupcakes are the ultimate social food board addition because they offer individual portions of joy that are easy to grab and go. These graduation-themed treats are a hit because they allow for endless creativity, combining the playful texture of candy with the classic sweetness of a moist cake. We love the whimsy of a miniature fondant mortarboard perched atop a swirl of frosting; it brings a smile to everyone’s face. The scent of fresh cocoa or bright lemon from the cake base, paired with the sugary snap of a chocolate square cap, makes these as delicious as they are photogenic.
Ingredients
- 24 baked cupcakes in your favorite flavor
- Large batch of stiff buttercream frosting
- Ghirardelli chocolate squares (or similar)
- Mini peanut butter cups
- Sour belt candies or fruit leather (for tassels)
- M&Ms or small round candies
How to make it
- Using a piping bag fitted with a large round or star tip, pipe a high, stable swirl of buttercream on each cooled cupcake. Ensure the top of the swirl is somewhat flat to provide a sturdy base for the ‘cap.’
- Unwrap the mini peanut butter cups and place them upside down in the center of the buttercream swirl. This acts as the base of the graduation cap.
- Place a small dab of frosting on the bottom of a chocolate square and press it firmly onto the peanut butter cup. Ensure it is level so the cap doesn’t slide off.
- Cut thin strips of the sour belt or fruit leather to about 1.5 inches long. Fray one end with a knife to look like a tassel. Use a tiny dot of frosting to attach the tassel to the center of the chocolate square.
- Complete the look by placing a single M&M or small candy in the center of the chocolate square to cover the end of the tassel. Chill the cupcakes for 30 minutes to ensure the ‘caps’ are set and won’t move during transport.
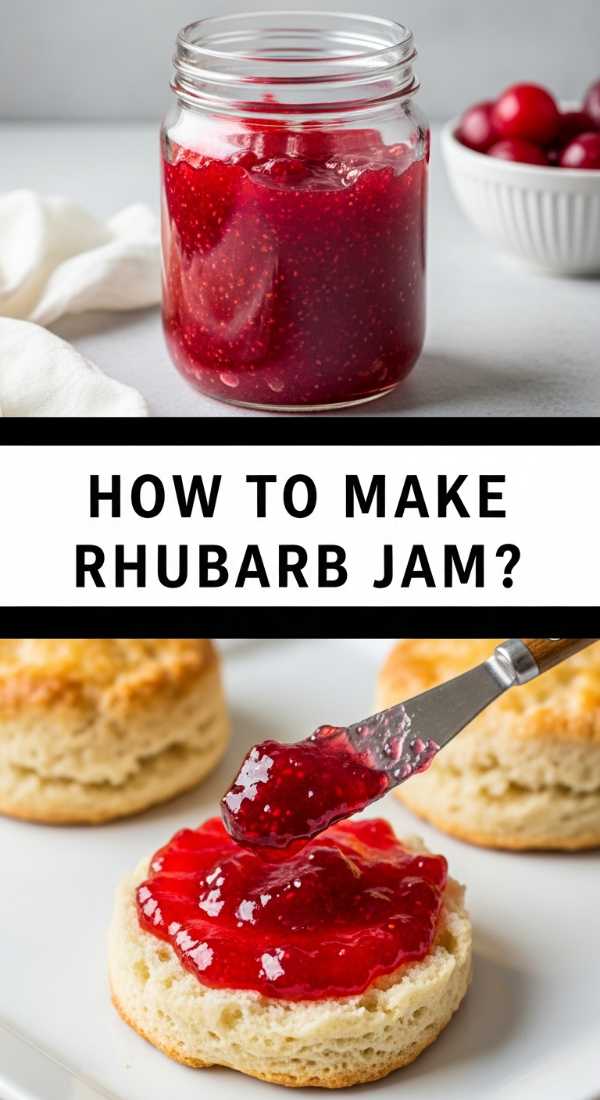
A Tutorial for Making Homemade Rhubarb Jam
Why we love this
Homemade rhubarb jam is like bottling the essence of spring. Its vibrant pink hue is visually stunning on any breakfast board, and the flavor is an incredible balance of sharp acidity and mellow sweetness. We love the thick, spreadable texture that holds its shape on a warm scone, releasing an aroma that is floral and bright. Unlike store-bought jams, the homemade version allows the natural, earthy notes of the rhubarb to shine through, creating a condiment that feels artisanal and deeply personal, perfect for gifting or elevating a simple morning toast.
Ingredients
- 2 lbs fresh rhubarb, trimmed and diced
- 4 cups granulated sugar
- 2 tablespoons fresh lemon juice
- 1 teaspoon lemon zest
- 1/2 teaspoon vanilla bean paste (optional)
How to make it
- In a large, heavy-bottomed pot, combine the diced rhubarb, sugar, and lemon juice. Stir well and let the mixture sit at room temperature for at least 2 hours (or overnight in the fridge). This allows the sugar to draw out the moisture from the rhubarb, creating its own syrup.
- Place the pot over medium-high heat and bring the mixture to a full, rolling boil, stirring frequently with a wooden spoon to prevent the sugar from scorching on the bottom.
- Continue to boil the mixture for about 15-20 minutes. As the water evaporates, the jam will thicken and the bubbles will become smaller and more ‘glassy’ in appearance. Use a candy thermometer to check for the ‘set point’ of 220°F (104°C).
- Once the jam reaches the desired thickness, stir in the lemon zest and vanilla bean paste. To test the set without a thermometer, place a small spoonful of jam on a chilled plate; if it wrinkles when pushed with your finger, it is ready.
- Carefully ladle the hot jam into sterilized glass jars, leaving 1/4 inch of headspace. Wipe the rims clean, seal with lids, and allow them to cool completely at room temperature until you hear the satisfying ‘pop’ of the vacuum seal.
Decorating Ideas for Graduation Sugar Cookies
Why we love this
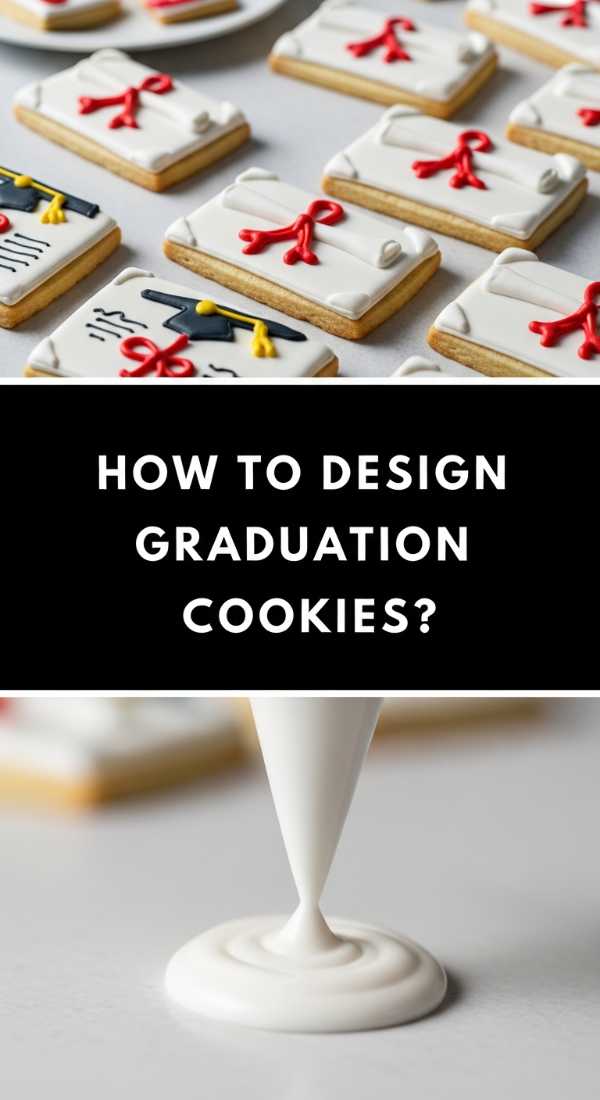
Sugar cookies are the ultimate canvas for edible art, and graduation-themed cookies allow you to personalize a food board like nothing else. We love the satisfying snap of a perfectly baked shortbread-style cookie paired with the smooth, matte finish of royal icing. The ability to pipe intricate details—like the year of graduation or the school’s mascot—makes these cookies feel like a bespoke gift. The aroma of buttery dough and sweet almond extract fills the kitchen, promising a treat that is as crisp and clean in flavor as it is in appearance.
Ingredients
- Batch of chilled sugar cookie dough
- Royal icing in multiple colors (flood and piping consistency)
- Piping bags and fine metal tips (#1 or #2)
- Edible ink markers
- Fine luster dust
How to make it
- Roll your chilled dough to a consistent 1/4 inch thickness and cut out shapes like diplomas, graduation caps, and stars. Bake at 350°F until the edges are just barely golden, then cool completely on a wire rack—icing will melt on even a slightly warm cookie.
- Outline your shapes using the ‘piping consistency’ icing (thick like toothpaste). Let the outlines dry for about 10 minutes to create a dam that will hold the thinner icing.
- Fill the centers of the cookies with ‘flood consistency’ icing (thin like honey). Use a toothpick or a scribe tool to pop any air bubbles and push the icing into the corners of the outlined areas. Let the cookies dry for at least 6-8 hours, or ideally overnight, until the surface is rock-hard.
- Once the base is dry, use your piping consistency icing to add fine details like the ‘tassel’ on the cap or the ‘ribbon’ on the diploma. This adds a beautiful 3D effect that makes the cookies pop.
- For a professional touch, mix a tiny amount of luster dust with vodka or lemon extract to create a ‘paint’ and highlight the edges of the diploma or the tassel with a fine-tipped brush for a metallic shimmer.
Baking Tips for a Classic Rhubarb Crumble
Why we love this
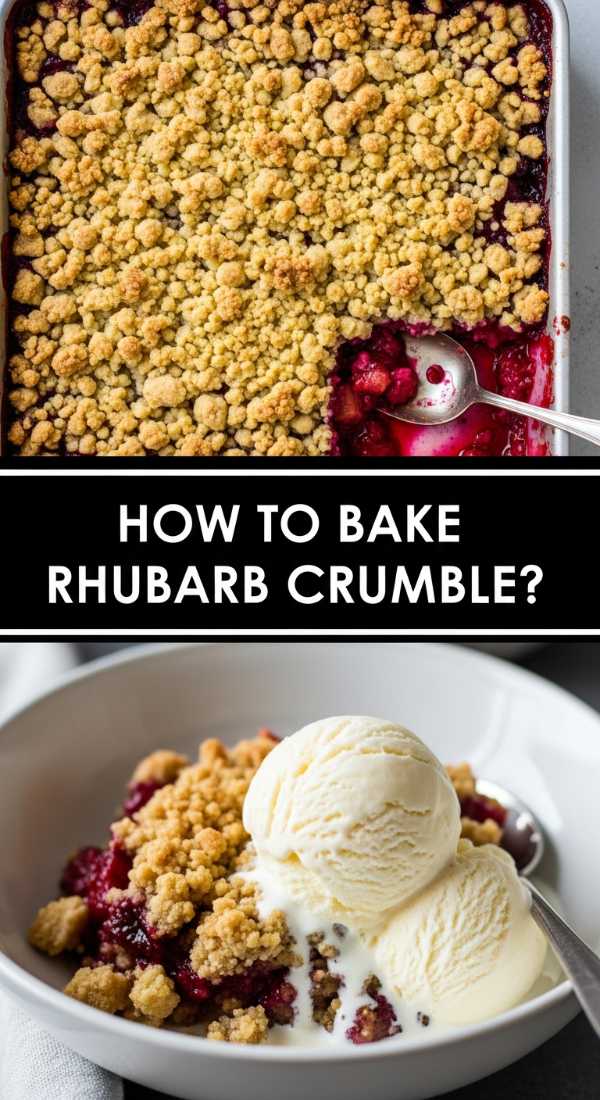
A rhubarb crumble is the ultimate low-effort, high-reward dessert that brings a rustic, cozy charm to any food spread. We love the dramatic contrast between the bubbling, molten fruit base and the golden, craggy oat topping that provides a loud, satisfying crunch. The aroma of toasted butter and cinnamon is intoxicating, filling the entire house with a scent that feels like a warm hug. It is a dish that celebrates imperfection—the way the pink juices stain the golden topping makes it look as vibrant and alive as it tastes.
Ingredients
- Filling: 6 cups chopped rhubarb, 3/4 cup sugar, 1 tbsp flour
- Topping: 1 cup all-purpose flour, 1 cup rolled oats, 1 cup brown sugar
- 1/2 cup cold unsalted butter, cubed
- 1 tsp cinnamon and a pinch of salt
How to make it
- Preheat your oven to 375°F (190°C). In a large baking dish, toss the chopped rhubarb with the granulated sugar and 1 tablespoon of flour. This small amount of flour is crucial as it binds with the rhubarb juices to create a silky sauce rather than a watery mess.
- In a separate bowl, combine the flour, oats, brown sugar, cinnamon, and salt. Add the cold, cubed butter. Using your fingertips or a pastry cutter, work the butter into the dry ingredients until the mixture resembles coarse crumbs with some pea-sized chunks of butter remaining.
- Spread the crumble mixture evenly over the rhubarb. Do not press it down; you want it to remain loose so the heat can circulate, creating those signature crunchy clusters.
- Bake for 35-45 minutes. Watch for the visual cues: the fruit juices should be vigorously bubbling at the edges of the dish, and the topping should be a deep, golden brown.
- Let the crumble rest for at least 15 minutes before serving. This cooling period is essential for the fruit base to set slightly, making it easier to scoop while still remaining warm enough to melt a scoop of vanilla bean ice cream.
Ideas for Funny Graduation Cakes
Why we love this
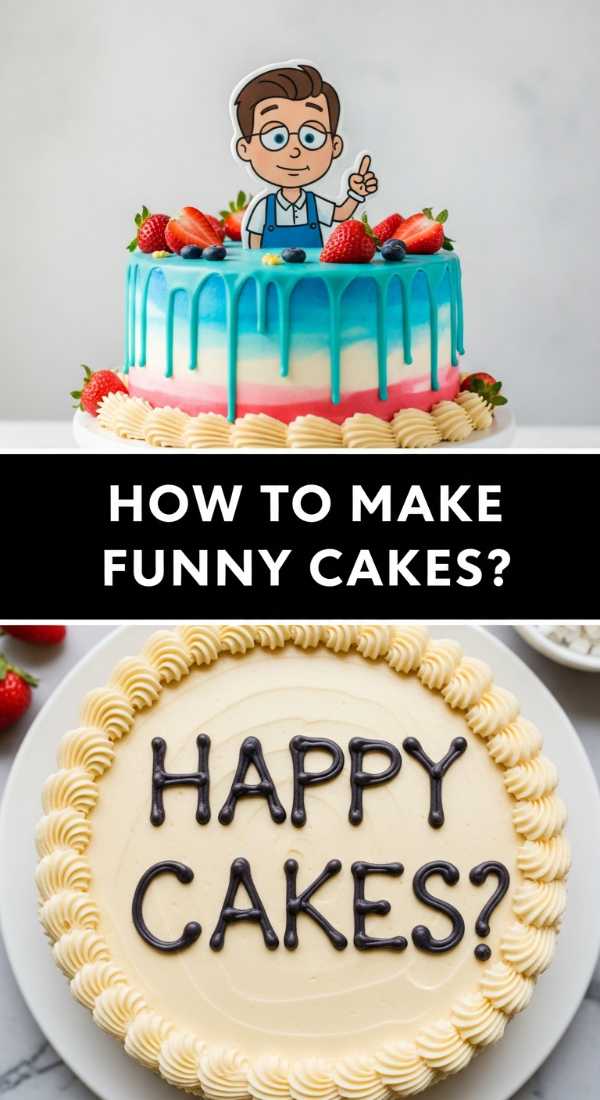
Sometimes the best way to celebrate a major accomplishment is with a healthy dose of humor. Funny graduation cakes have gone viral because they break the tension of life transitions with relatable, witty commentary. We love how a simple phrase like ‘The Tassel Was Worth the Hassle’ or ‘One Degree Hotter’ can turn a standard cake into a viral social media moment. These cakes use bold colors and playful fonts to create a vibe that is high-energy and joyful, making the celebration feel less like a formal ceremony and more like a fun, memorable party.
Ingredients
- Double-layer cake in a bold flavor (like red velvet)
- Brightly colored buttercream
- Fondant or gum paste for lettering
- Edible food markers
- Sparkler candles
How to make it
- Ice your cake with a smooth, solid color of buttercream. High-contrast colors like bright teal or electric pink work best to make the ‘funny’ text stand out in photos.
- Plan your layout on a piece of parchment paper first. If you aren’t confident in your freehand piping, you can use a clean toothpick to lightly ‘sketch’ the words into the chilled frosting before applying the actual icing.
- Pipe your message using a small round tip. For a ‘meme’ look, use blocky, all-caps lettering. If you want a more ironic, ‘fancy’ funny cake, use a very elegant script for a ridiculous phrase.
- Add ‘chaotic’ decorations like oversized sprinkles, edible glitter, or even small plastic toy figures that represent an inside joke with the graduate.
- For the final reveal, use sparkler candles instead of regular ones. The unexpected sparks and the humorous message create the perfect ‘boomerang’ or video moment for social media.
A Recipe for Fresh Summer Lemon Pesto

Why we love this
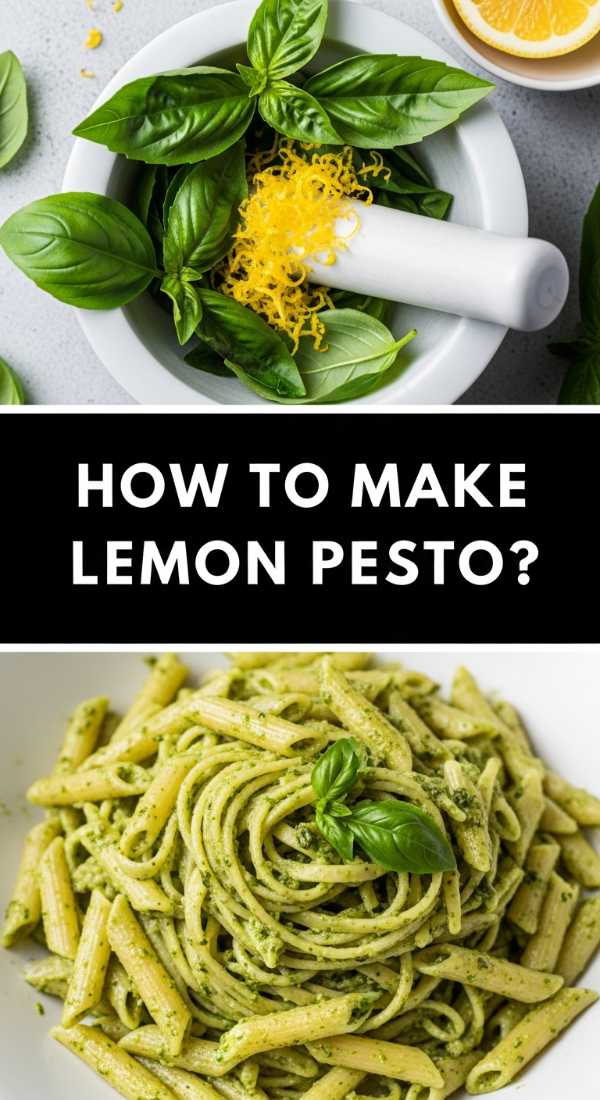
This summer lemon pesto is a game-changer for any savory board, offering a bright, herbaceous punch that cuts through rich cheeses and meats. We love its vivid emerald green color and the way the citrus zest provides an immediate, refreshing zing on the palate. The texture is intentionally rustic—coarsely ground pine nuts and Parmesan cheese provide a salty, nutty grit that clings perfectly to crusty bread or pasta. The scent of bruised basil leaves mixed with fresh lemon oil is the literal smell of a Mediterranean summer, making any meal feel like a vacation.
Ingredients
- 2 cups packed fresh basil leaves
- 1/2 cup extra virgin olive oil (high quality)
- 1/3 cup pine nuts (toasted)
- 2 garlic cloves, smashed
- 1/2 cup freshly grated Parmesan cheese
- Zest and juice of 1 large lemon
- Salt and black pepper to taste
How to make it
- Start by toasting your pine nuts in a dry pan over medium heat for 2-3 minutes. Shake the pan constantly; they transition from golden to burnt very quickly. Let them cool completely before processing to avoid ‘cooking’ the basil.
- In a food processor, pulse the basil leaves, cooled pine nuts, and smashed garlic cloves until they are coarsely chopped. Do not over-process; you want distinct tiny pieces, not a smooth puree.
- With the processor running on low, slowly drizzle in the extra virgin olive oil. This ’emulsification’ process ensures the oil and herbs stay integrated rather than separating on the plate.
- Transfer the mixture to a bowl and fold in the grated Parmesan cheese, lemon zest, and lemon juice by hand. Folding the cheese in at the end preserves its texture and prevents the pesto from becoming gummy.
- Season with salt and pepper. If not using immediately, cover the surface of the pesto with a thin film of olive oil to prevent oxidation (browning) and store in an airtight container in the fridge for up to three days.
Techniques for Fun Coffee Drinks at Home
Why we love this
The ‘Coffee Board’ is the newest darling of social media, and for good reason—it turns a morning necessity into an indulgent ritual. We love the artistry of layered drinks where dark espresso slowly bleeds into snowy white milk, creating a beautiful gradient effect. The sensory experience is unmatched: the sound of a milk frother whirring, the rich, toasted aroma of beans, and the cold, creamy weight of a perfectly crafted iced latte. It allows you to play barista in your own kitchen, creating drinks that look like they cost ten dollars for a fraction of the price.
Ingredients
- Strong brewed espresso or cold brew concentrate
- Whole milk or oat milk (for best foam)
- Flavored syrups (vanilla, lavender, or caramel)
- Heavy cream (for cold foam)
- Ice cubes (extra points for coffee-shaped ice)
How to make it
- For a layered iced latte, fill a tall glass with ice. Pour in your milk of choice until the glass is 3/4 full. If you want a sweetened drink, stir your syrup into the milk at this stage so it dissolves evenly.
- Slowly pour 2 shots of espresso directly over one of the ice cubes. The ice cube breaks the fall of the liquid, allowing the espresso to sit on top of the milk rather than mixing immediately, creating that viral ‘layered’ look.
- To make ‘Vanilla Cold Foam,’ whisk 2 tablespoons of heavy cream, 1 tablespoon of milk, and a pump of syrup in a small glass using a handheld milk frother. Froth for about 30 seconds until the mixture is thick, glossy, and holds soft peaks.
- Gently spoon the cold foam over the top of your drink. It should sit like a cloud on top of the espresso layer.
- Finish with a garnish that matches the flavor profile—a sprinkle of cinnamon, a piece of dried lavender, or a drizzle of caramel sauce—to make the drink truly ‘grid-worthy.’
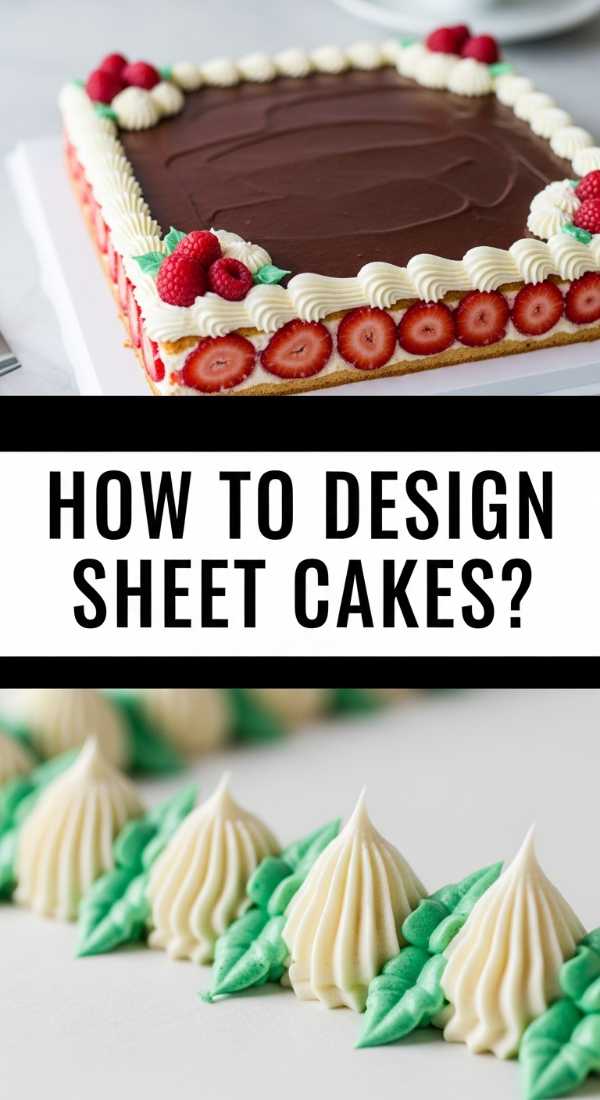
Guide to Graduation Sheet Cake Designs
[IMAGE_10]
Why we love this
Sheet cakes are making a massive comeback because they are the ultimate ‘community’ food. We love a well-designed sheet cake because it offers a large, flat canvas that is perfect for storytelling. Whether it’s a ‘photo transfer’ of the graduate’s journey or a sophisticated floral border, sheet cakes are nostalgic and unpretentious. The cake is incredibly moist because it’s baked in one large slab, and the high ratio of frosting to cake in every square slice ensures a sweet, satisfying bite every time. It’s the quintessential party food that brings everyone together for a shared moment of celebration.
Ingredients
- 1 large 13×18 inch sheet cake
- Double batch of crusting buttercream
- Piping bags with various tips (star, leaf, and round)
- Edible pearls or sprinkles
- Cardstock cake bunting or custom toppers
How to make it
- Once your sheet cake is completely cool, level the top with a large serrated knife if there is a significant dome. This ensures your decorations don’t slide and the cake looks professional.
- Apply a generous ‘base coat’ of buttercream. Use a large offset spatula to push the frosting to the edges, then use a long bench scraper to smooth the entire surface in one or two long passes to avoid ‘seams’ in the icing.
- Create a ‘border’ to frame the cake. A shell border using a star tip (#1M) is classic and hides the edges of the cake beautifully. Keep your pressure consistent as you pipe to ensure all the ‘shells’ are the same size.
- For the central design, use a ‘stipple’ technique with a small round tip to create a ‘chalkboard’ effect, or use a palette knife to create ‘textured’ buttercream flowers that look like an oil painting.
- Add your text in the center. If you are nervous about writing, you can use letter stamps (cleaned and food-safe) to lightly indent the frosting, then simply ‘trace’ the indentations with your piping bag. Finish with a light dusting of edible pearls for a sophisticated touch.
Conclusion
Creating these viral-inspired food boards and treats is more than just a kitchen project; it is a way to celebrate the milestones, big and small, that make life beautiful. From the tart pop of a rhubarb pie to the witty charm of a graduation cake, these recipes are designed to be shared, photographed, and most importantly, enjoyed. So, grab your apron, put on your favorite playlist, and start building your next masterpiece. Your friends, family, and your social media feed will thank you!