
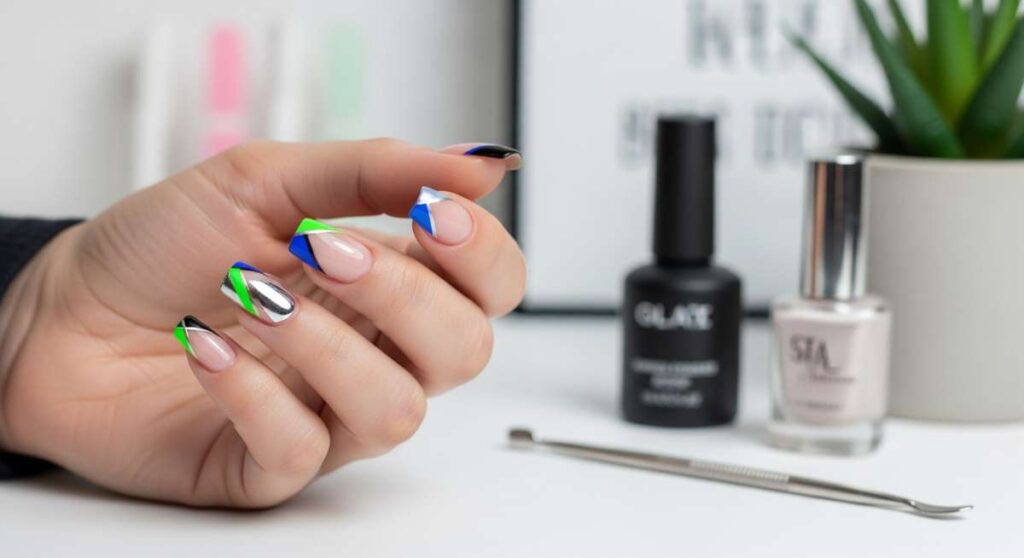
Beyond the White Tip: Deconstructing the New Rules of French Nail Art
Hello, my loves. Pull up a chair, wrap yourself in your softest cardigan, and let’s talk about something that feels like a gentle hug for your hands. There is something so incredibly grounding about the ritual of painting our nails—the quiet focus, the steady breath, and that moment of pure magic when the final top coat catches the light. For a long time, we thought the French manicure was a relic of the past, a stiff white smile on a pink bed. But darlings, it has evolved into something so much more soulful and expressive.
Lately, I’ve been finding so much joy in deconstructing the classic. We’re moving beyond the rigid rules and embracing thin lines, layered colors, and delicate lace patterns that feel like a whisper of elegance on your fingertips. It’s not just about the aesthetic; it’s about that soft confidence you feel when you catch a glimpse of your hands while typing or holding a warm mug of tea. Today, I want to walk you through a masterclass in this new era of French nail art—a collection of gentle techniques to help you create a masterpiece right at your kitchen table.
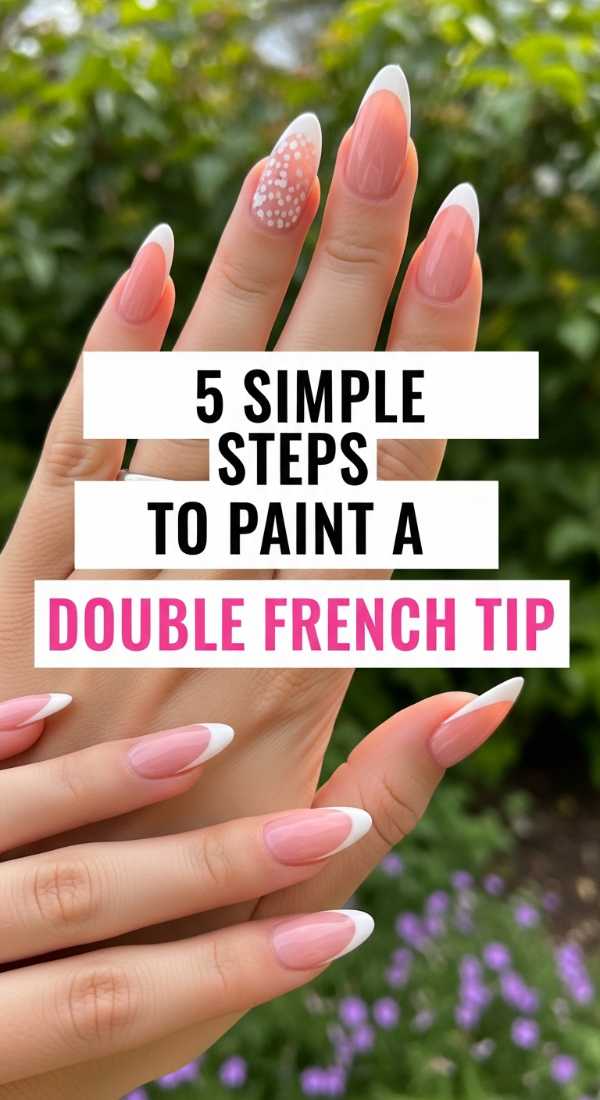
The Symmetry of the Double French Tip
Why to love these Nails:
There is a rhythmic harmony to the double French tip that I just adore. It’s like a soft echo on your nails, adding a touch of modern architectural interest while remaining completely sophisticated. It elongates the nail bed beautifully and allows for a playful yet subtle contrast between two complementary shades.
Essential Items:
- Sheer nude base polish
- Two contrasting linear polishes
- Fine-tipped detailing brush
- Cleanup brush dipped in acetone
How to Prepare:
- Apply a thin, even layer of your favorite sheer nude base and let it dry completely.
- Using your detail brush, paint the first thin arc at the very edge of your nail.
- Move down about 2 millimeters and paint a second, parallel arc following the same curve.
- Tidy up any wobbles with your cleanup brush for a crisp finish.
- Seal the look with a high-shine top coat to marry the layers together.
Budget Range
- Essie Skinny Dip ($9.00)
- Holler and Glow Detail Brushes ($5.00)
- Sally Hansen Insta-Dri White ($6.00)
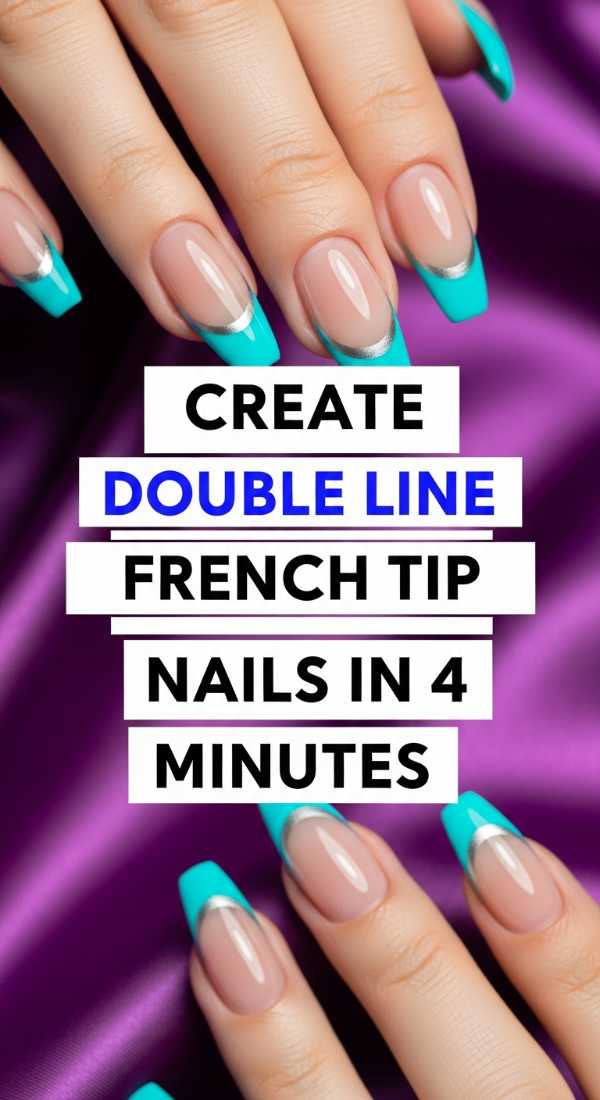
The Four-Minute Double Line Dream
Why to love these Nails:
We all have those mornings where we want to feel polished but only have a heartbeat to spare. This technique is for the busy souls who still crave a touch of luxury. It’s quick, efficient, and looks like you spent an hour at the salon when it only took the length of your favorite song.
Essential Items:
- Quick-dry base coat
- Precision striping polish
- Fast-setting glossy top coat
How to Prepare:
- Swipe on a quick-dry base and wait 60 seconds.
- In one fluid motion, drag the striping brush across the tip.
- Immediately follow with a second line right underneath it.
- Apply your fast-set top coat and you are ready to conquer the world.
Budget Range
- Orly Bonder Base ($12.00)
- Nailtopia Striping Lacquer ($10.00)
- Seche Vite Dry Fast Top Coat ($9.00)
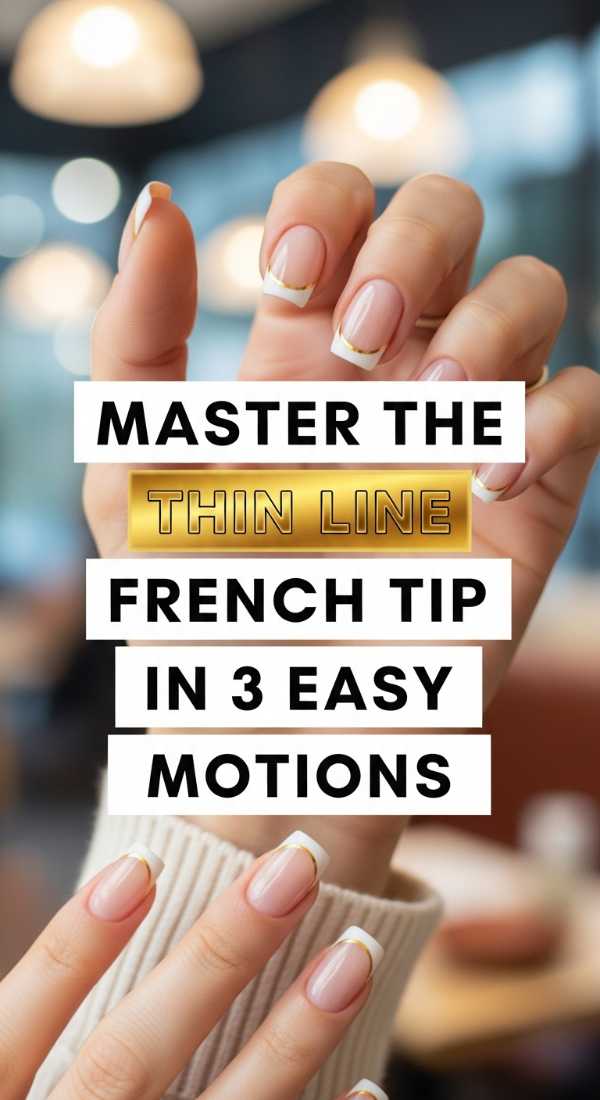
Minimalist Whispers: The Thin Line Masterclass
Why to love these Nails:
Sometimes, the quietest statements are the loudest. The thin line French tip is the epitome of ‘quiet luxury.’ It’s barely there, like a fine silk thread, providing a delicate frame for your natural nails that feels incredibly high-fashion and intentional.
Essential Items:
- Long-hair detail brush
- Highly pigmented cream polish
- Matte or gloss top coat
How to Prepare:
- Anchor your pinky finger on a flat surface to steady your hand and place the brush at the outer corner.
- Glide the brush toward the center in one smooth, sweeping motion.
- Repeat from the other side to meet in the middle, creating a seamless, razor-thin edge.
Budget Range
- Zoya Naked Manicure ($12.00)
- Winstonia Super Fine Nail Art Brush ($7.00)
- OPI Alpine Snow ($11.00)
Romantic Intricacy: The Lace French Tip
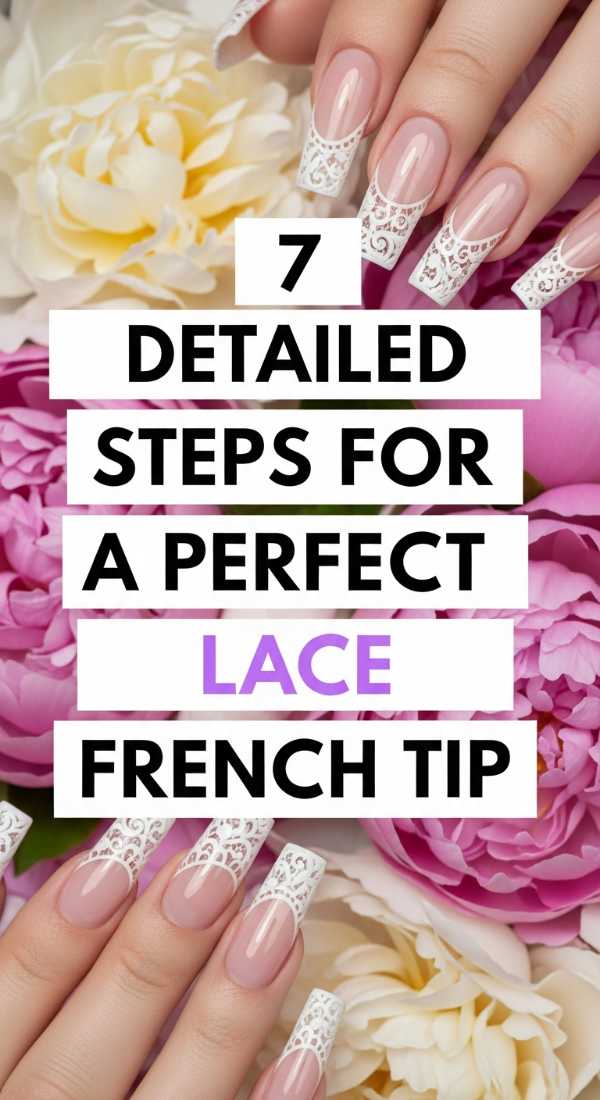
Why to love these Nails:
For the dreamers and the poets, the lace French tip is a love letter to vintage craftsmanship. It turns your nails into a canvas of delicate patterns, reminiscent of heirloom linens and soft morning light. It’s more than a manicure; it’s a tiny piece of wearable art.
Essential Items:
- Milky white polish
- Ultra-fine liner brush
- Dotting tool
- Patience and a deep breath
How to Prepare:
- Start with a milky, semi-translucent base for that soft, ethereal glow.
- Paint a slightly thicker-than-usual white French tip as your foundation.
- Using your liner brush, draw tiny semi-circles (scallops) along the inner edge of the tip.
- Use the dotting tool to place a microscopic dot in the center of each scallop.
- Add tiny ‘thread’ lines connecting the dots to the edge.
- Softly fill in any gaps with thin diagonal criss-crosses.
- Finish with a soft-focus top coat to blur the lines slightly for a realistic fabric look.
Budget Range
- Cirque Colors Chiffon ($13.00)
- Dotting Tool Set from Amazon ($6.00)
- Lights Lacquer Paper Snow ($13.00)
The 60-Second Straight Line Revolution
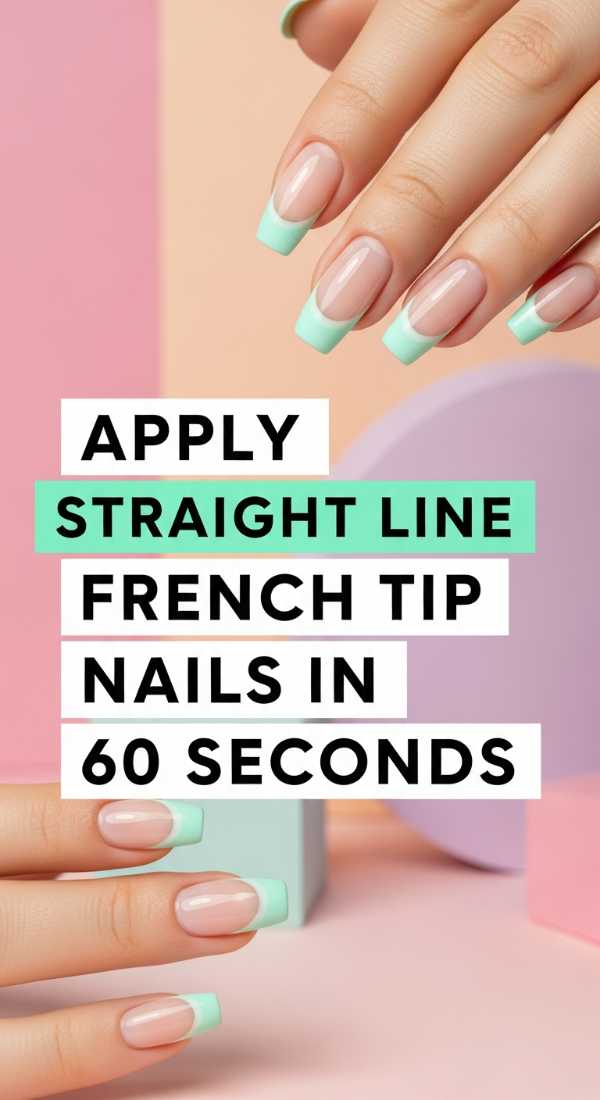
Why to love these Nails:
If you love a clean, geometric aesthetic, the straight line French is your new best friend. It breaks the traditional curve in favor of a bold, modern horizontal edge. It’s incredibly striking on square or squoval nail shapes and takes almost no time to execute.
Essential Items:
- Washi tape or nail guide stickers
- Contrast color polish
- Tweezer
How to Prepare:
- Place a strip of washi tape horizontally across the nail, leaving only the tip exposed.
- Press down firmly to ensure no polish leaks underneath.
- Paint the exposed tip with your chosen color.
- Peel the tape away immediately while the polish is still wet for the sharpest line possible.
Budget Range
- MT Washi Tape ($3.00)
- Olive & June ‘OJSM’ Polish ($9.00)
- Tweezerman Tweezers ($12.00)
Artistic Precision: The Two-Stroke Line
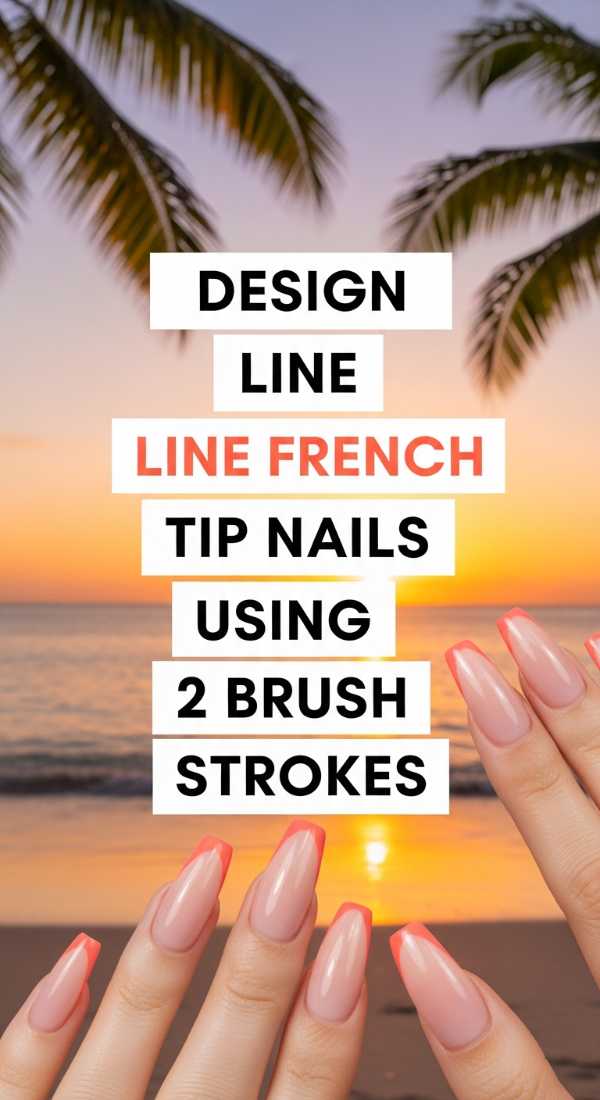
Why to love these Nails:
This method is all about the flow of movement. By limiting yourself to just two strokes, you avoid the ‘over-worked’ look and achieve a fresh, painterly finish. It feels effortless and cool, like a brushstroke on a gallery wall.
Essential Items:
- Flat-edged nail art brush
- Fluid acrylic nail paint or polish
How to Prepare:
- Load only the corner of your flat brush with polish.
- Sweep from the left sidewall to the center, then from the right sidewall to the center, overlapping slightly for a perfect point.
Budget Range
- Holo Taco One-Coat Black ($13.00)
- Princeton Velvetouch Flat Brush ($8.00)
Depth and Dimension: The Layered Double Line
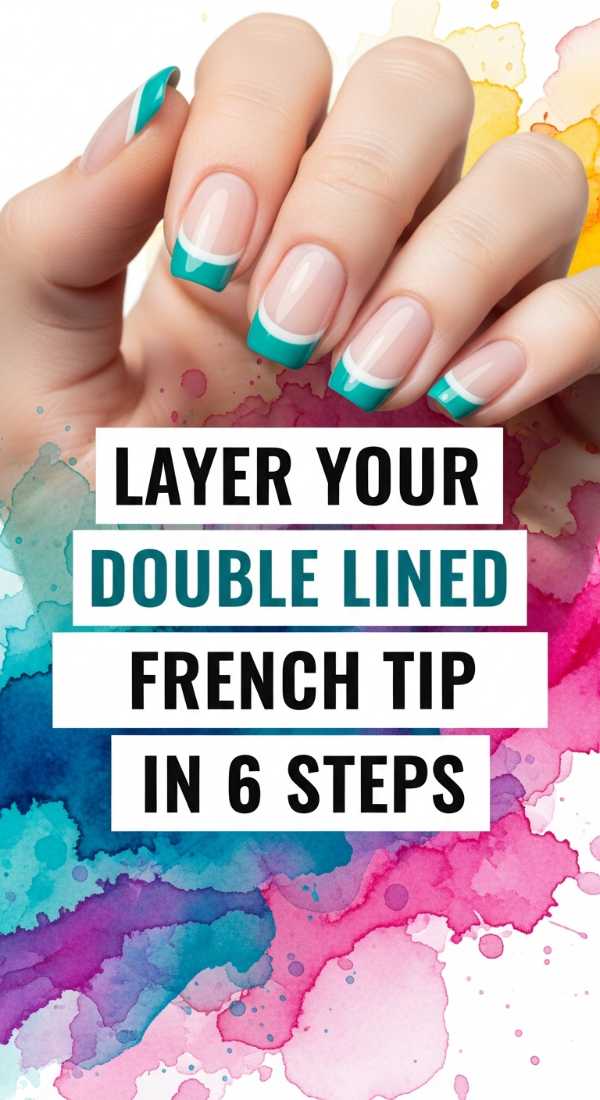
Why to love these Nails:
Why have one line when you can have two in different textures? This look creates a 3D effect that catches the light beautifully. I love mixing a matte line with a metallic one—it’s like jewelry for your nails.
Essential Items:
- Matte polish
- Metallic chrome polish
- Separation guides
How to Prepare:
- Apply your base and a matte top coat.
- Place a guide to expose the very tip and paint it with the metallic shade.
- Wait for it to dry and move the guide slightly lower.
- Paint a second line using the matte shade.
- Carefully remove the guide.
- Apply a top coat only to the metallic part using a tiny brush to keep the contrast alive.
Budget Range
- OPI Matte Top Coat ($11.00)
- Essie Enamel in ‘Penny Talk’ ($9.00)
The Color Curator: 3-Tone Double Lines
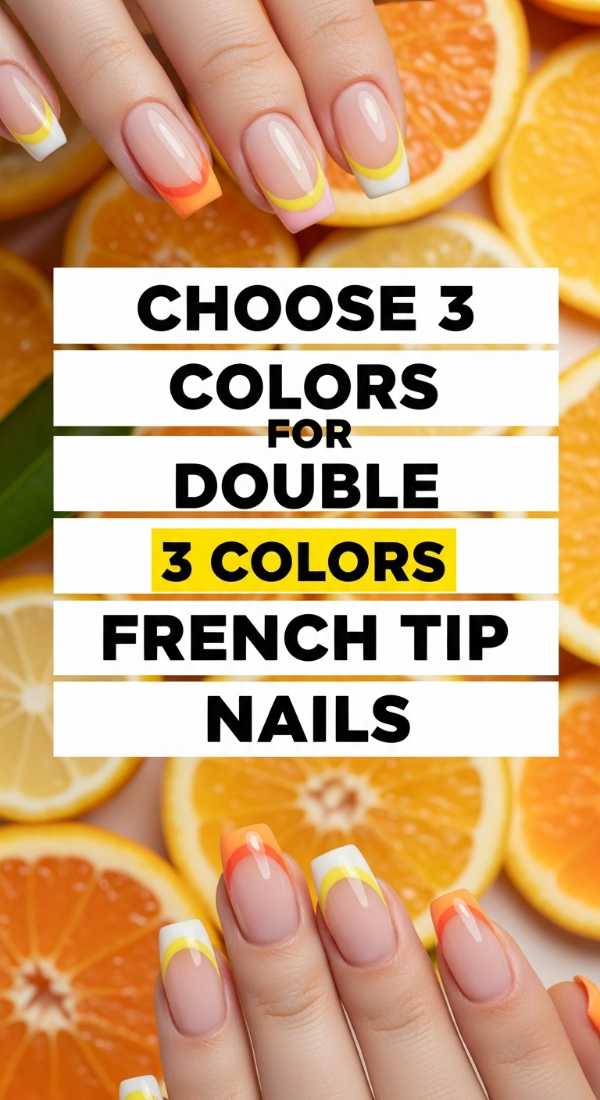
Why to love these Nails:
This is where your personality really shines through, loves. Choosing three colors—perhaps a gradient of blues or a sunset palette—allows you to tell a story. It’s playful, vibrant, and looks stunning in photos.
Essential Items:
- Three coordinating polish shades
- Striping tape
How to Prepare:
- Choose your three colors: a dark, a medium, and a light.
- Apply the lightest shade to the entire tip.
- Once dry, use striping tape to mask off the top half of the tip and apply the medium shade.
- Repeat for the final darkest sliver at the very edge.
Budget Range
- Nails Inc. Quad Kits ($25.00)
- Amazon Nail Striping Tape ($5.00)
The Minimalist Tool: Single-Tool Thin Lines
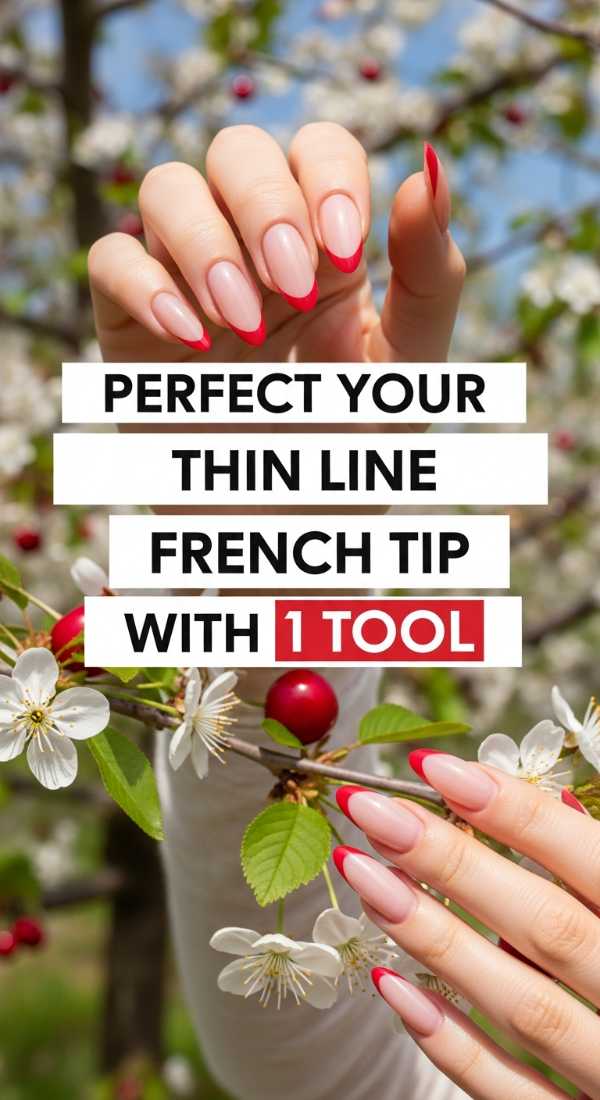
Why to love these Nails:
You don’t need a kit full of brushes to achieve perfection. Using just one specific tool—a silicone nail stamper—can give you the thinnest, most even French line you’ve ever seen. It’s a total game-changer for beginners!
Essential Items:
- Clear silicone nail stamper
- Richly pigmented polish
How to Prepare:
- Paint a thin layer of polish directly onto the silicone head of the stamper.
- Gently press your nail tip into the silicone at a 45-degree angle. The stamper will wrap the polish around the edge in a perfect thin line.
Budget Range
- What Up Nails Silicone Stamper ($9.00)
- Maniology Stamping Polish ($8.00)
The Grand Finale: 5 Phases of Elegant Lace
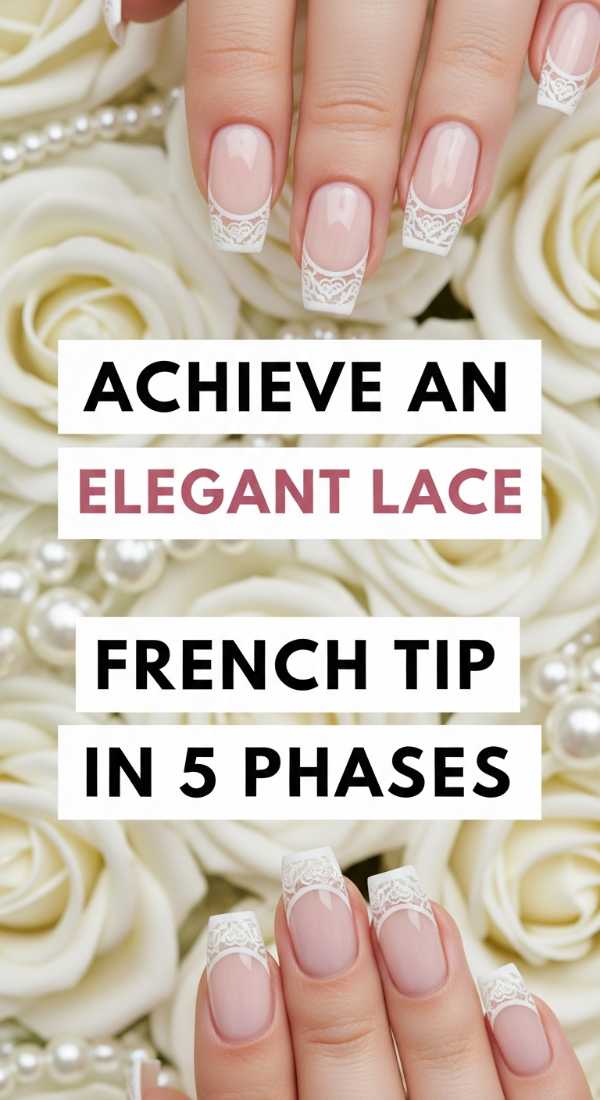
Why to love these Nails:
This is the masterclass of all masterclasses. By breaking the lace design into phases, it becomes approachable. It looks like couture lace but is built through simple, meditative steps. It’s the ultimate self-care project.
Essential Items:
- Fine liner brush
- Cream polish
- Steady hand
How to Prepare:
- Phase 1: The Foundation. Paint a traditional curved French tip.
- Phase 2: The Lattice. Draw tiny diagonal lines across the white tip.
- Phase 3: The Cross-Hatch. Draw diagonal lines in the opposite direction to create a mesh.
- Phase 4: The Scallop. Add small rounded bumps to the inner edge.
- Phase 5: The Embellishment. Add tiny dots at the intersections of your mesh for a ‘beaded’ lace effect.
Budget Range
- Bio Seaweed Gel Polish ($15.00)
- Berry Wine Detail Brush ($12.00)
Embracing the Beauty in Every Stroke
As you finish your last nail and let them dry, I hope you feel a sense of calm and pride. Nail art isn’t about being a professional; it’s about taking twenty minutes out of a loud, busy world to focus on something small and beautiful just for yourself. These new rules of French nail art aren’t really rules at all—they are invitations to play, to experiment, and to treat your hands with the love they deserve. Whether you chose a single thin line or a complex lace pattern, know that your hands are beautiful because they are yours. Until next time, stay soft and keep shining.