

Why This 3-Ingredient Food Board Is Going Viral Right Now
There is something almost magical about the way a few simple, high-quality ingredients can transform a regular Tuesday afternoon into a moment of pure, unadulterated luxury. Lately, my social media feeds have been exploding with a specific, minimalist food board that focuses on three pillars: creamy goat cheese, golden raw honey, and—the star of the show—freshen-from-the-garden herbs. It is a trend that celebrates the ‘slow living’ movement, proving that you don’t need a pantry full of exotic imports to create a masterpiece that tastes like a summer breeze.
The reason this board is capturing hearts everywhere isn’t just about the flavor profile—though the contrast of tangy cheese with floral honey is divine—it’s about the connection to the earth. When you snip a sprig of rosemary or a leaf of basil that you grew yourself, the aromatic oils are at their peak, elevating a simple snack into a sensory experience. It’s about the tactile joy of gardening meeting the culinary joy of hosting, creating a lifestyle that feels both grounded and incredibly chic.
Whether you have a sprawling backyard or a tiny windowsill in a city apartment, the secret to mastering this viral board lies in your ability to cultivate your own flavors. Join me as we dive into the best ways to bring that ‘farm-to-board’ aesthetic into your home, ensuring you always have the freshest ingredients at your fingertips for your next gathering.
How to Build a DIY Herb Planter for Fresh Home Cooking

Why we love this
There is a profound sense of satisfaction that comes from running your fingers over the rough grain of hand-built cedar and smelling the deep, earthy scent of damp potting soil. A custom DIY planter allows you to control the environment of your culinary staples, ensuring that every leaf of oregano or sprig of thyme is bursting with essential oils that store-bought versions simply lack. Imagine the velvet texture of sage leaves under your thumb as you harvest them for your viral food board, adding a layer of home-grown soul to your cooking that guests can truly taste.
Essential Elements:
- Untreated Cedar or Redwood boards (resistant to rot)
- Galvanized wood screws
- Electric drill and specialized wood bits
- Landscape fabric for lining
- Premium organic potting mix
- Assorted herb starts (Rosemary, Thyme, Parsley)
How to make it
- Measure and cut your cedar boards into four equal sides for the frame and one base board, ensuring you use a speed square for perfectly 90-degree corners.
- Using a 1/8-inch drill bit, pre-drill pilot holes at the ends of your side boards to prevent the wood from splitting when you drive the screws in.
- Assemble the frame by driving 2-inch galvanized screws through the pilot holes, creating a sturdy box, then attach the base board with similar spacing.
- Drill five to six 1/2-inch drainage holes into the bottom board; this is critical to prevent root rot by allowing excess water to escape freely.
- Line the interior with landscape fabric, stapling it to the sides, which keeps the soil in place while letting the water filter through efficiently.
- Fill the planter with high-quality organic potting soil, leaving two inches of space at the top to prevent overflow during watering, and gently transplant your herbs by loosening their root balls before tucking them into their new home.
How to Create an Indoor Herb Garden for Sustainable Kitchen Living

Why we love this
An indoor herb garden brings a vibrant, living energy into the heart of the home, turning a sterile kitchen counter into a lush, aromatic sanctuary. The air feels cleaner, and the scent of fresh mint or cilantro wafting through the room provides a natural aromatherapy that calms the mind during a busy day of meal prep. There is a specific visual beauty in seeing glass jars or ceramic pots lined up against a sun-drenched backsplash, reminding us that sustainability can be both functional and breathtakingly aesthetic.
Essential Elements:
- Set of uniform ceramic or glass pots
- Pebbles or perlite for drainage layers
- High-intensity LED grow lights (if window light is low)
- Slow-release organic fertilizer spikes
- Distilled water or a filtered watering can
- Herb seeds or small nursery plants
How to make it
- Select a location that receives at least six to eight hours of bright, indirect sunlight daily; a south-facing window is usually the gold standard for indoor growth.
- Place a one-inch layer of small pebbles at the bottom of each pot if they lack drainage holes; this creates a reservoir where excess water can sit without drowning the delicate roots.
- Fill the pots with a lightweight indoor potting mix specifically formulated to prevent compaction and provide the airy structure herbs like basil and chives crave.
- Plant your seeds at the depth specified on the packet—usually 1/4 inch—and mist the soil surface with a spray bottle to ensure even moisture without washing the seeds away.
- If using grow lights, position them approximately 6 to 12 inches above the plants and set a timer for 12 hours of light to mimic a natural summer day.
- Water only when the top inch of soil feels dry to the touch, and rotate the pots every few days so the plants grow straight and even rather than leaning toward the light source.
How to Design a Wall Herb Display for Small Space Gardening

Why we love this
Vertical gardening is the ultimate solution for the modern urbanite, turning a blank wall into a cascading tapestry of edible greenery that saves precious floor space. The sight of trailing rosemary and bushy parsley hanging at eye level creates a ‘living art’ installation that is as practical as it is stunning to look at. It transforms the act of cooking into a curated experience, where you can reach out and pluck the perfect garnish directly from your wall, feeling like a professional chef in a high-end bistro.
Essential Elements:
- Wall-mounted rail system or wooden trellis
- Hanging metal or plastic planters with hooks
- Heavy-duty wall anchors and a level
- Lightweight potting medium (coco coir based)
- Moisture-retentive crystals
- Trailing herb varieties (Creeping Thyme, Trailing Rosemary)
How to make it
- Use a stud finder to locate the structural supports in your wall, then mark the positions for your rail system using a bubble level to ensure a perfectly straight installation.
- Secure the mounting brackets using heavy-duty wall anchors that can support the weight of wet soil, which is significantly heavier than dry soil.
- Mix moisture-retentive crystals into a coco-coir based potting medium; this ensures that smaller wall pots don’t dry out too quickly in the indoor air.
- Pot your trailing herbs into the hanging containers, ensuring the ‘crown’ of the plant is level with the soil surface to prevent stem rot.
- Hook the containers onto the rail system, staggering the heights to allow for optimal air circulation and light penetration for the plants on the lower tiers.
- Implement a ‘drip tray’ strategy or use self-watering pots to prevent water from dripping onto your floors when you hydrate your vertical garden.
How to Plan an Herb Garden Design for a Lush Backyard Oasis
Why we love this
Walking into a well-planned backyard herb garden feels like stepping into a Mediterranean dream, where the air is thick with the resinous scent of sun-baked lavender and sage. The visual harmony of structured paths combined with the wild, overflowing textures of mature herb bushes creates a sense of peaceful abundance that invites you to linger. It is the perfect backdrop for an outdoor dinner party where the viral food board takes center stage, surrounded by the very plants that provided its garnish.
Essential Elements:
- Gravel or stone pavers for pathways
- Raised garden bed kits or stone borders
- Mulch (straw or wood chips)
- Drip irrigation system components
- Companion plants (like Marigolds to deter pests)
- Large-scale herb perennials (Sage, Lavender, Rosemary bushes)
How to make it
- Map out your garden plot in a sunny location, drawing a layout that includes central access paths so you can reach every plant without compacting the soil with your footsteps.
- Clear the area of grass and weeds, then lay down a thick layer of cardboard to act as a biodegradable weed barrier before building your raised beds or borders on top.
- Fill the garden beds with a mix of 60% topsoil, 30% high-quality compost, and 10% perlite to create the rich, loamy environment that herbs need to produce high levels of flavorful oils.
- Install a drip irrigation system with emitters placed at the base of each plant; this delivers water directly to the roots and keeps the foliage dry, which prevents fungal diseases.
- Space your plants according to their mature size—giving a rosemary bush at least three feet of width—to ensure they don’t crowd each other out as they grow over the seasons.
- Apply a two-inch layer of organic mulch around the plants to regulate soil temperature and retain moisture during the heat of the afternoon sun.
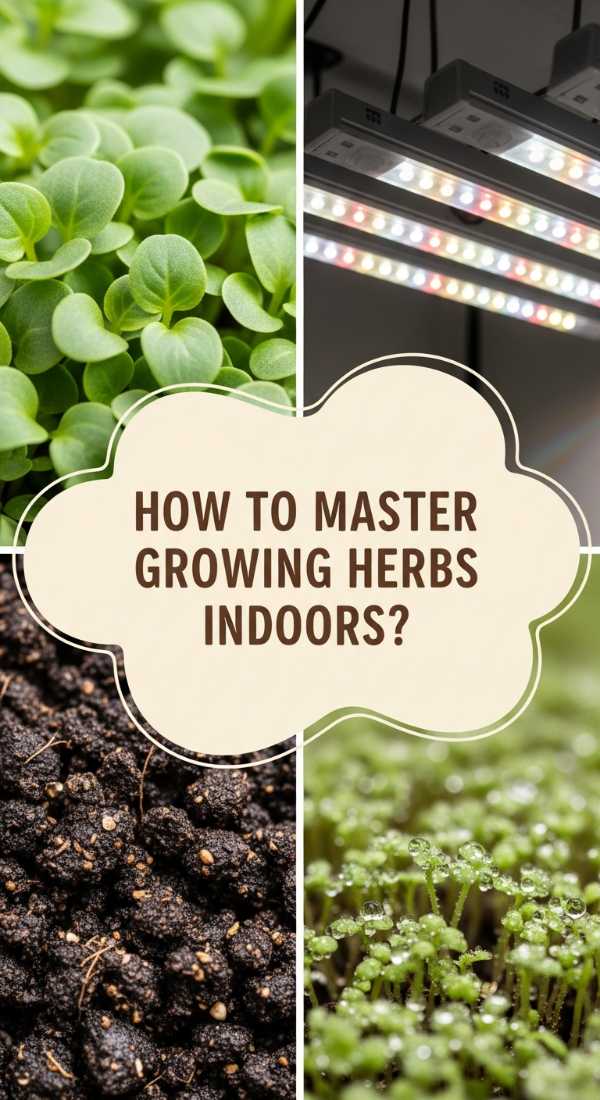
How to Master Growing Herbs Indoors for Year-Round Freshness
Why we love this
There is nothing quite like the luxury of harvesting fresh basil in the dead of winter, its peppery aroma cutting through the cold like a memory of July. Mastering the indoor environment means you are no longer at the mercy of the seasons, allowing your viral food boards to maintain their vibrant, green appeal even when the ground outside is frozen. It creates a rhythmic, nurturing habit in your daily life, where checking on your little green friends becomes a meditative ritual that rewards you with incredible flavor.
Essential Elements:
- Humidity tray or small room humidifier
- Liquid organic seaweed fertilizer
- Oscillating fan for air movement
- Small pruning shears or sharp scissors
- Clean, sterilized potting soil
- A thermometer/hygrometer sensor
How to make it
- Monitor the temperature and humidity of your indoor space; herbs generally thrive between 65-75°F with a humidity level of around 50%.
- Set up a small oscillating fan on a low setting nearby to provide gentle air movement; this strengthens the plant stems and prevents the stagnant air that leads to mold and pest issues.
- Prune your herbs regularly by cutting just above a leaf node; this ‘pinching’ technique encourages the plant to branch out and become bushy rather than tall and spindly.
- Feed your herbs every two weeks during the growing season with a half-strength dilution of liquid seaweed fertilizer to provide essential micronutrients without burning the roots.
- If the air in your home is dry due to winter heating, place the pots on a tray filled with pebbles and water, ensuring the bottom of the pot stays above the water line to increase local humidity.
- Check the undersides of leaves weekly for signs of common indoor pests like spider mites or aphids, treating any issues immediately with a gentle spray of diluted neem oil.
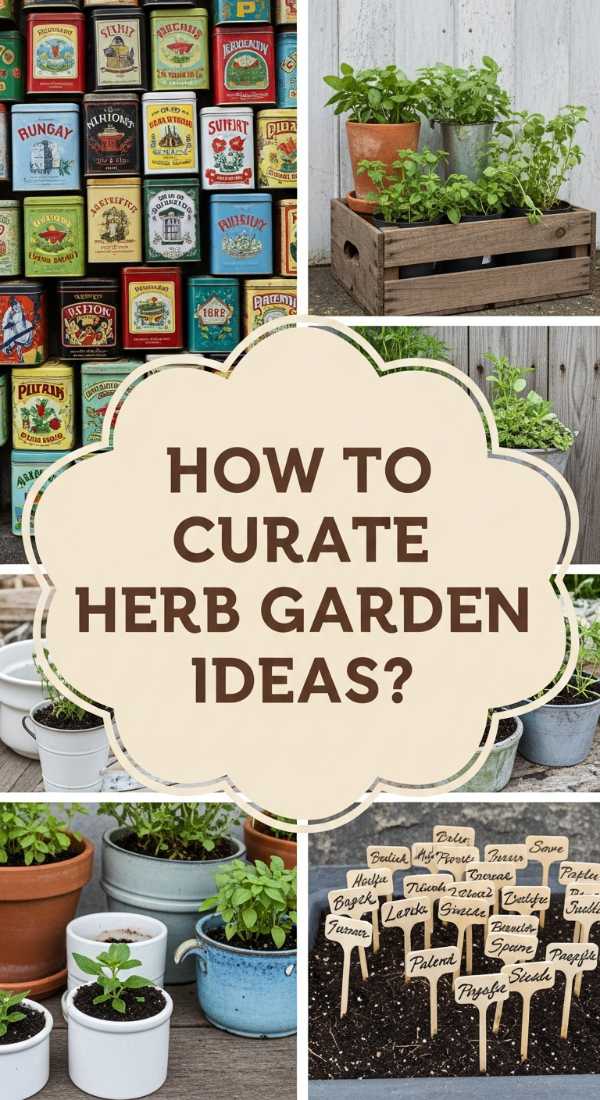
How to Curate Herb Garden Ideas for a Charming Cottage Aesthetic

Why we love this
The cottagecore aesthetic is all about a beautiful, functional mess—where herbs mingle with wildflowers in a soft, romantic haze of color and scent. This style of herb gardening feels timeless and soulful, using weathered terracotta, antique crates, and rustic stones to house a variety of sprawling plants. It’s the perfect way to display the herbs for your 3-ingredient board, making the preparation feel like a scene from a classic novel where everything is gathered by hand in a wicker basket.
Essential Elements:
- Aged terracotta pots (with natural moss or lime wash)
- Vintage wooden crates or galvanized buckets
- Wrought iron plant stands
- Flowering herbs (Chives with purple pom-poms, Pineapple Sage)
- Pea gravel or old brick for flooring
How to make it
- Select a variety of mismatched containers that share a common thread, such as natural materials or a specific color palette, to create that curated ‘found’ look.
- Plant flowering herbs like chives, borage, and lavender alongside traditional culinary staples to add pops of color and attract beneficial pollinators to your cottage corner.
- Use ‘pot feet’ or bricks to elevate your containers; this not only adds visual interest through varying heights but also improves drainage and prevents staining on your patio or deck.
- Tuck small decorative elements, like a weather-beaten birdhouse or an antique watering can, among the plants to enhance the whimsical, lived-in feel of the garden.
- Encourage some herbs to ‘bolt’ or flower naturally toward the end of the season; the blossoms of cilantro and dill are incredibly delicate and look stunning as a garnish on a food board.
- Arrange the pots in clusters rather than straight lines to mimic the way plants grow in the wild, creating a soft, undulating border of texture and scent.
How to Start a DIY Herb Garden for Total Plant Parent Joy

Why we love this
There is a unique kind of pride that comes from being a ‘plant parent,’ watching a tiny, fragile seed transform into a robust, fragrant plant under your care. This journey from sprout to harvest is deeply rewarding, offering a tangible connection to the food on your plate and the boards you serve to friends. The vibrant green of a healthy herb plant is a living testament to your patience and nurturing, providing a constant source of joy and a beautiful, living decor element for your home.
Essential Elements:
- Seed starting trays with transparent lids
- Heat mat for seed germination
- High-quality seed starting mix (soil-less)
- Labeled garden markers
- Spray bottle for gentle misting
- Enthusiasm and patience!
How to make it
- Start your seeds indoors 6-8 weeks before the last frost, using a sterile seed-starting mix that is light enough for tiny roots to penetrate easily.
- Place your seed trays on a germination heat mat set to approximately 70°F; the bottom heat speeds up the process significantly and ensures a higher success rate.
- Keep the clear lid on the tray until the first signs of green appear to maintain a high-humidity environment, then remove it immediately to allow for air circulation.
- Once the ‘true leaves’ (the second set of leaves) appear, begin a light fertilization routine and move the seedlings to a bright window or under grow lights.
- ‘Harden off’ your young plants by taking them outside for an hour a day, gradually increasing the time over a week to acclimate them to the wind and sun before permanent planting.
- Celebrate each milestone—the first sprout, the first harvest, the first meal—by documenting the growth, which builds your confidence and skill as a gardener.
How to Style an Indoor Herb Garden DIY for Elegant Home Decor
Why we love this
An herb garden doesn’t have to look like a science experiment; it can be a sophisticated design feature that enhances your home’s elegance. Imagine sleek marble pots, minimalist glass vessels, or matte black containers holding lush, vibrant greens against a clean, modern backdrop. This approach to gardening treats the plants as high-end decor, blending the organic beauty of nature with the refined lines of contemporary interior design, making your kitchen feel like a page out of a luxury magazine.
Essential Elements:
- Coordinated designer pots (Marble, Concrete, or Matte Ceramic)
- Uniform labels with minimalist typography
- Gold or brass watering can for display
- Clean-lined shelving or a dedicated herb bar
- Top-dressing stones (like white quartz or black river rock)
How to make it
- Choose a specific design theme for your containers that complements your existing furniture—for example, white marble pots for a light, airy kitchen or dark concrete for an industrial look.
- Use a top-dressing of small, uniform stones over the soil surface; this hides the brown dirt, retains moisture, and creates a polished, professional finish.
- Group your herbs by leaf shape and color—placing the feathery texture of dill next to the broad, glossy leaves of basil—to create a visually dynamic arrangement.
- Install dedicated ‘picture lighting’ or sleek LED bars above the herb shelf to highlight the plants as a focal point of the room during the evening hours.
- Maintain a strict pruning schedule to keep the plants looking manicured and intentional, preventing them from becoming ‘leggy’ or overgrown.
- Incorporate high-quality gardening tools into the display, such as a designer misting bottle or brass snips, so the utility of the garden becomes part of the aesthetic.
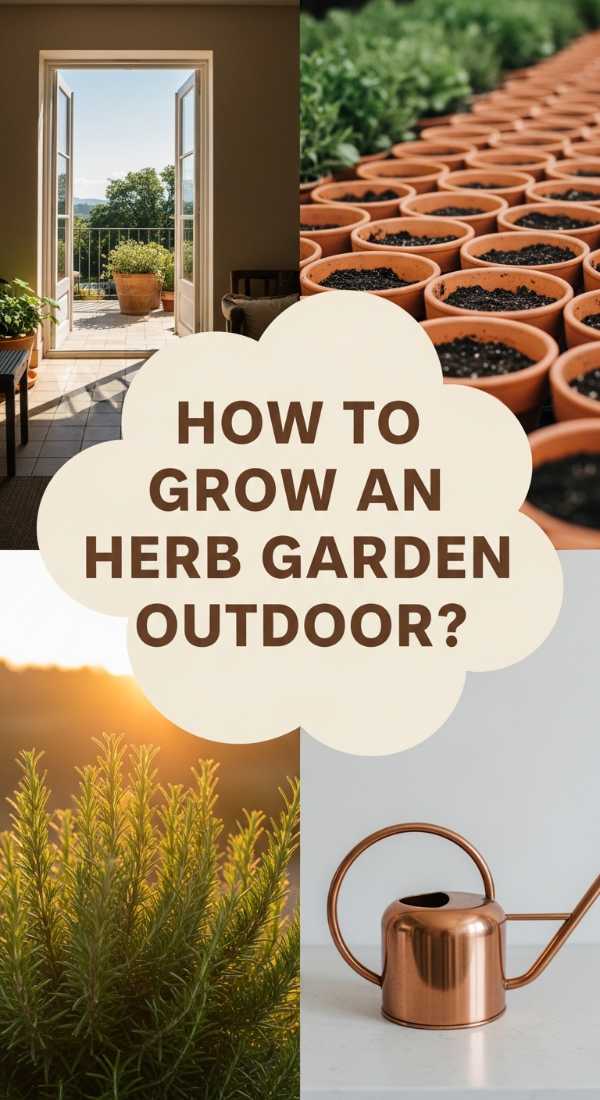
How to Grow an Herb Garden Outdoor for Organic Summer Harvests
Why we love this
Summer gardening is a celebration of the sun’s power, where herbs grow with a fierce intensity and flavor profile that can’t be matched. The experience of stepping outside on a warm morning, coffee in hand, to harvest fistfuls of sun-warmed mint for a refreshing drink or garnish is the epitome of summer bliss. Outdoor herbs are resilient and bold, offering a bounty so large that you can be generous with your portions, piling them high on your viral food boards for a truly organic, rustic feel.
Essential Elements:
- Sunny outdoor plot or large deck containers
- Organic compost and aged manure
- Natural pest control (like Neem oil or soapy water)
- Support stakes for tall herbs (like Dill or Fennel)
- Soaker hoses for consistent moisture
How to make it
- Choose the sunniest spot in your yard, as most Mediterranean herbs like Oregano and Thyme require at least 8 hours of direct, intense sunlight to develop their flavors.
- Work three inches of organic compost into the top six inches of soil to provide a slow-release nutrient base that supports rapid summer growth.
- Plant herbs with similar water needs together; for instance, ‘thirsty’ herbs like Basil and Parsley should be grouped, while ‘dry-loving’ herbs like Rosemary and Sage should be kept separate.
- Water deeply in the early morning hours to allow the moisture to soak into the roots before the heat of the day causes evaporation.
- Check for signs of ‘bolting’ during heatwaves; if your basil starts to produce flowers, pinch them off immediately to keep the plant’s energy focused on leaf production.
- Harvest in the morning after the dew has dried but before the sun is at its peak to ensure the highest concentration of essential oils in the leaves.
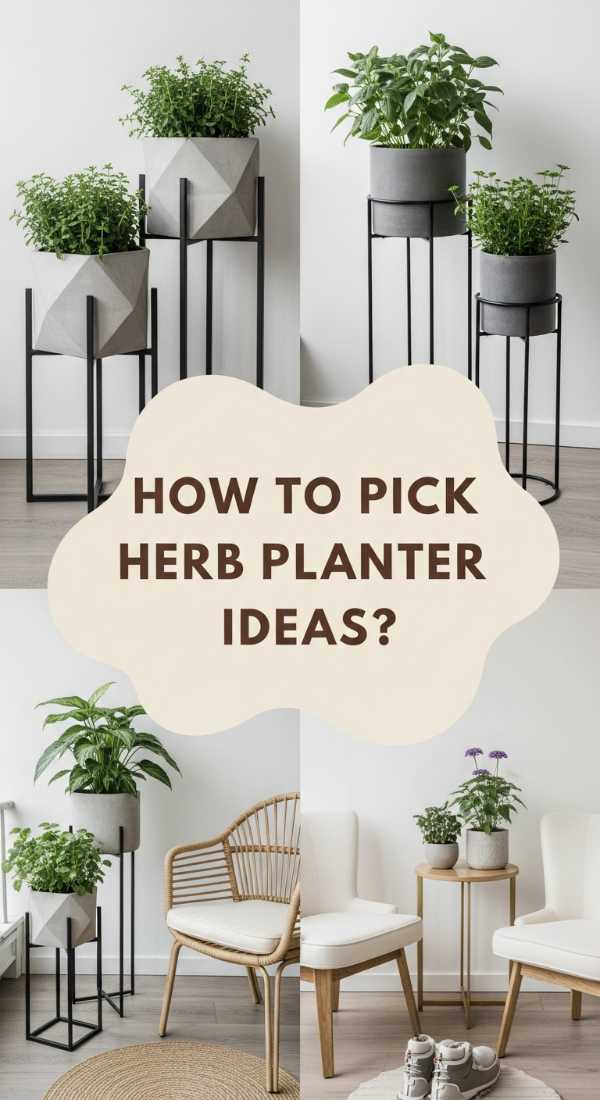
How to Pick Herb Planter Ideas for a Minimalist Modern Balcony
[IMAGE_10]
Why we love this
Even the smallest balcony can become a high-yield garden with the right minimalist approach. There is a serene, architectural beauty in clean lines and a limited color palette that makes a small outdoor space feel larger and more intentional. Using modern materials like fiberglass or metal, you can create a zen-like retreat where you can harvest fresh ingredients for your 3-ingredient board while watching the sunset over the city, proving that luxury and nature can coexist in the smallest of footprints.
Essential Elements:
- Slimline rectangular planters
- Self-watering inserts
- Lightweight volcanic rock for drainage
- Monochromatic plant selection
- Weather-resistant balcony furniture
How to make it
- Measure your balcony precisely and choose slim, long ‘trough’ planters that hug the railing to maximize floor space for seating.
- Opt for lightweight materials like resin or fiberglass which are easier to move and won’t exceed the weight capacity of a typical apartment balcony.
- Select a monochromatic herb palette—focusing on various shades of green—to maintain a clean, sophisticated look that doesn’t feel cluttered or overwhelming.
- Utilize self-watering systems or reservoirs, as balcony plants are subject to more wind and can dry out significantly faster than plants on the ground.
- Arrange your planters in a symmetrical pattern to create a sense of order and calm, which is the hallmark of minimalist modern design.
- Include a small bistro table nearby where you can assemble your food board right there in the garden, making the harvest-to-table transition instantaneous and beautiful.
Conclusion
The viral 3-ingredient food board is more than just a snack; it is a gateway to a more intentional, flavorful way of living. By cultivating your own herbs, whether in a grand backyard or a simple windowsill pot, you are taking control of your culinary experience and infusing your home with life and scent. This trend reminds us that the most beautiful things in life are often the simplest, and there is no greater luxury than sharing a meal made with ingredients you nurtured yourself. So, grab some cheese, find your favorite honey, and start planting—your next viral masterpiece is just a harvest away!