
How to Build the Simple Herb Garden Board Going Viral Right Now
There is something truly magical about the way a kitchen transforms when you introduce a living, breathing herb garden board. It’s more than just a culinary convenience; it’s a lifestyle shift that brings the vibrant energy of the outdoors right onto your countertop or wall. I remember the first time I snipped a sprig of fresh Genovese basil for my morning avocado toast—the spicy, peppery aroma filled the air, and suddenly, my humble breakfast felt like a five-star experience.
The reason this specific herb garden board is going viral is that it bridges the gap between high-end interior design and practical, sustainable living. It’s about creating a ‘living pantry’ that is as beautiful to look at as it is to use. Whether you are a seasoned gardener or someone who has never successfully kept a succulent alive, this guide is designed to help you curate a lush, green sanctuary that nourishes your body and your soul.
How to Style an Indoor Herb Garden for a Dreamy Kitchen Aesthetic
Why we love this
There is a deep, soulful satisfaction that comes from seeing your kitchen bathed in the soft, golden glow of the afternoon sun, illuminating the vibrant, waxy leaves of your basil and the delicate, feathery fronds of your dill. It’s not just about the convenience of cooking; it’s about the way the earthy, spicy aroma of crushed rosemary mingles with the scent of your morning coffee, grounding you in the present moment. This aesthetic turns a functional room into a living sanctuary, where every glance toward the window provides a refreshing burst of emerald green that calms the mind and inspires the palate.
Essential Elements:
- Terracotta or ceramic pots in varying heights
- A wooden or marble display board
- Natural jute twine for labeling
- Small chalkboard stakes
- A vintage-inspired copper watering can
How to make it
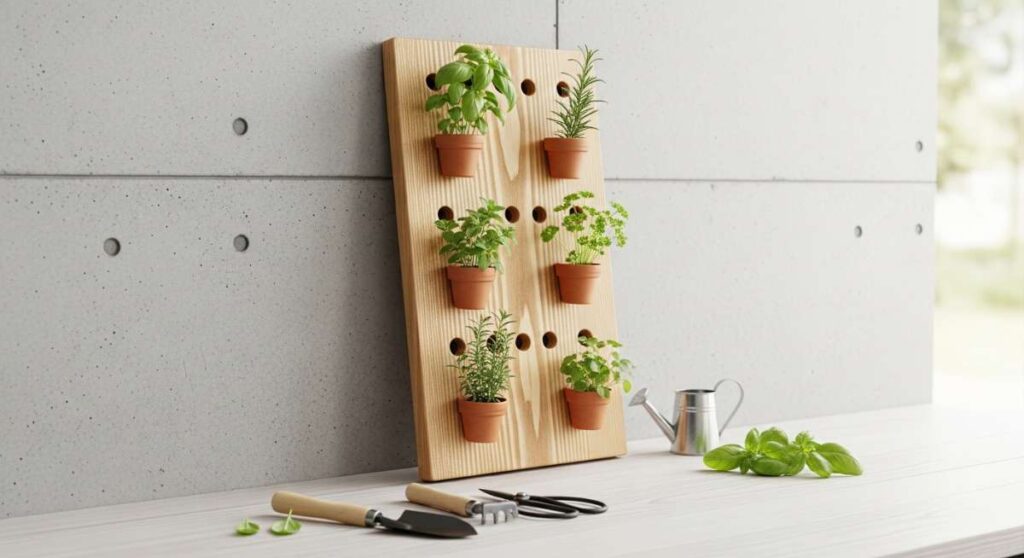
- Begin by selecting a focal point in your kitchen that receives at least 6 hours of indirect sunlight, such as a wide windowsill or a dedicated corner of the island.
- Choose a base board—a thick reclaimed wood slab works best to provide a warm, organic contrast to the green foliage.
- Arrange your herb pots in groups of three, following the interior design ‘rule of three’ to create visual interest and balance.
- Layer the heights by placing taller herbs like rosemary or lemongrass in the back, and trailing herbs like creeping thyme or mint in the front to spill over the edges.
- Add a final touch of charm by hand-writing the herb names on small wooden tags or chalkboard stakes, ensuring the aesthetic remains cohesive and curated.
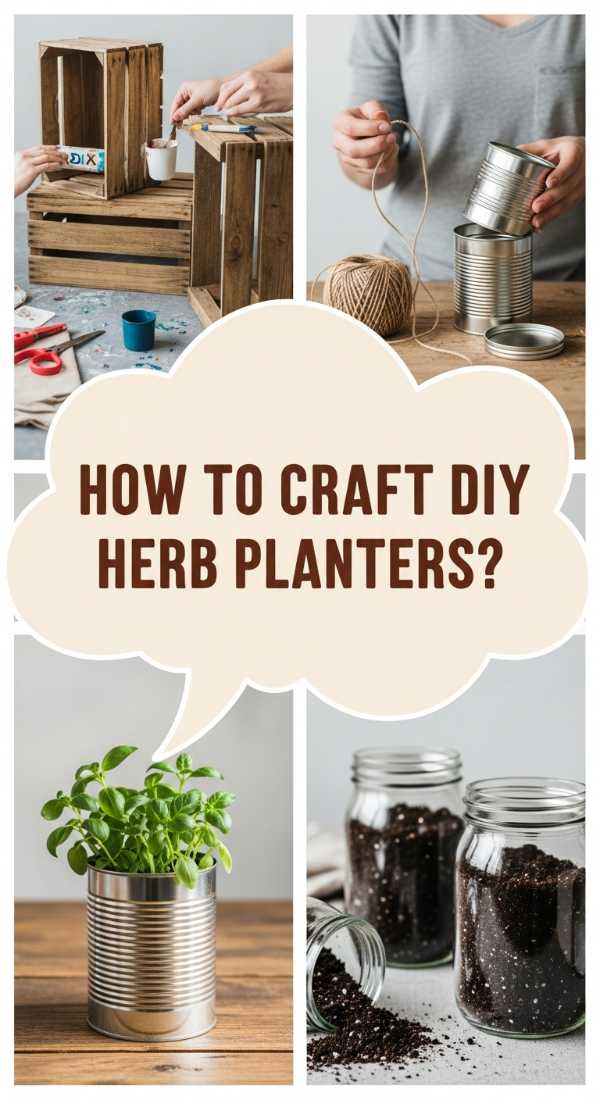
How to Craft a DIY Herb Planter for Personalized Garden Magic
Why we love this
Crafting your own planter allows you to infuse your personality into your garden, turning a simple DIY project into a meaningful piece of home decor. The tactile experience of working with raw cedar or smooth pine, feeling the grain of the wood beneath your fingers, and smelling the fresh sawdust creates a connection to the finished product that store-bought items simply can’t match. It’s about the pride of craftsmanship—knowing that the vessel holding your life-giving herbs was built with your own two hands, customized perfectly to fit your space.
Essential Elements:
- Cedar wood planks (naturally rot-resistant)
- Non-toxic wood glue and finishing nails
- Drill with a 1/2-inch bit for drainage
- Fine-grit sandpaper
- Food-safe wood sealant or beeswax
How to make it
- Measure and cut your cedar planks into four equal sides and a base, ensuring the box is at least 6 inches deep to allow for healthy root expansion.
- Apply a thin line of non-toxic wood glue to the edges and join the pieces, securing them with finishing nails every two inches for a sturdy construction.
- Drill three to five holes in the bottom plank to ensure proper drainage, which is the most critical step for preventing root rot in your herbs.
- Sand all surfaces and edges thoroughly until they are smooth to the touch, preventing splinters and creating a professional, polished finish.
- Apply a coat of food-safe beeswax or mineral oil to protect the wood from moisture while ensuring no harmful chemicals leach into your edible plants.
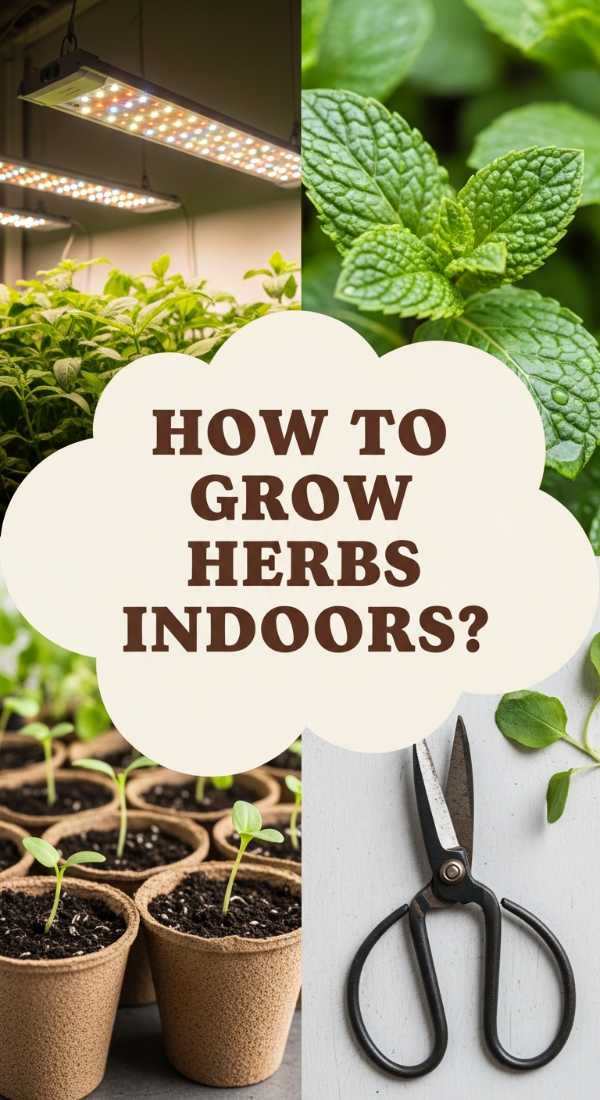
How to Master Growing Herbs Indoors for Constant Culinary Inspiration

Why we love this
There is nothing quite like the sensory explosion of walking into your kitchen and being greeted by the cooling scent of mint and the citrusy undertones of lemon balm. Mastering indoor growth gives you a year-round supply of flavor, turning every meal into a gourmet experiment. You begin to notice the subtle differences in leaf texture and the way the plants lean toward the light, fostering a mindful connection with nature that persists even in the middle of a bustling city or a cold winter day.
Essential Elements:
- High-quality organic potting mix
- Liquid seaweed fertilizer
- Full-spectrum LED grow light (optional for low-light homes)
- Moisture meter
- Small pruning shears
How to make it
- Start with high-quality, well-draining potting soil; avoid garden soil as it is too heavy and may contain pests that thrive indoors.
- Position your herbs in a south-facing window for maximum sun, or set up an LED grow light 6-12 inches above the plants for 12 hours a day.
- Water your herbs only when the top inch of soil feels dry to the touch; overwatering is the most common mistake for indoor gardeners.
- Fertilize every two weeks with a diluted liquid seaweed extract to provide the essential nutrients that indoor environments lack.
- Prune your herbs regularly by snipping just above a leaf node; this encourages the plant to branch out and become bushier rather than tall and leggy.
How to Perfect Your Herb Garden Design for a Balanced Sanctuary
Why we love this
A well-designed herb garden is a symphony of textures and colors, ranging from the silvery-blue hue of sage to the bright, glossy green of Italian parsley. The balance of a structured design creates a sense of order and peace in the kitchen, acting as a visual anchor that draws the eye and calms the spirit. When your garden is designed with intention, it feels less like a chore and more like a living art piece that changes and grows with you, reflecting the seasons of your life through its varying stages of bloom and harvest.
Essential Elements:
- Uniform ceramic pots
- Decorative pea gravel for top-dressing
- A tiered wire or wooden rack
- Symmetry in plant placement
- Consistent color palette for labels
How to make it
- Choose a color palette for your pots—neutral tones like cream, slate, or terracotta create a timeless look that lets the green of the herbs pop.
- Organize your plants by ‘companion planting’ rules, grouping thirstier herbs like basil and parsley together, while keeping dry-loving herbs like thyme and rosemary side-by-side.
- Use a tiered stand to create vertical depth, placing the largest, most robust plants at the base and the lighter, airy herbs at the top.
- Add a layer of decorative pea gravel or river stones on top of the soil to hide the dirt and provide a clean, professional aesthetic.
- Ensure each pot has a matching saucer to catch excess water, maintaining the cleanliness and organization of your sanctuary.
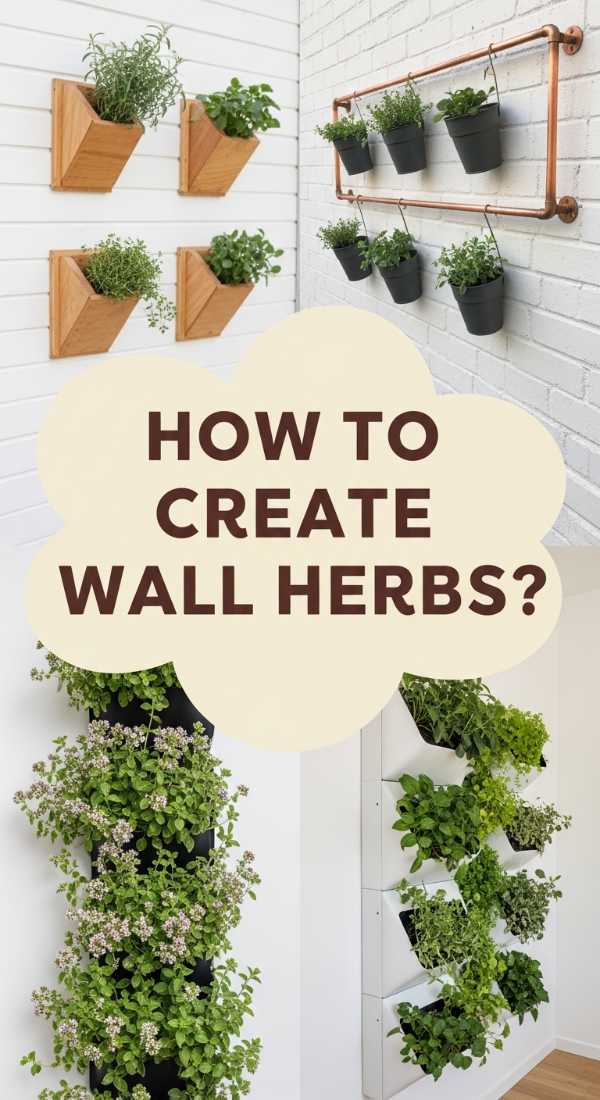
How to Elevate a Wall Herb Garden for Chic Vertical Greenery
Why we love this
Vertical gardening is a total game-changer for small spaces, turning a blank, uninspired wall into a cascading tapestry of scent and color. There is something incredibly chic about reaching up to pluck a few leaves of cilantro directly from a wall-mounted planter while you cook. It utilizes the ‘dead space’ of a room and creates a high-end, architectural feel that mimics the living walls found in trendy boutique hotels and upscale restaurants, making your home feel instantly more sophisticated and curated.
Essential Elements:
- Wall-mounted rails or floating shelves
- S-hooks or specialized pot clamps
- Lightweight planters (metal or plastic)
- Wall anchors and a level
- Trailing herb varieties (mint, oregano, thyme)
How to make it
- Use a stud finder and a level to mount a sturdy metal rail or series of floating shelves at chest height for easy accessibility.
- Select lightweight containers to minimize the strain on your wall; brushed gold or matte black finishes add a modern, chic touch.
- Space the containers at least 8 inches apart vertically to ensure the plants below have enough room to grow and receive adequate light.
- Plant trailing varieties like ‘creeping thyme’ in the higher pots so they can drape beautifully down the wall, creating a lush, curtain-like effect.
- Install a small drip tray system or use ‘self-watering’ pots to prevent any water from dripping onto your floors or damaging the wall paint.
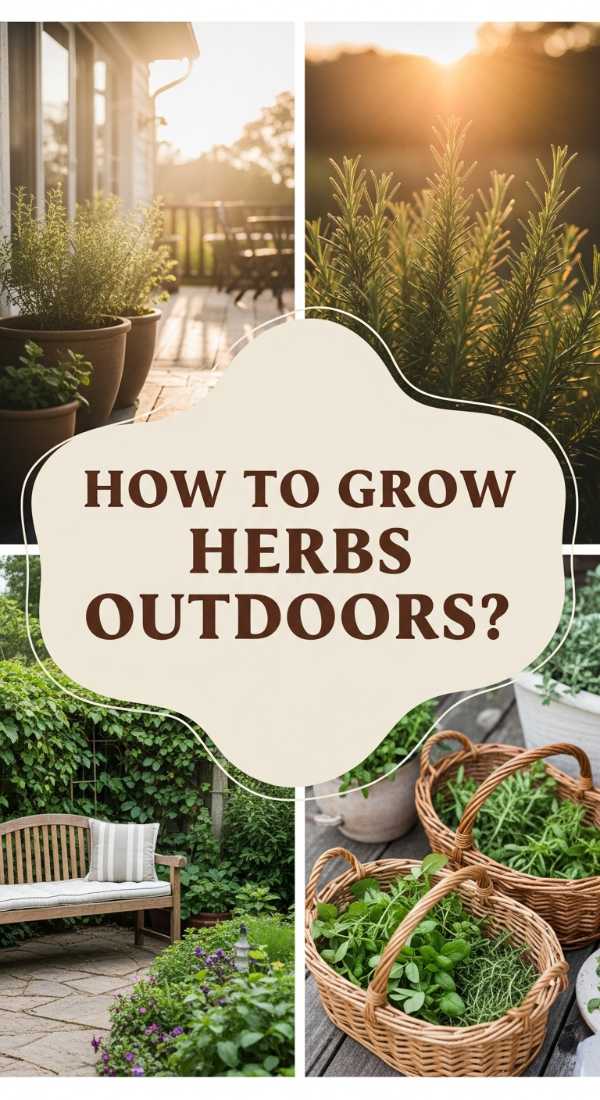
How to Create an Herb Garden Outdoor for the Ultimate Nature Retreat
Why we love this
Stepping out into your own outdoor herb retreat is an invitation to slow down and reconnect with the rhythm of the earth. The feeling of sun-warmed soil between your fingers and the sound of bees buzzing around flowering chives creates a profound sense of peace. An outdoor herb garden is a sensory retreat where the air is thick with the fragrance of lavender and lemon thyme, offering a private corner of the world where you can escape the digital noise and immerse yourself in the simple, tactile beauty of nature.
Essential Elements:
- Large terracotta planters or a raised wooden bed
- Organic compost and mulch
- Solar-powered garden lights
- A comfortable outdoor bench or stool
- Birdbath or small water feature
How to make it
- Select a site that receives at least 6-8 hours of direct sunlight, preferably near your back door for easy kitchen access.
- If using a raised bed, fill it with a 50/50 mix of high-quality garden soil and organic compost to provide a nutrient-rich foundation.
- Incorporate ‘pollinator plants’ like flowering dill or lavender to attract butterflies and bees, which helps your entire garden thrive.
- Apply a 2-inch layer of straw or wood chip mulch around the base of the herbs to retain moisture and suppress weeds during hot summer months.
- Create a ‘pathway’ of stepping stones leading to a small seating area, turning the garden from a functional patch into a destination for morning tea or evening reflection.
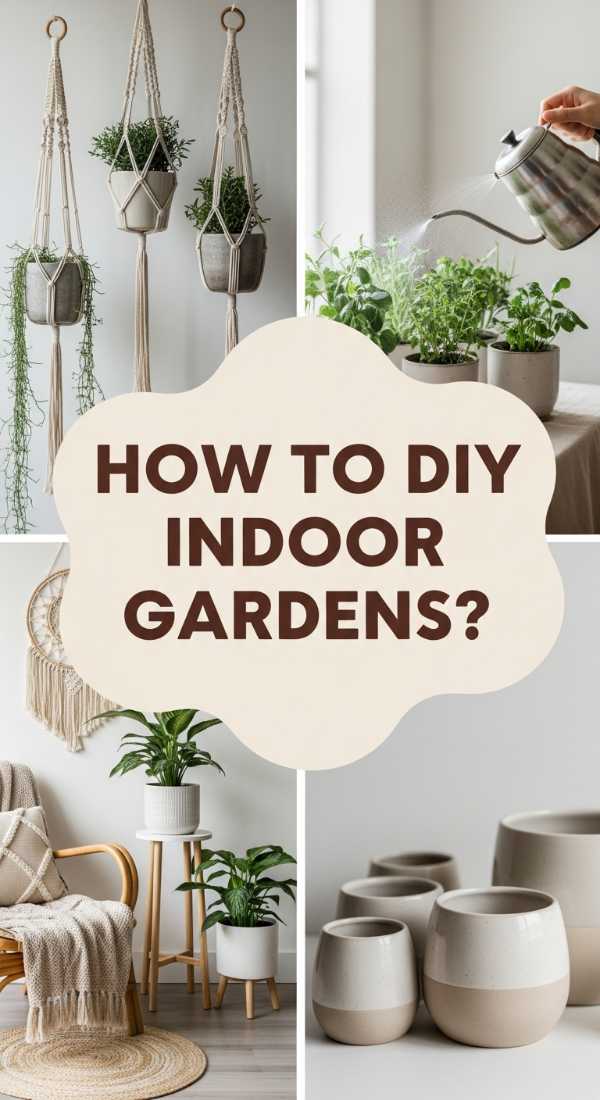
How to Build an Indoor Herb Garden DIY for a Personalized Wellness Nook
Why we love this
A wellness-focused herb garden is a tribute to self-care, housing the very plants that help us heal and relax. Imagine a dedicated nook filled with the soothing scent of chamomile and the uplifting aroma of peppermint—a space designed specifically for brewing fresh herbal teas and creating DIY tinctures. It is a quiet, green corner of the home that serves as a reminder to prioritize your health, offering a visual and olfactory cue to breathe deeply and take a moment for yourself amidst the chaos of daily life.
Essential Elements:
- Tea-specific herbs (Chamomile, Mint, Lemon Balm)
- Stoneware or artisan pottery
- Small scissors for delicate harvesting
- A glass jar for drying herbs
- Calming decor (crystals, candles, or a Buddha statue)
- Soft ambient lighting
How to make it
- Identify a quiet corner of your home, away from high-traffic areas, to establish your ‘wellness nook.’
- Select herbs known for their medicinal and tea-making properties, such as peppermint for digestion and chamomile for sleep.
- Use artisan pottery or hand-thrown clay pots to add a sense of ritual and beauty to the space, avoiding mass-produced plastic.
- Harvest herbs in the morning when their essential oils are most concentrated, using sharp scissors to avoid bruising the delicate stems.
- Set up a small drying station nearby with mesh screens or a simple hanging rack where you can preserve your harvest for year-round wellness rituals.
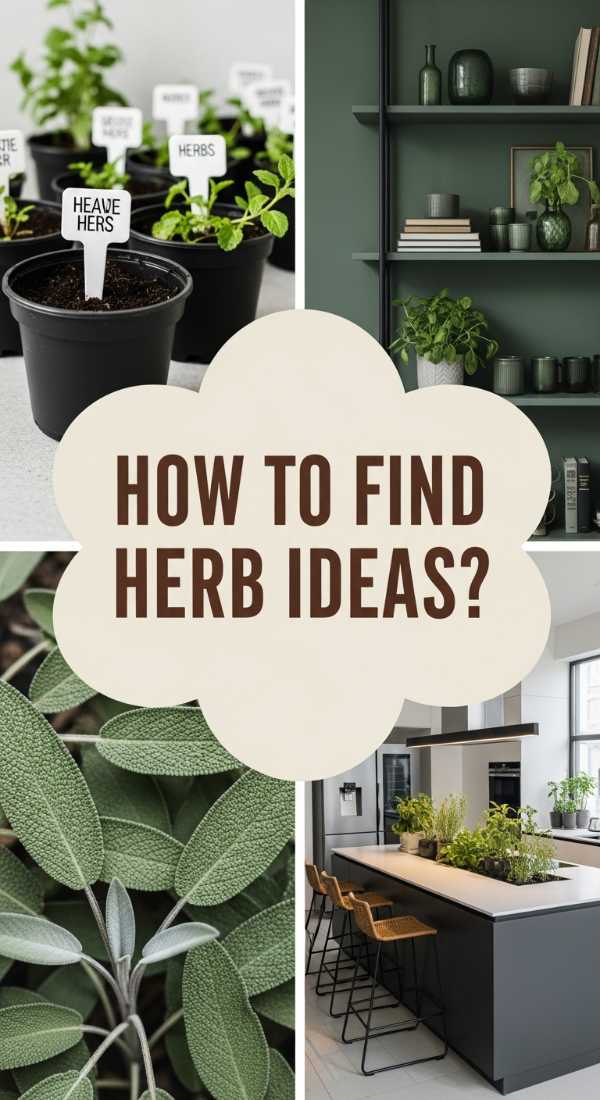
How to Refresh Herb Garden Ideas for a Modern Botanical Vibe
Why we love this
The modern botanical vibe is all about clean lines, minimalism, and a focus on the structural beauty of the plants themselves. It’s a refreshing take on gardening that fits perfectly into contemporary homes, emphasizing quality over quantity. The look is crisp and airy, often featuring white walls and metallic accents that highlight the complex geometry of a sage leaf or the vibrant green of a chive stalk. This style feels sophisticated and fresh, proving that gardening can be as ‘high-design’ as any other element of your home decor.
Essential Elements:
- Monochromatic pots (all white, all black, or all concrete)
- Geometric pot stands
- Minimalist labels with sans-serif fonts
- LED strip lighting for a futuristic glow
- A curated selection of only 3-4 key herbs
How to make it
- Clear out any cluttered or mismatched pots and replace them with a set of identical containers in a matte concrete or white ceramic finish.
- Use geometric metal stands to lift the pots off the counter, creating a sense of ‘floating’ greenery and allowing for better airflow.
- Keep your herb selection focused; instead of a dozen different plants, choose four distinct textures like flat-leaf parsley, woody rosemary, spiky chives, and broad-leaf basil.
- Install slim LED light strips underneath your upper cabinets to provide a clean, cool-toned light source that makes the greens appear more vivid.
- Maintain a ‘clean’ look by pruning any yellowing leaves immediately and keeping the soil surface covered with white quartz pebbles for a sterile, modern finish.
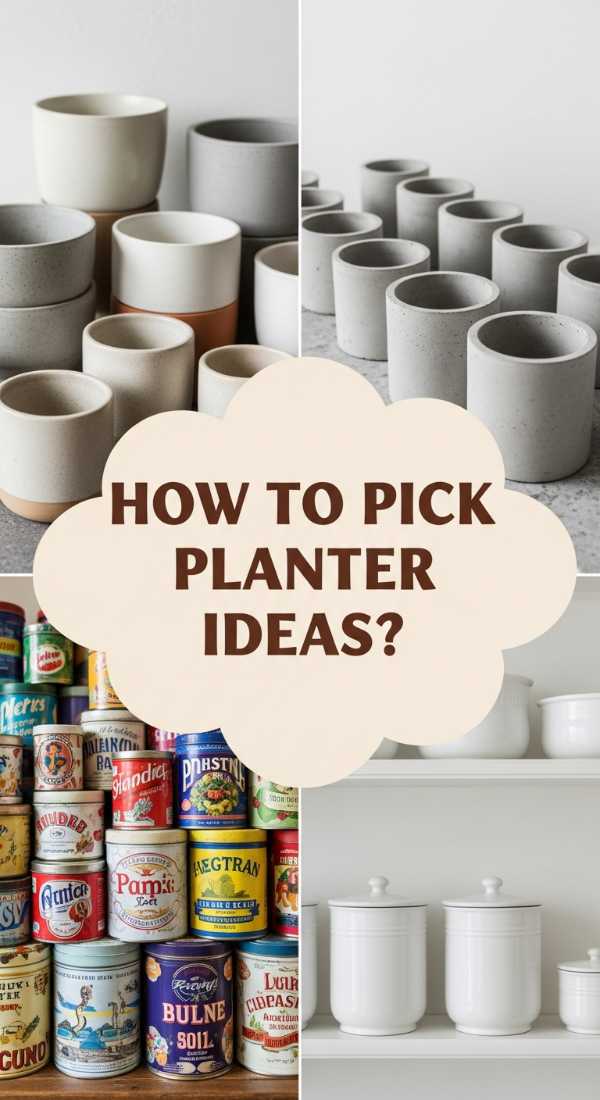
How to Select Herb Planter Ideas for a Cohesive Home Style
Why we love this
When your herb planters match your home’s architectural style, the garden feels like a permanent, integrated part of the house rather than an afterthought. There is a visual harmony in seeing a rustic farmhouse kitchen paired with weathered galvanized buckets, or a mid-century modern space featuring tapered wooden legs on ceramic pots. This cohesion creates a sense of intentionality, making your indoor garden feel like a luxury feature that adds significant value and character to your living environment.
Essential Elements:
- Galvanized steel buckets for a farmhouse look
- Mid-century modern planters with wooden stands
- Boho-style macramé hangers
- Traditional blue-and-white porcelain for a classic look
- Industrial concrete troughs
How to make it
- Analyze your existing decor: look at the metals, wood tones, and textures currently in your kitchen or living room.
- For a rustic or farmhouse vibe, repurpose vintage crates or use galvanized metal pails, ensuring you add a plastic liner to prevent rusting.
- For a modern or Scandinavian feel, look for matte white pots with light oak wood accents and clean, rounded silhouettes.
- If your style is more eclectic or bohemian, use varying heights of macramé hangers to suspend your herbs at different levels in front of a window.
- Test the ‘visual weight’ of the planters; if you have a small space, use glass or thin wire holders to keep the room feeling open and light.
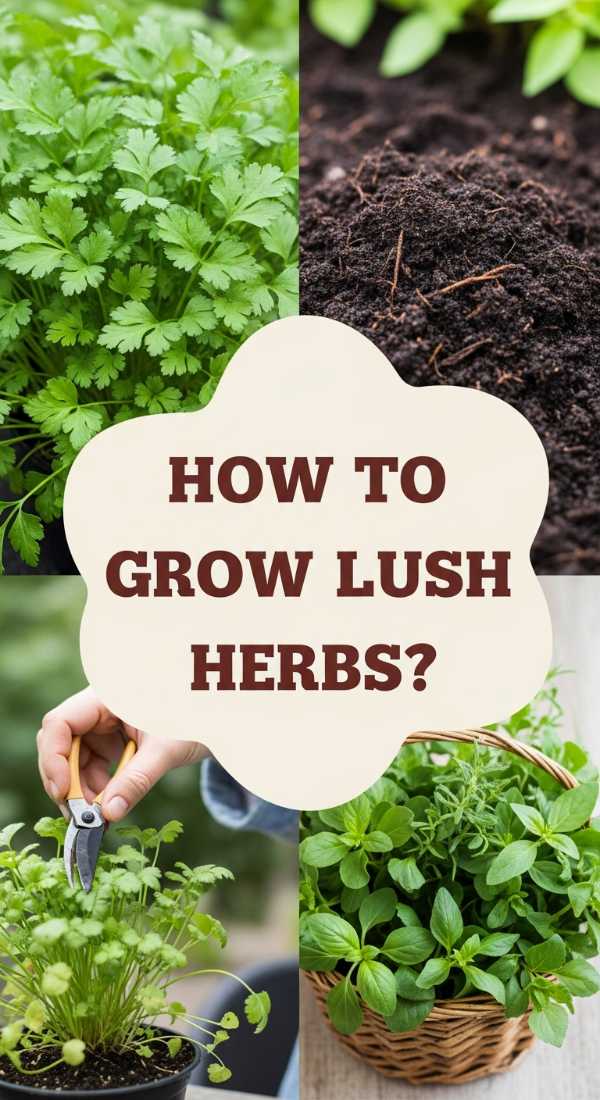
How to Cultivate a Lush Herb Garden for Total Kitchen Zen
[IMAGE_10]
Why we love this
Kitchen Zen is the ultimate goal—a state where the act of cooking becomes a meditative practice supported by the abundance of your garden. A lush, overflowing herb garden provides a sense of plenty, a visual reminder that you are capable of nurturing life and reaping the rewards. The vibrant greens and earthy scents act as a natural stress-reliever, turning a busy meal-prep session into a calm, sensory experience. It’s about the joy of being surrounded by vitality, creating a kitchen that feels energized, healthy, and deeply connected to the natural world.
Essential Elements:
- Large-format rectangular planters for high volume
- Self-watering reservoirs for consistency
- Regular misting with a fine-mist spray bottle
- Companion planting for maximum density
- A dedicated ‘harvesting’ ritual
How to make it
- Use larger containers than you think you need; more soil volume means more stable moisture levels and more room for lush, dense growth.
- Incorporate self-watering inserts to ensure your plants never experience the ‘thirst stress’ that can lead to yellowing or bitterness in the leaves.
- Mist your herbs every morning with room-temperature water to increase the local humidity, which helps prevent spider mites and keeps leaves crisp.
- Group your herbs closely together to create a ‘micro-climate’ where the plants benefit from each other’s transpiration, resulting in a more humid, lush environment.
- Establish a daily 5-minute ‘garden check’ where you breathe in the scents, check the soil, and snip any flower buds to keep the plant’s energy focused on leaf production.
The Joy of Growing Your Own
Building a viral-worthy herb garden board is about more than just following a trend; it’s about inviting the rhythm of nature into your home. Whether you choose a sleek wall garden or a cozy wellness nook, these living additions bring life, flavor, and a sense of accomplishment to your daily routine. Start small, be patient with your plants, and soon you’ll be enjoying the unparalleled taste of herbs you grew yourself.
Frequently Asked Questions
Everything you need to know about keeping your viral herb board thriving.