
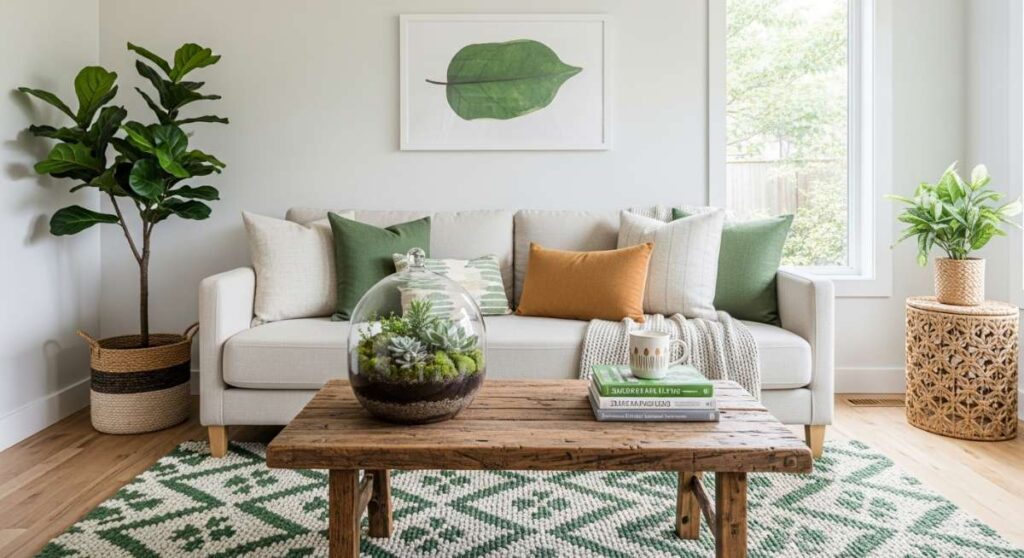
Earth-Friendly Elegance: 10 Tips for an Eco-Chic Space
There is a profound sense of peace that settles into your bones when you walk into a home that breathes with the rhythm of nature. For years, I chased the ‘perfect’ look in high-end showrooms, only to find that the most soul-stirring spaces aren’t bought—they are curated with intention and a deep respect for the planet. My journey into eco-chic decor began on a rainy Tuesday afternoon when I realized that the furniture I loved most was the furniture that told a story of renewal and craft.
Creating an eco-friendly space isn’t just about swapping lightbulbs; it’s about the tactile joy of raw materials and the warmth of reclaimed wood that has lived a previous life. Imagine a living room where every texture invites a touch, where the scent of natural oils replaces the sterile smell of factory glue, and where you can truly relax knowing your style isn’t costing the earth. Today, we are diving deep into the world of pallet transformations—a cornerstone of the sustainable movement that blends rustic charm with modern sophistication.
How to Build a Custom Pallet Table for Your Dreamy Garden Oasis
Why we love this
There is something inherently romantic about the way raw, sun-bleached wood interacts with the dappled light of a garden canopy. This project captures the essence of slow living, offering a sturdy yet ethereal surface where you can rest a glass of chilled lavender lemonade or a stack of vintage poetry books. The texture is delightfully organic, with every grain and knot telling a story of resilience, while the earthy aroma of natural wood blends seamlessly with the scent of blooming jasmine and wet soil. It transforms a simple backyard corner into a sanctuary where time seems to slow down and the spirit feels replenished.
Essential Elements:
- Two heat-treated (HT) wooden pallets
- Heavy-duty 4-inch locking casters
- Orbital sander with 60, 120, and 220 grit sandpaper
- Low-VOC wood stain or linseed oil
- Galvanized wood screws and L-brackets
How to make it
- Begin by inspecting your pallets for the ‘HT’ stamp, ensuring they are safe for home use. Scrub the wood with a mild vinegar solution to remove any surface debris and let it air-dry in the sun for at least 4 hours until it is bone-dry to the touch.
- Use your orbital sander to strip away the rough exterior. Start with the 60-grit sandpaper to remove deep splinters, then graduate to 120, and finish with 220 for a ‘doneness’ that feels like smooth silk under your fingertips. This phase requires patience; you’ll know you’re ready for the next step when the wood grain pops visually.
- Stack the two pallets perfectly flush. Secure them together by driving 3-inch wood screws through the support blocks of the top pallet into the bottom one. For maximum stability, use four L-brackets on the interior corners to prevent any swaying or shifting over time.
- Flip the assembly over and mark the corners for your casters. Drill pilot holes to prevent the wood from splitting, then bolt the casters firmly into place using a heavy-duty wrench. Ensure the locking mechanism is easily accessible.
- Apply your finish in thin, even coats. If using oil, buff it into the wood using a circular motion until the surface has a soft, healthy glow. Allow it to ‘cure’ or set for 24 hours in a well-ventilated area before moving it into your garden oasis.
How to Style Wood Pallet Tables for a Cozy Minimalist Home
Why we love this
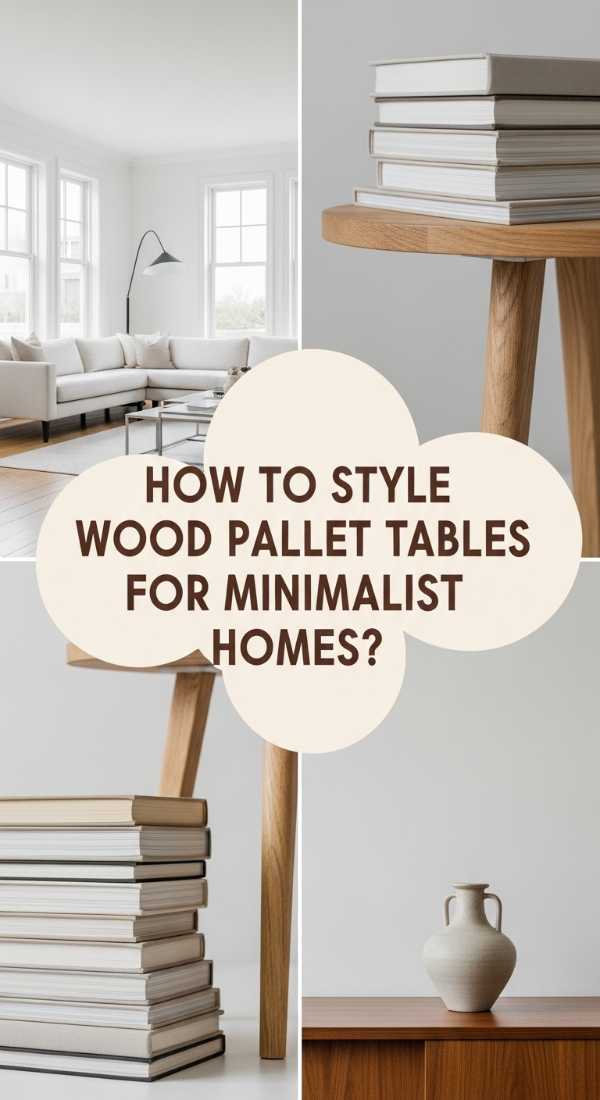
Minimalism doesn’t have to feel cold; when you introduce the warmth of a handcrafted pallet table, the entire room softens into a cozy retreat. We adore the contrast between the sharp, clean lines of a modern sofa and the rugged, authentic character of reclaimed timber. The visual ‘flavor’ of this setup is balanced and grounded, providing a sensory experience that is both visually calming and physically comforting. It is the perfect ‘main course’ for a living room that values quality over quantity, inviting you to kick off your shoes and feel the solid, steady presence of nature beneath your feet.
Essential Elements:
- Sanded and sealed pallet table
- Linen table runner in oatmeal or slate
- Single ceramic vase with a dried eucalyptus branch
- A stack of two matte-finish coffee table books
- Hand-poured soy candle in a concrete vessel
How to make it
- Select a central location for your table that allows for at least 18 inches of walkway space on all sides. This ‘heat level’ of spatial planning ensures the room feels breezy rather than cluttered.
- Lay your linen runner across the center width-wise. Instead of smoothing it perfectly, allow for a few natural ripples to enhance the organic ‘texture’ of the wood. Visual cues for success here include a look that feels effortless rather than staged.
- Place your ceramic vase on one side of the table, slightly off-center. Choose a branch that has an interesting architectural curve to draw the eye upward and create a sense of height without blocking conversation.
- Stack your coffee table books on the opposite corner. Align them neatly but slightly angled toward the seating area to invite guests to flip through them. The ‘timing’ of this arrangement is key—it should look lived-in but intentional.
- Position the soy candle on top of the books or directly on the wood near the vase. Light the candle 15 minutes before guests arrive to allow the aroma to infuse the space, creating a sensory ‘glaze’ that ties the whole minimalist look together.
How to Create Pallet Table Outdoor Spaces for Endless Summer Nights

Why we love this
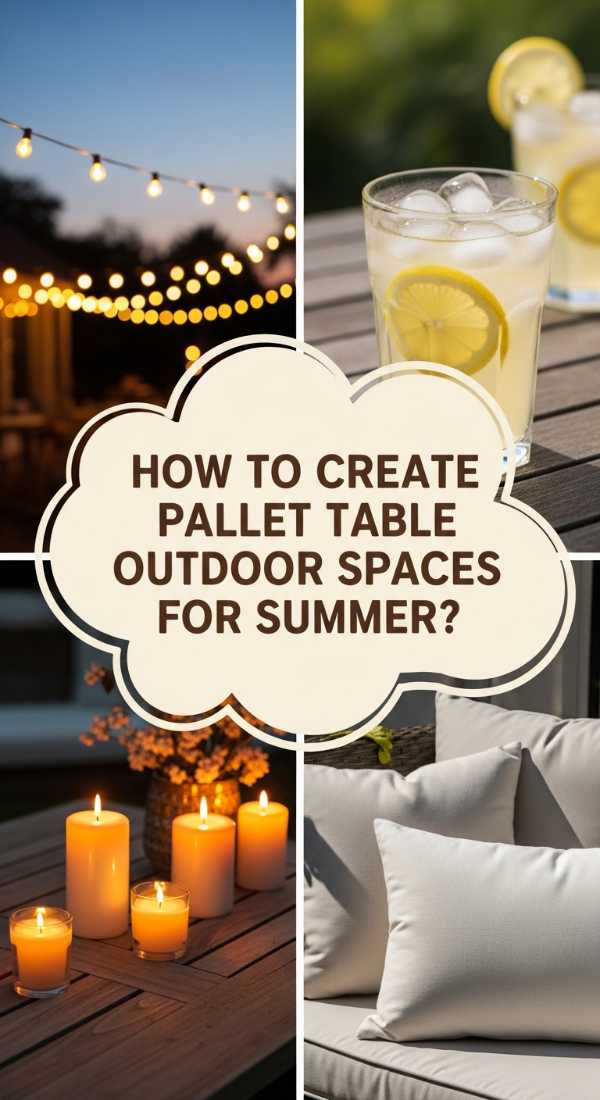
There is a magical ‘sear’ that happens when the orange glow of string lights hits the weathered surface of a pallet table at dusk. This outdoor setup is designed for the long haul, evoking the feeling of a Mediterranean terrace where dinner parties stretch into the early hours of the morning. We love the way the wood absorbs the cool night air while retaining the residual warmth of the afternoon sun, creating a tactile bridge between the elements. It’s an intoxicating atmosphere of laughter, woodsmoke, and the soft clinking of glasses on a surface that feels as timeless as the stars above.
Essential Elements:
- Three pallets (one for the base, two for the top height)
- Weather-resistant outdoor polyurethane
- Solar-powered Edison bulb string lights
- Outdoor floor cushions in weather-proof fabric
- Galvanized metal tray for drinks
How to make it
- Construct a tiered base by stacking three pallets to create a ‘bar height’ or ‘bistro’ feel. Use long timber screws to ‘cook’ the structure together, ensuring no movement when weight is applied to the edges.
- Apply a high-quality outdoor sealant. Use a wide brush and apply the coating in the direction of the grain. You will know the ‘doneness’ of the seal when water beads up on the surface rather than soaking in. This protects against the ‘humidity’ of summer storms.
- Drape string lights around the perimeter of the table or overhead. Secure them with small U-nails, ensuring the wires are taut but not stressed. The visual cue for the perfect ‘simmer’ is a soft, golden glow that doesn’t overwhelm the natural darkness.
- Arrange large floor cushions around the table base. Choose colors like terracotta or sage to complement the natural wood tones. The ‘prep’ here is to ensure the cushions are thick enough to provide comfort for several hours of lounging.
- Place a galvanized tray in the center to serve as a heat-proof and spill-proof station. This allows you to serve hot appetizers or cold drinks without worrying about ring marks on your newly finished wood surface.
How to Design Pallet Table Ideas for an Artistic Living Room
Why we love this
An artistic home demands pieces that act as conversation starters, and a pallet table provides the perfect ‘blank canvas’ for creative expression. We love the juxtaposition of raw, industrial wood against vibrant pops of color and eclectic art pieces. The texture is a rich tapestry of history—nail holes, stamps, and scars that serve as a rugged backdrop for delicate glass bowls or bold sculptures. It feels like walking into a gallery where the furniture itself is a masterpiece, offering a sensory feast of bold aesthetics and grounded, earthy foundations that inspire the soul to create.
Essential Elements:
- A single large pallet with a glass top insert
- Acrylic paint or wood markers for detailing
- Standoffs for the glass top
- Art books and a brass magnifying glass
- Small potted succulent in a geometric planter
How to make it
- Clean the pallet thoroughly and sand it to a medium finish. Instead of a full stain, use wood markers to highlight the natural ‘spice’ of the wood grain or paint a subtle geometric pattern on one corner for an artistic ‘flavor’ profile.
- Measure the interior dimensions of the pallet top. Order a piece of tempered safety glass with polished edges. This adds a ‘sleek glaze’ to the rustic wood, making it look like a high-end designer piece.
- Install rubber standoffs or small brass spacers on the four corners of the pallet. This elevates the glass slightly, creating a ‘crust’ of light and shadow that makes the table look lighter and more sophisticated.
- Carefully place the glass on top of the spacers. Check for any wobbling; the glass should be perfectly level. This ‘prep’ ensures your art pieces won’t slide or tilt.
- Curate your artistic ‘plating’ by placing a brass magnifying glass atop a stack of bright art books. Add the succulent for a pop of organic green. The final ‘visual cue’ is a space that feels curated, balanced, and deeply personal.
How to Master Pallet Table DIY Projects for Sustainable Chic Decor
Why we love this
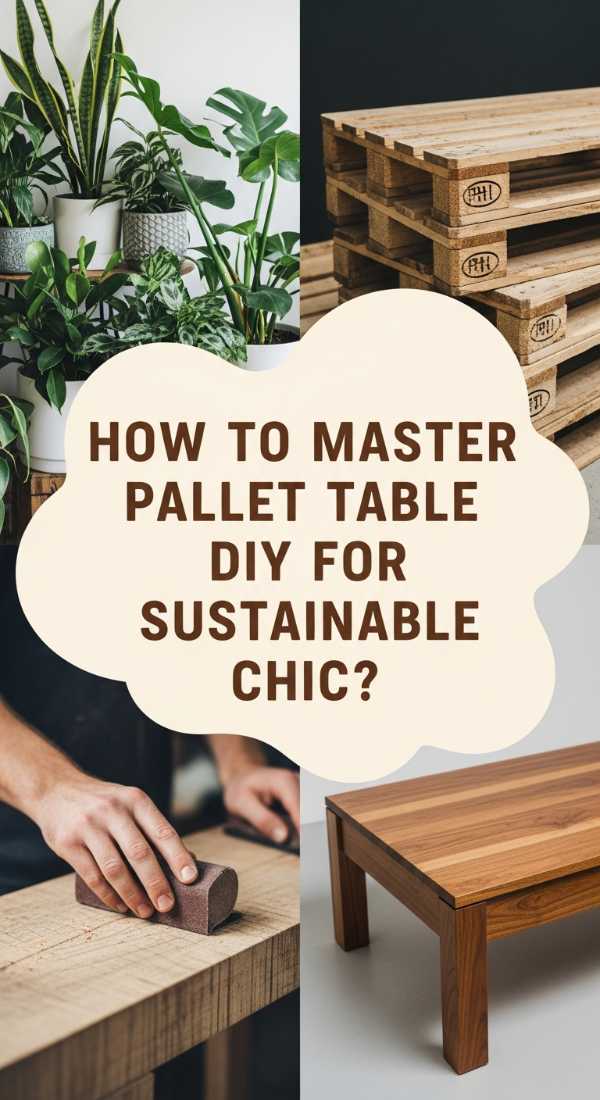
Mastering the art of pallet DIY is like learning the secret recipe to a beautiful, sustainable life. We love the empowerment that comes with taking something discarded and ‘cooking’ it into something sublime. The tactile experience of working the wood—the heat of the sander, the smell of the wax, the weight of the timber—connects you to the physical world in a way that modern shopping never can. It results in a piece of furniture that isn’t just a table, but a trophy of your commitment to the environment, radiating a ‘flavor’ of authenticity and mindful elegance.
Essential Elements:
- Crowbar and rubber mallet
- Wood glue and clamps
- Beeswax or carnauba wax polish
- Square-head wood screws
- Precision measuring tape and level
How to make it
- Deconstruct your pallets carefully using a crowbar and mallet to avoid splitting the boards. This is the ‘butchery’ phase—save the best ‘cuts’ of wood for the tabletop and use the thicker support beams for the legs.
- Arrange your top boards in a pattern (herringbone or vertical). Apply a generous bead of wood glue to the edges and clamp them together tightly. The ‘doneness’ cue is a small amount of glue ‘squeeze-out’ which you should wipe away immediately.
- Once the glue is ‘cured’ (usually 24 hours), screw the support beams to the underside to form a sturdy frame. Use a level to ensure the table doesn’t have a ’tilt’ that would ruin the flow of your room.
- Sand the entire piece, starting coarse and ending with an ultra-fine 320-grit. The goal is a ‘finish’ that feels as buttery as warm pastry.
- Apply a natural beeswax polish. Rub it in with a lint-free cloth, let it sit for 15 minutes, then buff to a high sheen. The result is a deep, rich ‘reduction’ of the wood’s natural beauty that is incredibly durable.
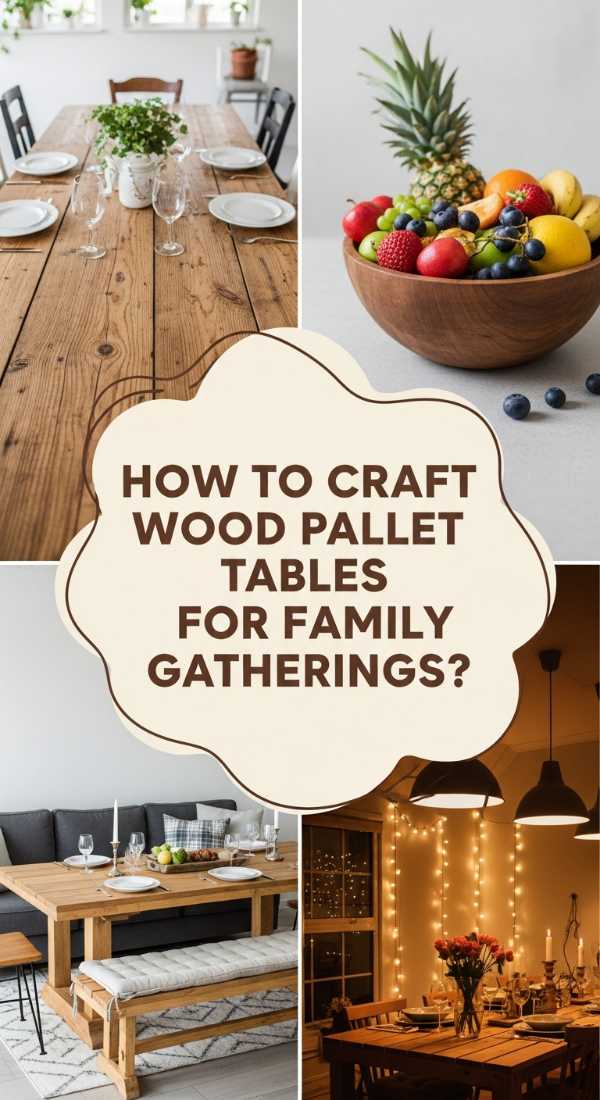
How to Craft Sturdy Wood Pallet Tables for Rustic Family Gatherings

Why we love this
Rustic charm is at its best when it’s shared, and these sturdy pallet tables are the ultimate vessel for family connection. We love the ‘hearty’ feel of a thick-topped table that can withstand the chaos of holiday dinners and rowdy board game nights. The sensory profile here is one of strength and warmth; the wood feels solid and reliable, while the visible grain patterns invite people to linger longer and talk deeper. It creates a ‘communal dish’ of an atmosphere where everyone feels welcome, and the minor scratches of life only add to its seasoned, beautiful patina.
Essential Elements:
- Three heavy-duty pallets
- 4×4 timber posts for additional leg support
- Long lag bolts and washers
- Dark walnut wood stain
- Heavy-duty felt pads for the feet
How to make it
- Select the densest pallets you can find for maximum ‘heft.’ Clean them thoroughly and remove any rusted nails. For a family table, you want a ‘base’ that is rock-solid and won’t wobble during a meal.
- Build a sub-frame using 4×4 timber posts. Attach these to the pallet base using lag bolts. This provides the ‘structural integrity’ needed for a table that might hold a 20lb turkey and several side dishes at once.
- Layer two pallets for the top to create a ‘thick-cut’ look. Bolt them together through the center blocks. Sand the edges until they are rounded and soft to the touch, preventing any ‘sharp’ surprises for children.
- Apply a dark walnut stain to give the wood a rich, ‘aged’ flavor. Apply the stain in long, even strokes, and wipe away the excess after 5 minutes to prevent a ‘cloudy’ finish. Visual cues for doneness: a deep, chocolatey hue that still shows the grain.
- Finish with three coats of water-based sealer, allowing 2 hours of ‘simmering’ time between coats. Once dry, flip the table and apply felt pads to the legs to protect your floors from the ‘heat’ of moving such a heavy piece.
How to Arrange Pallet Tables for a Relaxing Sun-Drenched Patio

Why we love this
A sun-drenched patio is the perfect place for the ‘crispy’ textures of a pallet table to shine. We love the way the sunlight catches the various heights and depths of the wood planks, creating a play of shadow that is endlessly relaxing. The aroma of sun-warmed wood combined with a light breeze makes this setup feel like a permanent vacation. It’s a sensory ‘appetizer’ for the eyes, offering a casual yet sophisticated spot to recharge your batteries while basking in the natural beauty of the outdoors.
Essential Elements:
- Low-profile pallet table on small wheels
- A tray of assorted succulents in clay pots
- Cotton throw blankets in neutral tones
- Outdoor-rated lanterns with LED candles
- A bowl of smooth river stones
How to make it
- Position your low-profile table in the direct line of morning light. The ‘timing’ of the sun’s path will dictate the best placement for maximum relaxation without the glare becoming too ‘intense.’
- Drape a cotton throw over one corner of the table. This adds a ‘soft’ contrast to the ‘hard’ wood, mimicking the balance of a perfectly plated meal.
- Group your clay-potted succulents in the center. Use an odd number (3 or 5) for a more natural, ‘organic’ look. Ensure they are placed where the sun can ‘cook’ them just enough to keep them vibrant.
- Set the lanterns on the table edges. Use the river stones to fill any small gaps between the wood planks or to weigh down napkins. This adds a ‘mineral’ element to the ‘earthy’ wood.
- Test the ‘flow’ by sitting on the floor or a low chair next to the table. The height should feel ‘comfortable’ for reaching a drink without straining. If it’s too low, add another layer of pallet wood to the base.
How to Refresh Outdoor Wood Pallet Tables for Ultimate Curb Appeal
Why we love this
First impressions are the ‘first bite’ of your home’s aesthetic, and a refreshed pallet table on a porch or entryway says everything about your eco-chic style. We love the ‘zing’ of a freshly painted or stained table that greets guests with warmth and character. The sensory experience is crisp and clean, with a finish that looks expensive but feels authentically DIY. It’s the ultimate ‘garnish’ for your home’s exterior, elevating the overall ‘flavor’ of your curb appeal while showcasing your commitment to upcycled elegance.
Essential Elements:
- Sandpaper (80 and 150 grit)
- Exterior-grade paint or solid-color stain
- High-quality angled brush
- Small ‘sample’ size of a contrasting color for accents
- New hardware (optional handles or corner guards)
How to make it
- Start with a ‘deep clean.’ Use a pressure washer on a low setting to blast away old cobwebs and grey wood fibers. Let it dry for 24 hours until the wood feels ‘toasty’ and light again.
- Sand the surfaces that will be visible to passersby. You don’t need a ‘fine’ finish everywhere, but the ‘presentation’ side should be smooth enough to catch the light beautifully.
- Apply your exterior-grade paint in a bold, chic color like charcoal grey or navy blue. Use an angled brush to ‘cut in’ to the nooks and crannies. You’ll know the ‘doneness’ when the coverage is opaque and the ‘raw’ wood is no longer peeking through.
- For a bit of ‘seasoning,’ paint the very edges or the nail heads in a metallic gold or silver. This small detail adds a ‘gourmet’ touch to an otherwise simple project.
- Once dry, add a decorative element like a large lantern or a seasonal wreath laid flat on the table. This completes the ‘plating’ of your porch, ensuring your home looks inviting and stylish from the street.
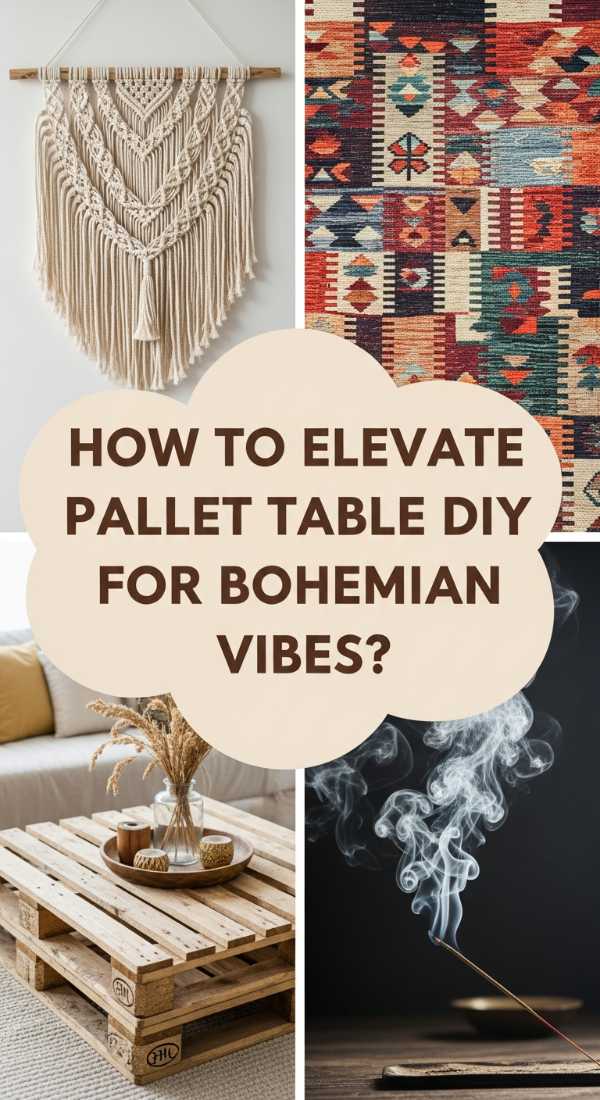
How to Elevate Pallet Table DIY Designs for a Bohemian Vibe
Why we love this
Bohemian style is all about the ‘fusion’ of different cultures, textures, and eras, and a pallet table is the perfect ‘base ingredient.’ We love the way it anchors a room full of vibrant textiles, tasseled pillows, and hanging plants. The sensory profile is rich and ‘spicy’—it feels adventurous, free-spirited, and deeply warm. The rough-hewn wood provides a necessary ‘umami’ of grounding energy that allows the more colorful, ‘sweet’ elements of the room to pop without feeling overwhelming. It’s a design that feels like a warm hug and a world-traveling adventure all at once.
Essential Elements:
- Pallet table with a ‘distressed’ finish
- Macramé table runner
- Assorted mismatched brass candlesticks
- Woven seagrass coasters
- Wildflower bouquet in a vintage colored glass bottle
How to make it
- Distress your wood for an ‘aged’ flavor. Use a hammer or a chain to gently dent the surface, then sand over it. This gives the wood a ‘history’ that fits the Bohemian ‘narrative.’
- Apply a light ‘wash’ of white paint diluted with water. Wipe it off almost immediately so it only stays in the grain. The visual cue is a ‘sun-bleached’ look that feels airy and light.
- Lay the macramé runner down the center. Let the tassels hang over the edges for a ‘relaxed’ feel. This ‘texture’ is essential for the Bohemian ‘mouthfeel’ of the room.
- Arrange your brass candlesticks in a cluster. Use varying heights to create a ‘simmering’ visual interest. Mix and match different styles for that ‘collected over time’ aesthetic.
- Finish with a wildflower bouquet. Don’t arrange it too perfectly; let the stems fall naturally for a ‘fresh-picked’ look that adds the final ‘herbaceous’ note to your eco-chic table.
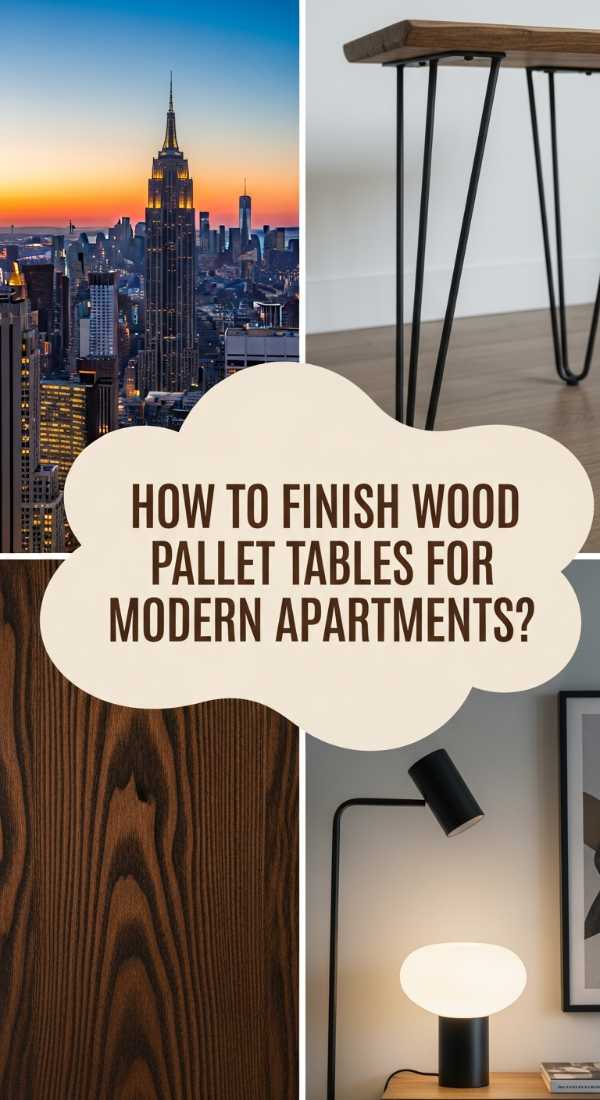
How to Finish Wood Pallet Tables for a Sleek Modern Apartment
[IMAGE_10]
Why we love this
Even in the heart of a bustling city, a pallet table can bring a slice of the natural world into a sleek modern apartment. We love the ‘contrast’ of high-gloss finishes or metal legs against the organic, ‘raw’ heart of the pallet wood. The sensory experience is sophisticated and clean, offering a ‘refined’ take on upcycling that fits perfectly in a minimalist loft. It’s like a ‘gourmet’ transformation of a simple ingredient, resulting in a piece of furniture that feels both ‘fresh’ and ‘timeless,’ proving that sustainability is always in style.
Essential Elements:
- One clean pallet, disassembled and planed
- Hairpin legs (matte black or chrome)
- High-gloss clear epoxy or polyurethane
- Power drill and metal-specific drill bits
- A single ‘statement’ coffee table book
How to make it
- Plane your boards to an even thickness. This ‘prep’ is crucial for a modern look, as it removes the ‘rustic’ bumps and creates a flat, professional ‘surface.’
- Glue and clamp the boards together to form a solid tabletop. Once ‘cured,’ sand it through all the grits until it is perfectly flat and reflects light. This ‘reduction’ of imperfections is the key to the modern aesthetic.
- Apply a high-gloss epoxy finish. Pour it over the center and use a spreader to push it to the edges. This creates a ‘mirror-like glaze’ that looks incredibly high-end. Use a torch to pop any ‘bubbles’—visual cue: a glass-smooth surface.
- Flip the table once dry and attach the hairpin legs. Position them at a slight angle for a ‘mid-century modern’ flavor. Drill pilot holes into the wood first to ensure a ‘clean’ and secure fit.
- Keep the ‘plating’ simple. Place one large, high-contrast ‘statement’ book on the table. The ‘less is more’ approach ensures the beauty of your craftsmanship is the ‘main attraction’ of the room.
Conclusion
Embracing the eco-chic lifestyle is a journey that starts with a single step—or in this case, a single pallet. By choosing to reclaim, restore, and reinvent, you are creating a home that is not only beautiful but also kind to the world we share. These 10 tips are just the beginning; as you start to work with these materials, you’ll find your own ‘flavor’ and style emerging from the wood grain. Here’s to a home that is as sustainable as it is stunning.