
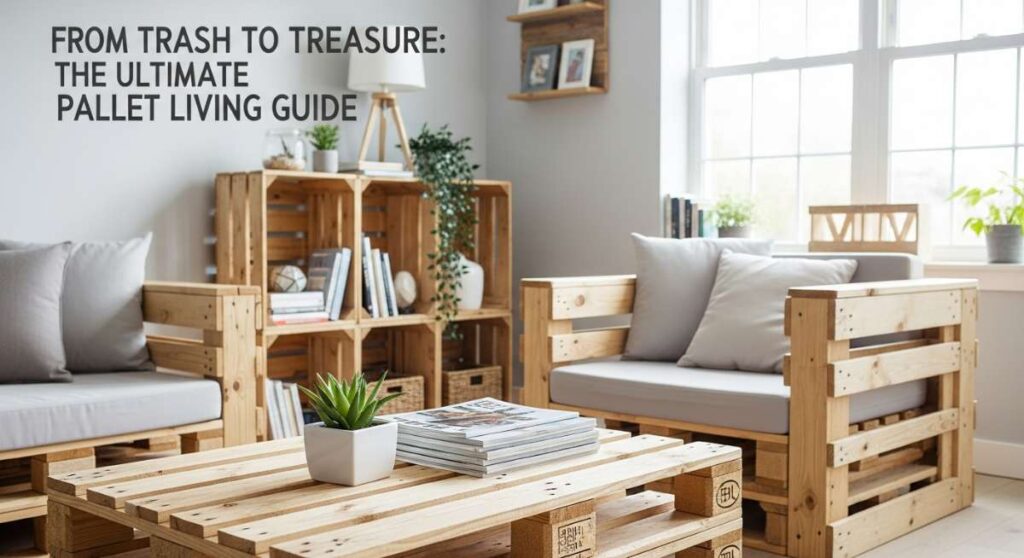
From Trash to Treasure: The Ultimate Pallet Living Guide
There is something deeply grounding about the scent of raw timber and the grit of sawdust under your fingernails. I remember the first time I dragged a weather-beaten shipping pallet home from a local warehouse; my neighbors looked at me like I’d lost my mind. But as I ran my hands over the rough grain, I didn’t see trash. I saw the ghost of a coffee table, the frame of a garden bench, and the heartbeat of a home that values soul over store-bought perfection.
Pallet living isn’t just about saving money, though that’s a lovely perk. It’s about the slow, intentional process of breathing life back into forgotten things. When you sit at a table you’ve sanded, stained, and leveled yourself, the coffee tastes richer and the conversations feel more authentic. It’s a rebellion against the ‘fast furniture’ culture, a way to anchor your space with items that have a history, a texture, and a story to tell.
How to Build a Custom Pallet Table for a Personal Touch of Style

Why we love this
Building your own table from scratch offers an incomparable sense of tactile satisfaction that no flat-pack furniture can ever replicate. We love the way the raw, splintered edges slowly transform into a buttery-smooth surface under a palm sander, revealing the unique amber hues and knots hidden within the pine. There is a weight and a presence to a custom-built pallet piece; it feels sturdy, intentional, and perfectly tailored to the specific dimensions of your life and your morning coffee ritual.
Essential Elements:
- Two HT (Heat Treated) shipping pallets
- Heavy-duty crowbar and hammer
- Box of 2-inch wood screws
- Orbital sander with 80, 120, and 220 grit sandpaper
- Wood glue and clamps
- Measuring tape and a speed square
How to make it
- Begin by carefully dismantling your pallets using a crowbar and hammer, taking care to remove all rusty nails and staples to ensure a clean slate.
- Select the straightest, most uniform boards for your tabletop and lay them out side-by-side on a flat surface to check for gaps or warping.
- Cut four 4×4 blocks from the pallet stringers to serve as your legs, ensuring they are exactly the same height using your speed square.
- Construct a rectangular frame (the apron) slightly smaller than your desired tabletop dimensions and screw it into the top of your four legs.
- Apply a generous bead of wood glue across the top of the frame and lay your selected boards across it, clamping them tightly to prevent shifting.
- Secure each board to the frame using two screws at each end, countersinking them so they sit flush with or slightly below the wood surface.
- Sand the entire piece starting with 80-grit to remove the rough exterior, then progress to 120 and 220 for a professional, touchable finish.
How to Style a Pallet Table Outdoor for the Ultimate Summer Hangout

Why we love this
Outdoor styling is all about creating a bridge between the wild garden and the comfort of the indoors, and a pallet table provides the perfect rustic anchor. We love the way the silvered patina of aged wood looks against the vibrant green of fresh ferns or the flickering glow of citronella candles at dusk. There’s a carefree, bohemian energy to it—an invitation to kick off your shoes, spill a little wine, and let the summer breeze carry the weight of the world away while you lounge on oversized floor cushions.
Essential Elements:
- Linen or burlap table runner
- Assorted terracotta pots with succulents
- Outdoor-safe string lights or lanterns
- Vibrant floor cushions and outdoor rugs
- Woven placemats and glass carafes
- Weather-resistant sealant
How to make it
- Prepare your pallet table by applying a clear, UV-resistant outdoor sealant to protect the wood from the elements and prevent graying.
- Position the table in a central ‘social hub’ area of your patio, preferably under a pergola or a string of overhead Edison bulbs.
- Layer a textured linen runner down the center of the table to soften the wood grain and provide a focal point for your decor.
- Group your terracotta pots in clusters of three, varying the heights to create visual interest and a ‘lush garden’ feel right on the tabletop.
- Surround the table with an array of mismatched floor cushions in earthy tones, encouraging a low-profile, relaxed seating arrangement.
- Add a final touch with a tray of chilled drinks and linen napkins, ensuring the space feels lived-in and ready for an immediate gathering.
How to Refinish Wood Pallet Tables for a High End Rustic Look

Why we love this
Refinishing is where the true alchemy happens, turning a ‘free’ piece of wood into something that looks like it belongs in a high-end designer showroom. We love the moment the first coat of stain hits the dry wood, deepening the grain into a rich, chocolatey mahogany or a sophisticated charcoal gray. It transforms the humble pallet into a sophisticated centerpiece that smells of fresh wax and feels as smooth as a river stone under your fingertips, proving that luxury isn’t about price, but about process.
Essential Elements:
- Wood conditioner (pre-stain)
- Oil-based wood stain (Walnut or Ebony recommended)
- Polyurethane or furniture wax
- Natural bristle brushes and lint-free rags
- Tack cloth for dust removal
- Steel wool (0000 grade)
How to make it
- Ensure the table is sanded to at least a 220-grit finish and use a tack cloth to remove every single speck of dust from the surface.
- Apply a pre-stain wood conditioner using a rag; this is a critical professional step that prevents the stain from looking blotchy on porous pallet wood.
- Stir your stain thoroughly (never shake, as this creates bubbles) and apply a liberal coat using a brush, following the direction of the wood grain.
- Let the stain sit for 5-10 minutes depending on desired depth, then wipe away the excess with a clean, lint-free cloth.
- Allow the stain to dry for a full 24 hours before applying your first coat of polyurethane or wax to seal the finish.
- Lightly buff the surface with 0000 steel wool between coats of sealant to achieve a professional, satin-smooth sheen.
- Apply a second and third coat of sealant for maximum durability, especially on high-traffic surfaces like dining or coffee tables.
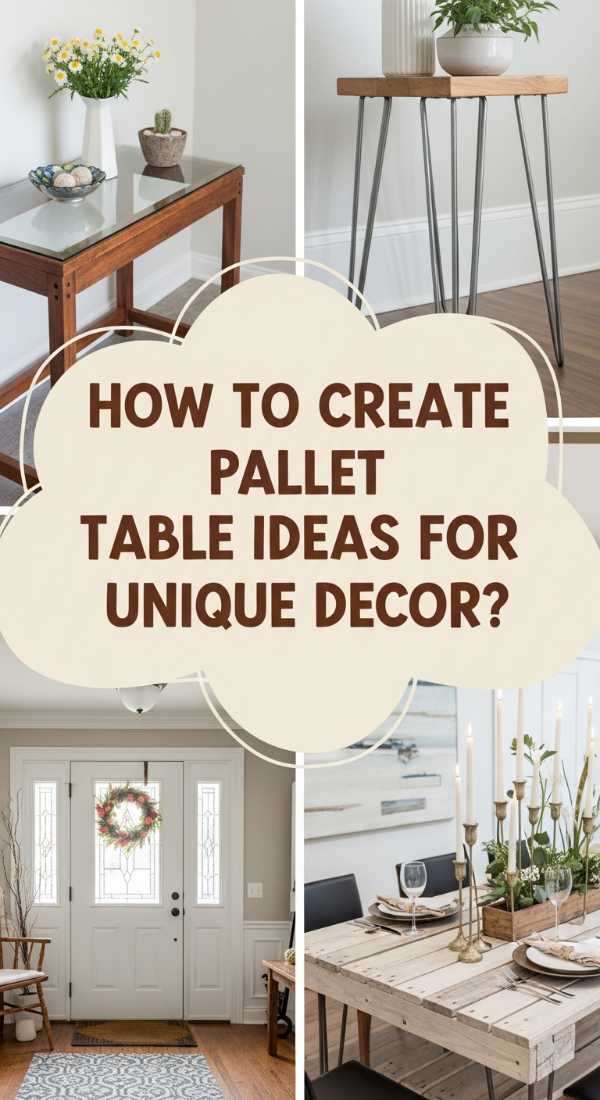
How to Create Pallet Table Ideas for a Unique Home Decor Statement
Why we love this
The beauty of the pallet lies in its versatility; it is a blank canvas for your most creative, ‘out-of-the-box’ design whims. We love the juxtaposition of raw, industrial wood against unexpected materials like polished resin, vibrant tiles, or even embedded twinkle lights. It’s a chance to build a piece of furniture that is a conversation starter—a literal work of art that reflects your personality and the quirky, wonderful corners of your imagination that don’t fit into a standard furniture catalog.
Essential Elements:
- Stencils or acrylic paint for custom patterns
- Inlay materials (sea glass, coins, or ceramic tiles)
- Epoxy resin kit (optional for a glass-like finish)
- Mismatched vintage furniture legs
- Clear glass tabletop protector
How to make it
- Sketch out your creative concept on paper first, deciding whether you want to add a pop of color with paint or a structural change like hairpin legs.
- If using paint, apply a base coat of primer to prevent the wood from soaking up the pigment and losing its vibrancy.
- Use stencils to create a Moroccan tile pattern or a geometric design across the tabletop, using a dry-brush technique for a distressed look.
- For a unique inlay, chisel out small sections of the wood and glue in colorful sea glass or vintage coins before pouring clear resin over them.
- Swap the standard pallet legs for vintage turned-wood legs or sleek metal ones to completely change the silhouette and ‘vibe’ of the table.
- If the surface is too uneven for daily use, have a piece of tempered glass cut to size to sit on top, protecting your artwork while keeping it visible.
How to Design Chic Pallet Tables for a Cozy Living Room Vibe

Why we love this
A chic living room pallet table is all about the balance of ‘hard’ and ‘soft’—the ruggedness of the wood meeting the plush comfort of a velvet sofa. We love the way a low-profile pallet coffee table anchors a room, making it feel grounded and unpretentious yet undeniably stylish. When styled with a stack of art books and a scented candle, it creates a cozy, hygge-filled atmosphere that practically begs you to curl up with a blanket and a good book on a rainy afternoon.
Essential Elements:
- White or light gray chalk paint for a ‘distressed chic’ look
- Satin-finish topcoat
- Large decorative tray
- Scented soy candles and ceramic coasters
- Cozy area rug for underneath
How to make it
- Paint your pallet table with two coats of chalk paint, which provides a matte, high-end finish that hides imperfections in the wood.
- Once dry, use a fine-grit sandpaper to lightly distress the edges and corners, allowing hints of the original wood grain to peek through.
- Apply a thin layer of furniture wax over the paint to give it a soft, touchable glow and to protect the finish from water rings.
- Place the table on a high-pile or shaggy rug to create a textural contrast that makes the wood look more refined and intentional.
- Style the center with a large wooden or metallic tray to organize smaller items like remotes and coasters, keeping the look ‘chic’ rather than cluttered.
- Add a natural element, like a vase of dried eucalyptus or cotton stems, to bring a sense of life and softness to the wooden structure.
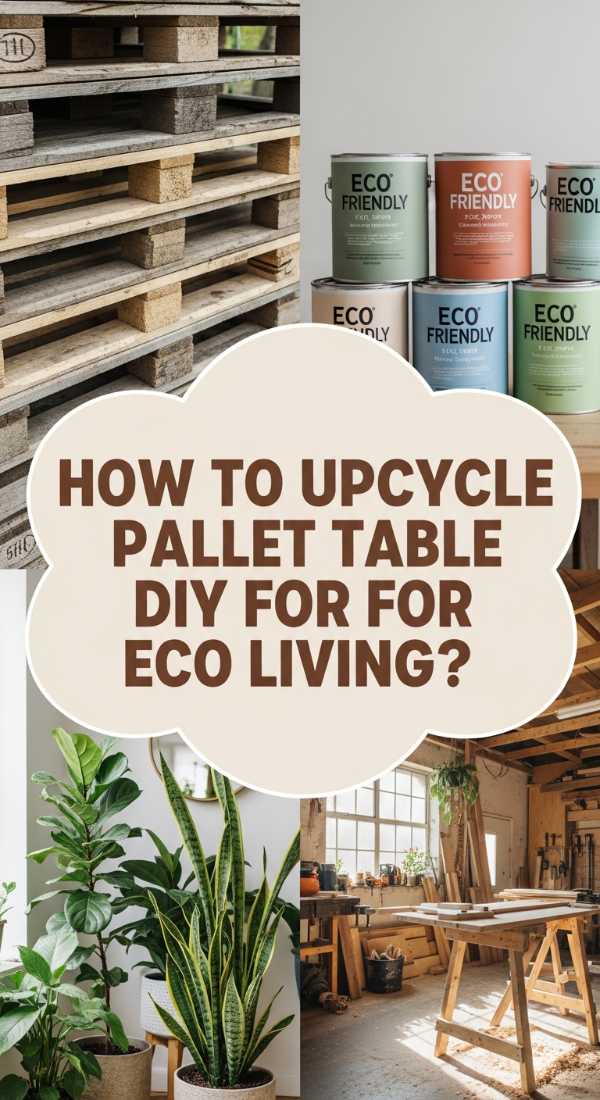
How to Upcycle Pallet Table DIY Projects for an Environmentally Conscious Home
Why we love this
Upcycling is the ultimate act of environmental stewardship, turning ‘waste’ into a functional heirloom that will last for years. We love the deep sense of pride that comes from knowing no new trees were felled to create your furniture and that you’ve personally diverted industrial waste from a landfill. There is a clean, honest energy to a home filled with upcycled pieces—it speaks to a lifestyle that values resourcefulness, sustainability, and the quiet beauty of the circular economy.
Essential Elements:
- Sustainably sourced, heat-treated (HT) pallets
- Eco-friendly, low-VOC stains and finishes
- Reclaimed hardware (old hinges or handles)
- Natural beeswax for sealing
- Hand tools (saw, screwdriver) to minimize energy use
How to make it
- Verify that your pallets are marked with the ‘HT’ stamp (Heat Treated) rather than ‘MB’ (Methyl Bromide) to ensure they are safe for indoor use.
- Design your table to use as much of the pallet as possible, minimizing offcuts and waste; use smaller scraps for coasters or support braces.
- Use a handsaw for cuts if you want to keep the project completely carbon-neutral and enjoy the meditative rhythm of manual labor.
- Join pieces using traditional joinery or eco-friendly wood glue that is free from harsh chemicals and formaldehyde.
- Finish the wood with a homemade beeswax and olive oil polish rather than synthetic varnishes to keep the piece 100% biodegradable and non-toxic.
- Educate guests on the table’s origin, turning your furniture into a tool for environmental advocacy and inspiration within your home.
How to Craft Large Pallet Tables for Memorable Family Dinners

Why we love this
There is nothing quite like the communal warmth of a large dining table, and a pallet-built version brings an extra layer of ‘home-cooked’ charm to every meal. We love the expansive surface that accommodates mismatched plates, overflowing serving bowls, and the elbows of your favorite people. The sound of a heavy ceramic mug clinking against the solid wood and the way the table hums with the vibration of shared laughter creates a sensory backdrop for memories that linger long after the candles have burned down.
Essential Elements:
- Four to six heavy-duty pallets
- Structural 4×4 timber for central support beams
- Long carriage bolts and nuts for heavy-duty assembly
- Wood filler for large gaps
- Industrial-grade sander
How to make it
- Create a massive, reinforced frame using structural timber, as a dining-length table requires more support than a standard coffee table to prevent sagging.
- Join multiple pallet tops together end-to-end, ensuring the seams are reinforced from underneath with thick ‘sister’ boards and heavy-duty wood glue.
- Use carriage bolts to attach the legs to the frame, as these provide much more stability and weight-bearing capacity than standard screws.
- Fill any large knots or gaps in the tabletop with a high-quality wood filler that matches your intended stain color to prevent food from falling through.
- Sand the surface extensively; because diners will be resting their arms on this, the finish must be exceptionally smooth and snag-free.
- Apply at least four coats of food-safe sealer, as dining tables face constant wiping, spills, and heat from serving dishes.
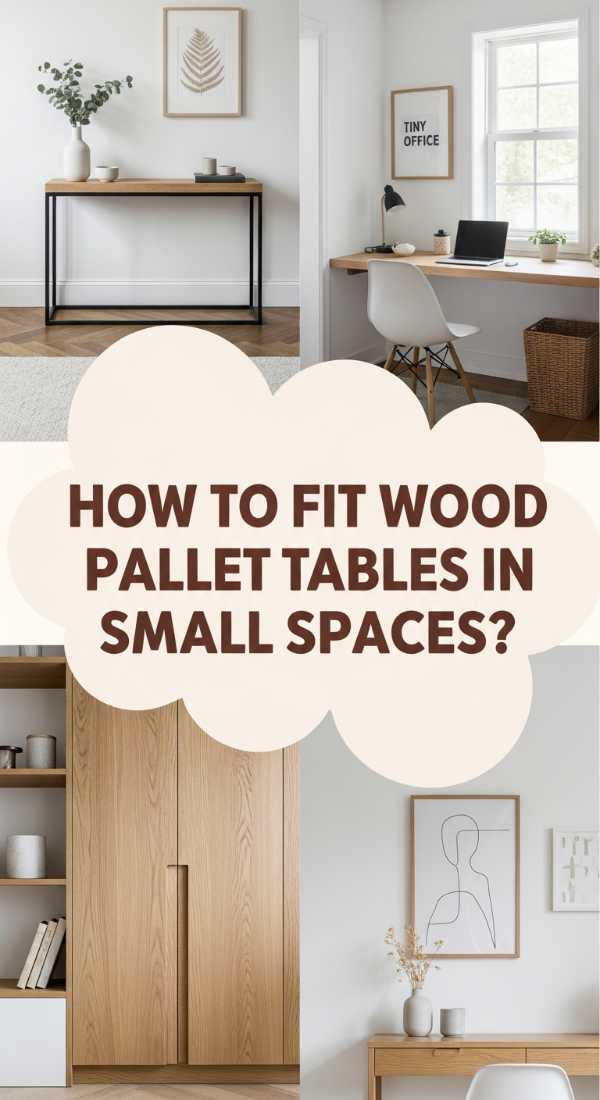
How to Fit Wood Pallet Tables for a Smart Small Space Solution
Why we love this
Small space living requires a special kind of ‘furniture Tetris,’ and the slim, modular nature of pallets makes them the perfect candidate for clever design. We love how a pallet can be transformed into a narrow console table or a fold-down desk that takes up zero floor space when not in use. It’s about being smart without sacrificing soul, allowing you to have a functional, beautiful surface in even the tiniest studio apartment or cluttered entryway without it feeling overwhelming or ‘bulky.’
Essential Elements:
- Slim-profile pallet (half-width)
- Heavy-duty wall anchors or L-brackets
- Folding shelf hinges (for drop-leaf designs)
- Wall studs and a stud finder
- Slim-line stools that tuck underneath
How to make it
- Measure your small space carefully and cut your pallet to a ‘slim’ width, often just 10-12 inches deep, to ensure it doesn’t block foot traffic.
- For a floating look, use a stud finder to locate the strongest points in your wall and secure the pallet directly to the studs using heavy-duty L-brackets.
- If building a drop-leaf table, attach the pallet top to a wall-mounted cleat using folding locking hinges that can support at least 50 lbs.
- Utilize the ‘natural’ shelves created by the pallet stringers underneath the tabletop for slim storage of books, mail, or tablets.
- Paint the table the same color as your wall to create a ‘monochrome’ effect that makes the space feel larger and less visually cluttered.
- Sand and finish only the visible surfaces to save time and materials, focusing on the top and the front-facing edges.
How to Use a Pallet Table Outdoor for a Lush Garden Oasis
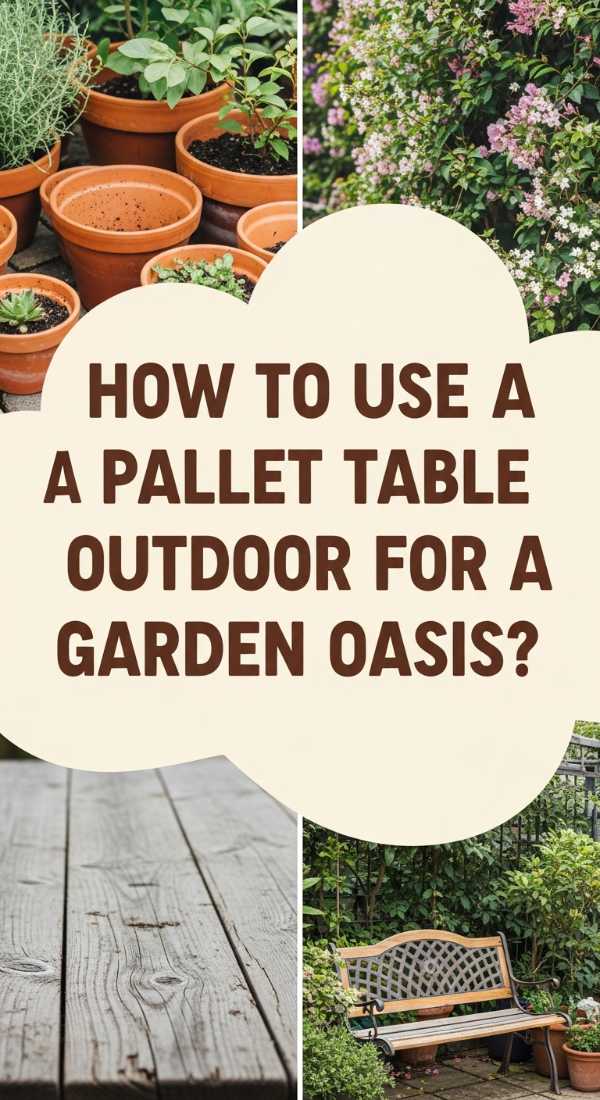
Why we love this
A garden pallet table is more than furniture; it’s a potting station, a tea spot, and a stage for your favorite plants. We love the way the wood begins to weather over time, turning a soft silvery-gray that blends seamlessly into the natural landscape of flowers and herbs. It feels like it grew right out of the soil, providing a sturdy, earthy platform for the messy, beautiful work of gardening and the quiet joy of watching the sunset with a cold drink in hand.
Essential Elements:
- Pressure-treated or well-sealed pallet wood
- Built-in ‘trough’ or planter box in the center
- Rust-proof hardware (stainless steel or galvanized)
- Small garden tools for decoration
- Potted herbs (rosemary, mint, thyme)
How to make it
- Remove a few center boards from your pallet table and drop in a plastic or metal liner to create a ‘built-in’ planter trough for herbs or succulents.
- Drill drainage holes through the bottom of the planter area to ensure your plants don’t get waterlogged during rain showers.
- Use galvanized screws to prevent rust streaks from forming on the wood when the table is exposed to morning dew and rain.
- Sand the wood just enough to prevent splinters, but leave some of the ‘character’ marks and stamps for a more authentic, garden-ready look.
- Position the table in a spot that receives partial sun, making it the perfect place for both your morning coffee and your sun-loving plants.
- Apply a heavy-duty, deck-grade water repellent every spring to keep the wood structural and healthy for years of garden use.
How to Blend Pallet Table DIY Elements for a Modern Industrial Aesthetic
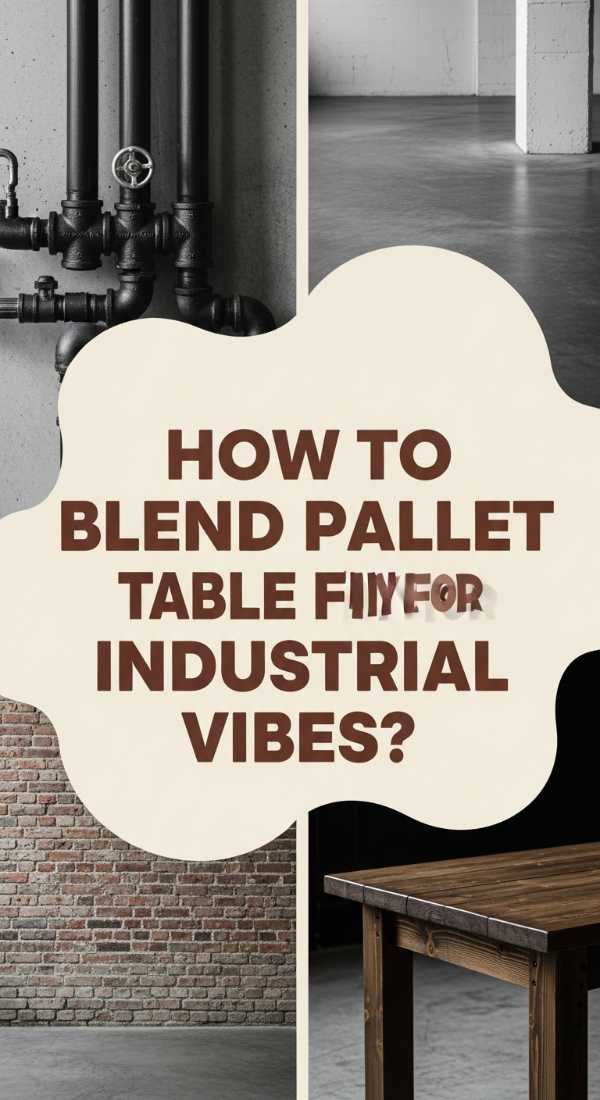
Why we love this
The modern industrial look is all about the ‘factory-cool’ marriage of cold metal and warm wood, and nothing fits this aesthetic better than a reclaimed pallet. We love the sharp, clean lines of black iron legs supporting the rugged, history-filled planks of a shipping pallet. It creates a vibe that is both masculine and inviting, sophisticated yet approachable—a perfect fit for an urban loft or a modern home that isn’t afraid to show a little ‘edge’ and raw honesty in its design.
Essential Elements:
- Matte black iron pipe legs or hairpin legs
- Dark wood stain (Dark Walnut or Jacobean)
- Clear matte spray finish
- Industrial casters (optional for a ‘cart’ look)
- Hex bolts for visible joinery
How to make it
- Choose pallets with clear industrial stamps or markings to lean into the ‘factory’ history of the material.
- Sand the wood thoroughly but stop at 120-grit to maintain a slightly rugged texture that catches a dark stain beautifully.
- Apply a deep, dark stain and wipe it off quickly to ensure the grain remains visible but the overall tone is moody and modern.
- Attach black iron pipes (available at hardware stores) to the four corners using floor flanges for an authentic ‘plumbing’ industrial look.
- Alternatively, add four heavy-duty locking casters to the bottom to create a mobile ‘factory cart’ coffee table that is both functional and stylish.
- Finish with a matte clear coat rather than gloss to keep the look understated and professional, avoiding any ‘plastic-like’ sheen.
The Final Polish: Living the Pallet Life
As you step back and look at your finished piece, you’ll realize that ‘pallet living’ is about so much more than just a table. It’s about the shift in perspective that happens when you start seeing the potential in the discarded. Your home becomes a gallery of your own persistence, a collection of pieces that were built with your own two hands. So, go ahead—invite the neighbors over, set out the snacks, and let them marvel at the fact that your gorgeous new centerpiece used to be ‘trash.’ You know the truth: it was just a treasure waiting for you to find it.