
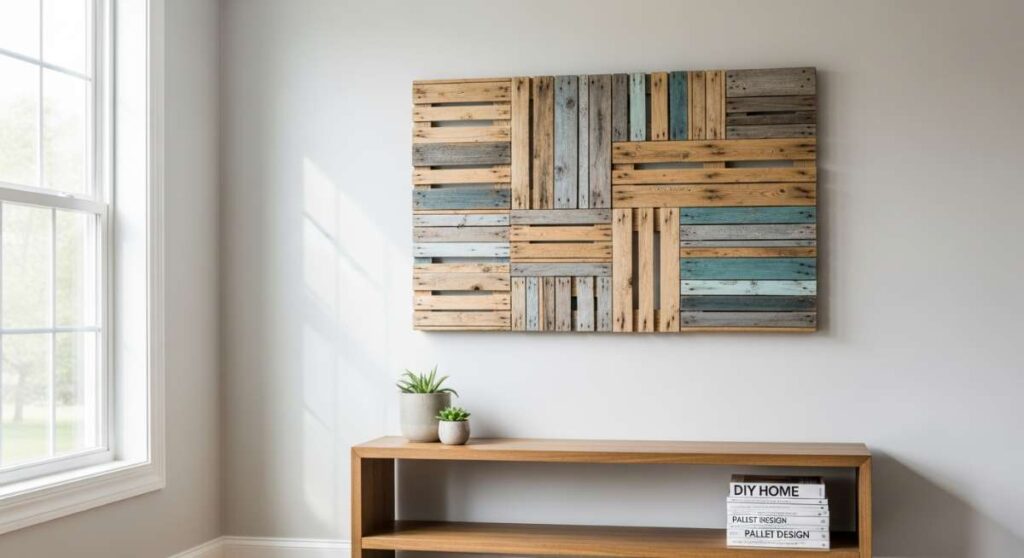
There is something truly magical about the smell of raw, reclaimed pine and the tactile thrill of running your hand over a grain that has lived a previous life. In a world of mass-produced, flat-pack furniture that lacks a soul, turning toward handcrafted pallet art is more than just a weekend project; it is a way to breathe personality and warmth back into your sanctuary. I remember the first time I dragged a discarded pallet into my garage—the neighbors looked skeptical, but I saw the ghost of a coffee table waiting to be invited inside for tea.
Creating your own furniture allows you to bridge the gap between sustainability and high-end design, proving that luxury isn’t about the price tag, but the story behind the piece. Whether you are aiming for a sun-drenched boho terrace or a sleek, minimalist patio, these projects offer a canvas for your creativity. Join me as we explore how to transform these humble wooden skeletons into the centerpiece of your home’s most cherished memories.
How to Build a Pallet Table Outdoor for the Ultimate Summer Garden Party

Why we love this
There is nothing quite like the atmosphere of a garden party where the furniture feels as natural as the surrounding flora. This outdoor pallet table brings a grounding, earthy texture to your backyard, smelling faintly of cedar and sun-warmed wood as the evening breeze picks up. Imagine the gentle clink of cocktail glasses against the sturdy, weathered slats and the way the fairy lights dance across the uneven surface, creating a cozy, communal hub that invites guests to linger long after the sun has dipped below the horizon.
Essential Elements:
- Two standard-sized heat-treated (HT) wood pallets
- Four heavy-duty locking caster wheels
- Stainless steel wood screws (weather-resistant)
- Electric power drill and 1/8 inch drill bit
- Coarse and fine-grit sandpaper (80 and 220 grit)
- Clear outdoor polyurethane sealant
How to make it
- Begin by inspecting your pallets for the ‘HT’ stamp, ensuring they are heat-treated and safe for home use. Clean any debris or dirt using a stiff brush and a damp cloth, allowing them to dry completely in the sun for at least 4 hours.
- Stack the two pallets directly on top of one another to check for alignment. Use your power drill to create pilot holes through the corner blocks of the top pallet into the bottom pallet to prevent the wood from splitting.
- Drive 3-inch stainless steel screws into the pilot holes, securing the two pallets together. For maximum stability, add two additional screws in the center support beams.
- Flip the assembly over and position your caster wheels at the four outer corners. Mark the holes, drill pilot holes, and bolt the wheels securely; ensure you use locking casters to prevent the table from wandering during your party.
- Sand the top surface vigorously. Start with 80-grit to remove splinters and rough patches, then move to 220-grit for a buttery-smooth finish. You’ll know it’s ‘done’ when the wood feels like soft suede under your fingertips.
- Apply a generous coat of outdoor sealant using a wide brush, following the grain. Let it cure for 24 hours in a low-humidity environment before use to ensure the finish is hard and waterproof.
How to Sand a Wood Pallet Table for a Smooth Organic Living Room Vibe
Why we love this
The transition of a pallet from a rugged shipping tool to a refined living room centerpiece lies entirely in the sanding process, which reveals the hidden beauty of the wood’s internal rings and knots. As you work, the air fills with the sweet, nostalgic scent of sawdust, and the wood transforms from a dull, greyish timber into a vibrant, honey-hued surface that begs to be touched. This smooth, organic finish balances the industrial origins of the material with a sophisticated, tactile softness that complements plush rugs and velvet sofas perfectly.
Essential Elements:
- Orbital sander and hand sanding block
- Sandpaper discs in 60, 120, 180, and 320 grits
- Tack cloth or microfiber rag
- Vacuum with a brush attachment
- Dust mask and safety goggles
How to make it
- Safety first: Don your mask and goggles, as the fine dust from sanding can be an irritant. Work in a well-ventilated area, preferably outdoors or in a garage with the door open.
- Start with the 60-grit sandpaper on your orbital sander. This is the ‘heavy lifting’ phase where you remove the old outer layer of grime and level out any major ridges. Move the sander slowly, about one inch per second, letting the weight of the tool do the work.
- Vacuum the entire surface and wipe it down with a tack cloth between every grit change. This prevents larger grit particles from scratching the surface during the finer stages.
- Switch to 120-grit, then 180-grit. At this ‘medium’ stage, you will see the wood grain begin to pop and the color brighten significantly. Look for a uniform matte appearance across the boards.
- Finalize the process with 320-grit. This stage is about the ‘feel’—run your hand over the wood; it should feel like polished stone. If you see any ‘swirl marks’ from the orbital sander, do a final light hand-sand following the direction of the grain.
- Check the ‘doneness’ by wiping a small amount of mineral spirits on a corner; if the wood looks deep, clear, and smooth without visible scratches, you have achieved the perfect organic finish.
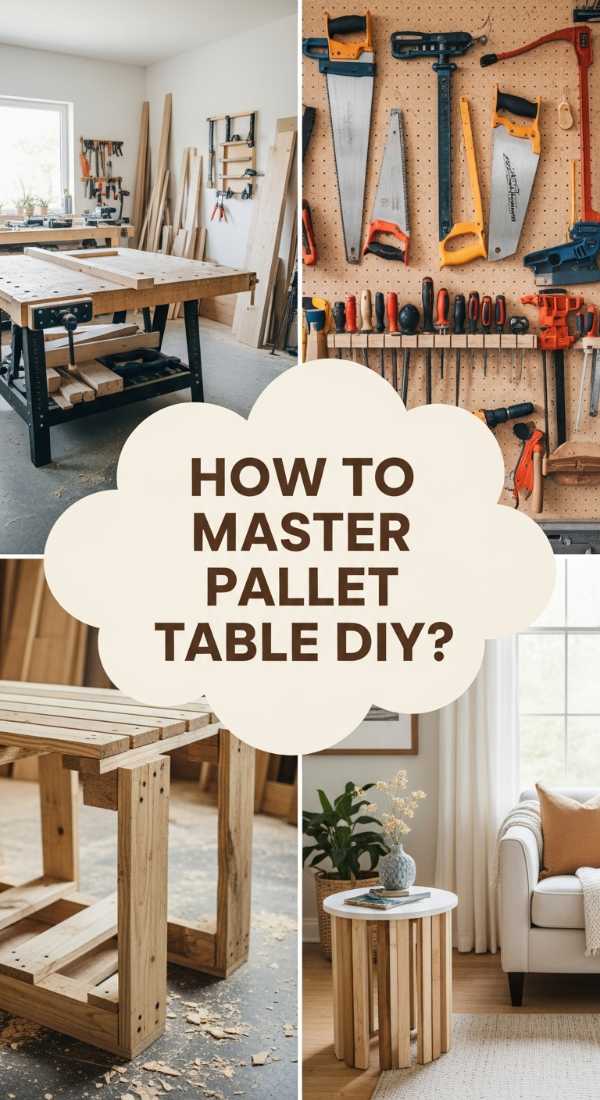
How to Master a Pallet Table DIY for a Budget Friendly Home Upgrade
Why we love this
Mastering the pallet table is like unlocking a secret level of home styling where your only limit is your imagination rather than your bank account. There is an immense sense of pride in seeing a stylish, functional piece of furniture in your home and knowing it cost next to nothing but your own time and effort. The finished product carries a sturdy, heavy presence that feels expensive, offering a rustic-chic aesthetic that anchors a room and serves as a conversation starter for every guest who walks through your door.
Essential Elements:
- Two reclaimed pallets (Uniform size)
- Pry bar and hammer (for disassembly)
- Wood glue (Max strength)
- Box of 2-inch wood screws
- Tape measure and speed square
- Wood filler (stainable)
How to make it
- Select your pallets carefully, looking for those with minimal cracking. Use the pry bar and hammer to carefully remove the top slats from one pallet; these will be used to fill the gaps in the top of your main table pallet.
- Measure the gaps between the slats on your primary pallet and trim your ‘donor’ slats to fit using a hand saw or miter saw. This creates a solid, ‘gap-less’ tabletop perfect for holding drinks or books.
- Apply a thick bead of wood glue to the support beams where the new slats will sit. Press the slats into place and secure them with two screws at each end, countersinking the heads slightly below the wood surface.
- Fill the screw holes and any deep cracks with stainable wood filler. Use a putty knife to press it in firmly, leaving a slight mound on top to account for shrinkage as it dries.
- Wait for the filler to dry completely (check the package, usually 2-4 hours depending on heat and humidity). Sand the filler flush with the wood once it feels rock-hard to the touch.
- Assemble the base by either stacking a second pallet or creating simple 4×4 post legs. Ensure the base is level by using a spirit level; a table that wobbles is a DIY ‘fail’ that can be fixed by slightly sanding down the longest leg.
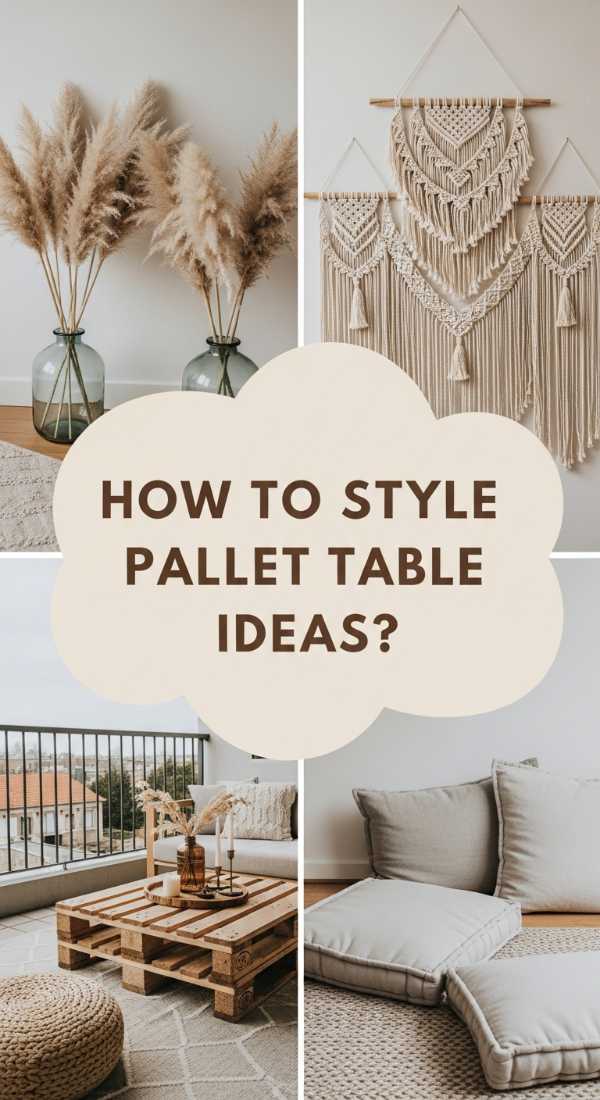
How to Curate Pallet Table Ideas for a Dreamy Boho Terrace Transformation
Why we love this
A boho terrace is all about effortless layers, and a pallet table provides the perfect low-profile foundation for a floor-seated sanctuary. Imagine a low, wide wooden table draped in macramé runners, surrounded by oversized floor cushions, potted eucalyptus, and the flickering light of Moroccan lanterns. The raw wood provides a gorgeous textural contrast to soft linen textiles and woven seagrass rugs, creating an inviting, relaxed atmosphere that feels like a permanent vacation in the comfort of your own outdoor space.
Essential Elements:
- Three pallets (for a large, low surface)
- White-wash wood stain or diluted white acrylic paint
- Natural jute rope
- Sponge brush or rag for staining
- Protective matte topcoat
- Outdoor floor cushions
How to make it
- Arrange three pallets in a ‘U’ shape or a large rectangle on your terrace to determine the best flow for movement. For a true boho look, keep the table low to the ground, using only one pallet height.
- Clean the wood thoroughly to ensure the white-wash adheres. Mix one part white paint with two parts water to create a translucent stain that allows the wood grain to peek through.
- Apply the white-wash using a rag, wiping it on and then immediately wiping off the excess. Work in small sections to prevent the ‘heat’ of the sun from drying the paint too quickly, which causes streaks.
- For a decorative touch, wrap the corner posts of the pallets in natural jute rope. Secure the ends with a dab of hot glue or a small staple to add a nautical, textured element to the design.
- Apply a matte outdoor sealer. Avoid high-gloss finishes for this look, as you want the wood to look weathered and natural rather than plastic-coated.
- Style the ‘doneness’ of the scene by layering a patterned rug underneath and placing a cluster of terracotta pots on top. The table is ready when it looks like a curated corner of a Mediterranean villa.
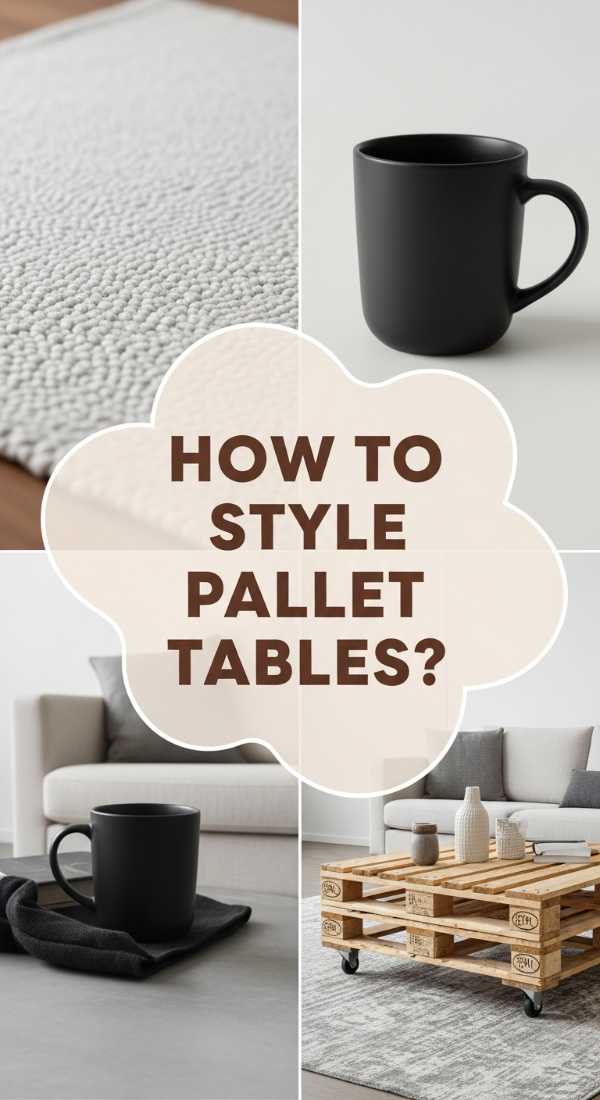
How to Style Pallet Tables for a Cozy Modern Rustic Lounge Aesthetic

Why we love this
The modern rustic lounge aesthetic thrives on the tension between cold, clean lines and the warm, unpredictable nature of reclaimed wood. Styling a pallet table in this context involves embracing the ‘wabi-sabi’—the beauty in imperfection—while keeping the surrounding decor sleek and minimal. The result is a room that feels curated and high-end but retains a cozy, ‘lived-in’ soul, where the scent of a wood-burning candle complements the deep, rich tones of the pallet’s stained surface.
Essential Elements:
- Single pallet coffee table on industrial metal legs
- Dark walnut or espresso wood stain
- Satin-finish lacquer
- Black metal hairpin legs (16-inch height)
- Decor: Concrete trays, matte black vases, and wool throws
How to make it
- Transform the pallet’s ‘vibe’ by removing the bottom boards and middle supports, keeping only the top deck. This thins the profile for a more ‘modern’ look.
- Sand the wood until it is exceptionally smooth. Apply a dark walnut stain using a foam brush, allowing it to sit for 5 minutes for a deep ‘espresso’ tone before wiping away the excess.
- Visual cue: The wood should look rich and saturated but not ‘muddy.’ If it’s too light, apply a second coat after 2 hours of drying time.
- Seal with a satin lacquer spray. Hold the can 10 inches away and move in steady, overlapping horizontal strokes. This provides a professional, factory-like finish that resists water rings.
- Flip the deck and mount four black hairpin legs at the corners. Ensure they are angled correctly (usually slightly outward) to provide the best architectural silhouette.
- Style with high-contrast items. A heavy concrete tray on the rustic wood surface provides the perfect balance of ‘modern’ and ‘rustic.’
How to Construct a Pallet Table Outdoor for Memorable Family Al Fresco Dinners

Why we love this
There is a unique joy in gathering the entire family around a table that you built with your own hands, especially for those long, slow Sunday lunches in the fresh air. This large-scale pallet table is designed for durability and presence, offering enough space for overflowing platters of grilled vegetables and fresh bread. The scent of blooming jasmine and the sound of laughter over the sturdy wooden surface create a multi-sensory experience that turns a simple meal into a cherished family tradition.
Essential Elements:
- Four to six heavy-duty pallets
- 4×4 timber posts for legs
- Heavy-duty carriage bolts and washers
- Power miter saw or circular saw
- Exterior wood glue and deck screws
- Weatherproof timber oil
How to make it
- For a large dining table, you will need to ‘join’ two pallets end-to-end. Start by reinforcing the inner frame where the pallets meet using scrap timber and long wood screws to create a single, rigid 8-foot-long frame.
- Cut your 4×4 timber posts to a standard dining height (usually 29-30 inches). Notch the tops of the legs using a circular saw so they fit snugly into the corners of the pallet frame.
- Secure each leg with two carriage bolts. Drill all the way through the leg and the pallet frame, insert the bolt, and tighten the nut onto a washer. This ensures the table will never wobble, even under the weight of a full feast.
- Fill any gaps in the tabletop with additional pallet slats to create a smooth surface for plates and glasses. Sand the entire piece down to prevent any splinters during dinner.
- Apply a high-quality timber oil. Unlike sealant, oil penetrates deep into the wood fibers, protecting it from the inside out and highlighting the natural beauty of the timber.
- Check the ‘doneness’ by pouring a few drops of water on the surface; if it beads up, the table is ready for the elements and your first family dinner.
How to Stain Wood Pallet Tables for a Rich High End Interior Look
Why we love this
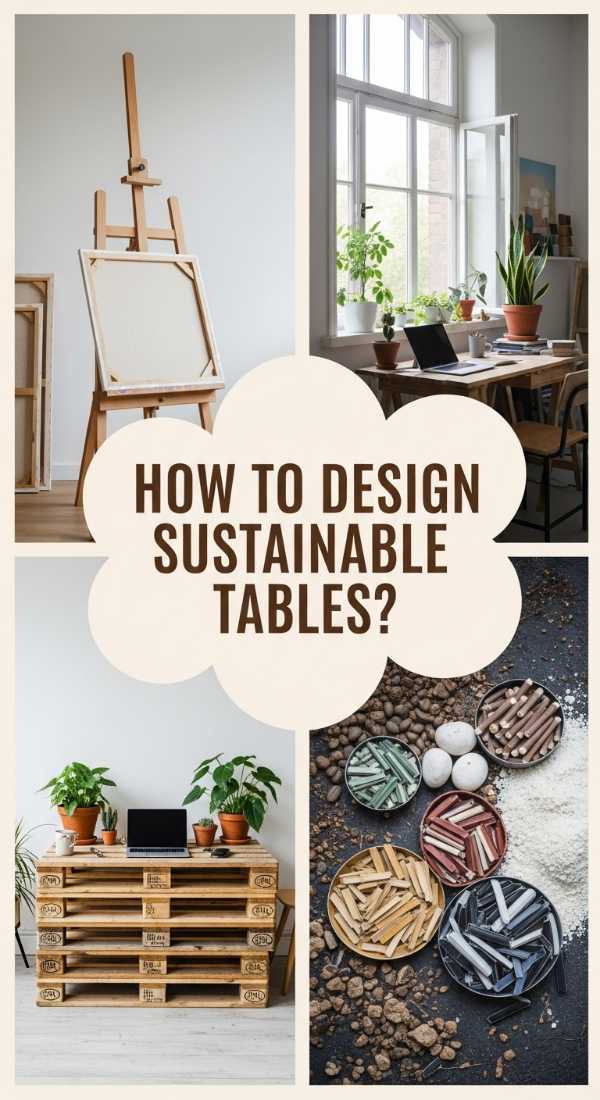
Staining is the ultimate alchemy of DIY, turning ‘trash’ wood into a sophisticated piece that looks like it was plucked from a high-end furniture boutique. A deep, rich stain brings out the ‘flame’ in the wood grain, creating a visual depth that draws the eye and anchors the entire room’s design. The finished piece feels substantial and luxurious, offering a warm, glowing amber or deep mahogany hue that provides a stunning backdrop for brass accents, leather-bound books, and fine crystal.
Essential Elements:
- Pre-stain wood conditioner
- Oil-based wood stain (Classic Oak or Dark Walnut)
- Natural bristle brush
- Clean, lint-free cotton rags
- Fine steel wool (0000 grade)
- Polyurethane topcoat
How to make it
- Ensure your pallet table is sanded to at least 220-grit. Apply a ‘pre-stain wood conditioner’ first; this is the pro secret to preventing the blotchiness common in porous pallet wood. Let it sit for 15 minutes.
- Stir your stain thoroughly—never shake it, as this creates air bubbles. Apply the stain in long, even strokes following the grain of the wood.
- The ‘heat’ of the color depends on timing. For a light tint, wipe off after 2 minutes. For a deep, rich color, let it soak for up to 10 minutes. Do not let the stain dry completely on the surface, or it will become sticky and uneven.
- Once the first coat is dry (usually 8 hours), lightly buff the surface with 0000 steel wool. This removes any raised grain and ensures the next layer is perfectly smooth.
- Apply a second coat if desired for more depth. Once satisfied, let it dry for a full 24 hours in a room with a temperature between 60-80°F.
- Seal with polyurethane. Use thin coats and sand lightly between them for a glass-like finish that feels incredibly high-end.
How to Refine Pallet Table Ideas for a Unique Sustainable Studio Space
Why we love this
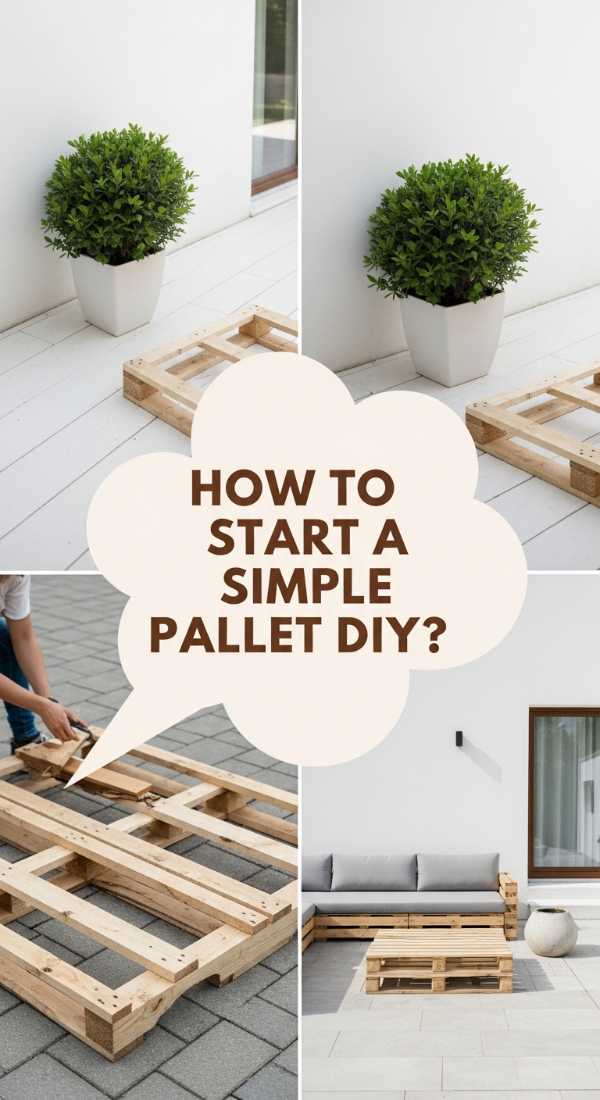
In a creative studio, the environment should be as inspiring as the work being produced, and a refined pallet table offers a sustainable, industrial-chic vibe that fuels innovation. There is a rugged honesty to the wood that pairs beautifully with blueprints, paintbrushes, or computer gear, creating a space that feels grounded and productive. The scent of fresh coffee on a desk made of recycled materials serves as a daily reminder of the power of transformation and the importance of conscious, eco-friendly design.
Essential Elements:
- Two pallets (one for top, one for side storage)
- L-brackets for wall mounting (optional for floating desk)
- Plexiglass or tempered glass custom-cut for the top
- Electric jigsaw
- Matte grey or black wood paint
How to make it
- Design your studio desk to be ‘functional-first.’ Use a jigsaw to cut out sections of the lower pallet to create ‘pockets’ or shelves for storing notebooks, tablets, or art supplies.
- Sand the exterior surfaces but leave some of the original stamps or markings if they add to the ‘industrial’ character of your studio.
- Apply a matte grey paint or a ‘pickling’ stain to give the wood a sophisticated, weathered look that isn’t too ‘country.’ This provides a neutral backdrop that won’t distract from your creative work.
- Ensure the desk is perfectly level. If mounting to the wall as a floating desk, use heavy-duty L-brackets into studs to support the significant weight of the pallet.
- The ‘pro’ touch for a studio is adding a custom-cut piece of glass or plexiglass over the top. This provides a perfectly flat writing surface while still showcasing the beautiful, rugged wood underneath.
- Install a power strip to the underside of the pallet using zip ties to manage cables and keep your sustainable workspace clean and organized.
How to Complete a Pallet Table DIY for a Simple Minimalist Patio Refresh

Why we love this
Minimalism is about removing the unnecessary to let the essential shine, and a simple pallet table on a clean patio embodies this philosophy perfectly. There is a serene beauty in the straight lines and the rhythmic spacing of the slats against a backdrop of concrete or stone. This project is about restraint—using light-toned woods and hidden fasteners to create a piece that feels airy and light, providing a quiet spot for a morning espresso as the world wakes up around you.
Essential Elements:
- One high-quality ‘Euro’ pallet (thicker blocks)
- White exterior paint or light oak stain
- Hidden deck fasteners or pocket hole jig
- Sander with 220-grit discs
- UV-resistant clear coat
How to make it
- Select a ‘Euro’ pallet for its superior build quality and symmetrical design. These pallets often have cleaner lines which are essential for a minimalist aesthetic.
- Focus heavily on the edges. Use your sander to slightly ‘ease’ or round the sharp corners, giving the table a more finished, intentional look that moves away from its industrial roots.
- To maintain clean lines, avoid screwing through the top of the slats. Use a pocket hole jig to screw the boards from underneath, or use hidden deck fasteners for a seamless, ‘screw-less’ appearance.
- Apply a very light oak stain or a ‘whitewash’ to keep the wood looking as close to its natural, raw state as possible while still providing protection.
- Visual cue: The wood should look ‘naked’ but feel sealed. Use a UV-resistant clear coat to prevent the sun from yellowing the wood over time, keeping that crisp, minimalist look.
- Place the table in a central spot on your patio with a single, architectural plant (like a snake plant) on top to complete the ‘refresh.’
How to Arrange Pallet Tables for a Warm Inviting Outdoor Firepit Circle
[IMAGE_10]
Why we love this
A firepit circle is the heart of any backyard, and arranging multiple pallet tables around the flames creates a cozy, amphitheater-like setting for storytelling and marshmallow roasting. The low profile of the tables keeps sightlines clear across the fire, while the flickering orange glow of the embers highlights the deep textures and shadows of the wood. The faint scent of woodsmoke mingling with the earthy aroma of the pallets creates an immersive outdoor experience that feels like a private campsite under the stars.
Essential Elements:
- Four to six small pallet tables (square or triangular)
- Outdoor string lights (Edison bulbs)
- Heat-resistant wood finish
- Heavy stones or bricks (for leveling on soil)
- Adirondack chairs or log stools
How to make it
- Create ‘individual’ pallet tables by cutting a standard pallet into quarters. This allows each guest to have their own surface for drinks and s’mores supplies.
- Sand all edges thoroughly, as people will be moving around these tables in the dark. Safety and comfort are paramount for a firepit setting.
- Apply a heat-resistant spar urethane. While the tables shouldn’t be inside the fire, the radiant heat from a large pit can dry out wood quickly; this finish adds an extra layer of durability.
- Arrange the tables in a circular radius approximately 3 to 4 feet away from the edge of the firepit. This distance ensures safety while keeping the tables within easy reach of the seating.
- If your firepit is on grass or uneven soil, place a flat paving stone or bricks under the ‘legs’ of each pallet table to keep them level and prevent the wood from absorbing moisture from the ground.
- Style the circle with string lights draped low over the area. The ‘doneness’ of the arrangement is felt when you sit down and realize everything—the fire, the drink, and the company—is perfectly within reach.
Conclusion: The Timeless Appeal of Handcrafted Wood
As we’ve explored, the humble wooden pallet is far more than just a shipping vessel; it is a gateway to a more soulful, sustainable, and personalized home. From the rugged charm of a garden party center-piece to the sleek sophistication of a modern lounge table, these projects prove that with a little sanding and a lot of heart, you can create pieces that rival high-end showroom furniture. I hope you feel inspired to pick up a sander, embrace the sawdust, and start your own rustic revamp today—your home is waiting for its next great story.