

Why These 10 Home & Garden Trends Are Breaking the Internet (And How to Get Them)
Have you ever spent hours scrolling through your feed, mesmerized by a sun-drenched patio or a perfectly organized desk, feeling that sudden, sharp tug of ‘home envy’? We’ve all been there. There is something deeply emotional about the spaces we inhabit; they aren’t just walls and dirt, but the backdrop to our morning coffees, our late-night deadlines, and our most cherished celebrations. In a world that often feels chaotic, creating a sanctuary that reflects our soul has become a form of self-care that the internet—and all of us—simply can’t get enough of.
Today, we’re diving deep into the aesthetics that are currently going viral, from the nostalgic warmth of ‘Grandma-core’ to the lush, vertical dreams of secret gardens. These trends are breaking the internet because they prioritize feeling over perfection. They invite us to touch the velvet of a thrifted chair, smell the damp earth of a freshly mulched flower bed, and bask in the glow of fairy lights. Whether you have a sprawling backyard or a tiny studio apartment, these ideas are designed to help you reclaim your space and turn it into a viral-worthy haven of your own.
How to Design Simple Front Yard Landscaping for Instant Curb Appeal

Why we love this
There is nothing quite like the feeling of pulling into your driveway and being greeted by a crisp, intentional landscape that whispers ‘welcome home.’ This aesthetic focuses on clean lines and the satisfying contrast between dark, aromatic mulch and the vibrant, waxy greens of healthy shrubbery. It’s about the tactile experience of soft grass underfoot and the visual rhythm of symmetry that instantly calms the mind after a long commute. Achieving this viral look provides a sense of pride that radiates from your property, making your home the jewel of the neighborhood with minimal, high-impact effort.
Essential Elements:
- Hardwood mulch in dark brown or black
- Low-maintenance evergreen shrubs (like Boxwood or Inkberry)
- Defined stone or plastic edging
- Solar-powered pathway lighting
- A pop of color from perennial flowers
How to make it
- Begin by defining your beds; use a garden hose to layout organic, curved lines for the border, then use a sharp spade to cut a clean trench about 3 inches deep along this line to prevent grass creep.
- Remove all existing weeds and grass within the border, ensuring you pull from the root to prevent regrowth, and level the soil with a steel rake until the surface is smooth and slightly sloped away from the house.
- Position your larger evergreen shrubs toward the back of the bed, spacing them according to their mature width to avoid overcrowding; dig holes twice as wide as the root ball and just as deep, backfilling with a mix of native soil and organic compost.
- Incorporate smaller perennials in front of the shrubs in odd-numbered groupings (3s or 5s) for a natural, designer look, ensuring they are planted at the same depth they were in their nursery pots.
- Spread a 3-inch layer of high-quality mulch over the entire bed, keeping it a few inches away from the base of plant stems to prevent rot, and finish by installing your solar lights at even intervals along the path for a magical evening glow.
How to Create Office Desk Setup Ideas for a Productive Work Cubicle

Why we love this
Transforming a sterile cubicle into a personalized productivity hub is a total game-changer for your mental health and creative flow. We love the interplay of soft, warm desk lighting against the sleek surfaces of modern tech, complemented by the organic texture of a cork board or a small potted succulent. It’s about creating a sensory micro-environment where the scent of a fresh candle and the ergonomic support of a plush wrist rest make the 9-to-5 feel like a luxury experience rather than a chore. A well-styled desk doesn’t just look good on camera; it anchors your focus and makes your professional life feel deeply intentional.
Essential Elements:
- Ergonomic monitor stand or riser
- Small, low-light indoor plants (Pothos or Snake plants)
- Warm-toned LED desk lamp
- Coordinated desk organizers (acrylic or bamboo)
- A high-quality textured desk mat
How to make it
- Clear every single item off your desk and wipe down all surfaces with a microfiber cloth to create a literal and figurative blank canvas for your new design.
- Place your monitor or laptop on a riser so the top third of the screen is at eye level; this eliminates neck strain and creates valuable storage space underneath for your keyboard or notebooks.
- Position your primary light source—a warm LED lamp—on the opposite side of your dominant writing hand to minimize shadows, ensuring the bulb is shaded to prevent glare on your screen.
- Organize your essentials using the ‘zone’ method: place frequently used items like pens and your phone within arm’s reach, while tucking filing and reference materials into vertical organizers toward the back.
- Add the ‘soul’ of the setup by placing a small plant in a ceramic pot and a framed photo or art print, ensuring these items don’t clutter your mouse-movement area, then finish with a cable management sleeve to hide all unsightly wires.
How to Style Summer Table Centerpieces for the Ultimate Al Fresco Dinner

Why we love this
Summer dining is all about capturing that ‘golden hour’ magic where the air is warm and the company is even warmer. A viral table centerpiece evokes the feeling of a Mediterranean getaway, combining the rough texture of linen runners with the delicate, fleeting beauty of freshly cut wildflowers. We love the way candlelight flickers against glassware, creating a rhythmic dance of light and shadow that encourages guests to linger over their wine. It’s a sensory feast that starts before the food even hits the table, grounding the evening in a sense of effortless elegance and seasonal celebration.
Essential Elements:
- Linen or burlap table runner
- Assorted glass bud vases of varying heights
- Fresh seasonal blooms (Peonies, Zinnias, or Hydrangeas)
- Unscented taper candles in brass or ceramic holders
- Small bowls of fresh citrus or herbs
How to make it
- Lay down a neutral-colored linen runner, bunching it slightly in the center rather than laying it perfectly flat to create a relaxed, ‘lived-in’ texture that feels approachable and chic.
- Arrange your bud vases in a zigzag pattern down the length of the runner; use an odd number of vases to maintain visual balance and vary the heights to keep the eye moving across the display.
- Trim your flower stems at a 45-degree angle under water and place 1-3 stems in each vase, ensuring the blooms sit at different levels—some low near the rim, others tall and airy to create depth.
- Intersperse taper candles between the vases, choosing heights that contrast with the flowers; ensure they are securely anchored in holders and spaced far enough from leaves to avoid singeing the foliage.
- Scatter ‘organic accents’ like whole lemons, sprigs of rosemary, or even smooth river stones around the base of the vases to fill in gaps and add a final layer of sensory detail and fragrance.
How to Build Cheap Pool Deck Ideas for a Luxe Backyard Oasis

Why we love this
You don’t need a five-figure budget to create a pool area that looks like a high-end resort; it’s all about the clever use of materials and the power of ‘zoning.’ We love the contrast of weathered wood or cool stone against the shimmering, crystalline blue of the water, and the way a well-placed outdoor rug can instantly make a concrete slab feel like a plush outdoor living room. It’s the feeling of sun-warmed skin, the sound of water splashing, and the visual satisfaction of a space that looks expensive but was built with sweat equity and creativity. It’s luxury for the real world.
Essential Elements:
- Interlocking deck tiles (wood or composite)
- Weather-resistant outdoor rug
- Strand of heavy-duty Edison bulbs
- Large planters with tropical foliage
- Comfortable lounge chairs with neutral cushions
How to make it
- Thoroughly power-wash your existing concrete or old wooden deck to remove all dirt, moss, and stains, creating a clean, high-friction surface for your new materials.
- Lay down interlocking deck tiles over the most prominent area; these snap together without tools and can be easily cut with a hand saw to fit around corners or pool equipment, instantly covering ugly concrete.
- Define a ‘seating zone’ by laying a large, graphic outdoor rug over a portion of the tiles; this adds a soft texture for bare feet and visually separates the lounging area from the splash zone.
- Install 4×4 wooden posts in heavy, weighted planters at the corners of your deck to act as anchors for stringing Edison bulbs in a ‘criss-cross’ pattern overhead, providing ambient light for night swims.
- Place oversized planters filled with ‘thriller’ plants like Hibiscus or Canna Lilies at the corners of the deck to provide privacy and a lush, tropical vibe, then finish by arranging your furniture to face the water.
How to Decorate a Patriotic Front Porch for a Classic Americana Feel

Why we love this
There is a timeless, nostalgic comfort in the ‘Americana’ aesthetic that evokes memories of parades, apple pie, and summer evenings on the swing. We love the crisp, high-contrast palette of navy, cream, and crimson set against the natural wood of a porch or the white siding of a classic home. It’s about the sound of a flag snapping in the breeze and the tactile comfort of a thick, woven outdoor pillow. This look isn’t just for the Fourth of July; it’s a year-round celebration of heritage and hospitality that feels both grand and incredibly grounded.
Essential Elements:
- Cotton or nylon American flag with a sturdy pole
- Red and white striped bunting
- Navy blue outdoor cushions or throw rugs
- Galvanized metal buckets for planters
- White rocking chairs or a porch swing
How to make it
- Mount a high-quality flag bracket to a structural pillar or the side of your house at a 45-degree angle, ensuring the flag has enough clearance to wave freely without hitting the roof or nearby trees.
- Drape pleated fabric bunting along the top rail of your porch, using zip ties or small hooks to secure them evenly so the ‘swags’ are symmetrical and tight.
- Update your seating by adding navy blue weather-resistant cushions and a few red-and-white checked toss pillows; choose fabrics with a heavy weave to stand up to the elements and provide a premium feel.
- Use galvanized metal buckets as planters for white geraniums or blue hydrangeas, drilling drainage holes in the bottom and placing them in pairs on either side of the front door for a balanced look.
- Layer a navy ‘Welcome’ mat over a larger red-and-white striped outdoor rug to create a designer ‘layered’ look that adds depth and texture to the entryway.
How to Grow Full Sun Container Ideas for a Vibrant Hippie Garden
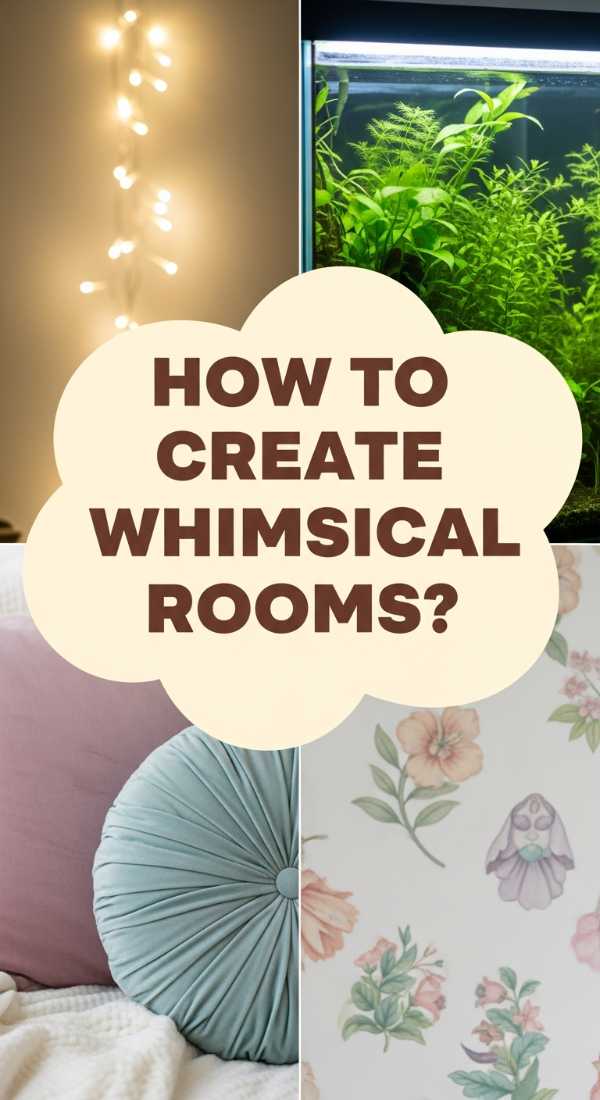
Why we love this
The ‘Hippie Garden’ aesthetic is a riot of color, life, and controlled chaos that celebrates the wild side of nature. We love the sensory explosion of bright orange marigolds, deep purple petunias, and the silvery shimmer of trailing dichondra spilling over the edges of eclectic pots. It’s about the warmth of the sun on your back as you deadhead blooms and the heady, spicy scent of sun-drenched herbs. This trend breaks the internet because it’s the antithesis of the ‘perfect’ lawn; it’s a bohemian dreamscape that feels alive, buzzing with bees and brimming with personality.
Essential Elements:
- Terracotta pots of varying sizes
- High-quality potting mix with perlite
- A mix of ‘Thriller, Filler, and Spiller’ plants
- Organic liquid fertilizer
- Decorative crystals or painted garden stakes
How to make it
- Select porous terracotta pots to allow roots to breathe, and soak them in a bucket of water for an hour before planting so they don’t suck all the moisture out of your new soil.
- Fill your containers with a high-quality potting mix, leaving about two inches of space at the top; mix in a handful of slow-release fertilizer granules to provide a steady food source for the hungry, sun-loving plants.
- Plant your ‘Thriller’ first—something tall and dramatic like a Purple Fountain Grass or a Canna Lily—directly in the center or toward the back of the pot to provide height.
- Surround the thriller with ‘Fillers’ like Marigolds or Lantana, which stay mounded and bushy, ensuring you pack them close enough to look lush but give them an inch of space to grow into each other.
- Add your ‘Spillers’—like Silver Falls Dichondra or Sweet Potato Vine—at the very edges of the pot, angling them slightly outward so they immediately begin to drape over the sides for that overflowing, wild aesthetic.
How to Achieve a Whimsical Apartment Aesthetic for a Dreamy Living Space
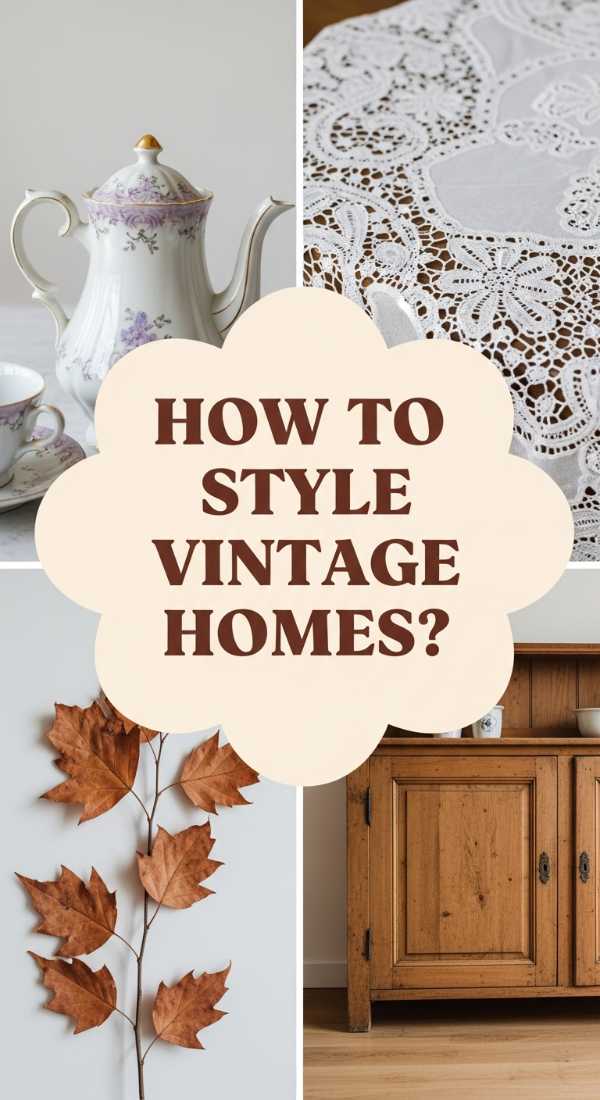
Why we love this
Whimsical design is all about recapturing a sense of childhood wonder and bringing it into your adult life. We love the ethereal quality of sheer curtains catching the afternoon light, the soft glow of fairy lights woven through indoor ivy, and the eclectic mix of velvet textures and brass accents. It feels like living inside a modern fairy tale. This aesthetic is particularly viral because it turns even the smallest, most cookie-cutter apartment into a magical escape, proving that you don’t need a lot of square footage to have a lot of soul.
Essential Elements:
- Warm-white fairy lights or ‘curtain’ lights
- Sheer, floor-to-ceiling window panels
- Velvet floor cushions or a tufted ottoman
- Floating wooden shelves for ‘curiosities’
- An abundance of hanging plants (like Heartleaf Philodendron)
How to make it
- Install a double curtain rod; hang heavy blackout curtains on the outer rod for sleep and sheer, gauzy panels on the inner rod to create a soft, diffused light effect during the day.
- Drape fairy lights behind the sheer curtains or along the ceiling line using clear command hooks, opting for ‘warm white’ bulbs to avoid a cold, clinical feel and create a cozy, amber glow.
- Create a ‘curiosity wall’ by installing 3-5 floating shelves at staggered heights, filling them with a mix of vintage books, brass figurines, and small crystals that catch the light.
- Introduce texture through a large velvet floor cushion or a faux-fur throw blanket draped over the arm of your sofa; these ‘soft’ elements are crucial for the cozy, whimsical vibe.
- Hang 2-3 trailing plants from the ceiling in macramé hangers at varying heights near a window, allowing the vines to create a ‘living wall’ effect that adds movement and magic to the room.
How to Master Vintage Grandma House Aesthetic for a Cozy Farmhouse Home
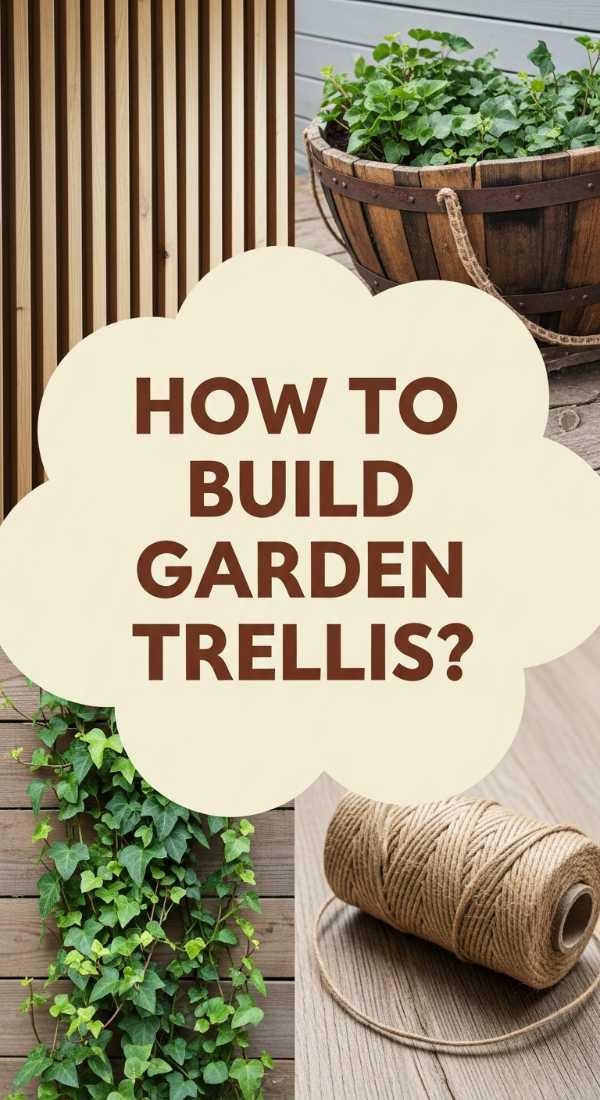
Why we love this
Often called ‘Grandmillennial’ or ‘Cottagecore,’ this aesthetic is a warm hug in design form. We love the juxtaposition of floral patterns against sturdy wooden furniture and the lived-in charm of mismatched porcelain and embroidered linens. It’s the smell of cinnamon and old books, the tactile feel of a heavy wool blanket, and the visual comfort of a space that feels like it has been curated over decades rather than bought in one afternoon. It’s a rebellion against minimalism that celebrates the beauty of ‘stuff’ and the stories behind it.
Essential Elements:
- Floral wallpaper or peel-and-stick murals
- Antique wooden side tables or hutches
- Crocheted or knitted throw blankets
- Vintage botanical art prints
- Classic china or stoneware displayed openly
How to make it
- Start with a ‘foundational’ piece of vintage furniture, like a dark wood dresser or a dining table with turned legs; don’t sand away the scuffs, as these ‘imperfections’ are key to the aged aesthetic.
- Apply a floral wallpaper to a single accent wall or the back of a bookshelf; look for ‘dusty’ tones like sage green, muted rose, or pale blue to keep the look sophisticated rather than dated.
- Layer your textiles by placing a lace doily or a linen runner under a modern lamp, and drape a handmade crochet blanket over the back of a neutral-colored armchair.
- Arrange a gallery wall of vintage-style botanical prints in mismatched gold or wood frames, spacing them tightly (about 2 inches apart) to create a sense of abundance and history.
- Incorporate ‘sensory nostalgia’ by displaying a collection of vintage teacups on a tray and keeping a bowl of dried lavender or potpourri nearby to anchor the space in that classic ‘Grandma’s house’ scent.
How to Construct Homemade Trellis Ideas for a Lush Secret Garden
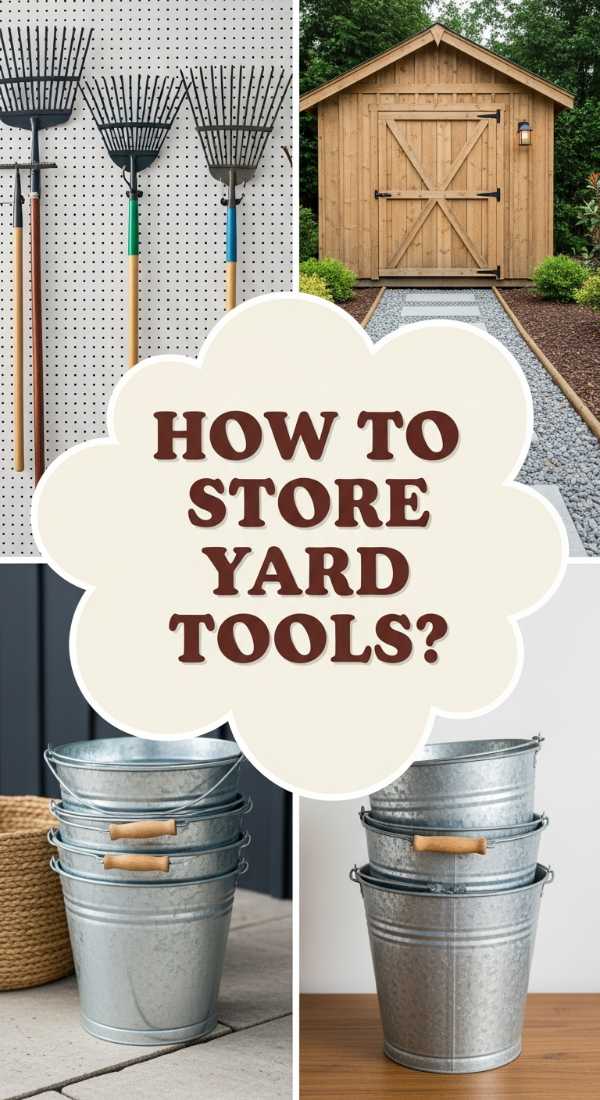
Why we love this
Vertical gardening is the ultimate way to add a sense of mystery and ‘secret garden’ vibes to any outdoor space. We love the way a simple wooden or wire structure can be transformed into a living wall of scent and color as jasmine or climbing roses weave through the gaps. It’s about the dappled sunlight filtering through leaves and the architectural elegance that height brings to a flat yard. A homemade trellis is a testament to the gardener’s patience and vision, creating a private, leafy sanctuary that feels miles away from the rest of the world.
Essential Elements:
- Untreated cedar lath or heavy-duty cattle panels
- Galvanized screws or exterior wood glue
- Sturdy garden stakes or ground anchors
- Climbing plants (Clematis, Honeysuckle, or Morning Glories)
- Soft plant ties or twine
How to make it
- Design a simple ‘ladder’ or ‘diamond’ grid using cedar lath; for a 6-foot trellis, cut two vertical ‘legs’ and 5-6 horizontal ‘rungs,’ ensuring the cedar is untreated so it won’t leach chemicals into your soil.
- Lay the pieces on a flat surface and secure the joints with galvanized screws, pre-drilling the holes to prevent the thin wood from splitting as you drive the screws in.
- Secure the trellis to your wall or fence with a 2-inch ‘spacer’ (like a small block of wood) behind it; this air gap is vital as it allows the vines to wrap around the rungs and provides necessary airflow to prevent mildew.
- Plant your climber at the base, about 6 inches away from the structure, and gently spread the stems out in a fan shape, loosely securing them to the bottom rungs with soft twine.
- As the plant grows, ‘train’ the new shoots by weaving them through the grid in a horizontal zigzag pattern; this encourages more side-shooting and results in a much thicker, more flower-filled wall of greenery.
How to Organize Yard Tool Storage Ideas for a Tidy Outdoor Space
[IMAGE_10]
Why we love this
There is a profound, quiet satisfaction in a perfectly organized tool shed or garage. We love the visual rhythm of rakes, shovels, and trowels all hanging in their designated spots, and the clean, utilitarian look of labeled bins and pegboards. It’s about the feeling of efficiency—knowing exactly where your pruners are the moment you see a stray branch. A tidy storage system removes the friction from gardening, turning chores into a seamless, therapeutic experience. It’s the ‘adulting’ version of a viral aesthetic: clean, functional, and deeply calming.
Essential Elements:
- Wall-mounted pegboard or slatwall system
- Heavy-duty hooks and tool hangers
- Clear plastic bins for small items (seeds, gloves)
- Magnetic strip for metal hand tools
- Durable labels or a label maker
How to make it
- Empty your current storage space completely and sort your tools into categories: long-handled (rakes/shovels), hand tools (trowels), and consumables (seeds/fertilizer); discard or donate anything broken or unused.
- Install a heavy-duty pegboard or a rail-based hanging system on your strongest wall, ensuring you use a level and anchor the screws directly into the wall studs to support the weight of heavy metal tools.
- Hang your long-handled tools vertically, head-side up, using ‘U-shaped’ hooks that allow you to double up tools if space is tight, keeping the ones you use most frequently at the most accessible end.
- Mount a magnetic tool strip at chest height for your metal hand pruners and trowels; this keeps them visible and allows them to air dry completely after use, preventing rust.
- Place small items like garden twine, gloves, and labels into clear, stackable bins on a shelf, and use a label maker to clearly mark the front of each bin so you never have to rummage through a ‘junk drawer’ again.
Conclusion: Your Home, Your Sanctuary
At the end of the day, these trends aren’t just about what looks good on a smartphone screen; they are about how your environment makes you feel. Whether you’re planting a vibrant hippie garden or organizing your workspace for maximum flow, you are taking an active role in creating a life you love. These aesthetics offer a roadmap, but your unique touch—the way you arrange your books or the specific flowers you choose—is what truly makes a space viral-worthy. So, pick one project this weekend, dive into the sensory details, and watch as your home transforms into the sanctuary you’ve always dreamed of.