
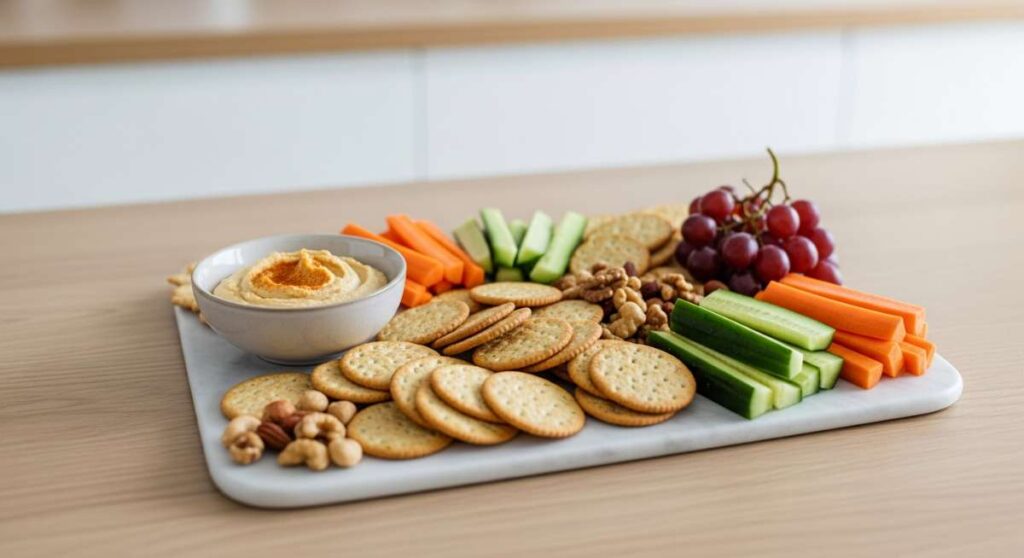
Why Everyone Is Obsessed With This Simple Snacking Board
There is something inherently magical about a meal that doesn’t require a formal seating chart or a stack of heavy ceramic plates. In the age of constant scrolling, we’ve all seen those vibrant, overflowing boards that seem to capture the very essence of a perfect afternoon. For me, the obsession started on a Tuesday when I realized that the best moments aren’t spent over a complicated five-course meal, but rather huddled around a table filled with small bites, laughter, and the effortless clinking of glasses. This viral snacking board isn’t just about the food; it’s about the permission it gives us to slow down and savor the little things.
The secret to why this specific spread has taken the internet by storm lies in its versatility. It’s a tapestry of textures—the crunch of fresh cucumbers, the velvety pull of melted cheese, and the sweet burst of seasonal fruit. It bridges the gap between a casual lunch and an elevated garden party, making every guest feel immediately at home. Whether you are hosting a neighborhood gathering or just looking to brighten up a quiet Sunday, these recipes are the building blocks of a memory you’ll want to recreate again and again.
How to make the creamiest rotel dip

Why we love this
This dip is the ultimate nostalgic comfort food, offering a luxurious, velvety texture that coats every chip with a perfect balance of heat and creaminess. As it melts, the aroma of spicy green chiles and savory browned meat fills the kitchen, creating an irresistible invitation to dive in while it’s still bubbling. The way the golden cheese stretches and mingles with the zesty tomatoes creates a sensory experience that is both indulgent and deeply satisfying, making it the undeniable star of any snacking spread.
Ingredients
- 1 lb Velveeta cheese, cubed
- 1 can (10 oz) Ro-Tel Diced Tomatoes and Green Chilies
- 1 lb ground breakfast sausage or lean ground beef
- 1/2 cup heavy cream (for extra silkiness)
- 1 tsp smoked paprika
- Fresh cilantro for garnish
How to make it
- Begin by browning your ground meat in a large skillet over medium-high heat. Use a wooden spoon to break the meat into very small, uniform crumbles, ensuring even cooking and a better texture in the final dip. Cook until no pink remains and the edges are slightly crispy for added depth of flavor.
- Once the meat is fully browned, drain the excess fat thoroughly to prevent the dip from becoming oily. Return the skillet to low heat.
- Add the cubed Velveeta cheese and the entire can of Ro-Tel (do not drain the liquid from the tomatoes, as this provides the essential acidity and spice). Stir constantly with a heat-resistant spatula to ensure the cheese melts evenly without scorching on the bottom.
- Slowly pour in the heavy cream and sprinkle in the smoked paprika. This step is crucial for achieving that “ultra-creamy” viral consistency that stays smooth even as it cools slightly.
- Continue stirring over low heat until the mixture is completely homogenous and glossy. Look for a slow, thick ribbon when you lift the spoon. Transfer immediately to a warm slow cooker or a heavy ceramic bowl and garnish with chopped cilantro before serving with sturdy tortilla chips.
How to grill perfect steak kabobs

Why we love this
There is nothing quite like the smoky, charred aroma of steak kabobs hitting a hot grill on a summer evening. The contrast between the caramelized, salty exterior of the beef and the tender, juice-filled center is a culinary delight that feels both rustic and refined. Each bite offers a harmony of textures—from the snap of a grilled bell pepper to the buttery softness of a perfectly seared piece of sirloin—making these skewers a vibrant and protein-packed highlight of the board.
Ingredients
- 2 lbs top sirloin steak, cut into 1.5-inch cubes
- 1/4 cup soy sauce
- 2 tbsp Worcestershire sauce
- 3 cloves garlic, minced
- 2 large bell peppers and 1 red onion, cut into chunks
- Olive oil and cracked black pepper
How to make it
- In a large bowl, whisk together the soy sauce, Worcestershire sauce, minced garlic, and a generous amount of cracked black pepper. Add the steak cubes and toss to coat thoroughly. Marinate in the refrigerator for at least 30 minutes, though 2 hours is ideal for the enzymes to tenderize the muscle fibers effectively.
- If using wooden skewers, soak them in water for at least 30 minutes to prevent them from igniting on the grill. If using metal skewers, ensure they are clean and lightly oiled.
- Thread the steak and vegetables onto the skewers, alternating between meat, onion, and pepper. Do not pack them too tightly; leaving a tiny bit of space between items allows the hot air to circulate, ensuring the steak sears rather than steams.
- Preheat your grill to high heat (about 400-450°F). Clean the grates and rub them with an oil-soaked paper towel to create a non-stick surface.
- Place the kabobs on the grill. Sear for about 3-4 minutes per side without moving them, which allows a deep brown crust to form. Flip once and continue cooking until the internal temperature of the steak reaches 135°F for medium-rare. Let the skewers rest for 5 minutes before serving so the juices redistribute.
How to bake a strawberry pie
Why we love this
A fresh strawberry pie is the quintessential dessert of the season, smelling like a sun-drenched berry patch and looking like a work of art. The flaky, buttery crust provides a delicate, salty snap that shatters upon impact, revealing a vibrant, ruby-red filling that is sweet, tart, and intensely floral. It’s the kind of dish that evokes memories of backyard picnics and sticky-fingered joy, offering a bright, refreshing finish to a savory snacking board that guests will be talking about for weeks.
Ingredients
- 2 deep-dish pie crusts (homemade or store-bought)
- 6 cups fresh strawberries, hulled and sliced
- 3/4 cup granulated sugar
- 1/4 cup cornstarch
- 1 tbsp lemon juice
- 1 egg (for egg wash)
How to make it
- Preheat your oven to 425°F. Place one pie crust into a 9-inch pie plate, pressing it gently into the bottom and sides. Chill the crust in the fridge while you prepare the filling to keep the fat from melting, which ensures a flakier result.
- In a large mixing bowl, toss the sliced strawberries with the sugar, cornstarch, and lemon juice. The cornstarch is the thickening agent; ensure every berry is coated so the pie sets properly and doesn’t become a “soup” when sliced. Let the berries sit for 10 minutes to release their natural juices.
- Pour the strawberry mixture into the prepared bottom crust, heaping them slightly in the center.
- Place the second crust over the top. You can do a solid top with vents cut in it, or a lattice pattern for a more professional, viral look. Crimp the edges tightly with your fingers or a fork to seal the juices inside.
- Brush the top of the crust with a beaten egg and a sprinkle of sugar. Bake at 425°F for 15 minutes, then reduce the heat to 375°F and bake for another 35-40 minutes. Look for a deep golden-brown crust and filling that is bubbling slowly through the vents. Allow it to cool completely (at least 4 hours) to set the filling before slicing.
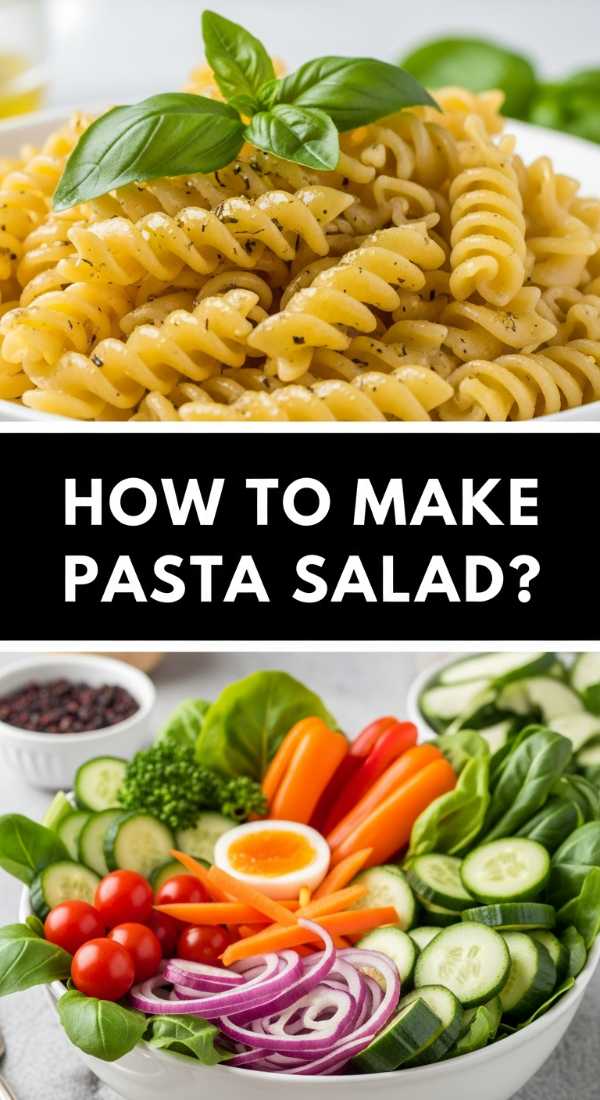
How to make zesty pasta salad

Why we love this
This pasta salad is a masterclass in balance, combining the chewy bite of al dente rotini with a sharp, herb-infused vinaigrette that wakes up the palate. The sensory appeal is found in the crunch of fresh broccoli and the salty punch of sliced olives, all tied together by the creamy tang of feta cheese. It’s a cold, refreshing dish that provides a bright counterpoint to the richer items on the board, making it an essential, crowd-pleasing addition to any outdoor gathering.
Ingredients
- 1 lb rotini or fusilli pasta
- 1 cup Italian dressing (homemade or high-quality bottled)
- 1 cup cherry tomatoes, halved
- 1/2 cup cucumber, diced
- 1/4 cup red onion, finely minced
- 1/2 cup crumbled feta cheese
- Fresh parsley and oregano
How to make it
- Bring a large pot of heavily salted water to a rolling boil. Add the pasta and cook for exactly one minute less than the package directions for “al dente.” You want the pasta to have a firm bite so it doesn’t become mushy after absorbing the dressing.
- Immediately drain the pasta and rinse it under cold running water. This stops the cooking process and removes excess starch, ensuring the noodles remain individual and don’t stick together in a clump.
- In a large bowl, combine the cold pasta with half of the Italian dressing. Tossing it while it’s still slightly damp helps the dressing penetrate the surface of the pasta.
- Add the tomatoes, cucumbers, red onion, and feta. Fold the ingredients together gently using a large spatula to avoid breaking the delicate vegetables or mashing the cheese.
- Cover and refrigerate for at least two hours. Just before serving, pour the remaining half of the dressing over the salad and toss again. This “double-dressing” technique ensures the salad is moist and zesty, as the pasta will have absorbed much of the initial liquid.
How to make chicken caesar wraps

Why we love this
These wraps are the ultimate grab-and-go snack, offering the crisp, clean flavors of a classic Caesar salad tucked inside a soft, chewy flour tortilla. The texture play is incredible: the crunch of cold romaine lettuce meets the tender, charred warmth of grilled chicken, all smothered in a rich, garlicky dressing. They are hearty enough to satisfy but light enough to keep the snacking board feel manageable, providing a savory, handheld bite that is both familiar and perfectly executed.
Ingredients
- 2 large flour tortillas
- 2 cups grilled chicken breast, sliced into strips
- 3 cups chopped romaine lettuce
- 1/4 cup shredded Parmesan cheese
- 1/2 cup Caesar dressing
- 1/2 cup croutons, crushed slightly
How to make it
- Warm the tortillas slightly in a dry pan or microwave for 10 seconds. This makes them pliable and prevents them from tearing when you roll them tightly.
- In a medium bowl, toss the chopped romaine, Parmesan, and crushed croutons with the Caesar dressing. Ensure every leaf is coated; the crushed croutons are a professional secret that adds a distributed crunch in every single bite.
- Lay the warmed tortilla flat on a clean surface. Arrange the grilled chicken strips in a vertical line down the center of the wrap, leaving about two inches of space at the top and bottom.
- Top the chicken with a generous heap of the dressed salad mixture. Don’t overfill, or the wrap will burst during the rolling process.
- Fold the bottom and top edges in toward the center, then tightly roll the tortilla from left to right. Once rolled, place the wrap seam-side down in a hot skillet for 30 seconds to “seal” the edge and add a slight golden crunch to the exterior. Slice on a diagonal for a beautiful presentation.
How to prep hummingbird nectar

Why we love this
While not for the guests to eat, prepping hummingbird nectar is the secret ingredient to the *vibe* of a viral snacking board afternoon. Watching these iridescent, tiny creatures dart and hover near your patio while you eat adds a layer of enchantment to the experience. The process is simple and pure, yielding a clear, sweet liquid that mimics nature’s own bounty, bringing the garden to life and providing a stunning, natural backdrop to your outdoor dining setting.
Ingredients
- 1 cup granulated white sugar
- 4 cups filtered water
- (Do not use red dye or honey)
How to make it
- In a small saucepan, combine the sugar and water. It is vital to use the 1:4 ratio to mimic the sugar concentration of the flowers hummingbirds naturally frequent; anything stronger can be hard on their kidneys.
- Heat the mixture over medium-high heat, stirring constantly until the sugar is completely dissolved. Bring the liquid to a light boil for 1-2 minutes. Boiling the water helps remove impurities and ensures the nectar stays fresh longer in the feeder.
- Remove the pan from the heat and allow the nectar to cool to room temperature. Never put hot nectar into a plastic feeder, as it can warp the plastic and harm the birds.
- Once cooled, fill your hummingbird feeders. You do not need red dye; most feeders have red parts that will attract the birds. The clear liquid is much safer for their delicate systems.
- Store any extra nectar in a clean glass jar in the refrigerator for up to two weeks. Change the nectar in your feeders every 3-5 days (more often in extreme heat) to prevent fermentation and mold.
How to make summer soup
Why we love this
Summer soup, particularly a chilled corn or tomato gazpacho, is like a concentrated dose of sunshine in a bowl. It feels incredibly light on the palate, with a silky texture that is broken up by the occasional crunch of fresh garnishes like chives or radishes. The aroma is garden-fresh—grassy, sweet, and bright—offering a cooling respite from the heat of the day. Served in small shooters or bowls on a snacking board, it adds an element of unexpected elegance and a burst of vibrant color.
Ingredients
- 4 cups fresh sweet corn kernels (cut off the cob)
- 1 yellow onion, diced
- 2 cups vegetable broth
- 1/2 cup heavy cream or coconut milk
- 1 tbsp olive oil
- Salt, pepper, and fresh chives for garnish
How to make it
- Heat the olive oil in a large pot over medium heat. Add the diced onion and sauté for 5-7 minutes until they are translucent and soft, but not browned. You want to maintain the bright yellow color of the soup.
- Add the corn kernels to the pot and cook for another 3 minutes, stirring to coat them in the oil and onions. This briefly toasts the corn and intensifies its natural sweetness.
- Pour in the vegetable broth and bring to a simmer. Cook for about 10-12 minutes, or until the corn is very tender when pressed against the side of the pot.
- Using an immersion blender (or transferring in batches to a standard blender), puree the soup until it is completely smooth. If you want a truly professional, viral-worthy texture, pour the pureed soup through a fine-mesh sieve to remove any bits of corn skin.
- Stir in the cream and season with salt and pepper to taste. For a summer board, chill the soup in the refrigerator for at least 3 hours. Serve in small glasses with a drizzle of olive oil and a sprinkle of fresh chives on top.
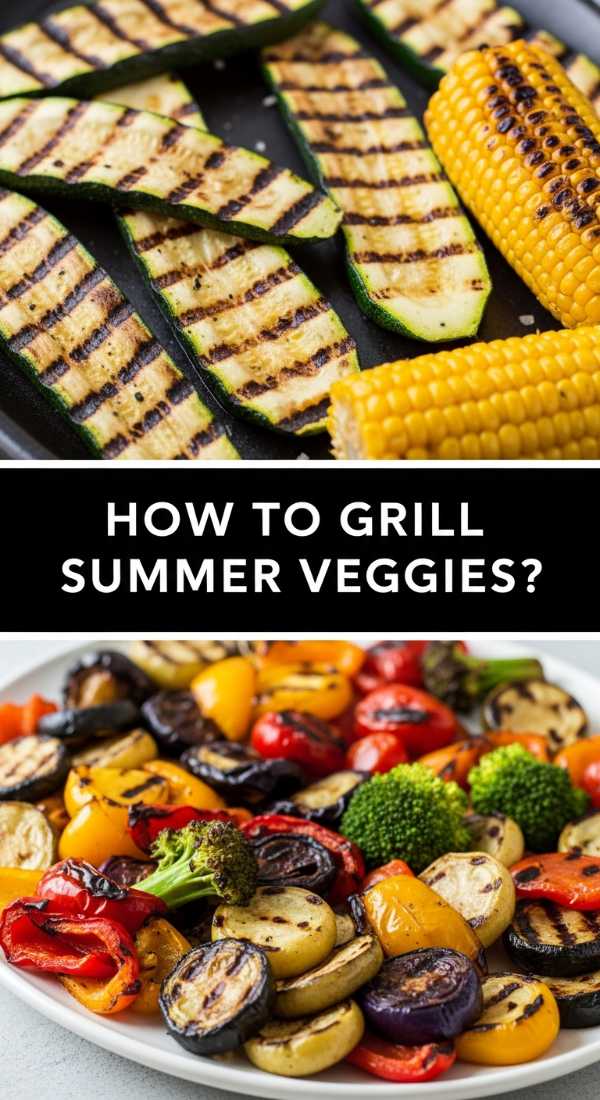
How to grill summer vegetables

Why we love this
Grilled vegetables are the unsung heroes of the snacking board, offering a smoky, earthy sweetness that you simply can’t get from steaming or roasting. The high heat of the grill caramelizes the natural sugars in zucchini and asparagus, creating beautiful charred grill marks that look stunning against the other colors on the board. The texture is the perfect “tender-crisp”—succulent and juicy on the inside with a firm, fire-kissed exterior that makes eating your greens feel like a total indulgence.
Ingredients
- 2 zucchinis, sliced into planks
- 1 bunch of thick asparagus, woody ends trimmed
- 2 bell peppers, seeded and quartered
- 3 tbsp olive oil
- 1 tsp garlic powder
- Balsamic glaze for drizzling
How to make it
- Preheat your grill to medium-high heat (375°F). Ensure the grates are scraped clean so you get defined, clean grill marks.
- In a large bowl or on a baking sheet, toss the prepared vegetables with olive oil, garlic powder, salt, and pepper. Use your hands to ensure every inch of the vegetables is lightly coated in oil; this prevents sticking and encourages even browning.
- Place the vegetables across the grates. For asparagus, lay them perpendicular to the grate lines so they don’t fall through.
- Grill the vegetables for 3-5 minutes per side. Zucchini and peppers take slightly longer than asparagus. You are looking for the vegetables to soften slightly and develop dark, charred lines while still retaining their bright color.
- Remove the vegetables from the grill and arrange them on your board. While they are still warm, drizzle them with a high-quality balsamic glaze. The acidity of the glaze cuts through the char and elevates the sweetness of the grilled produce.
How to make dandelion jelly
Why we love this
Dandelion jelly is the ultimate conversation piece for a viral snacking board, capturing the essence of a meadow in a jar. It tastes remarkably like light, floral honey with a hint of lemon, and its translucent golden hue looks like liquid amber when spread across a cracker. There is a deep satisfaction in foraging for the ingredients, and the resulting jelly is a delicate, sweet surprise that pairs beautifully with sharp cheeses and salty meats, adding a touch of whimsical gourmet flair to your spread.
Ingredients
- 2 cups dandelion petals (yellow parts only, no green)
- 4 cups boiling water
- 1/4 cup lemon juice
- 1 box (1.75 oz) powdered fruit pectin
- 4 cups granulated sugar
How to make it
- Harvest your dandelions from a clean area free of pesticides. Pull the yellow petals away from the green base (the green part is bitter and will ruin the jelly). You need two cups of packed yellow petals.
- Place the petals in a heat-proof jar and pour the boiling water over them. Let this steep for at least 2 hours, or overnight in the fridge, to create a potent “dandelion tea.”
- Strain the liquid through a coffee filter or fine cloth, squeezing the petals to get every drop of flavor. You should have about 3.5 to 4 cups of golden liquid.
- Pour the liquid into a large pot and stir in the lemon juice and the powdered pectin. Bring the mixture to a full, rolling boil (one that doesn’t stop when you stir it) over high heat.
- Add the sugar all at once. Stir constantly and return to a full rolling boil. Boil hard for exactly one minute. Remove from heat, skim off any foam with a metal spoon, and pour into sterilized jars. Let the jelly set for 24 hours at room temperature. The result is a clear, sun-drenched preserve that is purely magical.
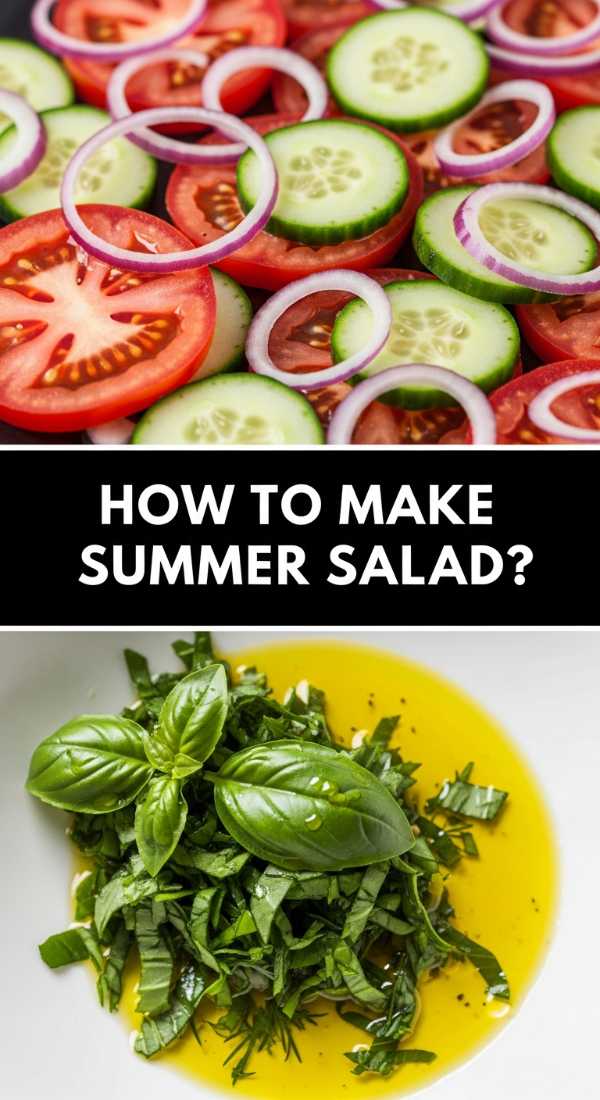
How to make tomato cucumber salad
[IMAGE_10]
Why we love this
This salad is the definition of refreshing, acting as a palate cleanser between the richer, savory items on the board. The sensory experience starts with the audible crunch of the cucumber, followed by the soft, juicy explosion of a ripe summer tomato. Tossed in a simple dressing of vinegar and oil, the flavors are sharp and clean, with the red onion providing a subtle, spicy bite. It smells like a vegetable garden after a rainstorm—cool, crisp, and incredibly revitalizing.
Ingredients
- 3 large Roma tomatoes, chopped
- 2 English cucumbers, sliced and halved
- 1/2 red onion, thinly sliced into half-moons
- 1/4 cup extra virgin olive oil
- 2 tbsp red wine vinegar
- 1/2 tsp dried oregano and salt to taste
How to make it
- Place the chopped tomatoes and cucumbers in a large glass bowl. English cucumbers are preferred here because their skins are thin and their seeds are minimal, providing a better texture for a snack board salad.
- Add the thinly sliced red onion. To make the onion flavor more subtle and less biting, you can soak the slices in ice water for 10 minutes before adding them to the salad.
- In a small jar, whisk together the olive oil, red wine vinegar, dried oregano, salt, and pepper. This is a classic vinaigrette that relies on high-quality oil for its flavor profile.
- Pour the dressing over the vegetables and toss gently with a large spoon. You want the vegetables to be glistening but not swimming in liquid.
- Let the salad sit at room temperature for about 20 minutes before serving. This allows the salt to draw a little bit of juice out of the tomatoes, which mingles with the dressing to create a delicious “sauce” at the bottom of the bowl. Serve with a slotted spoon to keep the rest of the board dry.
Conclusion
Building a viral-worthy snacking board is about more than just placing food on a platter; it’s about creating a landscape of flavors that invites people to linger. From the creamy heat of the rotel dip to the delicate, floral notes of dandelion jelly, every element we’ve discussed adds a unique layer to the experience. When you put this spread together, you aren’t just serving a meal—you’re hosting an event that celebrates the bounty of the season and the joy of shared bites. So, grab your largest board, call your favorite people, and get ready to see why this simple way of eating has captured everyone’s heart.