
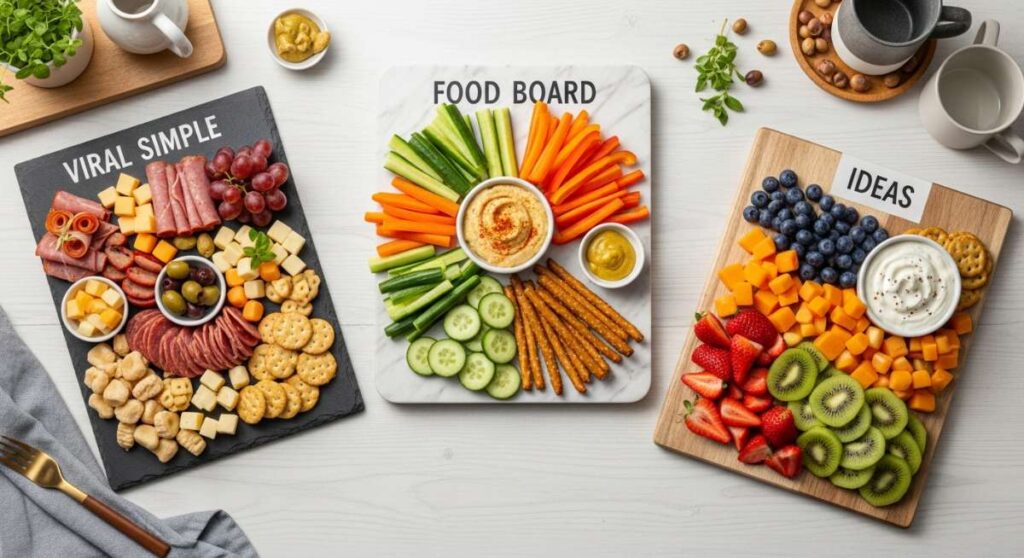
There is something so incredibly magical about gathering around a table filled with beautiful, accessible food that didn’t take all day to prepare. We’ve all been there—trying to host the perfect brunch or backyard hangout while feeling stuck in the kitchen, missing out on the laughter and the stories. That’s why food boards have become my absolute go-to; they turn simple ingredients into a communal experience that feels both luxury and low-effort.
Today, I’m sharing some of my favorite viral-inspired ideas that go beyond the basic cheese and crackers. These are the recipes that bring everyone together, from the sweetest summer desserts to the savory charred favorites from the grill. Whether you’re hosting a crowd or just making a special Tuesday night dinner for the family, these boards are designed to make your life easier and your meals much more memorable.
HOW TO MAKE STRAWBERRY PIE?

Why we love this
This strawberry pie is the literal taste of sunshine on a plate. Imagine a buttery, flaky crust that shatters perfectly under your fork, giving way to a mountain of glossy, ruby-red berries coated in a sweet, translucent glaze. The aroma is purely nostalgic—floral, sweet, and slightly tart—reminding you of roadside fruit stands and warm July afternoons. Every bite is a cooling explosion of fresh fruit flavor that makes you want to close your eyes and savor the sweetness of the season.
Ingredients
- 2 pounds fresh strawberries, hulled and sliced
- 1 pre-baked 9-inch pie crust
- 1 cup granulated sugar
- 3 tablespoons cornstarch
- 1 cup water
- 1 small box (3oz) strawberry flavored gelatin
- Whipped cream for serving
How to make it
- Begin by preparing your berries; wash them thoroughly and remove the green hulls before slicing them in half. Pat them dry with a paper towel to ensure the glaze sticks perfectly and doesn’t become watery.
- In a medium saucepan over medium heat, whisk together the granulated sugar and cornstarch until no lumps remain. Slowly pour in the water, whisking constantly to create a smooth slurry.
- Bring the mixture to a rolling boil. Continue to stir for about 2 minutes until the liquid transitions from cloudy to clear and thickens significantly. Once thick, remove from heat and immediately stir in the strawberry gelatin powder until fully dissolved and the color is a vibrant red.
- Allow the glaze to cool for about 15-20 minutes at room temperature; it should still be pourable but not piping hot.
- Arrange your fresh strawberries into the pre-baked pie shell, stacking them high for a dramatic look. Pour the cooled glaze evenly over the berries, ensuring every crevice is filled.
- Refrigerate the pie for at least 4 hours, or until the gelatin has set firmly. Slice with a sharp, warm knife and top with a massive dollop of fresh whipped cream before serving.
HOW TO MAKE ROTEL DIP?
Why we love this
If you are looking for the ultimate crowd-pleaser that disappears in seconds, this Rotel dip is your secret weapon. The texture is impossibly creamy and molten, with the perfect amount of kick from the diced green chilies and the savory depth of seasoned ground beef. As it sits in the slow cooker, the aroma of melting cheese and warm spices fills the room, signaling to everyone that it’s time to grab a bag of salty, crunchy tortilla chips and dive into the gooey, spicy goodness.
Ingredients
- 1 lb Velveeta cheese, cubed
- 1 can (10 oz) Ro-Tel Diced Tomatoes and Green Chilies
- 1 lb ground beef or breakfast sausage
- 1 tablespoon taco seasoning
- Fresh cilantro and sliced jalapeños for garnish
- Tortilla chips for serving
How to make it
- In a large skillet over medium-high heat, brown the ground beef or sausage. Use a wooden spoon to break the meat into very fine crumbles. Cook until no pink remains and the meat is slightly crispy at the edges.
- Drain the excess fat from the skillet thoroughly to prevent the dip from becoming oily. Stir in the taco seasoning and a splash of water to coat the meat evenly.
- In a slow cooker or a heavy-bottomed pot, place the cubed Velveeta cheese. Adding the cheese in cubes helps it melt much faster and more evenly than one large block.
- Add the can of Ro-Tel (do not drain the liquid—that’s where the flavor and the right consistency live!) and the seasoned cooked meat to the cheese.
- If using a slow cooker, set it to Low for 1-2 hours, stirring every 20 minutes. If using the stovetop, keep the heat on Low and stir constantly to prevent the cheese from scorching on the bottom of the pan.
- Once the dip is silky smooth and bubbling, garnish with fresh cilantro and serve directly from the warm pot with a side of thick-cut corn chips.
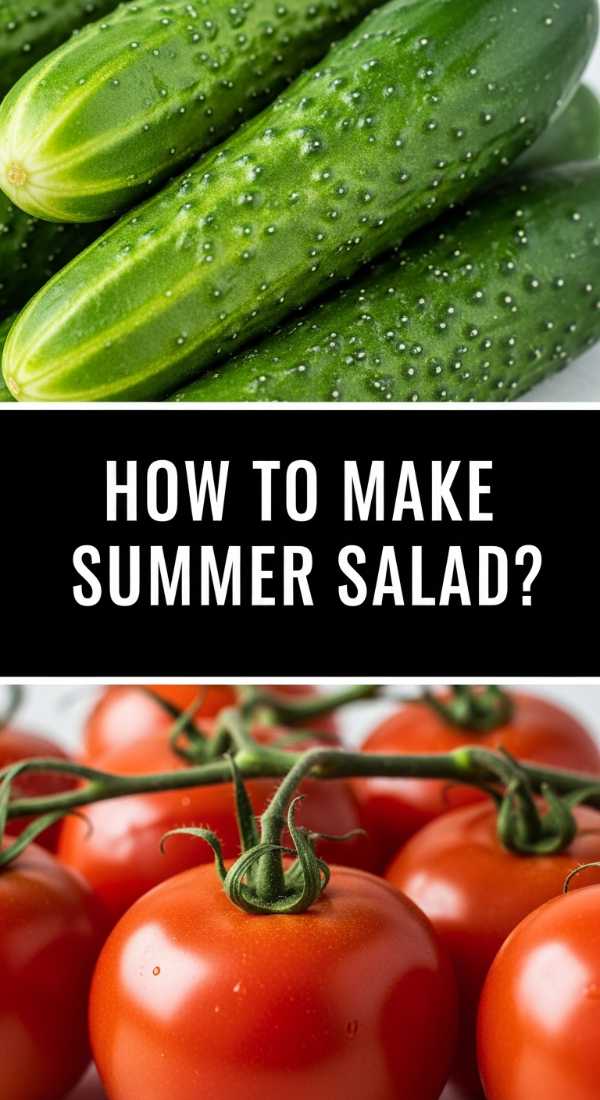
HOW TO MAKE SUMMER SALAD?

Why we love this
There is nothing quite like a summer salad that celebrates the peak of the harvest with vibrant colors and contrasting textures. We love the way the crisp, cool cucumber snaps against the creamy richness of crumbled feta, all tied together by the snap of juicy cherry tomatoes and the earthy fragrance of fresh basil. It feels light and hydrating on a humid day, leaving you feeling energized rather than weighed down, with a zesty vinaigrette that makes every bite pop with brightness.
Ingredients
- 4 cups mixed greens or baby spinach
- 1 cup cherry tomatoes, halved
- 1 cucumber, thinly sliced
- 1/2 red onion, shaved thin
- 1/2 cup crumbled feta cheese
- 1/4 cup toasted pine nuts
- Balsamic glaze and extra virgin olive oil
How to make it
- Start with the freshest greens you can find; wash them in ice-cold water and use a salad spinner to get them bone-dry. This ensures the dressing clings to the leaves instead of pooling at the bottom.
- Thinly slice your red onion and soak the slices in a small bowl of cold water for 10 minutes. This trick removes the harsh “bite” and keeps the onion flavor sweet and mild.
- In a large wide bowl, layer the greens first, then scatter the halved cherry tomatoes and cucumber slices. The goal is to see every ingredient, so don’t just toss them into a heap.
- Toast the pine nuts in a dry pan over low heat for 3-4 minutes until they are golden brown and smell nutty. Watch them closely as they can burn in seconds!
- Sprinkle the feta cheese and toasted nuts over the top. Just before serving, drizzle with high-quality olive oil and a decorative swirl of thick balsamic glaze.
- Season generously with flaky sea salt and freshly cracked black pepper to bring out the natural sweetness of the vegetables.
HOW TO MAKE CHICKEN WRAPS?

Why we love this
Chicken wraps are the ultimate versatile lunch that somehow tastes better when eaten outdoors. The combination of warm, seasoned chicken tucked into a soft, chewy tortilla with crunchy lettuce and a creamy sauce provides a satisfying textural contrast that never gets old. We love that they are completely customizable—you can go spicy, savory, or fresh—making them a hit for picky eaters and gourmet fans alike, and they hold up beautifully on a food board for hours of grazing.
Ingredients
- 2 large flour tortillas
- 2 cups cooked chicken breast, shredded
- 1 cup shredded romaine lettuce
- 1/2 cup shredded cheddar cheese
- 1/4 cup ranch dressing or buffalo sauce
- 1/4 cup diced tomatoes
How to make it
- Warm your flour tortillas for 10-15 seconds in a dry skillet or microwave. A warm tortilla is much more pliable and less likely to rip when you start folding it.
- If your chicken isn’t already warm, toss the shredded pieces in a pan with a little butter or oil and your choice of seasoning (taco spice or garlic herb works best) until the edges get a bit of color.
- Lay the tortilla flat and spread a thin layer of your chosen sauce—ranch for a classic vibe or buffalo for heat—down the center third of the wrap.
- Layer the shredded lettuce first to act as a barrier, then add the warm chicken, cheese, and tomatoes. Keeping the “wet” ingredients in the middle prevents the tortilla from getting soggy.
- To fold, tuck in the two sides first, then roll from the bottom up as tightly as possible.
- Place the wrap seam-side down in a hot pan for 30 seconds to “seal” the wrap and give it a golden, toasted exterior. Slice on a diagonal to show off the beautiful interior layers.
HOW TO GRILL STEAK KABOBS?
Why we love this
Steak kabobs are the king of the summer grill, offering smoky, charred perfection in every single bite. The visual appeal of alternating colorful peppers and onions with succulent cubes of marbled beef is enough to make anyone’s mouth water. We love the way the high heat of the grill caramelizes the natural sugars in the vegetables while the steak develops a salty, savory crust that hides a tender, juicy center. It’s a complete meal on a stick that feels like a celebration.
Ingredients
- 1.5 lbs top sirloin or ribeye, cut into 1-inch cubes
- 2 bell peppers (any color), cut into chunks
- 1 large red onion, cut into wedges
- 1/4 cup soy sauce
- 2 tablespoons olive oil
- 2 cloves garlic, minced
- 1 teaspoon black pepper
How to make it
- If using wooden skewers, soak them in water for at least 30 minutes before grilling to prevent them from catching fire. Metal skewers are a great alternative if you grill often.
- In a large bowl, whisk together the soy sauce, olive oil, minced garlic, and pepper. Add the steak cubes and toss to coat thoroughly. Let this marinate in the fridge for at least 1 hour to tenderize the meat and infuse flavor.
- Thread the skewers, alternating between a piece of steak, a pepper chunk, and a slice of onion. Don’t pack them too tightly; leaving a tiny bit of space between items allows the heat to circulate and cook everything evenly.
- Preheat your grill to medium-high heat (about 400°F). Lightly oil the grates to ensure the meat doesn’t stick.
- Place the kabobs on the grill and cook for 8-10 minutes. Turn them every 2-3 minutes so all sides get those beautiful, dark grill marks.
- For a medium-rare steak, aim for an internal temperature of 135°F. Once done, let the kabobs rest on a platter for 5 minutes before serving to allow the juices to redistribute back into the meat.
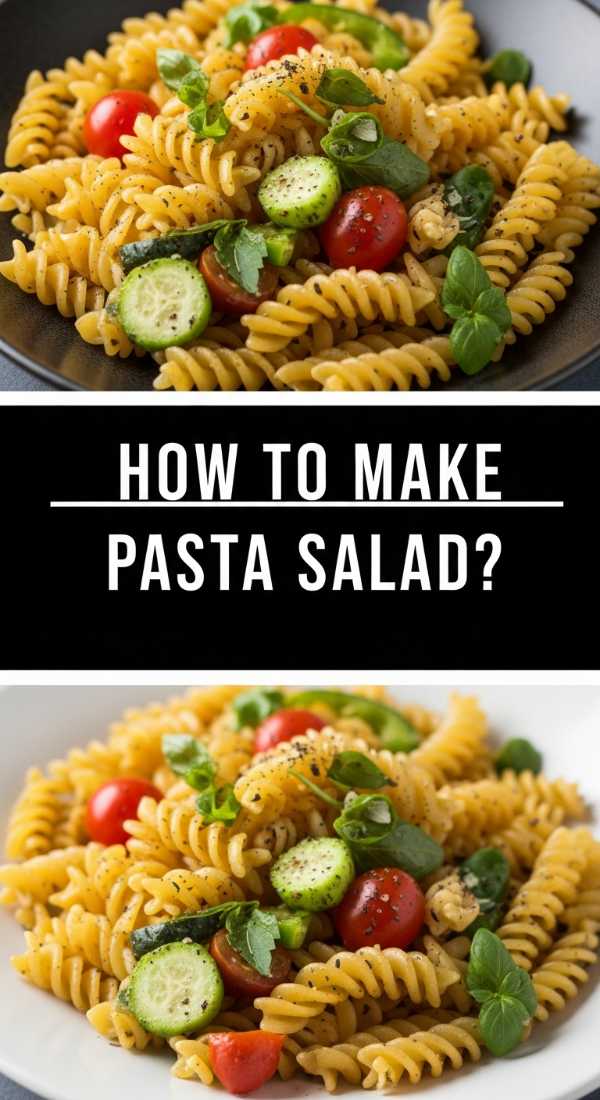
HOW TO MAKE PASTA SALAD?

Why we love this
Pasta salad is the unsung hero of the food board, providing a hearty, zesty base that everyone reaches for. There is something so satisfying about al dente pasta coils catching pools of tangy Italian dressing, mixed with the salty bite of olives and the sharp kick of pepperoni. It’s a dish that actually tastes better the longer it sits, as the flavors meld together in the fridge, making it the perfect make-ahead option for busy days when you want to spend more time with guests and less time over the stove.
Ingredients
- 1 lb rotini or fusilli pasta
- 1 cup Italian vinaigrette dressing
- 1/2 cup sliced black olives
- 1/2 cup diced bell peppers
- 1/2 cup cubed mozzarella cheese
- 1/4 cup sliced pepperoni or salami
- 1/4 cup grated parmesan
How to make it
- Bring a large pot of heavily salted water to a boil. Cook the pasta for one minute less than the package directions suggest. You want it “al dente” (firm to the bite) because it will soften slightly as it absorbs the dressing.
- Drain the pasta and immediately rinse it under cold running water. This stops the cooking process and washes away excess starch, preventing the pasta from sticking together.
- In a very large mixing bowl, combine the cooled pasta with half of the Italian dressing. Tossing it while it’s still slightly damp helps the flavor penetrate the pasta.
- Add in the olives, peppers, mozzarella cubes, and meats. Fold everything together gently with a large spatula.
- Cover and refrigerate for at least 2 hours. This is the most important step for the flavor profile to develop!
- Right before serving, pour the remaining half of the dressing over the salad and toss again. The pasta will have absorbed the first round of dressing, so this second pour ensures it’s perfectly moist and glossy. Top with a final sprinkle of parmesan.
HOW TO MAKE HUMMINGBIRD FOOD?
Why we love this
While not for the human food board, making hummingbird food is a beautiful lifestyle ritual that brings the magic of nature right to your window. There is a quiet joy in watching these tiny, iridescent creatures dart back and forth, fueled by the simple nectar you’ve prepared. It feels like a small act of kindness for the environment, and the clear, shimmering liquid in a glass feeder adds a touch of serene beauty to your porch or garden setup.
Ingredients
- 1 cup granulated white sugar
- 4 cups water
- Note: Never use red dye, honey, or artificial sweeteners.
How to make it
- In a small pot, bring the 4 cups of water to a light boil. Boiling helps remove impurities from the water and ensures the sugar dissolves completely and quickly.
- Remove the pot from the heat and stir in the 1 cup of white sugar. Whisk until the liquid is completely clear and no sugar crystals are visible at the bottom.
- Let the mixture cool completely to room temperature. This is vital; hot nectar can warp plastic feeders or harm the delicate birds.
- Fill your hummingbird feeder with the cooled nectar. If you have extra, you can store it in a clean glass jar in the refrigerator for up to two weeks.
- Hang your feeder in a shady spot to prevent the sugar water from fermenting too quickly in the sun.
- Clean your feeder every 3-5 days with hot water (no soap) to keep the birds healthy and coming back all season long.
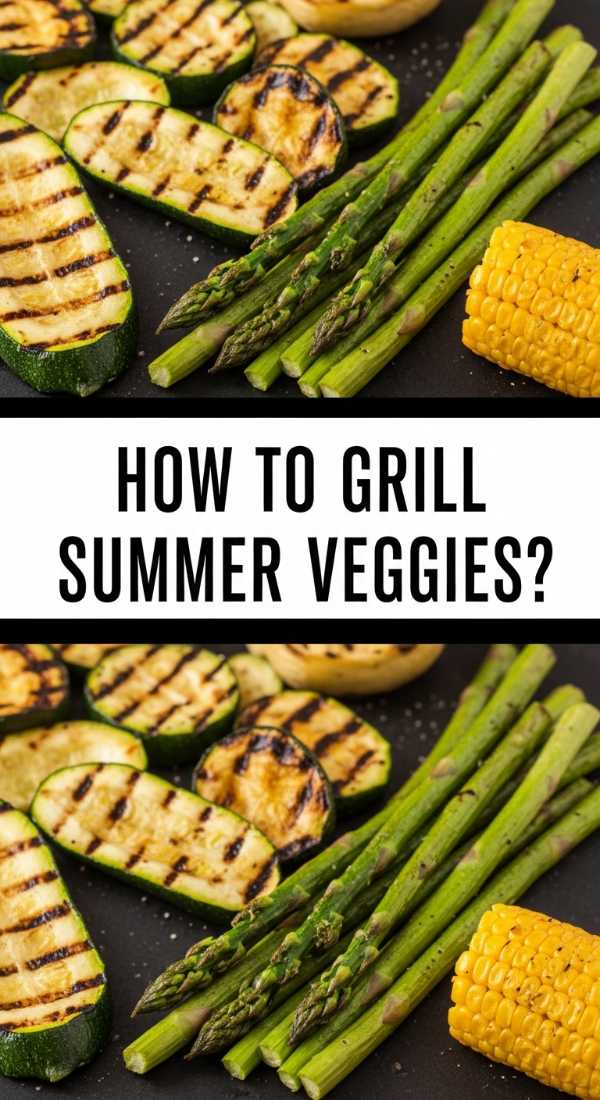
HOW TO GRILL SUMMER VEGGIES?

Why we love this
Grilling summer vegetables transforms humble garden produce into something truly extraordinary. We love the way the intense heat of the flames coaxes out the natural sugars in zucchini and asparagus, creating charred, caramelized edges that are smoky and sweet all at once. The texture remains tender-crisp, and when finished with a squeeze of lemon and a sprinkle of sea salt, they become the most vibrant, jewel-toned addition to any food board, smelling of herbs and charred wood.
Ingredients
- 2 zucchinis, sliced into planks
- 1 bunch asparagus, woody ends trimmed
- 1 red bell pepper, cut into wide strips
- 3 tablespoons olive oil
- 1 tablespoon balsamic vinegar
- 1 teaspoon dried oregano
- Salt and pepper to taste
How to make it
- Prepare your vegetables by cutting them into large, uniform pieces. Thicker slices (about 1/2 inch) are better for the grill as they won’t fall through the grates or turn to mush too quickly.
- In a large bowl or a gallon-sized zip-top bag, toss the vegetables with olive oil, balsamic vinegar, oregano, salt, and pepper. Let them sit for 15 minutes to absorb the seasoning.
- Preheat your grill to medium heat. If you’re worried about smaller pieces like asparagus, use a grill basket or a sheet of perforated foil.
- Lay the vegetables across the grates in a single layer. Grill the zucchini and peppers for 3-4 minutes per side until they have clear grill marks. Asparagus usually only needs 3-5 minutes total.
- Use tongs to flip the veggies carefully. You are looking for a vibrant color and a slight char, but they should still have a little “snap” when bitten.
- Remove from the grill and arrange them on your board while warm. A final drizzle of fresh olive oil or a dusting of lemon zest right before serving makes the colors pop and the flavors sing.
HOW TO MAKE DANDELION JELLY?
Why we love this
Dandelion jelly is like capturing a spring meadow in a jar. Often called “poor man’s honey,” this golden, translucent jelly has a surprisingly delicate floral flavor with hints of lemon and honey. We love the process of foraging for the bright yellow heads on a sunny morning—it’s a slow-living practice that connects you to the earth. Spread on a warm biscuit, it offers a unique, botanical sweetness that is both sophisticated and deeply rustic.
Ingredients
- 2 cups dandelion petals (yellow parts only)
- 4 cups boiling water
- 1/4 cup lemon juice
- 1 package (1.75 oz) powdered pectin
- 4 cups granulated sugar
How to make it
- The most important step is harvesting: pick dandelions from a clean area free of pesticides. Pull the yellow petals away from the green base (the green parts are very bitter and will ruin the jelly flavor).
- Place the petals in a heat-proof jar and pour the boiling water over them. Let this steep overnight in the fridge to create a strong “dandelion tea.”
- Strain the tea through a coffee filter or fine-mesh sieve, squeezing the petals to get every drop of golden liquid. You need exactly 3 cups of liquid; add a little water if you’re short.
- In a large pot, combine the dandelion tea, lemon juice, and pectin. Bring this to a full, rolling boil that cannot be stirred down.
- Add the sugar all at once and stir constantly. Return to a hard boil and cook for exactly one to two minutes.
- Skim off any foam from the top with a metal spoon. Pour the hot liquid into sterilized jars, leaving 1/4 inch of headspace. Process in a water bath for 10 minutes or let cool and store in the fridge for immediate use.
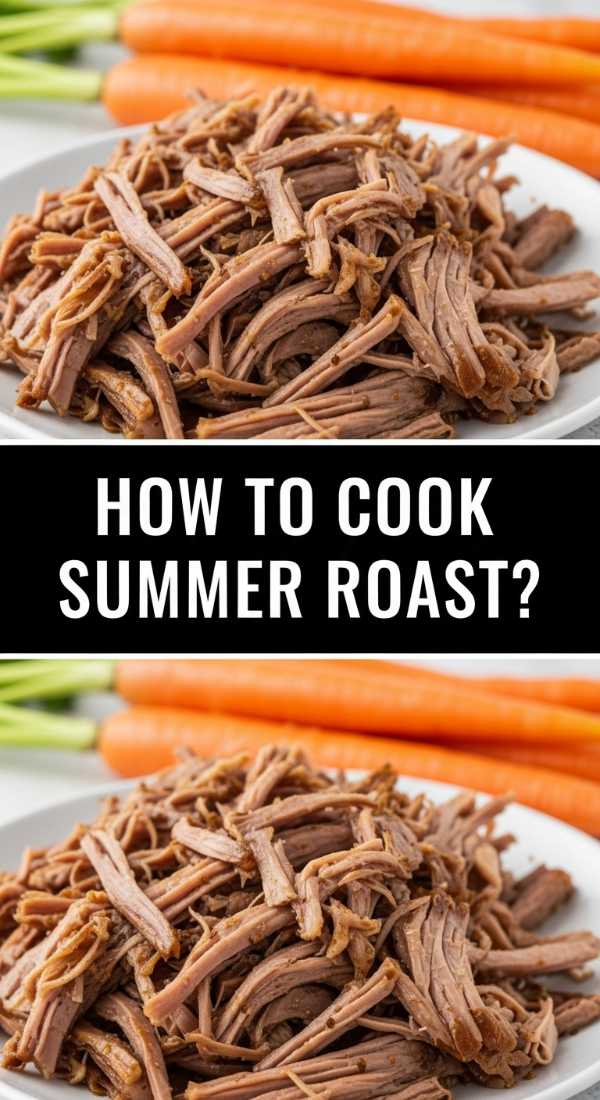
HOW TO COOK SUMMER ROAST?
[IMAGE_10]
Why we love this
A summer roast is all about the “set it and forget it” mentality, allowing you to enjoy the sunshine while the kitchen does the work. This isn’t your heavy, winter pot roast; it’s lightened up with fresh herbs and citrus, resulting in meat that pulls apart with the slightest touch of a fork. The aroma is heavenly—savory beef mingling with fresh rosemary and garlic—creating a focal point for a dinner board that feels incredibly special without requiring you to stand over a hot stove all evening.
Ingredients
- 3 lb chuck roast or rump roast
- 1 cup beef broth
- 4 cloves garlic, smashed
- 2 sprigs fresh rosemary
- 1 lemon, sliced into rounds
- 1 tablespoon kosher salt
- 1 teaspoon black pepper
How to make it
- Start by patting your roast completely dry with paper towels. Season it aggressively on all sides with the salt and pepper, pressing the seasoning into the meat.
- In a heavy Dutch oven or skillet, sear the roast over high heat for 3-4 minutes per side. This creates a deep brown crust (the Maillard reaction) which is essential for the final flavor of the gravy.
- Transfer the roast to a slow cooker or keep it in the Dutch oven. Pour the beef broth around the base (not over the top, to preserve that crust!).
- Tuck the smashed garlic, rosemary sprigs, and lemon slices around the meat. The lemon adds a surprising brightness that cuts through the richness of the beef.
- Cook on Low in a slow cooker for 8 hours, or in a 300°F oven for 3-4 hours, until the meat is incredibly tender and easily shreds with two forks.
- Let the roast rest in its juices for 15 minutes before serving. Shred the meat into large chunks and arrange on a board surrounded by grilled veggies or toasted bread to soak up the savory jus.
Wrapping Up Your Viral Food Board Journey
Creating a food board isn’t just about the food; it’s about the feeling of ease and connection it brings to your home. From the sweet crunch of a summer salad to the nostalgic gold of dandelion jelly, these recipes are meant to be shared, messy and beautiful. I hope these ideas inspire you to put down the complicated cookbooks and just start assembling. Remember, the best boards are the ones made with love and enjoyed with the people who matter most. Happy hosting!