
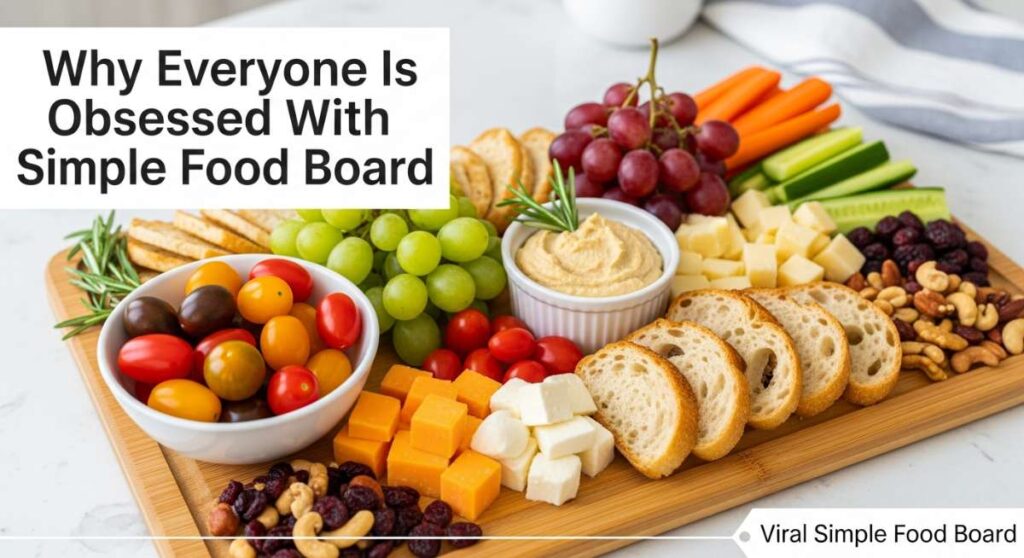
Why Everyone is Obsessed With This Simple Food Board
There is something inherently magical about a shared meal that doesn’t feel like a formal production. Lately, I have found myself leaning into the ‘food board’ lifestyle, where the table becomes a canvas and the meal becomes an interactive experience. It is about more than just sustenance; it is about the way the afternoon light hits the glasses of iced tea and the collective sigh of relief as friends gather around a spread of seasonal favorites.
We have all had those moments where the heat of summer makes a heavy meal feel impossible, yet we crave something satisfying and vibrant. This simple food board is the answer to that longing—a curated selection of textures and flavors that celebrate the best of the season. Whether it is the crunch of a fresh cucumber or the decadent melt of a cheese dip, these components come together to create a memory rather than just a menu.
How to bake strawberry pie?

Why we love this
There is nothing quite like the aroma of a strawberry pie cooling on a windowsill to evoke feelings of pure, unadulterated nostalgia. The crust is perfectly buttery and flaky, shattering with every forkful to reveal a glistening, ruby-red center of jammy strawberries that have been softened by the heat of the oven. Each bite is a balance of tart fruitiness and sugary warmth, making it the ultimate centerpiece for any summer gathering where you want to evoke a sense of home and comfort.
Ingredients
- 2 1/2 cups all-purpose flour
- 1 cup cold unsalted butter, cubed
- 1 teaspoon salt
- 1 tablespoon sugar
- 6-8 tablespoons ice water
- 6 cups fresh strawberries, hulled and halved
- 3/4 cup granulated sugar
- 1/4 cup cornstarch
- 1 tablespoon lemon juice
- 1 egg (for wash)
How to make it
- Begin by preparing the crust: In a large bowl, whisk together the flour, salt, and sugar. Use a pastry cutter or your fingers to work the cold, cubed butter into the flour until the mixture resembles coarse crumbs with some pea-sized pieces remaining.
- Gradually add ice water, one tablespoon at a time, mixing gently until the dough just starts to come together. Divide the dough into two disks, wrap in plastic, and refrigerate for at least one hour.
- Preheat your oven to 400°F (200°C). In a large mixing bowl, toss the halved strawberries with the granulated sugar, cornstarch, and lemon juice until the fruit is evenly coated and the sugar begins to dissolve into a light syrup.
- Roll out one disk of dough on a floured surface to fit a 9-inch pie plate. Transfer it gently and trim the edges. Pour the strawberry mixture into the crust, ensuring it is evenly distributed.
- Roll out the second disk and place it over the fruit, or cut it into strips to create a lattice pattern. Crimp the edges to seal. Brush the top with a beaten egg wash and sprinkle with a little extra sugar for crunch.
- Bake for 20 minutes at 400°F, then reduce the heat to 375°F (190°C) and bake for another 35-45 minutes until the crust is golden brown and the filling is bubbling thick. Let it cool completely for at least 4 hours before slicing to allow the juices to set.
How to make rotel dip?

Why we love this
Rotel dip is the undisputed king of comfort appetizers, offering a creamy, molten texture that is impossible to resist when paired with a salty tortilla chip. The bold, zesty kick from the diced tomatoes and green chilies cuts through the richness of the melted cheese, while the savory addition of browned meat provides a satisfying depth of flavor. It is a crowd-pleasing classic that brings people together, usually found at the heart of any party where the laughter is loud and the snacks are plentiful.
Ingredients
- 1 lb ground sausage or lean ground beef
- 16 oz Velveeta cheese, cubed
- 1 can (10 oz) Ro-Tel Diced Tomatoes and Green Chilies
- 1/2 cup whole milk (optional, for creaminess)
- Fresh cilantro for garnish
How to make it
- Place a large skillet over medium-high heat. Add the ground sausage or beef and cook, breaking it up with a wooden spoon, until it is fully browned and no pink remains. Drain the excess grease thoroughly to ensure the dip isn’t oily.
- Lower the heat to medium-low. Add the cubed Velveeta cheese to the skillet with the cooked meat. Stir continuously to prevent the cheese from scorching on the bottom of the pan.
- Pour in the entire can of Ro-Tel, including the juices, which contain all the essential spice and acidity. Stir the mixture until the cheese is completely melted and the dip is smooth and homogenous.
- If the dip feels too thick, splash in a little milk until you reach your desired consistency. Keep the heat low and stir frequently to maintain a silky texture.
- Transfer the dip to a warm serving bowl or a small slow cooker set to ‘warm’ to keep it dippable throughout your event. Garnish with chopped cilantro before serving.
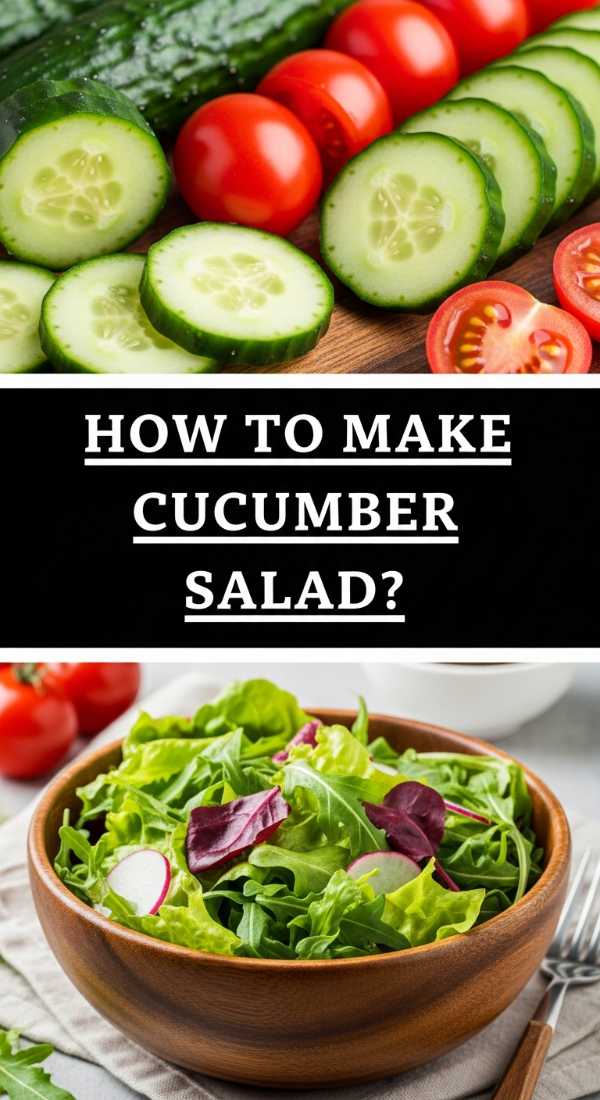
How to make cucumber salad?
Why we love this
This cucumber salad is the ultimate palate cleanser, offering a crisp, cooling crunch that feels like a breath of fresh air on a humid afternoon. The thin slices of cucumber absorb the tangy, sweet-and-sour vinegar dressing, while the sharp bite of red onion adds a sophisticated layer of flavor that lingers pleasantly. It is bright, translucent, and incredibly refreshing, making it the perfect side dish to balance out grilled meats or spicy dips on your board.
Ingredients
- 3 large English cucumbers, thinly sliced
- 1/2 red onion, thinly sliced into half-moons
- 1/2 cup white wine vinegar
- 2 tablespoons sugar
- 1 teaspoon salt
- 1/2 teaspoon black pepper
- 2 tablespoons fresh dill, chopped
How to make it
- Using a mandoline or a very sharp chef’s knife, slice the English cucumbers into paper-thin rounds. Place them in a large glass bowl along with the thinly sliced red onions.
- In a separate small bowl or mason jar, whisk together the white wine vinegar, sugar, salt, and black pepper until the sugar has completely dissolved into the vinegar.
- Pour the dressing over the cucumbers and onions. Toss the vegetables gently but thoroughly to ensure every slice is coated in the liquid.
- Add the fresh chopped dill and toss once more. The dill adds a floral, herbaceous note that is essential to the dish’s identity.
- Cover the bowl and refrigerate for at least 30 minutes before serving. This allows the cucumbers to marinate and slightly soften while releasing their natural juices into the dressing, creating a delicious brine.
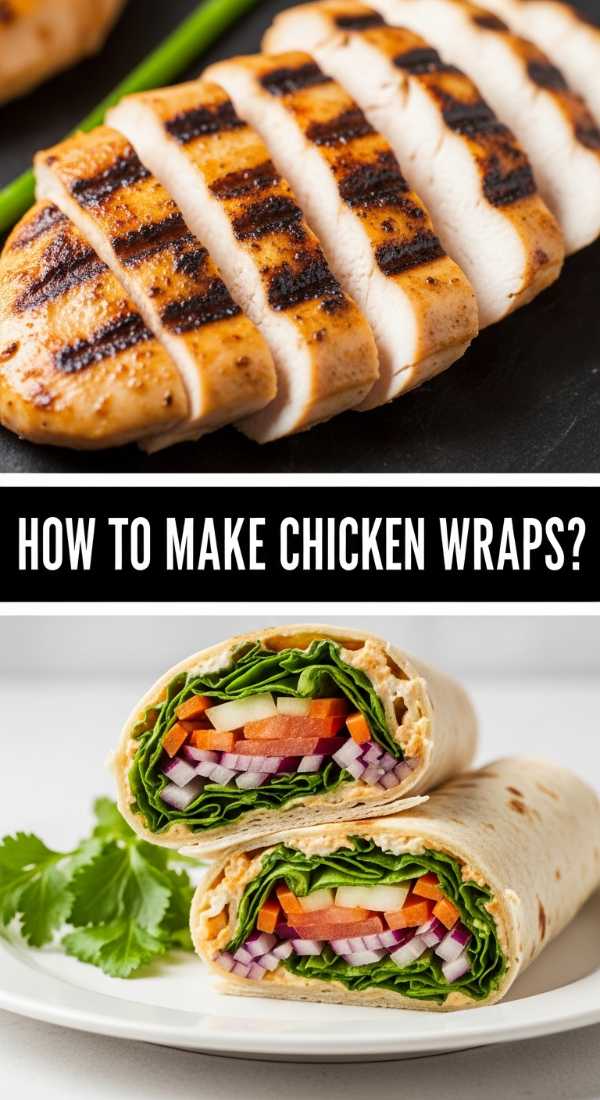
How to make chicken wraps?
Why we love this
Chicken wraps are the perfect blend of convenience and gourmet flair, packing a variety of textures into a soft, portable package. The tender, seasoned chicken provides a hearty base, while the crisp greens and juicy tomatoes offer a burst of garden-fresh flavor in every bite. When drizzled with a creamy sauce, the wrap becomes a harmonious blend of cool and savory elements that is light enough for a picnic but filling enough for a main course.
Ingredients
- 4 large flour tortillas
- 2 cups cooked chicken breast, shredded or sliced
- 2 cups romaine lettuce, shredded
- 1 large tomato, diced
- 1/2 cup shredded cheddar cheese
- 1/4 cup ranch dressing or honey mustard
- Salt and pepper to taste
How to make it
- Lay each flour tortilla flat on a clean cutting board. If the tortillas are stiff, warm them in a dry skillet for 10 seconds per side to make them more pliable and prevent tearing.
- Spread a tablespoon of your chosen dressing (ranch or honey mustard) across the center of the tortilla, leaving a 1-inch border around the edges.
- Layer a handful of shredded romaine lettuce in the middle of the tortilla, followed by a portion of the cooked chicken. Season the chicken lightly with a pinch of salt and pepper.
- Top the chicken with diced tomatoes and a sprinkle of shredded cheddar cheese. Be careful not to overfill the wrap, as this will make it difficult to roll tightly.
- To fold, tuck in the left and right sides of the tortilla toward the center. Then, starting from the bottom, roll the tortilla upward as tightly as possible, keeping the side flaps tucked in.
- Slice the wrap diagonally in half for a beautiful presentation and serve immediately, or wrap tightly in parchment paper for on-the-go snacking.
How to make hummingbird food?

Why we love this
Making your own hummingbird food is a small act of kindness that brings the enchanting beauty of nature right to your window. There is something incredibly peaceful about watching these tiny, iridescent creatures dart back and forth, fueled by the simple syrup you prepared with care. It is a pure, clean recipe that avoids the dyes found in store-bought versions, ensuring the health and vitality of your backyard visitors while adding a sense of life to your outdoor space.
Ingredients
- 1 cup granulated white sugar
- 4 cups water
How to make it
- In a medium saucepan, combine 4 cups of tap water with 1 cup of granulated white sugar. Do not use honey, brown sugar, or artificial sweeteners, as these can be harmful or fatal to hummingbirds.
- Place the pan over medium-high heat and stir continuously until the sugar has completely dissolved into the water.
- Bring the mixture to a light boil for about 1-2 minutes. This step helps to slow down the fermentation process and removes any impurities from the water.
- Remove the pan from the heat and allow the nectar to cool completely to room temperature. This is crucial; never put hot liquid into a plastic feeder as it can warp the container and harm the birds.
- Once cooled, pour the clear nectar into your hummingbird feeder. Store any leftover syrup in a clean, airtight jar in the refrigerator for up to two weeks.
- Remember to clean your feeder every 3-5 days, especially in hot weather, to prevent mold growth and ensure the safety of your feathered friends.
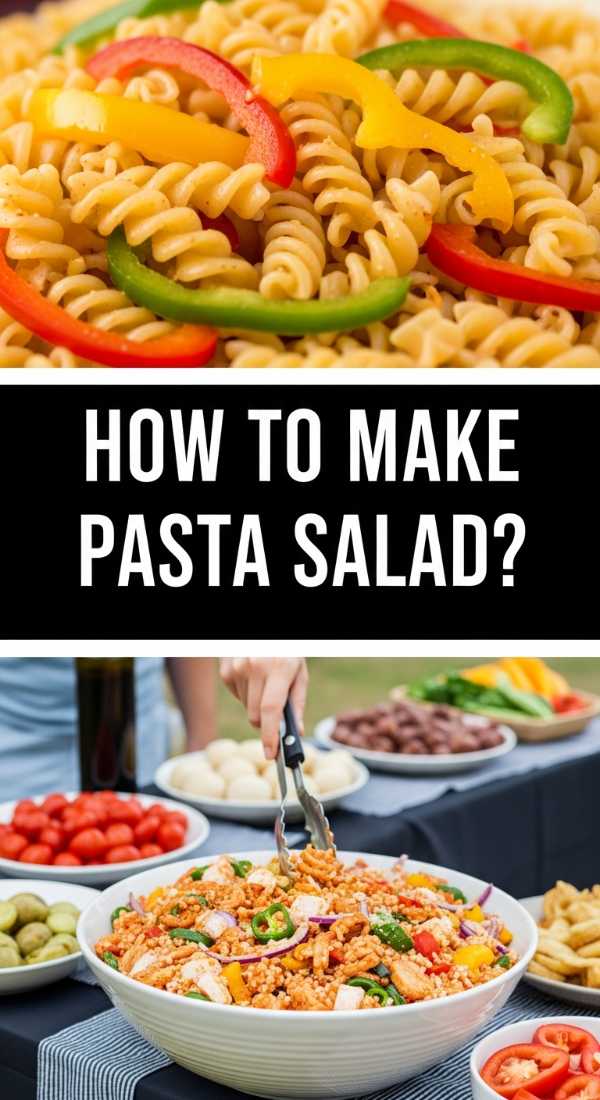
How to make pasta salad?
Why we love this
Pasta salad is the ultimate versatile sidekick, a vibrant medley of colors and shapes that feels like a party in a bowl. The al dente ridges of the pasta are designed to catch every drop of zesty Italian dressing, while the briny olives and salty feta cheese provide pops of intense flavor. It is a dish that actually improves with time as the ingredients meld together, making it a stress-free addition to any food board that needs a hearty, reliable component.
Ingredients
- 1 lb rotini or fusilli pasta
- 1 cup cherry tomatoes, halved
- 1/2 cup cucumber, diced
- 1/2 cup kalamata olives, sliced
- 1/2 cup red bell pepper, diced
- 1/2 cup crumbled feta cheese
- 1/2 cup Italian vinaigrette dressing
- 1/4 cup fresh parsley, chopped
How to make it
- Bring a large pot of salted water to a rolling boil. Add the pasta and cook according to the package directions, but aim for ‘al dente’ (firm to the bite). Overcooked pasta will become mushy once the dressing is added.
- Drain the pasta and immediately rinse it under cold running water. This stops the cooking process and prevents the pasta from sticking together, ensuring a clean texture for the salad.
- Transfer the cooled pasta to a large mixing bowl. Add the halved cherry tomatoes, diced cucumbers, sliced olives, and diced bell peppers.
- Pour the Italian vinaigrette over the mixture. Use a large spoon to toss everything together until the pasta and vegetables are thoroughly coated in the dressing.
- Gently fold in the crumbled feta cheese and fresh parsley. Be careful not to over-mix at this stage so the feta remains in distinct chunks rather than dissolving into the sauce.
- Cover and refrigerate for at least one hour before serving. Give it one final toss before plating to redistribute the dressing that may have settled at the bottom.
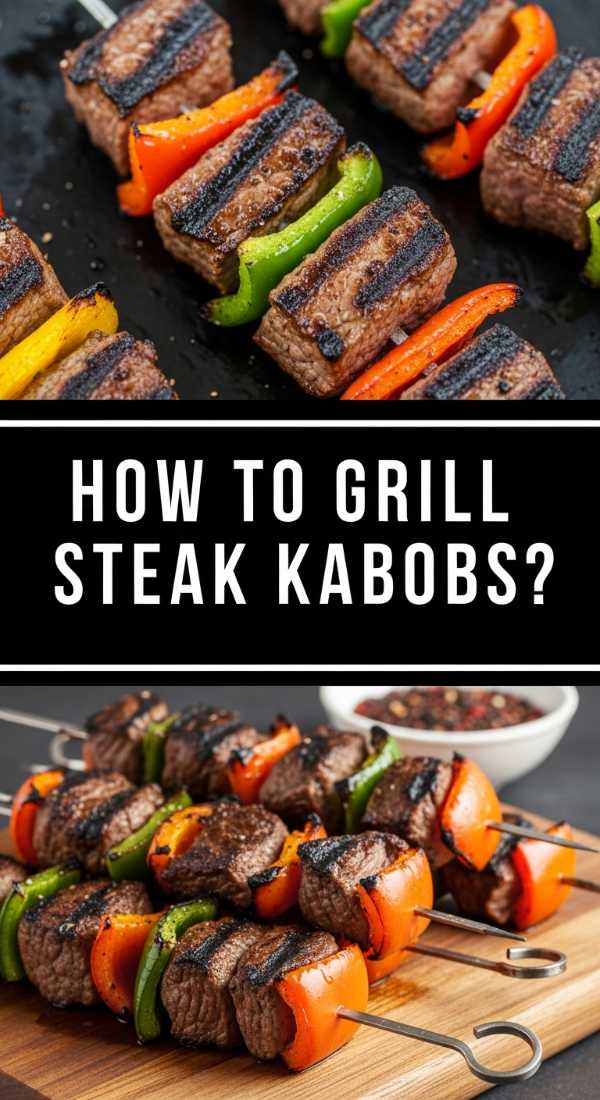
How to grill steak kabobs?
Why we love this
Steak kabobs are a sensory delight, offering the smoky charred edges of perfectly grilled beef alongside the sweetness of roasted vegetables. There is a primal satisfaction in the sizzle of the meat hitting the hot grates and the savory aroma that fills the air as the fat renders and the marinade caramelizes. Each skewer is a perfectly portioned meal, providing a juicy, tender experience that feels both rustic and refined at the same time.
Ingredients
- 1.5 lbs top sirloin steak, cut into 1.5-inch cubes
- 2 bell peppers (any color), cut into chunks
- 1 large red onion, cut into chunks
- 1/4 cup olive oil
- 1/4 cup soy sauce
- 2 tablespoons Worcestershire sauce
- 2 cloves garlic, minced
- 1 teaspoon smoked paprika
How to make it
- In a large bowl or gallon-sized freezer bag, combine the olive oil, soy sauce, Worcestershire sauce, minced garlic, and smoked paprika. Add the steak cubes and toss to coat. Marinate in the refrigerator for at least 2 hours, or up to 6 hours for maximum tenderness.
- If using wooden skewers, soak them in water for at least 30 minutes to prevent them from burning on the grill.
- Thread the marinated steak, bell peppers, and red onions onto the skewers, alternating between meat and vegetables. Leave a tiny bit of space between pieces so the heat can circulate and cook everything evenly.
- Preheat your grill to medium-high heat (about 400°F). Lightly oil the grates to prevent sticking.
- Place the kabobs on the grill and cook for 8-10 minutes, turning them every 2-3 minutes. This ensures an even char on all sides. For medium-rare steak, aim for an internal temperature of 135°F (57°C).
- Remove the kabobs from the grill and let them rest on a plate for 5 minutes. This resting period allows the juices to redistribute, ensuring every bite of steak is succulent and flavorful.
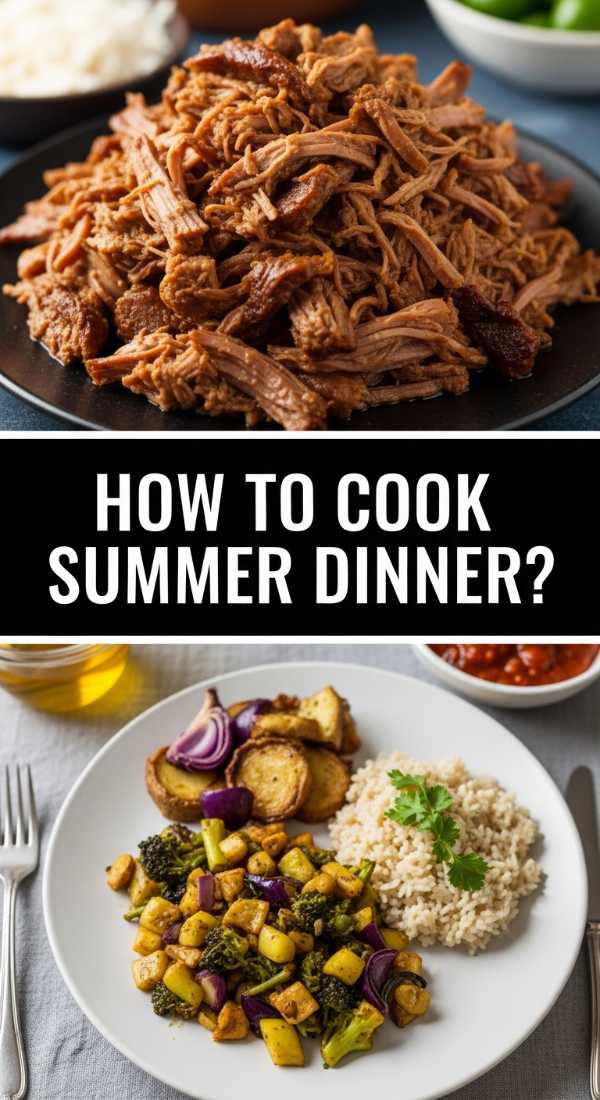
How to cook summer dinner?
Why we love this
A quintessential summer dinner is all about celebrating simplicity and freshness without spending hours over a hot stove. It should feel light, elegant, and effortlessly chic, like a meal enjoyed on a seaside terrace. Focusing on high-quality proteins like shrimp paired with bright citrus and garlic creates a flavor profile that is sophisticated yet accessible. It’s the kind of meal that encourages lingering conversations and a second glass of crisp white wine while the sun slowly sets.
Ingredients
- 1 lb large shrimp, peeled and deveined
- 2 tablespoons butter
- 1 tablespoon olive oil
- 3 cloves garlic, thinly sliced
- 1/4 cup dry white wine (like Sauvignon Blanc)
- Juice of half a lemon
- Fresh parsley and lemon wedges for garnish
How to make it
- Pat the shrimp dry with paper towels. Season them lightly with salt and pepper. Ensuring they are dry is the key to getting a beautiful golden sear rather than steaming them.
- In a large skillet, melt the butter with the olive oil over medium-high heat. Once the butter is foamy, add the shrimp in a single layer.
- Cook the shrimp for about 1-2 minutes per side until they turn pink and opaque. Do not overcook them, as they can become rubbery very quickly. Remove the shrimp from the pan and set aside.
- In the same skillet, add the sliced garlic. Sauté for about 30 seconds until fragrant but not browned. Pour in the white wine and use a wooden spoon to scrape up any flavorful bits from the bottom of the pan.
- Let the wine simmer and reduce by half, then stir in the lemon juice. Return the shrimp to the pan and toss them in the sauce for 30 seconds to warm through.
- Garnish with a generous amount of fresh parsley and serve immediately, perhaps with a side of crusty bread to soak up the garlic-lemon butter sauce.
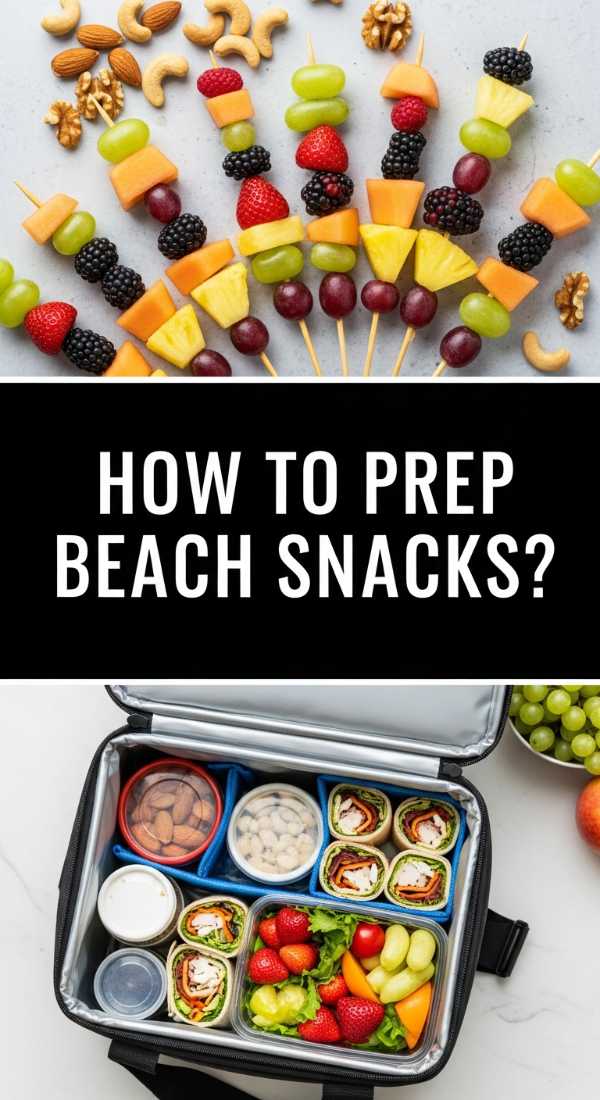
How to prep beach snacks?
Why we love this
The best beach snacks are the ones that stay cool, stay sand-free, and provide a burst of hydration when you’ve been under the sun all day. There is something so satisfying about opening a chilled cooler to find perfectly sliced, vibrating fruit that tastes like pure sunshine. Prepping these snacks with a hit of lime juice and a pinch of salt transforms simple fruit into a gourmet treat that keeps your energy levels high while you enjoy the waves.
Ingredients
- 4 cups watermelon chunks
- 2 cups fresh pineapple, sliced
- 1 cup green grapes (frozen is best!)
- Juice of 1 lime
- Optional: Tajin seasoning or a pinch of sea salt
How to make it
- Start by cutting your watermelon and pineapple into uniform, bite-sized cubes. Consistency is key for easy eating with fingers or toothpicks while lounging on a towel.
- Place the grapes in the freezer the night before your beach trip. Frozen grapes act like edible ice cubes, staying cold for hours and providing a refreshing texture.
- Layer the fruit in an airtight, leak-proof container. Avoid glass containers at the beach for safety; high-quality BPA-free plastic or stainless steel is preferred.
- Squeeze the juice of one fresh lime over the fruit. The acidity helps keep the fruit looking fresh and adds a bright, tropical zing that complements the sweetness.
- If you like a little kick, sprinkle a small amount of Tajin (chili-lime seasoning) over the watermelon. The salt enhances the natural sugars of the fruit.
- Store the container at the very bottom of your cooler, directly against the ice packs. This ensures that even in the heat of the afternoon, your snacks remain crisp and rejuvenating.
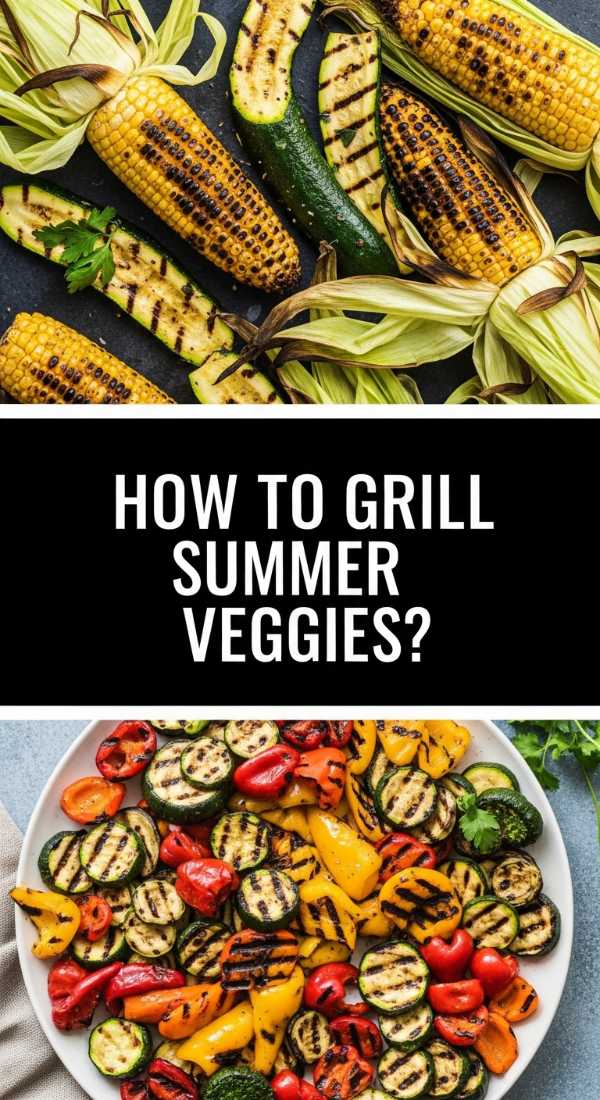
How to grill summer veggies?
Why we love this
Grilled summer vegetables are a revelation, turning humble garden produce into caramelized, smoky gems that are packed with concentrated flavor. The high heat of the grill coaxes out the natural sugars in zucchini and asparagus, resulting in a tender-crisp texture that you just can’t achieve in a steamer. Seasoned simply with olive oil and herbs, they are the colorful, healthy soul of the food board, offering an earthy balance to the richer meats and cheeses.
Ingredients
- 2 medium zucchini, sliced into spears
- 1 bunch thick asparagus, ends trimmed
- 1 red onion, cut into thick rings
- 3 tablespoons olive oil
- 1 teaspoon dried oregano
- 1/2 teaspoon garlic powder
- Salt and cracked black pepper to taste
How to make it
- Preheat your grill to medium heat (about 350°F). If your grill has wide grates, you may want to use a grill basket to prevent smaller vegetable pieces from falling through.
- In a large bowl, toss the zucchini spears, asparagus, and red onion rings with the olive oil. Ensure every vegetable is lightly and evenly coated; this is what creates the beautiful grill marks.
- Sprinkle the dried oregano, garlic powder, salt, and pepper over the vegetables and toss once more to distribute the seasoning.
- Place the vegetables directly on the grill grates or in the grill basket. Arrange them in a single layer to ensure even cooking.
- Grill the vegetables for about 4-5 minutes per side. The asparagus and onions may cook faster than the zucchini, so keep a close eye on them. You are looking for distinct char marks and a slight softening of the texture while maintaining a ‘bite.’
- Remove the veggies from the grill and arrange them on a platter. A final drizzle of high-quality balsamic glaze or a squeeze of lemon juice right before serving can elevate the flavors to the next level.
The Art of the Simple Spread
Building a food board like this isn’t about perfection; it’s about the joy of variety and the ease of hosting. By combining these recipes—from the sweetness of the strawberry pie to the smoky char of the steak kabobs—you create a dining experience that feels abundant and thoughtful. So, grab a large wooden board, gather your favorite people, and let the food do the talking. Here’s to a summer filled with good flavors and even better company.