
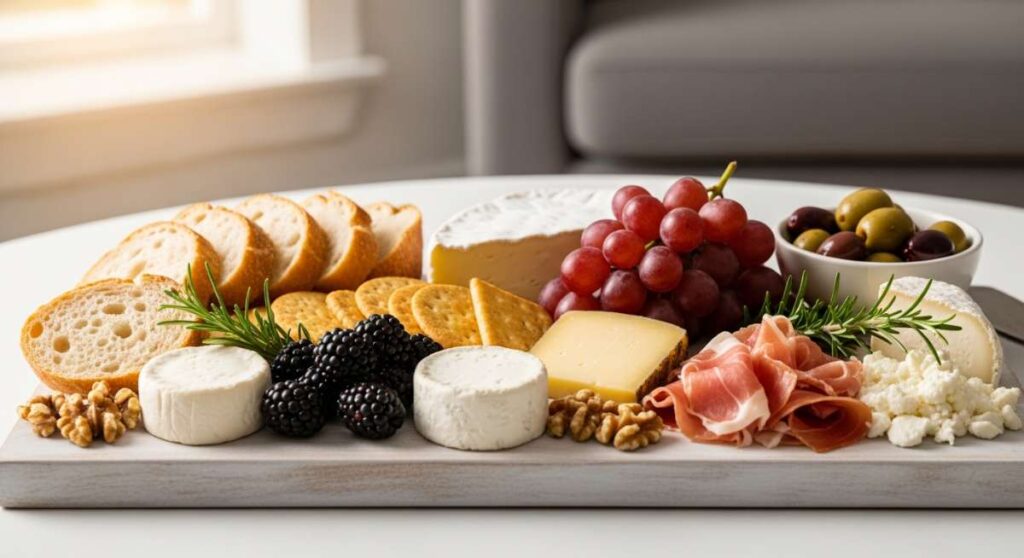
Why Simple Food Boards Are the Ultimate Low-Effort Hosting Hack
There is a specific kind of magic that happens when you stop worrying about being a perfect chef and start focusing on being a present host. I remember the first time I ditched the three-course plated meal for a massive, sprawling board of snacks and easy bites; the tension in the room instantly evaporated. Instead of me being stuck in the kitchen, sweating over a hot stove, I was right there in the living room, glass of wine in hand, laughing with my best friends while we all picked at hunks of salty cheese and sun-ripened fruit.
The viral ‘board’ trend isn’t just about the aesthetics—though, let’s be honest, they look incredible on the ‘gram. It’s about the freedom of choice and the casual, communal nature of grazing. When everything is laid out beautifully, it feels like a feast without the formality. Whether you are hosting a backyard bash or a quiet sunset picnic, these simple food boards and easy-to-assemble components are the ultimate secret weapon for anyone who wants to entertain with style and zero stress.
7 Easy Ways to Mix Summer Cocktails (Step-by-Step Guide)

Why we love this
There is nothing quite like the sound of ice cubes clinking against a crystal glass on a humid July afternoon, the condensation pooling at the base as the sun begins its slow descent. Mixing summer cocktails on a board allows guests to customize their sweetness and garnishes, turning a simple drink into a sensory experience of fragrant muddled mint, the sharp zest of lime, and the effervescent pop of sparkling soda. It transforms your living room into a high-end beach bar, where the aroma of fresh botanicals lingers in the air and every sip feels like a crisp, cooling escape from the heat.
Ingredients
- Fresh citrus (limes, lemons, grapefruits)
- Herbs (mint, basil, rosemary)
- Spirits (vodka, gin, or tequila)
- Sweeteners (simple syrup, agave, or honey)
- Carbonated mixers (club soda, tonic, or ginger beer)
- Fresh berries and cucumber ribbons
- Large cubes of clear ice
How to make it
- Chill the Glassware: Place your glasses in the freezer for 15 minutes before serving to ensure the first sip is ice-cold and the drink stays refreshing longer.
- Prepare the Aromatics: Gently slap fresh mint or basil between your palms to release the essential oils without bruising the leaves, which can lead to a bitter aftertaste.
- Measure the Base: Use a jigger to pour 2 ounces of your chosen spirit into a shaker filled with ice, ensuring a consistent strength for every cocktail.
- The Balanced Shake: Add 1 ounce of citrus juice and 0.5 ounces of sweetener, then shake vigorously for 12-15 seconds until the shaker is frost-cold to the touch.
- Double Strain: Use a Hawthorne strainer and a fine-mesh sieve to pour the mixture into your chilled glass, removing any small ice shards or pulp for a silky smooth texture.
- Top with Fizz: Slowly pour your carbonated mixer down a long bar spoon to preserve the bubbles and prevent the drink from splashing.
- The Visual Finish: Garnish with a sprig of herb and a thin wheel of citrus, placing them near the rim so the guest gets a hit of aroma with every sip.
7 Easy Ways to Prep Cookout Side Dishes (Step-by-Step Guide)

Why we love this
Cookout sides are the unsung heroes of any backyard gathering, offering a symphony of textures from the creamy weight of a classic potato salad to the sharp, acidic crunch of a vinegar-based slaw. Imagine the smoky aroma of charred corn mingling with the sweet scent of maple-baked beans, all served on a large wooden board that invites everyone to scoop, dip, and pile their plates high. It’s the ultimate comfort food experience, where the vibrant colors of grilled vegetables and the golden hues of cornbread create a visual feast that rivals the main course.
Ingredients
- Red potatoes and mayonnaise
- Sweet corn on the cob and cotija cheese
- Cabbage and shredded carrots
- Apple cider vinegar and Dijon mustard
- Baked beans and brown sugar
- Fresh parsley and chives
- Smoked paprika and sea salt
How to make it
- Parboil Potatoes: Start potatoes in cold salted water and bring to a boil; this ensures the centers are creamy while the outsides remain intact and don’t turn into mush.
- Season While Warm: Toss cooked potatoes or pasta with a splash of vinegar or a light dressing while they are still steaming; this allows the starch to absorb the flavor deep into the core.
- Char the Corn: Place shucked corn directly over a medium-high grill flame (approx 400°F) for 2-3 minutes per side until kernels are bright yellow with dark charred spots.
- Emulsify the Dressing: Slowly whisk oil into your vinegar and mustard base in a steady stream to create a thick, stable emulsion that coats the vegetables rather than pooling at the bottom.
- The Crunch Factor: Only add the dressing to your slaw 20 minutes before serving to ensure the cabbage stays crisp and doesn’t release too much water.
- Layer the Flavors: Fold in fresh herbs like chives or parsley at the very end to preserve their bright green color and punchy, fresh taste.
- Temperature Control: Keep creamy sides in an ice-chilled bowl nestled inside a larger serving bowl to maintain a safe and refreshing temperature during outdoor dining.
7 Easy Ways to Make Healthy Summer Meals (Step-by-Step Guide)
Why we love this
Healthy summer eating is all about celebrating the produce of the season—the snap of a fresh green bean, the juicy burst of a cherry tomato, and the lean, flaky texture of a perfectly seared piece of fish. A healthy meal board is a kaleidoscope of vitality, glowing with the greens of avocado and the deep purples of roasted beets, all tied together with a drizzle of liquid gold olive oil. It feels light in the body but heavy on satisfaction, proving that “healthy” can be synonymous with “indulgent” when you have the right balance of fats, fibers, and proteins.
Ingredients
- Salmon fillets or chicken breast
- Quinoa or farro
- Avocado and baby spinach
- Heirloom tomatoes and cucumbers
- Extra virgin olive oil and lemons
- Toasted walnuts or pumpkin seeds
- Feta cheese or goat cheese
How to make it
- Prep the Grain Base: Toast quinoa in a dry pan for 2 minutes before adding liquid to give it a nutty, complex flavor profile that elevates the entire dish.
- High-Heat Searing: Pat your protein (salmon or chicken) completely dry with paper towels to ensure a crisp, golden-brown skin when it hits the hot, oiled pan.
- The 60-Second Blanch: Briefly dip green vegetables like asparagus or snap peas into boiling water, then immediately into an ice bath to lock in a vibrant green color and a tender-crisp bite.
- Acid Balance: Use a 3:1 ratio of oil to lemon juice for your dressing, adding a pinch of salt to cut the acidity and bring out the natural sweetness of the produce.
- Artful Slicing: Slice avocados and tomatoes into uniform wedges to ensure every forkful has a bit of everything and the board looks professionally curated.
- Toast the Garnish: Briefly heat nuts or seeds in a skillet until they become fragrant; this releases oils that significantly enhance the crunch and flavor of the meal.
- Final Seasoning: Use a flaky sea salt (like Maldon) as a finishing touch to provide a delicate crunch and a pop of salinity that wakes up the palate.
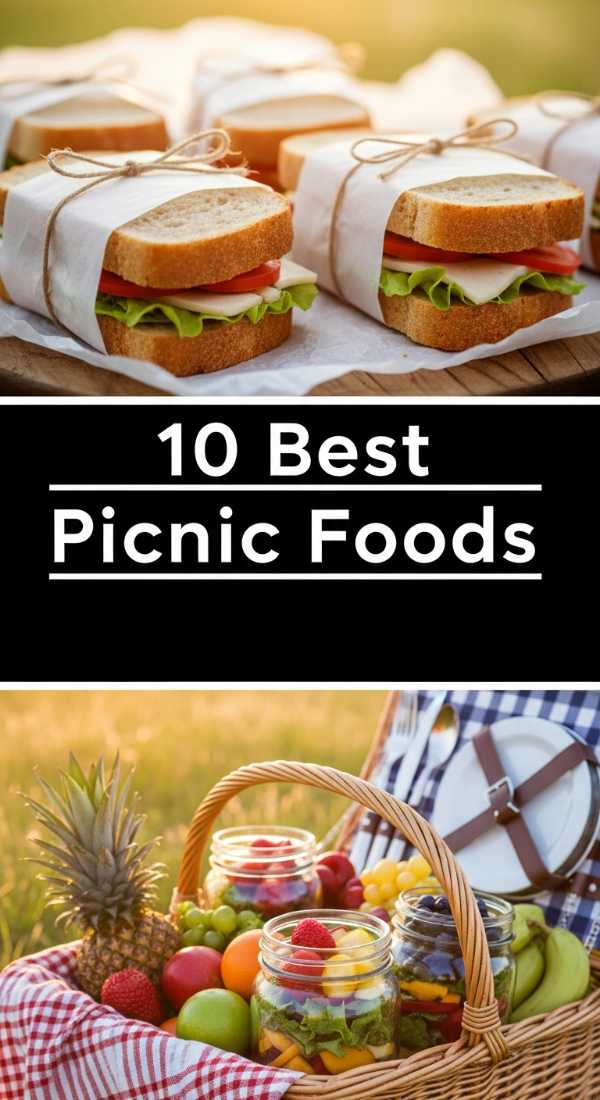
7 Easy Ways to Pack Picnic Food Ideas (Step-by-Step Guide)
Why we love this
Picnicking is the art of portable joy, where the food has to be as durable as it is delicious, surviving the journey to the park or the beach in style. There is a nostalgic comfort in opening a cooler to find neatly packed jars of layered salads, the sight of chilled grapes still glistening with dew, and the sound of a crusty baguette being torn apart. A picnic board in a box is a treasure chest of textures, from the smoothness of a hummus dip to the structured snap of a salted pretzel, making every bite an adventure in the great outdoors.
Ingredients
- Mason jars or stackable containers
- Sturdy greens (kale or romaine)
- Hard cheeses (cheddar or manchego)
- Cured meats (salami or prosciutto)
- Fresh grapes and apple slices
- Hummus or spinach dip
- Baguette or artisanal crackers
How to make it
- Layering Strategy: Put the dressing at the very bottom of your mason jar, followed by heavy veggies (carrots/chickpeas), and put the greens at the very top to prevent wilting.
- Moisture Barrier: Place a small piece of parchment paper between wet ingredients (like fruit) and dry ingredients (like crackers) to keep everything in its ideal state.
- Pre-Slice with Care: Slice your cheese and meats at home so they are ready to grab, but keep them tightly wrapped in beeswax wraps to prevent them from drying out in the air.
- Temperature Maintenance: Use frozen water bottles as ice packs; they keep the food cold during transport and provide refreshing ice water as they melt throughout the day.
- The “Sturdy” Fruit Rule: Choose fruits that won’t bruise easily, like grapes, berries, or citrus slices, rather than soft peaches or bananas which can become unappealing in transit.
- Dip Protection: Press a piece of plastic wrap directly onto the surface of dips like hummus before sealing the lid to prevent a “skin” from forming or oxidation.
- Utensil Prep: Bundle reusable cutlery in a cloth napkin secured with a rubber band, so you have everything needed for a clean, sophisticated dining experience on the grass.
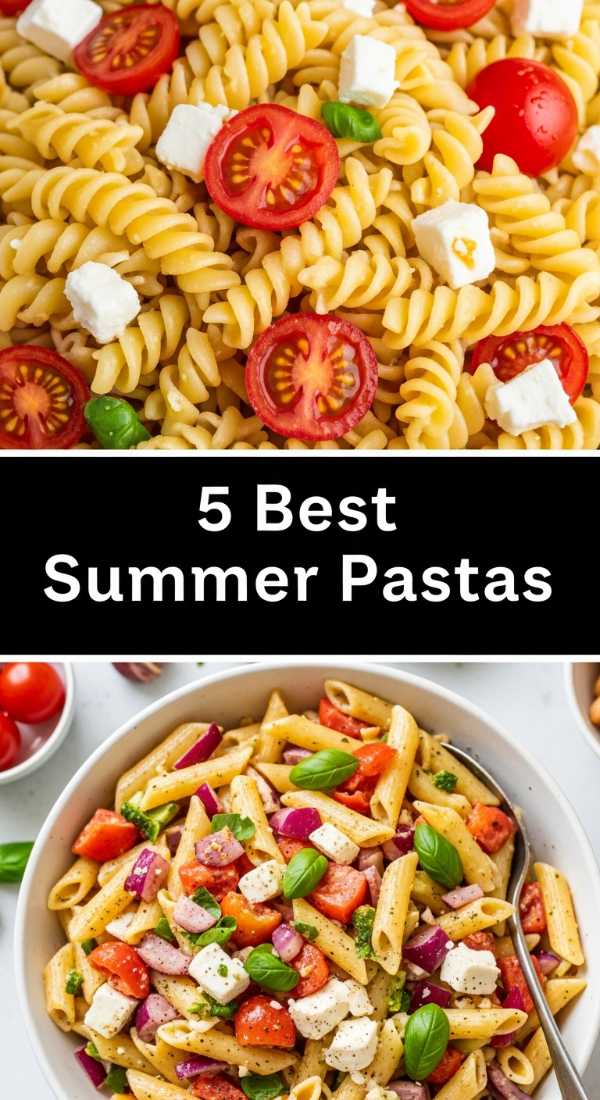
7 Easy Ways to Toss Summer Pasta Salad (Step-by-Step Guide)
Why we love this
Pasta salad is the ultimate canvas for summer’s bounty, a versatile dish that transitions seamlessly from a humble side to a starring role on a grazing board. The way the curly fusilli or rigatoni traps pockets of zesty vinaigrette, paired with the salty punch of feta and the earthy richness of kalamata olives, is pure bliss. It’s a dish that actually gets better with time, as the flavors meld together in the fridge, creating a cold, refreshing, and incredibly satisfying bite that tastes like a Mediterranean vacation on a plate.
Ingredients
- Short pasta (fusilli, rotini, or farfalle)
- Red onion and bell peppers
- Cherry tomatoes and cucumbers
- Feta cheese and olives
- Dried oregano and garlic
- Red wine vinegar and olive oil
- Fresh parsley and basil
How to make it
- Over-Salt the Water: Add more salt than you think you need to the pasta water; it’s the only chance to season the pasta itself from the inside out.
- Al Dente Precision: Cook the pasta for 1-2 minutes less than the package directions; the pasta will continue to soften slightly as it absorbs the dressing later.
- The Quick Cool: Rinse the cooked pasta under cold running water immediately to stop the cooking process and wash away excess starch, preventing it from sticking together.
- Uniform Chopping: Dice all your vegetables to be roughly the size of the pasta shapes, ensuring a perfect balance of ingredients in every single spoonful.
- The Herb Infusion: Whisk dried oregano and minced garlic into the vinegar first, letting it sit for 5 minutes to rehydrate the herbs before adding the oil.
- Marination Period: Toss the pasta with half the dressing while it’s still slightly warm, then add the rest of the dressing and the fresh herbs just before serving for maximum flavor.
- The Finishing Fat: Drizzle a final tablespoon of high-quality finishing oil over the top to give the salad a beautiful sheen and a luxurious mouthfeel.
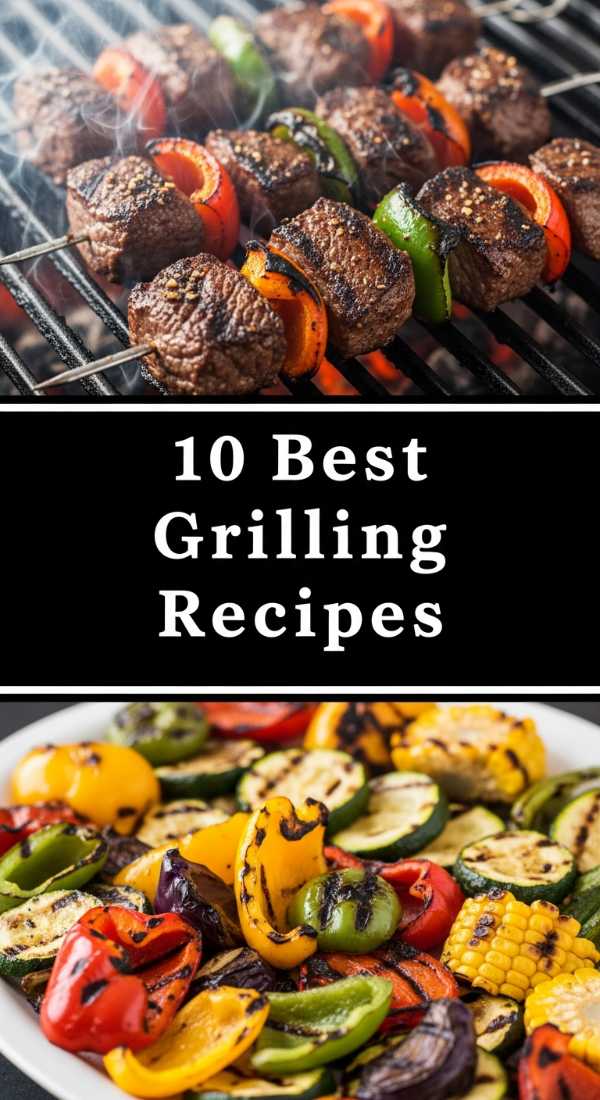
7 Easy Ways to Grill Kabobs (Step-by-Step Guide)
Why we love this
Kabobs are the perfect interactive food, offering a charred, smoky goodness that only a live fire can provide. The sight of alternating colors—vibrant bell peppers, red onions, and succulent cubes of marinated meat—sizzling on a skewer is enough to make anyone’s mouth water. There’s a rustic charm to eating food off a stick, the edges of the vegetables slightly caramelized and blackened, while the center of the meat remains tender and dripping with juice. It’s a sensory explosion of heat, smoke, and seasoning that defines the spirit of summer grilling.
Ingredients
- Steak, chicken, or shrimp
- Zucchini and red onions
- Bell peppers and mushrooms
- Soy sauce or balsamic glaze
- Garlic and ginger
- Wooden or metal skewers
- Vegetable oil for the grates
How to make it
- Skewer Soak: If using wooden skewers, soak them in water for at least 30 minutes to prevent them from catching fire and snapping on the grill.
- Consistent Cubing: Cut all meat and vegetables into uniform 1.5-inch cubes so they touch the grill at the same time and cook at an even rate.
- The Marinade Magic: Marinate meat for at least 2 hours (but no more than 24) to tenderize the fibers; keep vegetables separate to prevent them from becoming mushy.
- Spacing is Key: Leave a tiny gap between each item on the skewer; if they are packed too tightly, the heat can’t circulate, and the food will steam rather than sear.
- High-Heat Prep: Clean your grill grates thoroughly and oil them using a rolled-up paper towel dipped in oil held by tongs to create a non-stick surface.
- The Quarter-Turn: Grill for 3-4 minutes per side, only flipping when the food releases easily from the grates; if it sticks, it’s not ready to turn yet.
- The Rest Phase: Let the kabobs rest on a warm platter for 5 minutes after removing them from the heat; this allows the juices to redistribute for a tender bite.
7 Easy Ways to Prepare Beach Snacks (Step-by-Step Guide)
Why we love this
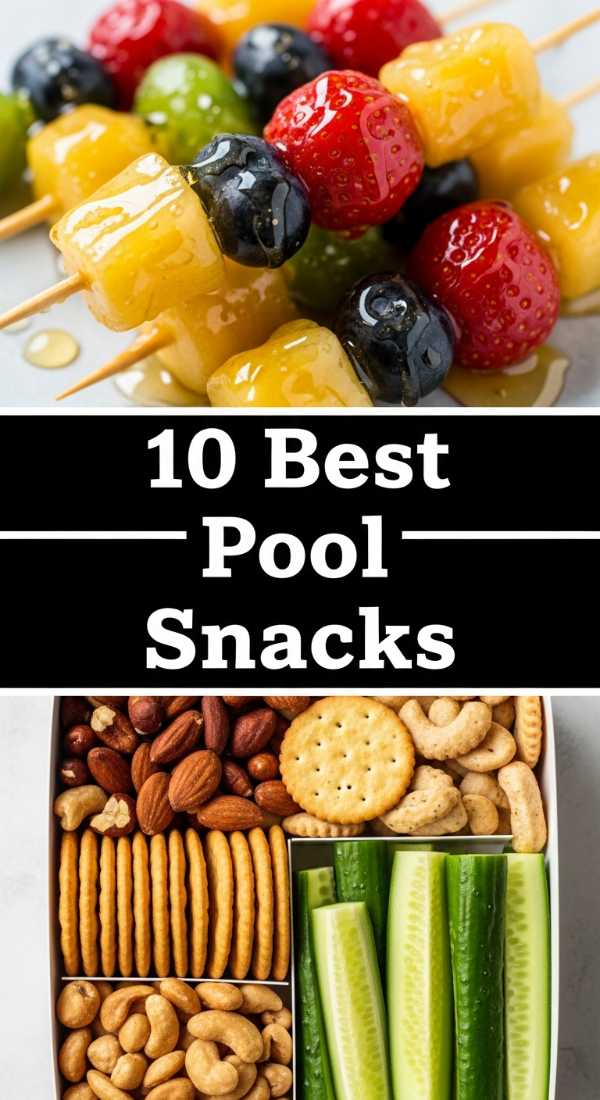
Beach snacks need to be the ultimate multitaskers: sand-proof, heat-resistant, and incredibly refreshing. There is a deep satisfaction in reaching into a cooler for a chilled, crunchy snack while the sound of crashing waves fills the air and the sun warms your skin. Think of vibrant fruit skewers that double as a hydration boost, or salty, satisfying energy bites that keep you going through a day of swimming. It’s about effortless refueling that feels as bright and breezy as the seaside setting itself, with flavors that are clean, light, and perfectly salted.
Ingredients
- Watermelon and pineapple chunks
- Pretzels or rice crackers
- Nut butter and celery sticks
- Dried mango or apricots
- Salted almonds or cashews
- Frozen yogurt tubes
- Sparkling water cans
How to make it
- De-Sand Your Station: Pack snacks in individual airtight silicone bags or jars to ensure that not a single grain of sand makes it into your food.
- Fruit Freezing: Freeze grapes or watermelon chunks the night before; they act as edible ice packs in your bag and stay cold for hours on the sand.
- Portion Control: Pre-portion nuts and crackers into small containers so people can grab their own without exposing a large bag to the humid sea air.
- Avoid Melters: Skip the chocolate and soft cheeses; instead, opt for hard crackers, nuts, and dried fruits that won’t change texture in the sun.
- Hydration Hack: Pack snacks with high water content (like cucumber or celery) to help maintain hydration levels during long periods of sun exposure.
- The Dip Divider: Use a container with a built-in divider for hummus and veggies to keep the crunch and the creaminess perfectly separated until the moment of consumption.
- Wet Wipe Readiness: Always pack a small pack of biodegradable wet wipes in your snack bag to clean salty/sandy hands before you start grazing.
7 Easy Ways to Cook Summer Crockpot Recipes (Step-by-Step Guide)
Why we love this
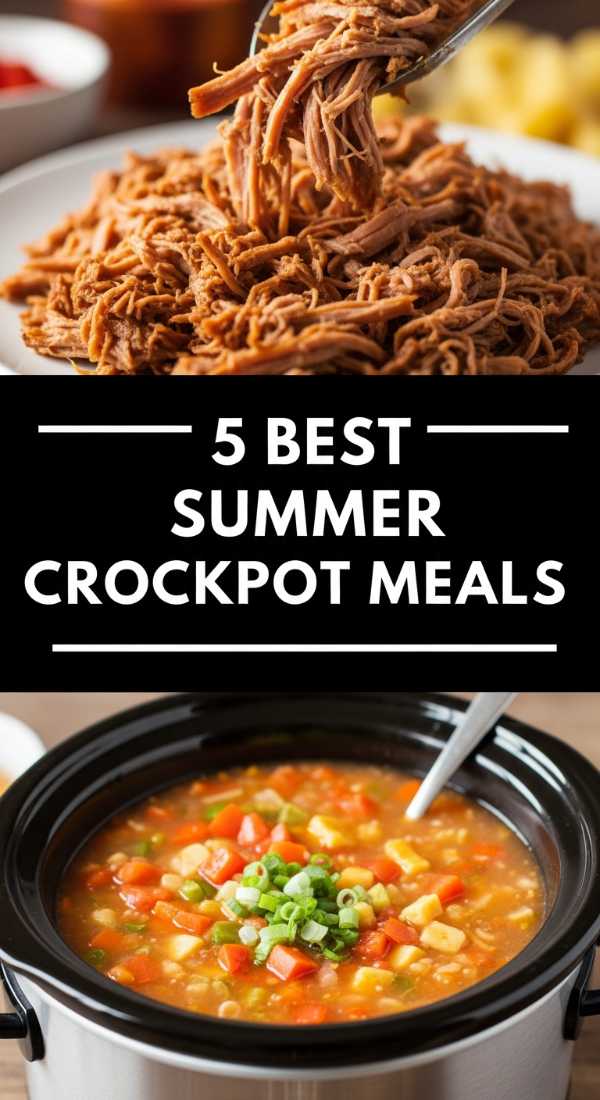
The Crockpot is the ultimate summer secret because it keeps the heat out of your kitchen while doing all the heavy lifting for you. Imagine coming home from a day at the pool to the intoxicating aroma of slow-cooked pulled pork or tangy citrus chicken, the meat so tender it literally falls apart at the touch of a fork. It’s the definition of low-effort, high-reward hosting, providing a warm, savory base for a food board that can be topped with fresh slaws and quick-pickled onions for a perfect balance of slow-cooked depth and summer brightness.
Ingredients
- Pork shoulder or chicken thighs
- BBQ sauce or citrus marinade
- Chicken broth or apple juice
- Yellow onion and garlic cloves
- Liquid smoke (optional)
- Buns or tortillas for serving
- Fresh cilantro and lime wedges
How to make it
- The Sear Secret: For the best flavor, quickly sear your meat in a hot pan for 2 minutes per side before placing it in the Crockpot to lock in juices and create a savory crust.
- Layer the Aromatics: Place sliced onions and smashed garlic at the very bottom of the pot to create a flavor base and act as a natural “rack” for the meat.
- Liquid Logic: Don’t submerge the meat; add just enough liquid (about 1/2 to 1 cup) to create steam. The meat will release its own juices as it cooks.
- Low and Slow: Always choose the “Low” setting (usually 6-8 hours) over “High” whenever possible; this breakdown of connective tissue results in much more tender meat.
- The Fat Skim: Once cooked, remove the meat and let the liquid sit for 5 minutes; use a spoon to skim off the excess fat from the top for a cleaner sauce.
- The Shred Technique: Use two forks to shred the meat while it’s still warm, then toss it back into a bit of the cooking juices to keep it moist and flavorful.
- The Bright Finish: Just before serving on your board, add a squeeze of fresh lime juice to the meat to cut through the richness and add a summer zing.
7 Easy Ways to Serve Summer Salads (Step-by-Step Guide)

Why we love this
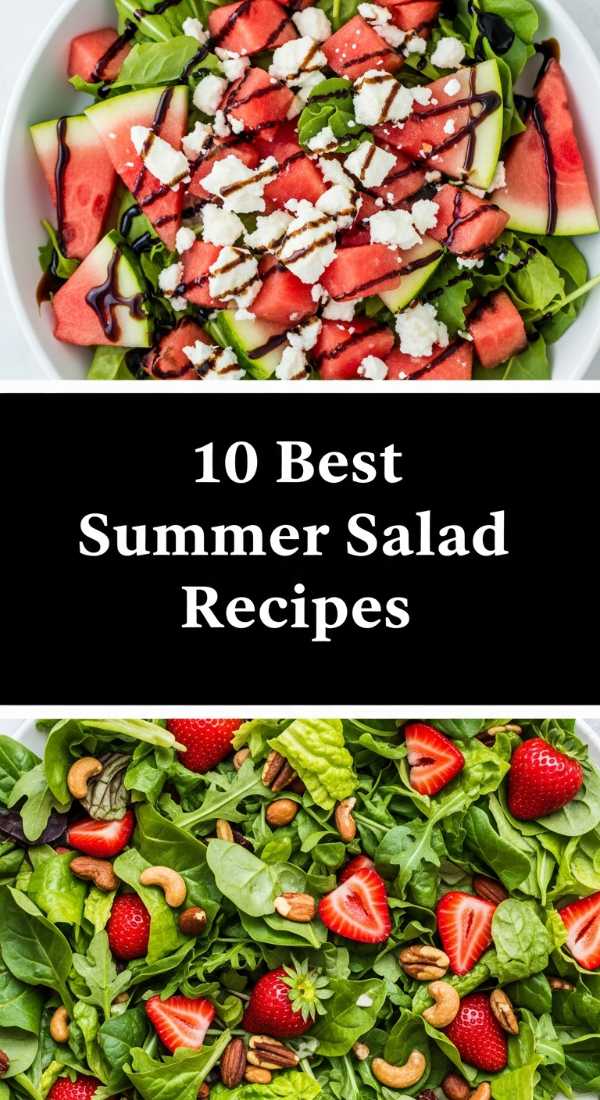
Serving a summer salad on a wide, flat board rather than a deep bowl is a game-changer; it ensures that every single ingredient—from the delicate microgreens to the heavy chunks of heirloom tomato—gets its moment in the spotlight. The visual appeal of a deconstructed salad board is unmatched, with rows of vibrant colors and contrasting textures like creamy goat cheese against crunchy toasted pecans. It turns a simple salad into a sophisticated centerpiece, where the earthy aroma of fresh herbs and the tang of balsamic glaze invite everyone to dive in and discover their favorite combination.
Ingredients
- Mixed baby greens or arugula
- Fresh peaches or strawberries
- Candied pecans or slivered almonds
- Goat cheese or burrata
- Balsamic glaze or honey-poppyseed dressing
- Prosciutto or crispy bacon bits
- Thinly sliced red onion
How to make it
- The Board Prep: Lightly chill your wooden or marble board in the fridge for 10 minutes to keep the greens crisp as you assemble the salad.
- Green Foundation: Scatter your base greens loosely across the board, avoiding packing them down so the salad maintains a light, airy volume.
- The Color Wheel: Place your largest and brightest ingredients first (like peach wedges or burrata) to create focal points, then fill in the gaps with smaller items.
- The “Massage” Method: If using kale, massage it with a tiny bit of olive oil for 2 minutes to soften the leaves and make them more palatable and tender.
- Dressing on the Side: Serve the dressing in a small carafe or ramekin on the board; this prevents the salad from getting soggy and lets guests control the flavor.
- Texture Contrast: Add a dedicated “crunch” layer at the very end, like toasted nuts or seeds, to ensure they don’t lose their crispness to the moisture of the fruit.
- Garnish with Grace: Finish with a handful of edible flowers or micro-herbs for a professional, high-end look that makes the board feel truly special.
7 Easy Ways to Make Baseball Snacks (Step-by-Step Guide)
[IMAGE_10]
Why we love this
There is a unique, nostalgic comfort in baseball snacks—the combination of salty, buttery, and sweet that reminds us of sunny days at the ballpark. A baseball-themed snack board brings that festive energy home, featuring the irresistible aroma of warm, salted pretzels and the classic crunch of roasted peanuts in their shells. It’s a playful, high-energy way to host, where the mix of textures—from soft, pillowy dough to the snap of a cold pickle—creates a fun, casual atmosphere that’s perfect for game day or a laid-back family movie night.
Ingredients
- Soft pretzels and coarse sea salt
- Roasted peanuts (in-shell)
- Popcorn (buttered or caramel)
- Hot dogs or mini corn dogs
- Yellow mustard and cheese sauce
- Cracker Jacks or chocolate-covered pretzels
- Dill pickle spears
How to make it
- Pretzel Perfection: Spritz frozen soft pretzels with a tiny bit of water before baking to help the coarse salt stick and create a chewy, authentic texture.
- The Popcorn Pop: Pop your corn fresh in a stovetop pot with a bit of coconut oil for a movie-theater flavor that bagged popcorn just can’t match.
- The Mustard Flight: Offer a variety of mustards (spicy brown, honey, and yellow) in small bowls to provide a range of flavors for dipping.
- Hot Dog Grilling: Score your hot dogs with a few shallow diagonal cuts before grilling; this creates more surface area for caramelization and holds the toppings better.
- Keep it Warm: Place hot items like mini corn dogs on a pre-warmed stone or wrapped in a thick kitchen towel to keep them at a pleasant temperature on the board.
- The Salty-Sweet Mix: Intersperse your salty items with sweet treats like Cracker Jacks or chocolate-covered pretzels to keep the palate engaged and excited.
- The Pickle Refresh: Always include a cold element like pickle spears to provide a sharp, acidic contrast to the rich, salty flavors of the other snacks.
Conclusion
Hosting doesn’t have to be a chore that leaves you exhausted before the first guest even arrives. By embracing the simplicity of food boards and these easy summer hacks, you can reclaim your time and actually enjoy the company of your loved ones. Whether it’s a perfectly tossed pasta salad or a nostalgic spread of baseball snacks, the key is in the presentation and the shared experience. So, grab a board, pick a theme, and let the good times roll!