
The Ultimate Simple Food Board That’s Taking Over the Internet
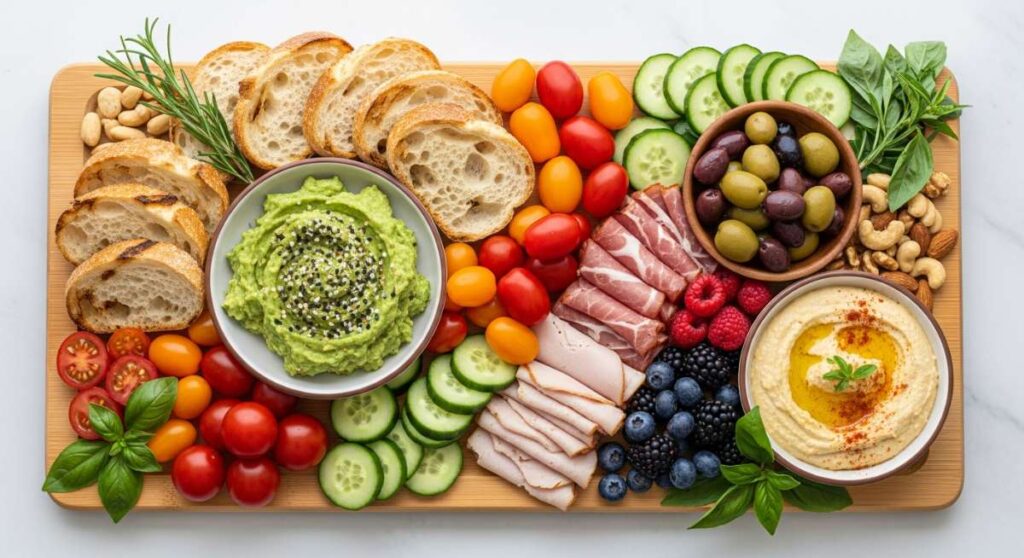
There is something inherently magical about a gathering where the food isn’t just a meal, but a focal point of connection and celebration. Lately, I’ve been obsessed with creating the ultimate ‘Simple Food Board’—a concept that combines the aesthetic of a charcuterie board with the heart of home-cooked comfort. It’s about more than just cheese and crackers; it’s about showcasing seasonal stars like rhubarb and celebrating life’s big milestones, like graduation season, all in one stunning display that invites everyone to dig in.
As I sat in my sun-drenched kitchen this morning, the scent of fresh lemons and tart rhubarb filling the air, I realized why these boards are going viral. They strip away the pretension of formal plating and replace it with a tactile, sensory experience. Whether you are celebrating a new graduate or simply the arrival of spring, these elements work together to create a visual and culinary feast that feels both high-end and deeply personal. Let’s dive into the components that make this board a true internet sensation.
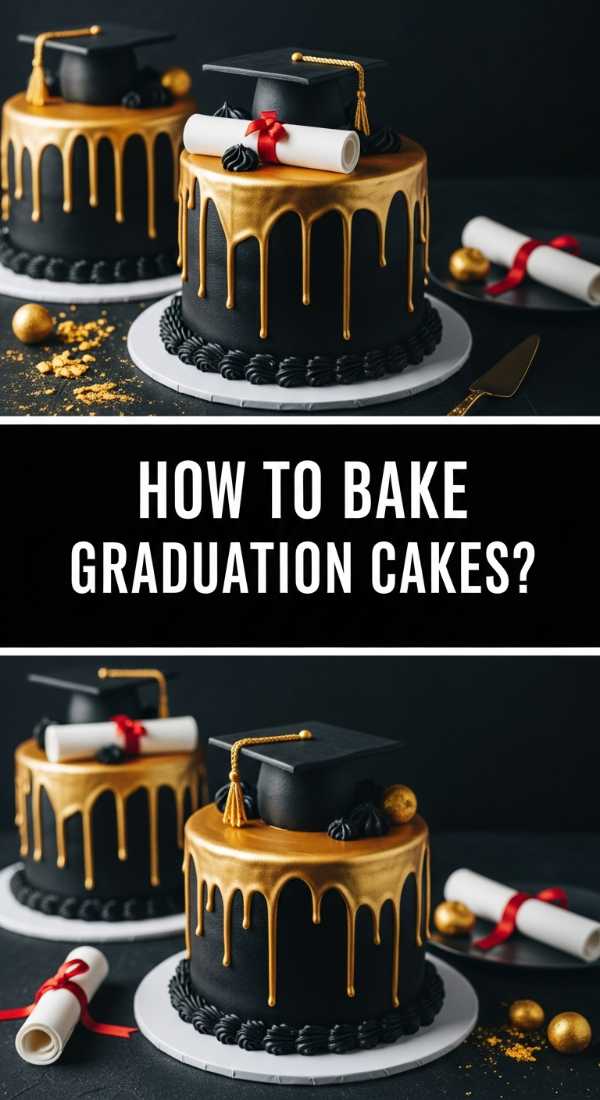
How to Bake Graduation Cakes
Why we love this
There is nothing quite like the celebratory aroma of a fresh vanilla bean cake wafting through the house as you prepare for a graduation party. We love this because it yields a remarkably tender, velvet-like crumb that practically melts on the tongue, offering a nostalgic sweetness that reminds us of childhood milestones. The golden-brown exterior provides a subtle resistance before giving way to a moist, airy center that serves as the perfect canvas for rich frosting. It is the ultimate centerpiece for your food board, symbolizing a sweet ending to a long journey and a bright beginning to the next chapter.
Ingredients
- 2 1/2 cups all-purpose flour
- 1 1/2 cups granulated sugar
- 1 cup unsalted butter, softened
- 4 large eggs, room temperature
- 1 cup whole milk
- 2 tsp vanilla extract
- 2 1/2 tsp baking powder
- 1/2 tsp salt
How to make it
- Preheat your oven to 350°F (175°C) and generously grease two 8-inch round cake pans, lining the bottoms with parchment paper for an easy release.
- In a large mixing bowl, cream together the softened butter and granulated sugar using a stand mixer or hand mixer on medium-high speed for about 3-5 minutes until the mixture is pale, light, and fluffy.
- Add the eggs one at a time, beating well after each addition to ensure they are fully emulsified; if the batter looks curdled, add a tablespoon of flour to stabilize it.
- Whisk together the flour, baking powder, and salt in a separate bowl to ensure even distribution of the leavening agents.
- Reduce the mixer speed to low and alternate adding the dry ingredients and the milk in three batches, starting and ending with the flour; mix only until just combined to avoid overworking the gluten.
- Stir in the vanilla extract by hand, then divide the batter evenly between the prepared pans, smoothing the tops with an offset spatula.
- Bake for 30-35 minutes, or until a wooden skewer inserted into the center comes out clean with just a few moist crumbs attached.
- Cool in the pans for 10 minutes before transferring to a wire rack to cool completely before any decorating begins.
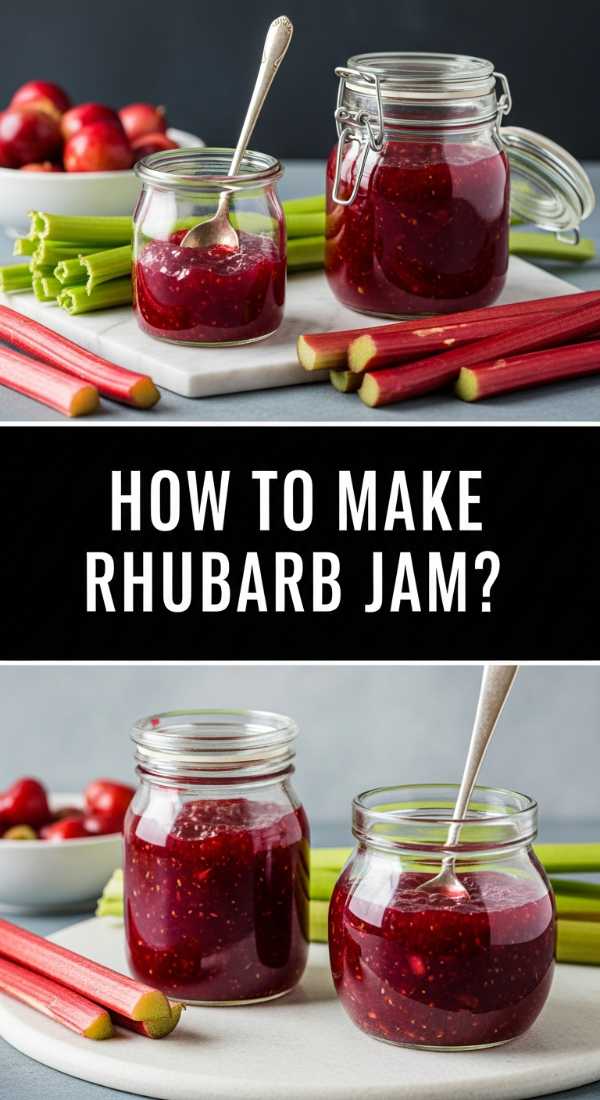
How to Make Rhubarb Jam
Why we love this
Rhubarb jam is like capturing springtime in a glass jar, offering a vibrant, ruby-red hue that looks stunning when spread across a simple food board. We love the sharp, tangy zing of the rhubarb stalks as they break down into a thick, syrupy consistency, perfectly balanced by just enough sugar to make it addictive. The texture is a delightful mix of smooth jelly and soft fruit chunks, releasing a floral and earthy aroma that pairs beautifully with savory cheeses or buttery scones. It provides that essential pop of color and acidity that cleanses the palate between bites of richer treats.
Ingredients
- 4 cups chopped rhubarb (1/2 inch pieces)
- 1 1/2 cups granulated sugar
- 2 tbsp lemon juice
- 1 tsp lemon zest
- 1/4 tsp vanilla bean paste (optional)
How to make it
- Place the chopped rhubarb and sugar in a large, heavy-bottomed saucepan or Dutch oven and toss them together until the fruit is well coated.
- Let the mixture sit at room temperature for about 30 to 60 minutes; this maceration process draws out the natural juices and creates a syrup without needing added water.
- Add the lemon juice and zest to the pan, then place it over medium heat, stirring frequently until the sugar has completely dissolved and the mixture begins to simmer.
- Increase the heat slightly to bring the jam to a rolling boil, then reduce to a simmer and cook for 15-20 minutes, skimming off any foam that rises to the top with a spoon.
- Stir frequently to prevent the bottom from scorching as the jam thickens and the rhubarb breaks down into a pulpy, translucent consistency.
- To test for doneness, place a small spoonful on a chilled plate; if it wrinkles when you push it with your finger after a minute, it is ready.
- Remove from heat, stir in the vanilla bean paste if using, and transfer to sterilized jars, leaving a small amount of headspace at the top.
How to Decorate Graduation Cookies

Why we love this
Decorating graduation cookies is an art form that transforms a simple sugar cookie into a personalized token of achievement. We love the satisfying snap of the royal icing as it sets into a smooth, porcelain-like finish, and the way the vibrant colors of school pride can be piped into intricate designs. There’s a wonderful tactile joy in handling the piping bags and watching the ‘flooding’ technique create a flawless surface. These cookies add a whimsical, customized element to your food board, making guests smile while providing a crunchy, sweet contrast to the softer cakes and jams.
Ingredients
- Batch of baked sugar cookies (caps and diploma shapes)
- 4 cups powdered sugar
- 3 tbsp meringue powder
- 1/2 cup warm water
- Gel food coloring (school colors)
- Edible gold luster dust
How to make it
- Prepare the royal icing by whisking the powdered sugar and meringue powder together, then slowly adding the warm water until you reach a ’15-second consistency’ (where a line drawn in the icing disappears in 15 seconds).
- Divide the icing into separate bowls and mix in your gel food colors, keeping the bowls covered with a damp cloth to prevent a crust from forming.
- Fit piping bags with small round tips and fill them with the colored icing; for the graduation caps, start by outlining the square top and the tassel with a slightly thicker consistency.
- ‘Flood’ the center of the outlines with the thinner icing, using a toothpick or scribe tool to pop any air bubbles and push the icing into the corners.
- Allow the base layer to dry completely for at least 4-6 hours or overnight in a cool, dry place to ensure the surface is hard enough for detail work.
- Once dry, pipe on the finer details, such as the year or the texture of the tassel, using a contrasting color.
- For a touch of luxury, mix a drop of vodka with gold luster dust and paint the tassel tips or the edges of the diploma once the icing is fully set.
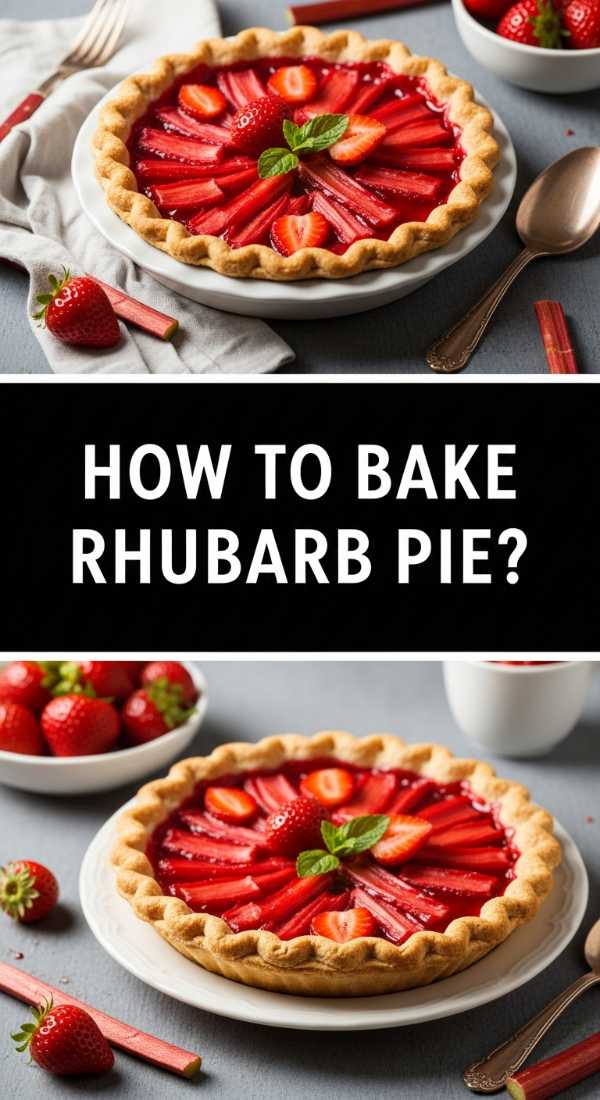
How to Bake Rhubarb Pie
Why we love this
A classic rhubarb pie is the epitome of rustic elegance, with its golden, flaky lattice crust revealing glimpses of bubbling, crimson fruit beneath. We love the dramatic contrast between the shatteringly crisp pastry layers and the soft, jammy interior that balances an assertive tartness with a mellow sweetness. As it bakes, the kitchen is filled with a warm, buttery scent mingled with the sharp brightness of the fruit, creating an atmosphere of pure comfort. It’s a slice of tradition that adds a structural beauty and a sophisticated flavor profile to any dessert-heavy food board.
Ingredients
- Double pie crust (chilled)
- 5 cups sliced rhubarb
- 1 1/4 cups sugar
- 1/4 cup cornstarch
- 1/2 tsp cinnamon
- 1 tbsp cold butter (cubed)
- 1 egg (for wash)
How to make it
- Roll out the bottom half of your chilled pie dough on a lightly floured surface and fit it into a 9-inch pie plate, trimming the edges to leave a 1-inch overhang.
- In a large bowl, toss the sliced rhubarb with the sugar, cornstarch, and cinnamon until every piece is evenly coated; the starch is crucial to prevent a soggy bottom.
- Pour the filling into the prepared crust and dot the top with the small cubes of cold butter to add richness to the sauce as it forms.
- Roll out the second half of the dough and cut it into strips to create a lattice top, weaving them over and under to allow steam to escape during the baking process.
- Crimp the edges of the top and bottom crusts together to seal the pie, then brush the dough with a thin layer of egg wash for a professional, shiny finish.
- Bake at 425°F (220°C) for the first 15 minutes to set the crust, then reduce the heat to 375°F (190°C) and bake for another 40-50 minutes until the filling is bubbling thick.
- Let the pie cool for at least 4 hours before slicing; this is essential for the filling to set properly so it doesn’t run when served.
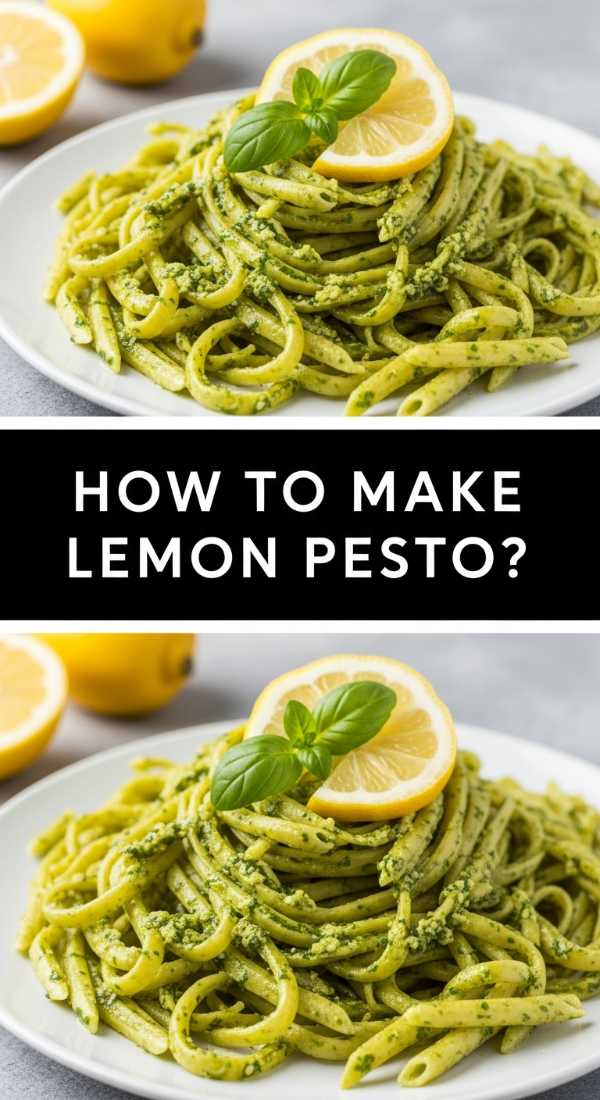
How to Make Lemon Pesto
Why we love this
Lemon pesto is a vibrant, herbaceous revelation that brings a sunny, citrusy lift to the savory side of your food board. We love the way the fresh basil leaves provide a peppery, aromatic base that is instantly brightened by the sharp acidity of lemon juice and the fragrant oils of the zest. The texture is a beautiful coarse paste, where the richness of extra virgin olive oil and parmesan cheese is cut through by the crunch of toasted pine nuts. It’s a refreshing alternative to traditional sauces, smelling like a Mediterranean garden and tasting like pure liquid sunshine.
Ingredients
- 2 cups fresh basil leaves, packed
- 1/2 cup grated Parmesan cheese
- 1/3 cup pine nuts (toasted)
- 2 cloves garlic
- 1/2 cup extra virgin olive oil
- Zest and juice of 1 large lemon
- Salt and pepper to taste
How to make it
- Place the pine nuts in a small dry skillet over medium heat and toast them for 2-3 minutes, shaking the pan constantly until they are fragrant and golden brown.
- In a food processor, combine the fresh basil, toasted pine nuts, peeled garlic cloves, and lemon zest; pulse several times until the ingredients are coarsely chopped.
- Add the grated Parmesan cheese and the lemon juice, then pulse again to incorporate.
- With the food processor running on low, slowly drizzle in the extra virgin olive oil in a steady stream to create a smooth, emulsified sauce.
- Stop the processor and scrape down the sides with a spatula to ensure everything is evenly blended, but avoid over-processing to maintain some texture.
- Season with salt and freshly cracked black pepper to taste, adjusting the lemon juice if you prefer a sharper citrus note.
- Transfer to a small serving bowl and top with a light drizzle of oil to keep the basil from oxidizing before it hits your food board.
How to Design Funny Cakes

Why we love this
Funny cakes bring a sense of levity and joy to a party, acting as an immediate conversation starter on your board. We love the creative freedom they offer, using whimsical shapes, googly eyes, or ironic messages to break the ice and make guests laugh. The texture of these cakes often involves thick, playful swirls of frosting and colorful accents that feel less about perfection and more about personality. They add a touch of modern humor to your food board, reminding everyone that while graduation is a serious achievement, the celebration should be nothing but fun.
Ingredients
- Baked cake layers (any flavor)
- Stiff buttercream frosting
- Assorted candies and sprinkles
- Food coloring gels
- Piping bags and assorted tips
- Fondant for sculpting small figures
How to make it
- Start with a stable, chilled cake base; a cold cake is much easier to carve or frost without it crumbling under the weight of funny decorations.
- Apply a ‘crumb coat’ of frosting—a thin layer that seals in the crumbs—and chill the cake again for 30 minutes until the surface is firm.
- Sketch your ‘funny’ design on paper first; whether it’s a face with a shocked expression or a cake shaped like a giant taco, having a plan prevents mistakes.
- Use a large palette knife to apply the final layer of frosting, creating intentional textures like fur for an animal cake or messy swirls for a ‘disaster’ cake.
- Dye small portions of frosting in bright, clashing colors and use a star tip to pipe on features like hair, tongues, or silly messages.
- Add ‘googly eyes’ made from white and black fondant or large candies to give the cake an instant personality and a comical stare.
- Place the cake prominently on your board, perhaps surrounded by ‘spilled’ sprinkles to enhance the playful, chaotic aesthetic.
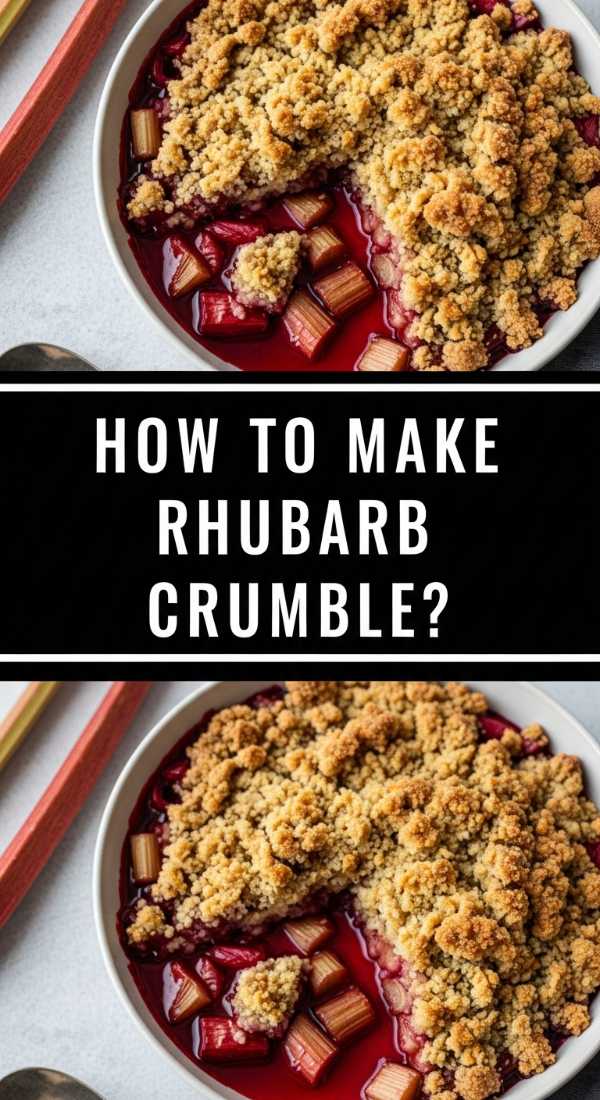
How to Make Rhubarb Crumble
Why we love this
Rhubarb crumble is the ultimate ‘unfussy’ dessert, offering a cozy, comforting experience that is hard to beat. We love the contrast between the bubbling, molten rhubarb—which turns into a beautiful soft compote—and the golden-brown, buttery oat topping that provides a satisfying crunch. Each spoonful is a symphony of textures: the heat of the fruit, the graininess of the oats, and the way it begs for a scoop of cold vanilla ice cream to melt into its crevices. It’s an earthy, fragrant dish that makes the food board feel approachable and home-cooked.
Ingredients
- 5 cups chopped rhubarb
- 3/4 cup granulated sugar
- 1 cup old-fashioned rolled oats
- 1 cup all-purpose flour
- 1 cup brown sugar, packed
- 1/2 cup cold unsalted butter (cubed)
- 1 tsp cinnamon
How to make it
- Preheat your oven to 375°F (190°C) and lightly grease a medium-sized baking dish with butter or non-stick spray.
- In a large bowl, combine the chopped rhubarb with the granulated sugar and toss well to ensure the fruit is sweetened throughout.
- Spread the rhubarb mixture evenly across the bottom of the prepared baking dish.
- In a separate bowl, whisk together the oats, flour, brown sugar, and cinnamon until well mixed.
- Add the cold, cubed butter to the dry mixture and use your fingers or a pastry cutter to rub the butter into the oats until the mixture looks like coarse, pea-sized crumbs.
- Sprinkle the crumble topping generously over the rhubarb, making sure not to pack it down so the air can circulate and create a crisp texture.
- Bake for 35-40 minutes until the fruit juices are bubbling up around the edges and the topping is a deep golden brown and firm to the touch.
- Allow it to sit for 10 minutes before serving so the juices can thicken slightly, making it easier to spoon onto the board.
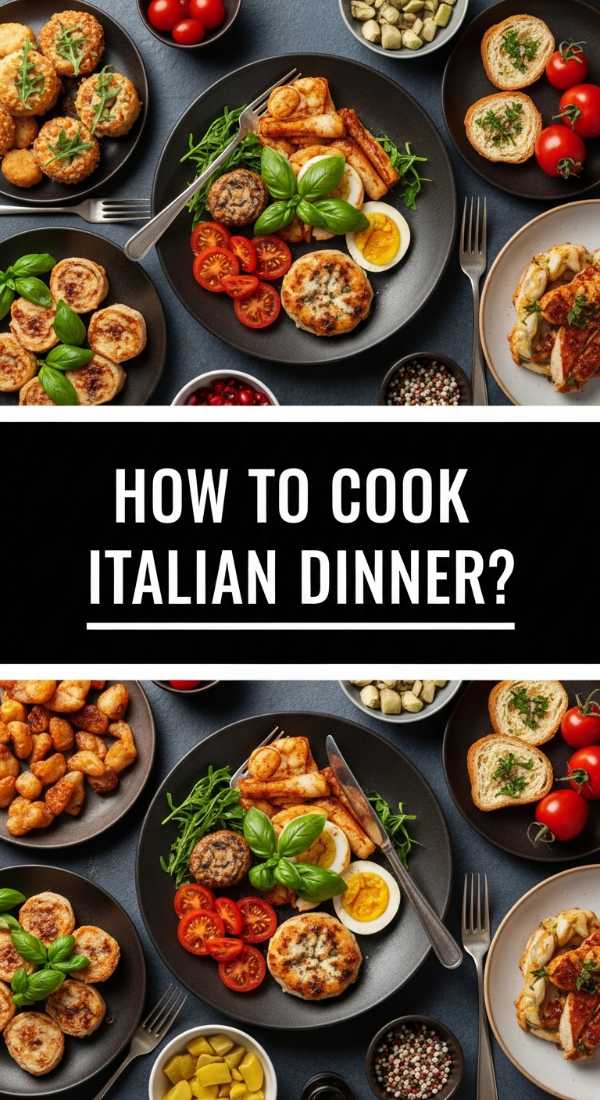
How to Cook Italian Dinner
Why we love this
An Italian dinner component on a food board brings a savory, soul-warming depth that anchors the entire spread. We love the rich, complex aroma of garlic and onions sautéing in olive oil, followed by the slow-simmered sweetness of vine-ripened tomatoes and fresh herbs. The pasta should be perfectly al dente, providing a firm bite that carries the sauce beautifully, while the addition of fresh basil provides a peppery finish. It’s a dish that invites family-style sharing, filling the room with the scent of a rustic trattoria and offering a hearty, savory balance to the board’s sweet elements.
Ingredients
- 1 lb pasta (Rigatoni or Pappardelle)
- 2 cans (28 oz) crushed tomatoes
- 3 tbsp olive oil
- 4 cloves garlic, minced
- 1 small onion, finely diced
- Fresh basil leaves
- Red pepper flakes
- Grated Pecorino Romano
How to make it
- Heat the olive oil in a large skillet or pot over medium heat, adding the diced onion and cooking until it is translucent and soft, which usually takes about 5-7 minutes.
- Add the minced garlic and a pinch of red pepper flakes, sautéing for only 1 minute until fragrant to avoid burning the garlic and making it bitter.
- Pour in the crushed tomatoes and stir well, bringing the sauce to a gentle simmer; reduce the heat to low and let it cook for at least 30 minutes to develop a deep flavor.
- While the sauce simmers, bring a large pot of salted water to a rolling boil; use about 1 tablespoon of salt per gallon of water to properly season the pasta.
- Add the pasta to the water and cook for 1-2 minutes less than the package instructions call for, testing a piece to ensure it is ‘al dente’ (firm to the tooth).
- Reserve a cup of the starchy pasta water before draining, then toss the pasta directly into the sauce.
- Add a splash of the pasta water to help the sauce cling to the noodles and stir in a handful of torn fresh basil leaves and a generous dusting of Pecorino Romano.
- Serve in a shallow bowl nestled in the center of your board, garnished with more fresh herbs and a drizzle of high-quality olive oil.
How to Frost Graduation Cupcakes

Why we love this
Frosting graduation cupcakes is where precision meets celebration, resulting in bite-sized masterpieces that are as delicious as they are symbolic. We love the silky, cloud-like texture of a well-whipped Swiss meringue buttercream that holds its shape perfectly under a piping tip. The visual appeal of a perfectly piped swirl, topped with a miniature chocolate ‘mortarboard’ or a sugar-pearl tassel, makes each cupcake feel like a personal award for the guests. These cupcakes provide a convenient, handheld way to enjoy cake while adding height and variety to the textures on your viral food board.
Ingredients
- Baked cupcakes (chilled)
- 2 cups unsalted butter, softened
- 4 cups powdered sugar
- 2 tsp vanilla extract
- 2-3 tbsp heavy cream
- Chocolate squares and sour belt candies (for caps)
How to make it
- Ensure your cupcakes are completely cold; frosting a warm cupcake will cause the butter in the icing to melt and slide right off.
- In a large bowl, beat the softened butter for at least 5 minutes until it is very pale and almost doubled in volume, which creates a lighter, less greasy mouthfeel.
- Gradually add the powdered sugar one cup at a time, mixing on low speed to avoid a ‘sugar cloud’ before increasing to medium-high.
- Add the vanilla extract and heavy cream, then whip for another 2 minutes until the frosting is smooth and has the consistency of stiff silk.
- Fit a piping bag with a large open star tip (like a 1M) and fill with the frosting, twisting the top of the bag to keep the pressure consistent.
- Pipe a ‘rose’ swirl by starting in the center of the cupcake and moving outward in a spiral, or a ‘classic’ swirl by starting on the edge and moving inward and upward.
- To create the graduation cap, place a small square of dark chocolate on top of the frosting and use a tiny bit of icing to attach a thin strip of sour belt or a strand of licorice as the tassel.
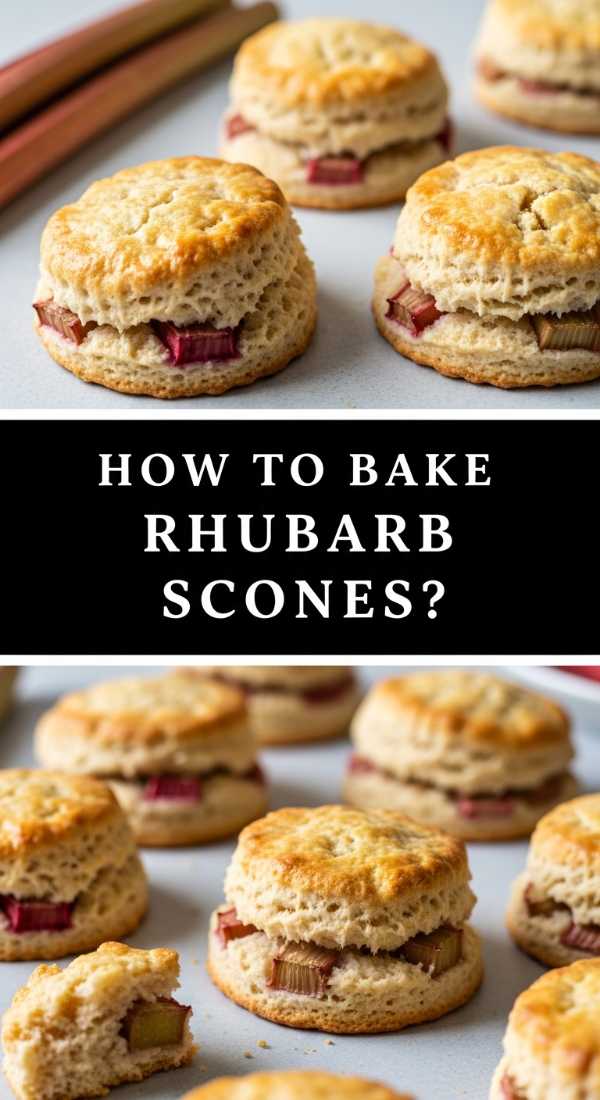
How to Bake Rhubarb Scones
Why we love this
Rhubarb scones are the quintessential tea-time treat, offering a sophisticated blend of buttery, crumbly pastry and sharp fruit bursts. We love the golden-brown, slightly crystalline crust that shatters to reveal a soft, tender interior flecked with bright pink rhubarb pieces. The aroma is a heavenly mix of toasted flour and warm cream, with a subtle tang that makes them feel much more refined than a standard sweet scone. They are the perfect vessel for your homemade rhubarb jam, providing a sturdy yet delicate component that rounds out the ‘simple food board’ with a touch of English charm.
Ingredients
- 2 cups all-purpose flour
- 1/3 cup sugar
- 1 tbsp baking powder
- 1/2 tsp salt
- 1/2 cup cold butter, grated
- 1/2 cup heavy cream (plus extra for brushing)
- 1 cup finely chopped rhubarb
- 1 tsp orange zest
How to make it
- Preheat your oven to 400°F (200°C) and line a baking sheet with parchment paper to prevent the bottoms from browning too quickly.
- In a large bowl, whisk together the flour, sugar, baking powder, and salt; adding orange zest here will infuse the dough with a bright, citrusy scent.
- Use a box grater to grate the cold butter into the dry ingredients; this technique ensures the butter is evenly distributed in tiny flakes, which is the secret to a flaky scone.
- Toss the chopped rhubarb in the flour mixture so the pieces are coated, which prevents them from sinking or clumping together.
- Make a well in the center and pour in the heavy cream, stirring gently with a fork until a shaggy dough just begins to form.
- Turn the dough out onto a lightly floured surface and gently pat it into a 1-inch thick circle; do not over-knead, as the heat from your hands will melt the butter.
- Cut the circle into 8 wedges and place them on the baking sheet, leaving space between each for the scones to expand.
- Brush the tops with a little extra heavy cream and sprinkle with coarse sugar before baking for 18-22 minutes until the edges are golden and the centers are set.
Conclusion
Building the ultimate simple food board is an act of love that celebrates both the season and the people we hold dear. From the tart, nostalgic flavors of rhubarb to the triumphant sweetness of graduation treats, this spread is designed to be shared, photographed, and thoroughly enjoyed. By focusing on high-quality ingredients and thoughtful preparation, you can create a viral-worthy masterpiece that tastes even better than it looks. So grab your biggest platter, fire up the oven, and let your creativity take center stage!