
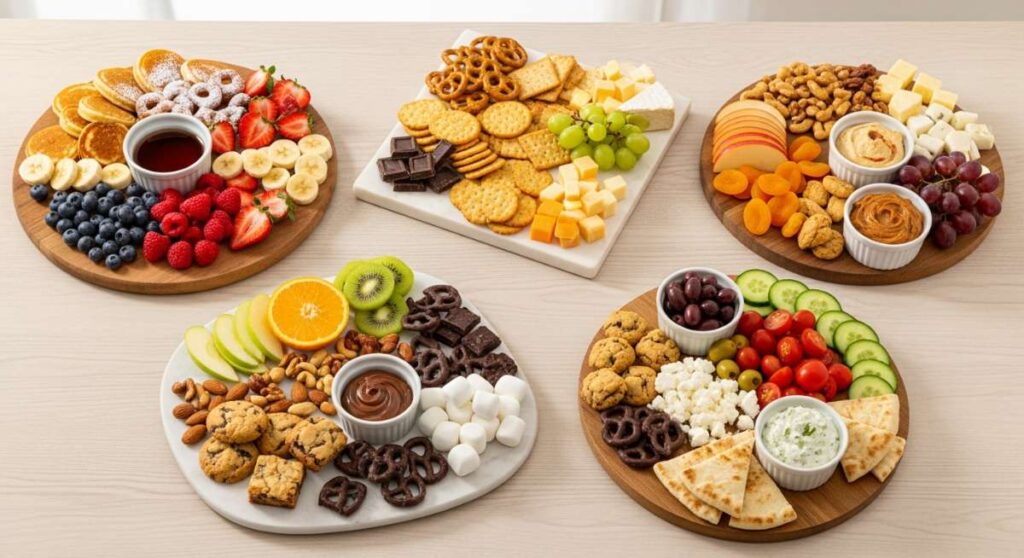
There is something undeniably magical about the way a shared platter brings people together. Whether it is the soft golden light of a late afternoon or the hum of laughter during a graduation party, food boards have become the heartbeat of my home. I remember the first time I set out a simple wooden board filled with mismatched treats; the way my friends huddled around, picking and choosing their favorites, sparked a connection that no plated meal could ever replicate. It is not just about the food; it is about the stories told between bites and the effortless beauty of a communal feast.
Today, we are diving deep into the viral trend of the simple food board, exploring how to blend classic summer flavors like tart rhubarb with the celebratory spirit of graduation season. From the crunch of a perfectly baked crumble to the whimsical charm of a funny cake, these boards are designed to be eye-catching, delicious, and, most importantly, easy to assemble. Let’s get into the kitchen and create something that will have your guests reaching for their phones to snap a photo before they even take a bite!
How to Bake Graduation Cakes?
Why we love this
There is nothing quite like the sight of a tall, proud cake to signal a major milestone. This graduation cake offers a moist, tender crumb that melts on the tongue, balanced by a silky buttercream that smells faintly of high-quality vanilla and sweet cream. When you slice into it, the layers look professional and clean, providing a sense of accomplishment that matches the graduate’s own hard work. It is a centerpiece that feels substantial, smelling of toasted sugar and celebration.
Ingredients
- 2 1/2 cups All-purpose flour
- 1 1/2 cups Granulated sugar
- 1 cup Unsalted butter (room temperature)
- 4 Large eggs
- 1 cup Buttermilk
- 2 tsp Vanilla extract
- 1 tbsp Baking powder
- 1/2 tsp Salt
How to make it
- Preheat your oven to 350°F (175°C). Prepare two 8-inch round cake pans by greasing them thoroughly with butter and dusting with flour, tapping out the excess to ensure a non-stick surface.
- In a large mixing bowl, cream together the softened butter and sugar using a stand mixer on medium-high speed. Continue for about 3-5 minutes until the mixture is pale, light, and fluffy, which incorporates air for a better rise.
- Add eggs one at a time, beating well after each addition. Scrape down the sides of the bowl to ensure everything is evenly incorporated. Stir in the vanilla extract.
- In a separate bowl, whisk together the flour, baking powder, and salt. This ensures the leavening agent is distributed evenly.
- Lower the mixer speed and alternate adding the dry ingredients and the buttermilk to the butter mixture, starting and ending with the dry ingredients. Mix only until just combined; overmixing will lead to a tough cake.
- Divide the batter evenly between the prepared pans. Smooth the tops with a spatula.
- Bake for 30-35 minutes. Test for doneness by inserting a toothpick into the center; it should come out clean or with a few moist crumbs. The cakes should be golden brown and slightly pulled away from the edges.
- Cool in the pans for 10 minutes before transferring to a wire rack to cool completely before frosting.
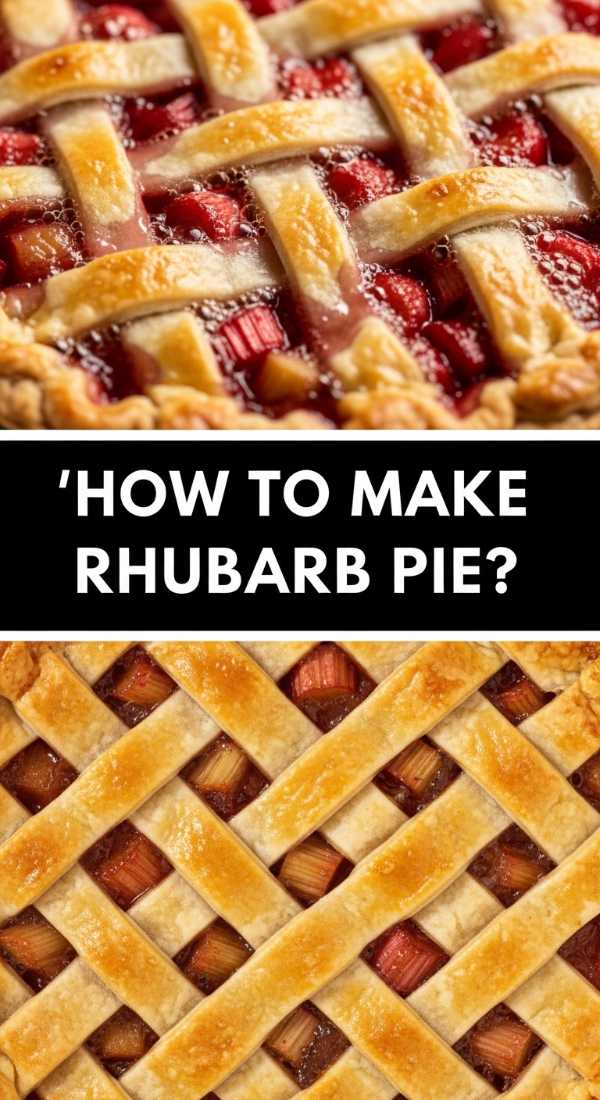
How to Make Rhubarb Pie?

Why we love this
A rhubarb pie is the ultimate herald of summer, offering a complex dance between bracingly tart stalks and a sugary, flaky crust. As it bakes, the kitchen fills with a bright, fruity aroma that is both nostalgic and refreshing. The texture is a delightful contrast: the crisp, buttery snap of the pastry giving way to a jammy, tender filling that stains the plate a beautiful ruby red. It is the kind of dessert that begs for a melting scoop of vanilla bean ice cream.
Ingredients
- Double pie crust (homemade or store-bought)
- 4 cups Rhubarb (chopped into 1/2 inch pieces)
- 1 1/4 cups Granulated sugar
- 1/4 cup Cornstarch
- 1/2 tsp Cinnamon
- 1 tbsp Butter (unsalted, cubed)
- 1 Egg (for egg wash)
How to make it
- Preheat your oven to 425°F (220°C). Roll out half of your pie dough on a lightly floured surface and fit it into a 9-inch pie plate.
- In a large bowl, toss the chopped rhubarb with the sugar, cornstarch, and cinnamon. Let this sit for about 10 minutes so the rhubarb releases some of its natural juices to help thicken the filling.
- Pour the rhubarb mixture into the prepared bottom crust. Dot the top of the fruit evenly with small cubes of butter to add richness to the sauce.
- Roll out the second half of the dough. You can place it whole over the top (venting with slits) or cut it into strips to create a lattice pattern for a more traditional, airy look.
- Trim and crimp the edges of the dough to seal the pie. Brush the top crust with a beaten egg mixed with a splash of water for a golden, glossy finish.
- Place the pie on a baking sheet to catch any drips and bake at 425°F for 15 minutes.
- Reduce the oven temperature to 375°F (190°C) and continue baking for another 40-45 minutes. The crust should be deep golden brown, and the filling should be bubbling slowly in the center.
- Allow the pie to cool for at least 3-4 hours before slicing. This is crucial for the filling to set properly.
How to Design Funny Cakes?

Why we love this
Funny cakes are the antidote to the overly polished perfection of social media, bringing a sense of humor and personality to the table. Whether it’s a “failed” expectation cake or a witty pun piped in colorful frosting, these desserts prioritize joy and laughter over traditional aesthetics. The texture is often thick and indulgent, with plenty of extra frosting used to create comedic shapes or exaggerated features that make everyone at the party smile.
Ingredients
- Pre-baked cake layers
- 2 batches of American Buttercream
- Gel food coloring (vibrant colors)
- Piping bags and various tips
- Offset spatula
- Fondant (for small details)
How to make it
- Stack your cake layers with a generous amount of frosting in between. Apply a thin “crumb coat” of frosting over the entire cake and chill for 20 minutes to create a stable, clean canvas.
- Decide on your “funny” concept. Viral trends often include “ugly” animals, memes, or cheeky messages like “I’m sorry I ate your snacks.”
- Mix your buttercream with gel colors. Use high-saturation colors for a cartoonish, bold effect.
- Apply the final layer of frosting using an offset spatula. Don’t worry about making it perfectly smooth; sometimes a slightly messy look adds to the comedic effect.
- Use a piping bag with a small round tip to write your message. If you make a mistake, chill the cake, scrape the letter off, and try again.
- Add “features” using fondant or piped mounds of frosting. For example, large googly eyes made of white and black fondant can make any cake look hilarious.
- Add sprinkles in unexpected places or use a grass tip to create “hair” for a character cake. The key is exaggeration.
How to Decorate Graduation Cookies?
Why we love this
Graduation cookies are like edible medals of honor, intricately decorated to represent the hard work of the student. The snap of the royal icing against a soft, buttery sugar cookie provides a satisfying textural experience. They are visually stunning, often mimicking the look of diplomas or graduation caps with a high-gloss finish. Each cookie feels like a tiny, personalized gift, smelling of sweet almond and sugar.
Ingredients
- Chilled sugar cookie dough (cut into caps and diplomas)
- Royal icing (stiff and flooding consistency)
- Gel food colors (school colors)
- Edible gold luster dust
- Squeeze bottles or piping bags
How to make it
- Bake your shaped sugar cookies and let them cool completely. Any warmth will melt the royal icing.
- Prepare your royal icing. You need “outline” consistency (like toothpaste) and “flood” consistency (like honey).
- Using the outline icing, trace the perimeter of the graduation cap or diploma. This acts as a dam for the thinner icing.
- Immediately fill the center with the flood icing. Use a toothpick or scribe tool to pop bubbles and push the icing into the corners. Let this dry for at least 4-6 hours until a hard shell forms.
- Once dry, use the stiff icing to add details like the tassel on the cap or the ribbon on the diploma.
- To add a metallic touch, mix edible gold luster dust with a drop of clear vanilla extract and paint it onto the tassel with a fine-bristled, food-safe brush.
- Allow the cookies to dry overnight before stacking or packaging to ensure the details don’t smudge.
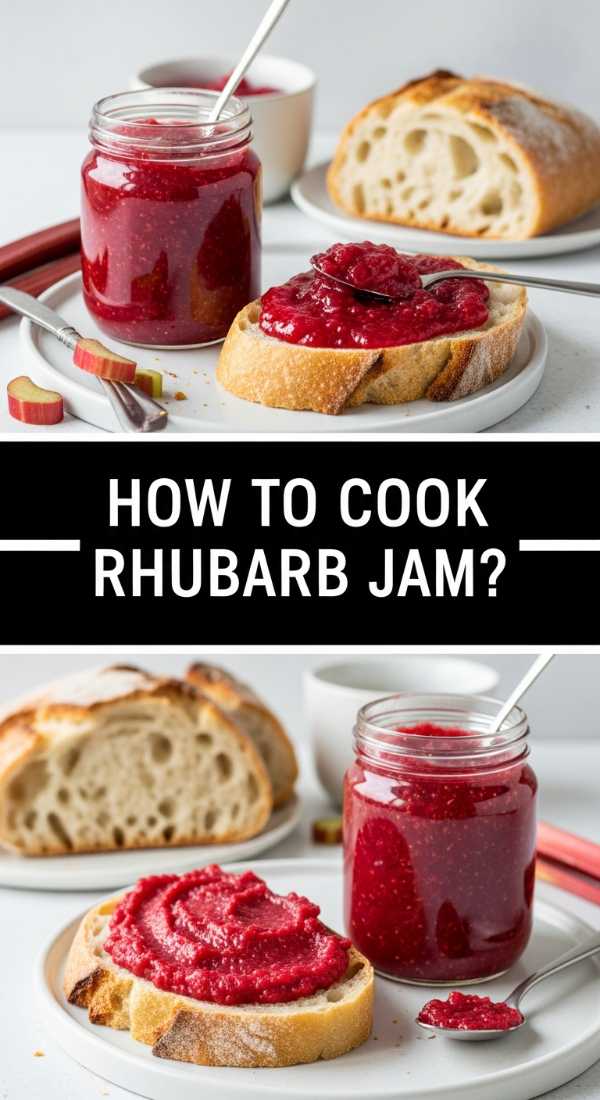
How to Cook Rhubarb Jam?
Why we love this
Homemade rhubarb jam is like bottled sunshine, capturing the fleeting essence of spring in a jar. The aroma while it simmers is intoxicating—a mix of sharp citrus and deep, caramelized sugar. The texture is thick and spreadable, with soft chunks of fruit that provide a burst of tartness against a piece of buttered toast. It’s a vibrant, neon-pink condiment that elevates any breakfast or charcuterie board with its bold flavor profile.
Ingredients
- 2 lbs Rhubarb (chopped)
- 3 cups Granulated sugar
- 1/4 cup Fresh lemon juice
- 1 tsp Vanilla bean paste
- Optional: 1 tsp grated ginger
How to make it
- In a large, heavy-bottomed pot, combine the chopped rhubarb and sugar. Let this sit for about 2 hours (or overnight) to macerate; the sugar will draw out the moisture, creating a natural syrup.
- Add the lemon juice and ginger (if using) to the pot. Place over medium heat and stir until the sugar is completely dissolved.
- Increase the heat to medium-high and bring the mixture to a rolling boil. Stir frequently to prevent the bottom from scorching.
- Cook the jam until it reaches the “gel point” (220°F or 104°C). If you don’t have a thermometer, use the plate test: place a small spoonful of jam on a chilled plate, let it sit for a minute, then push it with your finger. If it wrinkles, it’s ready.
- Remove from heat and stir in the vanilla bean paste. This adds a sophisticated depth to the tart fruit.
- Skim off any foam from the surface with a cold spoon.
- Ladle the hot jam into sterilized jars, leaving 1/4 inch of headspace. Process in a water bath for 10 minutes for long-term storage, or simply keep in the fridge for up to 3 weeks.
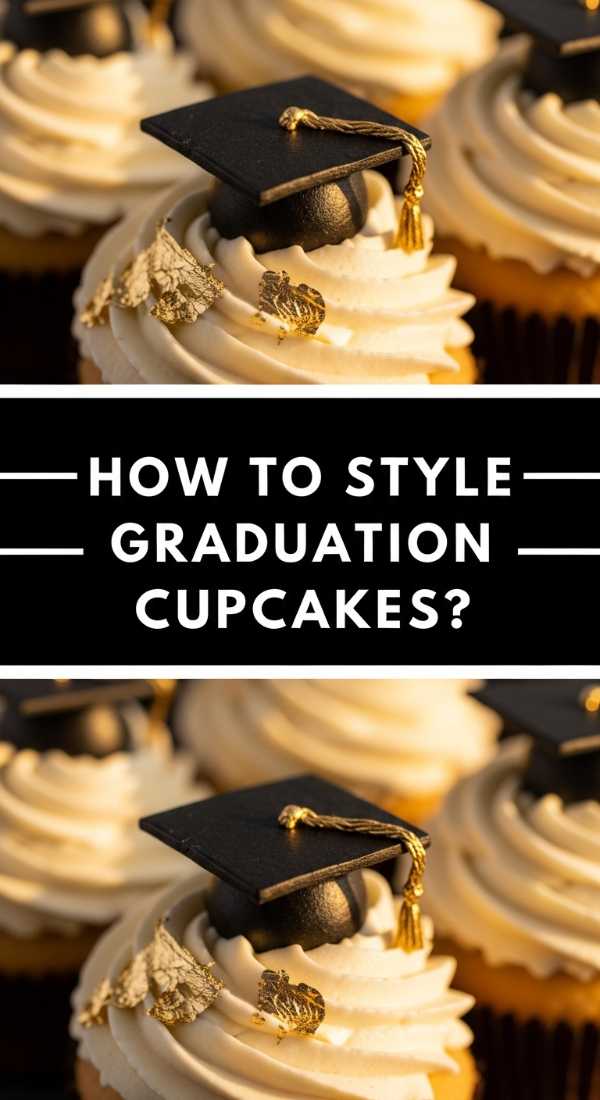
How to Style Graduation Cupcakes?

Why we love this
Cupcakes are the ultimate party food—portable, portioned, and incredibly versatile. Styling them for a graduation means transforming a simple treat into a miniature monument of success. We love the height that a tall swirl of frosting provides, topped with clever edible decorations that tell a story. The texture is light and airy, providing a cloud-like base for the rich decorations on top.
Ingredients
- Baked cupcakes
- Buttercream frosting
- Chocolate squares (Ghirardelli style)
- Mini peanut butter cups
- Sour belt candy or fruit leather
- M&Ms or small round candies
How to make it
- Frost your cupcakes with a flat, even layer of buttercream to create a stable base for the “cap.”
- Unwrap a mini peanut butter cup and place it upside down in the center of the cupcake frosting. This acts as the base of the graduation cap.
- Place a small dab of frosting on the peanut butter cup and press a flat chocolate square on top. Ensure it is level so the cap doesn’t slide off.
- Cut a thin strip of sour belt or fruit leather to serve as the tassel. Attach it from the center of the chocolate square, letting it hang over the side.
- Use a tiny dot of frosting to secure an M&M or a small candy in the very center of the square to represent the button on top of the cap.
- Group the cupcakes on a tiered stand to create a visual “sea” of graduates, which looks impressive on any food board.
How to Whip Lemon Pesto?
Why we love this
Lemon pesto is a bright, zesty twist on the classic Genovese sauce that feels like a breath of fresh air. It is incredibly fragrant, with the scent of crushed basil leaves and sharp lemon zest filling the room instantly. The texture is slightly coarse and nutty, providing a wonderful savory element to a dessert-heavy board. It serves as a brilliant dip for crackers or a spread for small savory bites, balancing the sweetness of the other board components.
Ingredients
- 2 cups Fresh basil leaves (packed)
- 1/2 cup Toasted pine nuts or walnuts
- 1/2 cup Grated Parmesan cheese
- 2 cloves Garlic
- 1/2 cup Extra virgin olive oil
- Zest and juice of 1 large lemon
- 1/2 tsp Salt
How to make it
- In a small skillet over low heat, toast the pine nuts for 2-3 minutes until they are golden and fragrant. Watch them closely as they burn quickly. Let them cool.
- Place the basil, cooled nuts, garlic, and lemon zest into a food processor. Pulse several times until the ingredients are coarsely chopped.
- With the motor running on low, slowly drizzle in the olive oil in a steady stream. This emulsifies the oil with the greens, creating a creamy rather than oily texture.
- Add the lemon juice and Parmesan cheese. Pulse just a few more times to combine. You want to maintain some texture, so don’t over-process into a smooth paste.
- Taste and add salt or more lemon juice if needed. The acid from the lemon should be prominent to cut through the richness of the oil and cheese.
- Store in a jar with a thin layer of olive oil on top to prevent oxidation (browning) until ready to serve.
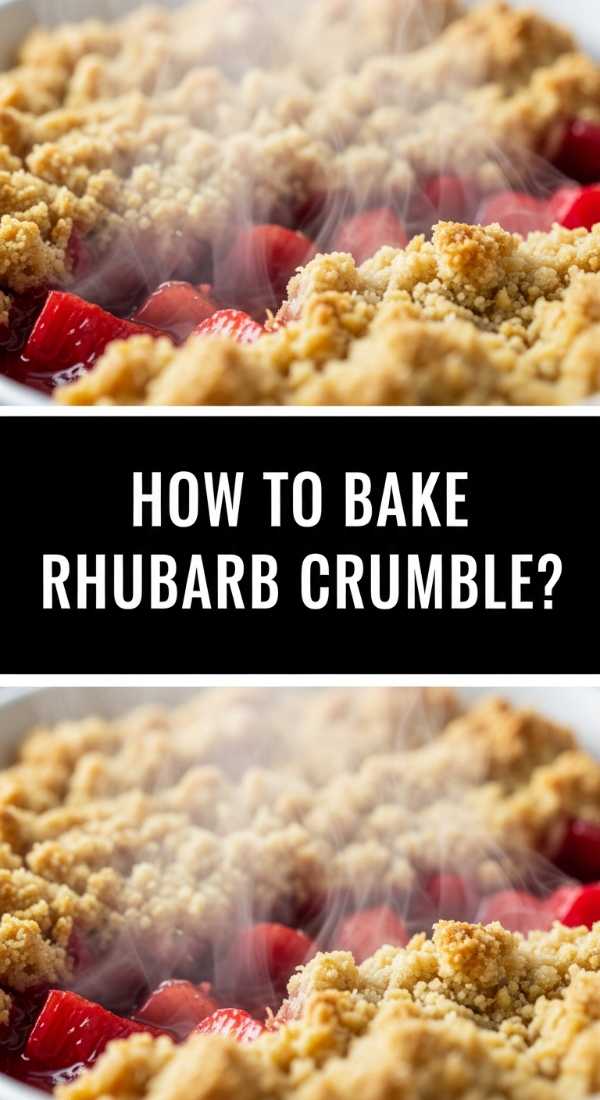
How to Bake Rhubarb Crumble?
Why we love this
Rhubarb crumble is the definition of comfort food. It’s all about the juxtaposition of textures: the soft, bubbling, tart fruit underneath and the heavy, buttery, crunch of the oat topping. As it bakes, the sugar caramelizes around the edges, creating chewy bits that are highly coveted. It’s a rustic dish that looks beautiful in a cast-iron skillet or individual ramekins, smelling of warm cinnamon and toasted oats.
Ingredients
- 5 cups Rhubarb (cut into 1-inch pieces)
- 3/4 cup Granulated sugar
- 1 cup Old-fashioned oats
- 1 cup All-purpose flour
- 1 cup Brown sugar (packed)
- 1/2 cup Unsalted butter (cold, cubed)
- 1 tsp Cinnamon
How to make it
- Preheat your oven to 375°F (190°C). Grease a 9×9 inch baking dish or a large skillet with butter.
- Toss the rhubarb with the granulated sugar directly in the baking dish until the pieces are evenly coated.
- In a medium bowl, combine the oats, flour, brown sugar, and cinnamon.
- Add the cold, cubed butter to the dry mixture. Use your fingers or a pastry cutter to work the butter into the flour until it forms large, pea-sized clumps. You want it to look like wet sand with some larger chunks for maximum crunch.
- Sprinkle the crumble mixture evenly over the rhubarb. Do not pack it down; keeping it loose allows the heat to circulate and crisp up the oats.
- Bake for 35-40 minutes. You are looking for the fruit juices to be bubbling vigorously at the edges and the topping to be a deep, golden brown.
- Let it rest for 10 minutes before serving. This allows the juices to thicken slightly so it isn’t too runny when scooped.
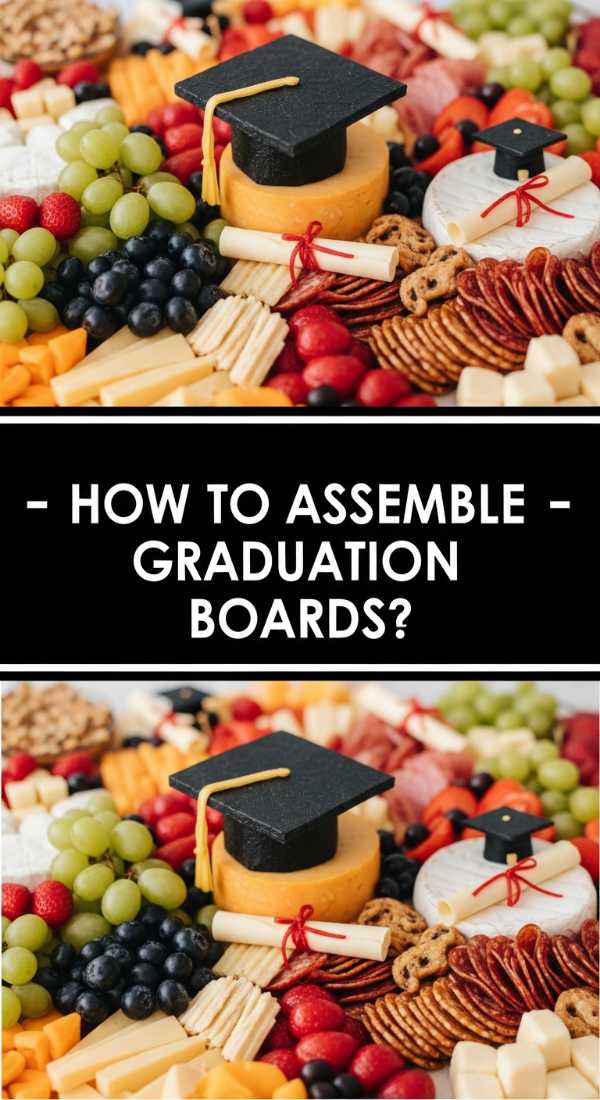
How to Assemble Graduation Boards?
Why we love this
This is the “hero” of the party—the viral simple food board that brings all our hard work together. We love the graduation board because it is a visual storytelling tool. It allows you to display a variety of flavors and textures in a way that feels abundant and generous. The board becomes a conversational piece, where guests can discover small details like a hidden “funny cake” or a pot of bright rhubarb jam among the cookies and cupcakes.
Ingredients
- Large wooden board or marble slab
- Graduation cupcakes and cookies
- Small bowl of Rhubarb Jam
- Slices of Rhubarb Pie or Crumble
- Fresh strawberries and grapes (for filler)
- Small savory elements (crackers and lemon pesto)
How to make it
- Start with your “anchors.” Place larger items like a small graduation cake or bowls of jam and pesto on the board first. These create focal points and structure.
- Position your themed items next. Space out the graduation cookies and cupcakes so they are distributed across the board, ensuring school colors are visible from all angles.
- Add the “sliced” items. Place slices of rhubarb pie or small ramekins of crumble in the remaining large gaps.
- Fill the “rivers.” Use fresh fruit like grapes or berries to create flowing lines between the larger items. This covers the surface of the board and adds a fresh, juicy contrast to the baked goods.
- Add height. Use small pedestals or even upturned bowls under some items to create a multi-dimensional look that draws the eye upward.
- Final touches: Garnish with edible flowers or sprigs of mint to add a pop of green and a professional, finished look.
How to Decorate Summer Cookies?
[IMAGE_10]
Why we love this
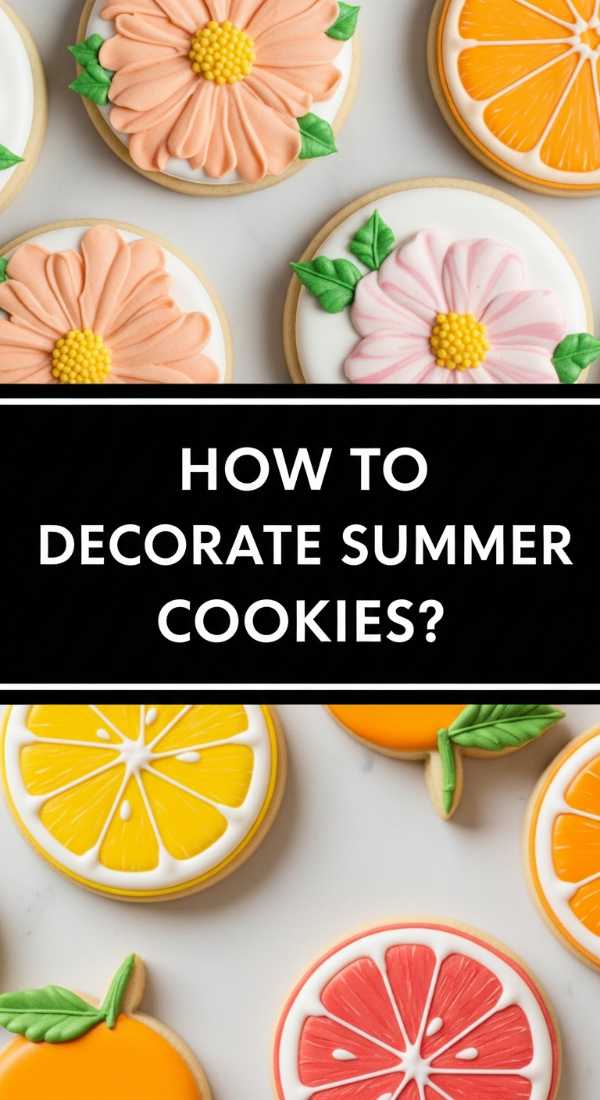
Summer cookies capture the essence of the season with bright colors and light, citrusy flavors. We love the artistic freedom they offer—using vibrant glazes to create marbled effects that look like ocean waves or summer sunsets. The cookies themselves are usually shortbread or sugar-based, providing a crisp, clean snap that isn’t too heavy for a hot day. They smell of lemon zest and pure, sweet joy.
Ingredients
- Shortbread cookies (stars, circles, or sun shapes)
- Powdered sugar glaze (powdered sugar + lemon juice)
- Gel food coloring (yellow, orange, turquoise)
- Toothpicks for marbling
- Edible glitter
How to make it
- Whisk together powdered sugar and lemon juice until you have a thick but pourable glaze. Divide the glaze into three small bowls.
- Tint each bowl with a different summer-inspired gel color (e.g., bright yellow, sunset orange, and sky blue).
- Dip the top of a cookie into the primary color glaze, letting the excess drip off.
- While the glaze is still wet, dot a few drops of a second color onto the surface. Use a toothpick to gently swirl the colors together to create a marbled or tie-dye effect.
- For a “sun” look, use yellow glaze and pipe small rays around the edges with a slightly thicker consistency of the same glaze.
- Sprinkle with a tiny bit of edible glitter while wet to mimic the shimmer of the sun on water.
- Let the cookies dry on a wire rack for at least 2 hours until the glaze is completely firm to the touch.
The Art of the Board
Creating these food boards is about more than just the recipe; it’s about the intention behind the gathering. Whether you are celebrating a hard-earned diploma or simply the arrival of the first rhubarb stalks of the season, these boards offer a way to slow down and savor the moment. They are a canvas for your creativity and a gift to your guests. So, take these ideas, make them your own, and enjoy the beautiful, delicious mess of a life well-lived and well-fed.