
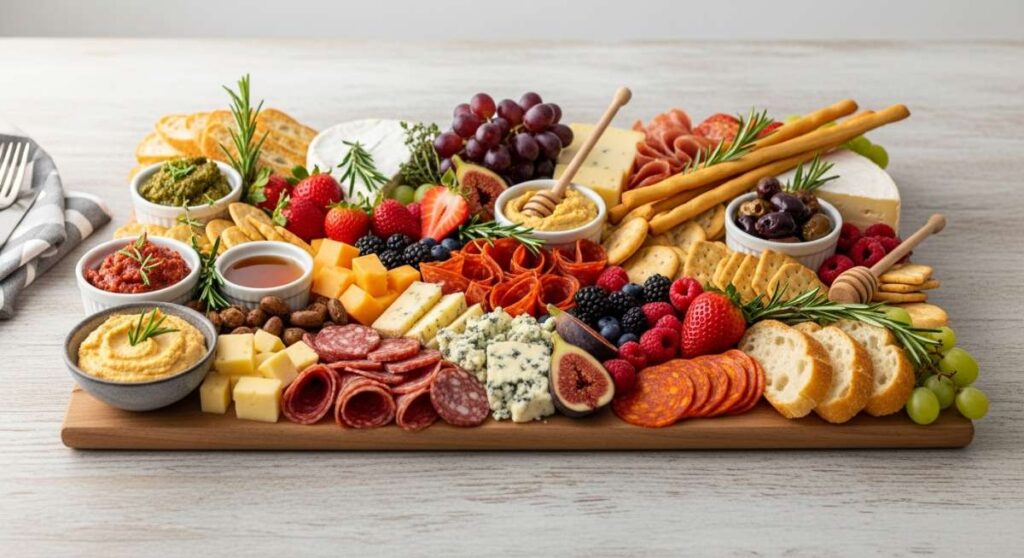
We have all been there: the guest list is growing, the kitchen feels a little too small, and you want to create something that looks effortless yet completely professional. Hosting a gathering shouldn’t feel like a chore, and that is where the magic of the ‘Viral Food Board’ comes into play. Instead of stressing over individual plated courses, we are embracing the beauty of variety, color, and texture all centered around one gorgeous table display that invites everyone to dig in and celebrate.
This isn’t just about cheese and crackers anymore. We are talking about a curated spread that blends the nostalgia of graduation season with the tart, fresh zing of early summer rhubarb. Imagine a table filled with the aroma of buttery scones, the vibrant pink of homemade jam, and the whimsical touch of decorated treats that make your guests stop and pull out their phones before taking a bite. It’s about creating an experience that feels human, warm, and deeply personal.
How to Decorate Graduation Cakes
Why we love this
There is something incredibly moving about a graduation cake; it represents the culmination of years of hard work and late-night study sessions. When you decorate a cake for this milestone, you are adding a layer of love to the celebration, using smooth buttercream as your canvas and gold accents to symbolize success. The texture of a perfectly smoothed frosting against the structured lines of a miniature fondant mortarboard creates a visual balance that is both elegant and festive, filling the room with the sweet scent of vanilla and triumph.
Ingredients
- Pre-baked 8-inch layer cake
- 4 cups vanilla buttercream frosting
- Black fondant for the cap
- Gold edible luster dust
- Food coloring in school colors
- Small tassel (food safe)
How to make it
- Begin by leveling your cake layers with a serrated knife to ensure a perfectly flat surface, which prevents the cake from leaning or cracking as you stack.
- Apply a thin ‘crumb coat’ of frosting over the entire cake to lock in any stray crumbs, then refrigerate for 30 minutes until the surface is firm to the touch.
- Using a large offset spatula, apply a generous final layer of frosting, spinning the turntable slowly while holding the spatula at a 45-degree angle to achieve a professional, silky-smooth finish.
- Roll out your black fondant to a 1/4 inch thickness and cut a 4-inch square for the cap top and a small cylinder for the base; let these dry slightly before assembling with a dab of water.
- Mix the gold luster dust with a drop of clear vanilla extract to create a paint, then carefully brush the ‘year’ onto the side of the cake or onto a fondant plaque for a metallic pop.
How to Make Rhubarb Jam

Why we love this
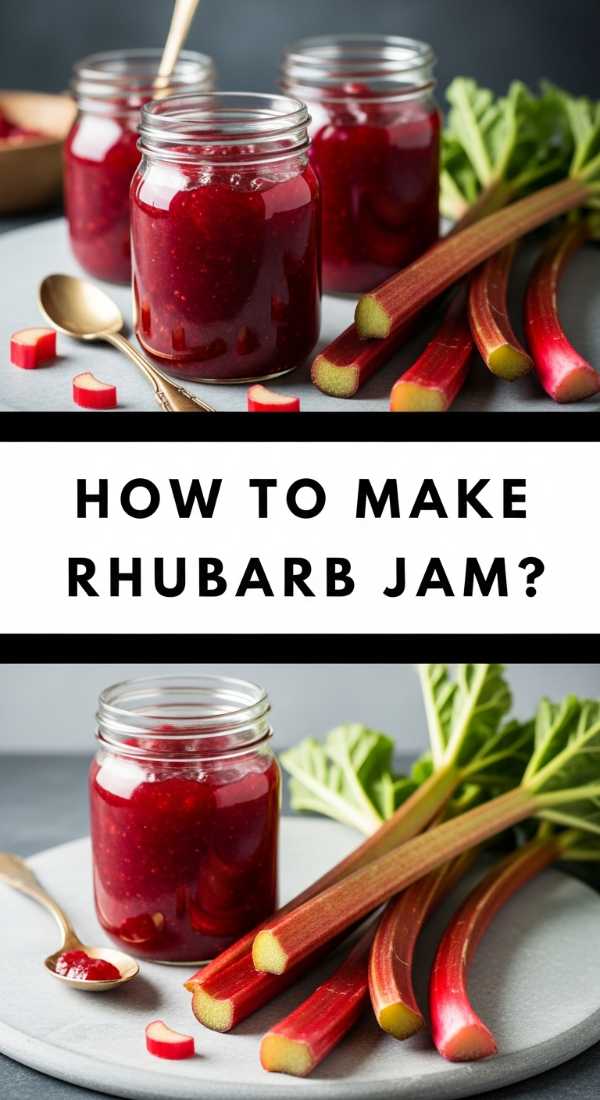
Rhubarb jam is like capturing the very essence of spring in a glass jar. Its vibrant, jewel-toned pink color is naturally stunning, and the flavor profile is a sophisticated dance between sharp acidity and mellow sweetness. As it simmers on the stove, the kitchen fills with a bright, fruity aroma that signals the change of seasons, resulting in a thick, spreadable preserve that adds a gourmet touch to any brunch board or toasted slice of sourdough.
Ingredients
- 4 cups fresh rhubarb, chopped into 1/2 inch pieces
- 1.5 cups granulated sugar
- 1 tablespoon fresh lemon juice
- 1 teaspoon lemon zest
- 1/2 teaspoon pure vanilla bean paste
How to make it
- Combine the chopped rhubarb and sugar in a heavy-bottomed saucepan and let it sit for about 30 minutes until the rhubarb begins to release its natural juices and form a syrup.
- Place the pan over medium-high heat and bring the mixture to a rolling boil, stirring frequently with a wooden spoon to prevent the sugar from scorching at the bottom.
- Lower the heat to medium and continue to simmer for 15-20 minutes, skimming off any foam that rises to the surface to ensure a clear, bright finish.
- To test the set, place a small spoonful of jam on a pre-chilled saucer in the freezer for one minute; if the jam wrinkles when pushed with your finger, it has reached the perfect consistency.
- Stir in the lemon juice, zest, and vanilla paste at the very end to preserve their bright, aromatic qualities before transferring the hot jam into sterilized jars.
How to Bake Graduation Cupcakes
Why we love this
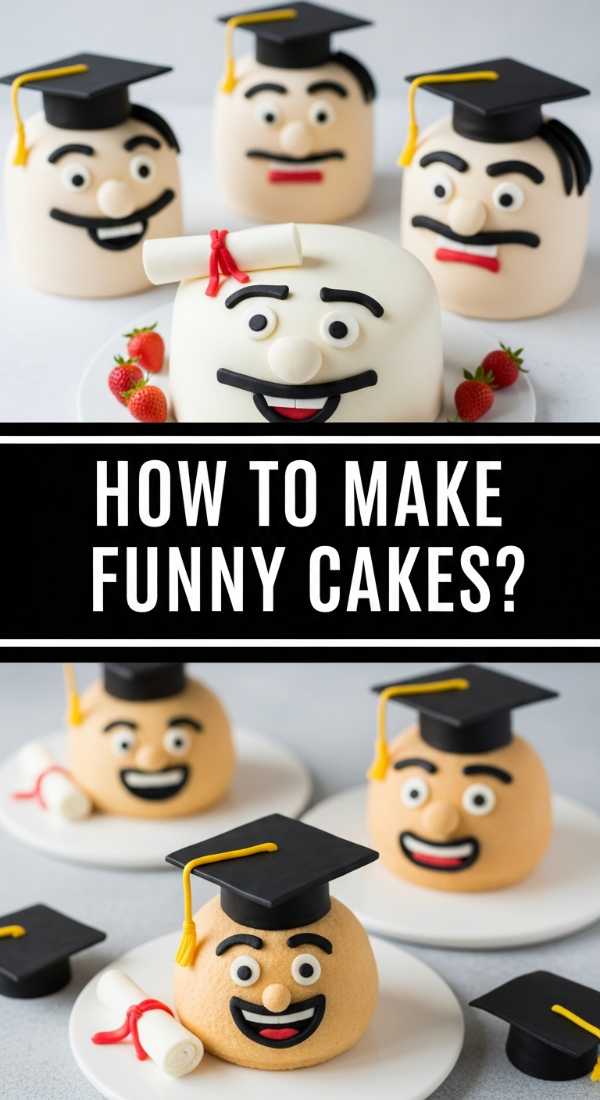
Cupcakes are the ultimate ‘grab-and-go’ party food, making them an essential component of any viral food board. These little treats allow for individual customization, featuring school colors and tiny graduation caps that make every guest feel celebrated. The contrast between a moist, dark chocolate sponge and a towering swirl of silky frosting creates a sensory delight that is as satisfying to look at as it is to eat, especially when topped with a playful chocolate mortarboard.
Ingredients
- 12 prepared chocolate or vanilla cupcakes
- 2 cups stiff piping frosting
- Ghirardelli chocolate squares
- Mini peanut butter cups
- Sour belt candy or fruit leather for tassels
- M&Ms for the cap button
How to make it
- Fit a piping bag with a large open star tip and fill it with your frosting, ensuring there are no air bubbles which could cause the piping to stutter.
- Pipe a high, sturdy swirl on each cupcake by starting at the outer edge and moving inward in a tight spiral, finishing with a sharp pull-up at the center.
- To assemble the graduation caps, place a mini peanut butter cup upside down on the frosting to serve as the base of the hat.
- Apply a small dot of frosting to the bottom of a chocolate square and press it firmly onto the peanut butter cup base.
- Cut a thin strip of sour belt candy to act as the tassel, adhere it with frosting, and finish by placing an M&M on top to hide the tassel’s attachment point.
How to Make Funny Cakes
Why we love this
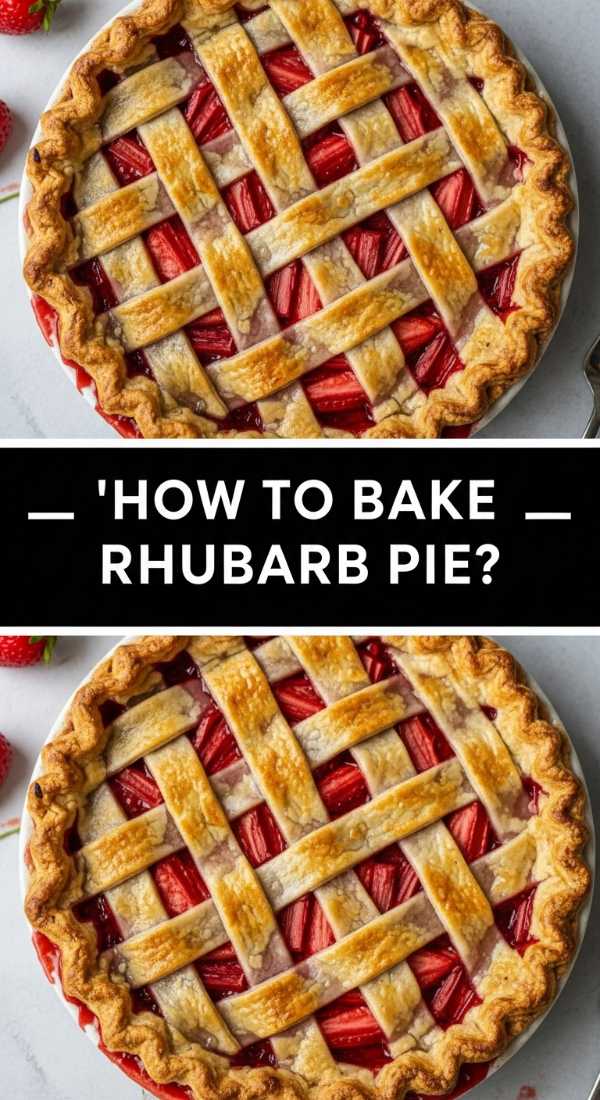
Sometimes, the best part of a food board is the element of surprise and humor. ‘Funny cakes’ are all about breaking the rules of traditional baking—think cakes that look like giant hamburgers, or cakes with silly faces made of candy. They break the ice at any party, sparking laughter and conversation through their whimsical textures and unexpected shapes, reminding us that food should be fun, lighthearted, and a little bit cheeky.
Ingredients
- Round cake layers
- Multi-colored fondant
- Edible markers
- Assorted candies (gummy worms, googly eyes)
- Piping gel
How to make it
- Start with a standard frosted cake and decide on your ‘funny’ theme, such as a ‘spilled cereal’ look or a ‘silly monster’ face.
- For a monster cake, use a grass piping tip to create ‘fur’ all over the cake by squeezing and pulling away quickly to create long, hair-like strands of frosting.
- Place large edible googly eyes at varying heights on the cake to give it an eccentric, confused expression that is sure to get a giggle.
- Use edible markers to draw funny eyebrows or messages directly onto dried fondant accents for a personalized touch.
- If making a ‘spilled’ cake, use a wooden skewer to prop up a lightweight cereal box, then ‘flood’ the cake with white icing to look like spilled milk flowing down the sides.
How to Bake Rhubarb Pie
Why we love this
Rhubarb pie is a rustic masterpiece that brings a touch of farmhouse elegance to your table. The contrast between the flaky, buttery, golden-brown crust and the bubbling, tart-sweet red filling is a sensory experience like no other. As the pie bakes, the smell of caramelized sugar and warm pastry fills the air, creating a cozy atmosphere that makes everyone want to pull up a chair and share a slice of summer.
Ingredients
- Double pie crust (homemade or store-bought)
- 5 cups sliced rhubarb (1/2 inch pieces)
- 1 1/4 cups granulated sugar
- 1/4 cup cornstarch
- 1 tablespoon cold butter, cubed
- 1 egg (for egg wash)
How to make it
- Preheat your oven to 400°F (200°C) and roll out your bottom crust, draping it over a 9-inch pie plate and trimming the edges to leave a 1-inch overhang.
- In a large bowl, toss the rhubarb with sugar and cornstarch until every piece is evenly coated, which ensures the filling thickens properly into a luscious sauce rather than a watery mess.
- Pour the filling into the prepared crust and dot the top with the small cubes of butter to add a rich, silky mouthfeel to the fruit mixture.
- Roll out the top crust and cut into strips to create a lattice pattern, weaving them over and under to allow steam to escape while showcasing the bright fruit beneath.
- Brush the lattice with a beaten egg wash and sprinkle with coarse sugar, then bake for 45-50 minutes until the crust is a deep golden brown and the filling is bubbling thick at the center.
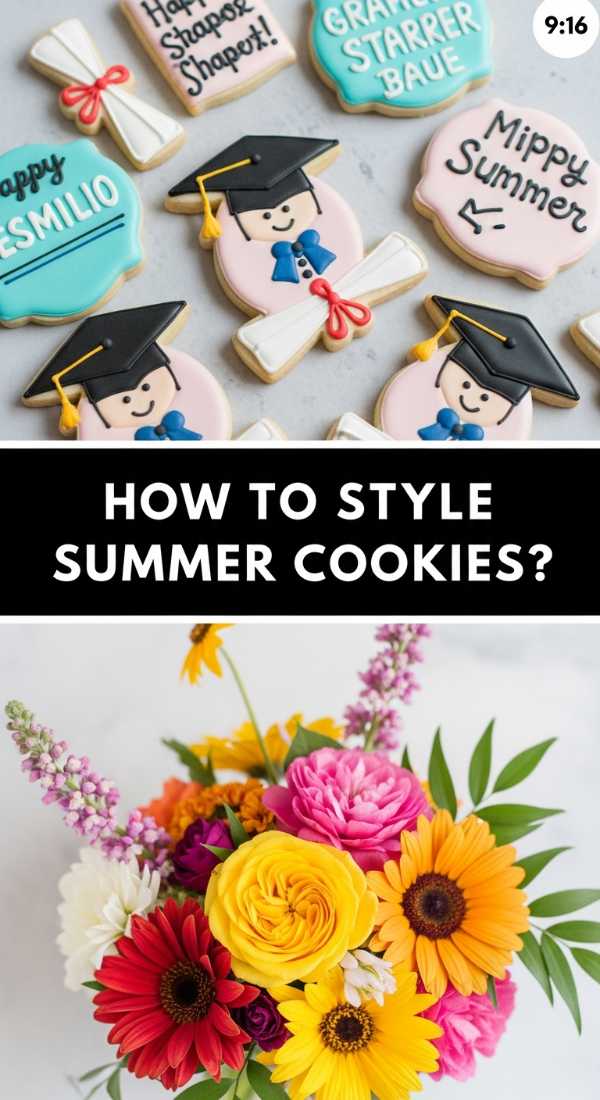
How to Style Summer Cookies

Why we love this
Styling summer cookies is where art meets baking. Think bright citrus shapes, colorful beach balls, and delicate floral designs that feel like sunshine on a plate. The crunch of a sugar cookie paired with the smooth, matte finish of royal icing creates a satisfying snap and a burst of sweetness. These cookies act as the ‘jewelry’ of your food board, adding pops of color and intricate patterns that draw the eye and delight the palate.
Ingredients
- Batch of sugar cookies (chilled)
- Royal icing in multiple colors
- Piping bags and small round tips
- Toothpicks for marbling
- Gold sprinkles
How to make it
- Outline your cooled cookies with a ‘stiff’ consistency royal icing, which acts as a dam to keep the inner frosting from spilling over the edges.
- Fill the center of the cookie with ‘flood’ consistency icing (thinned with a few drops of water), using a toothpick to move the icing into the corners and pop any tiny air bubbles.
- For a summer marble effect, drop small dots of a contrasting color into the wet flood icing and drag a toothpick through them in a swirling motion before they set.
- Allow the base layer to dry completely for at least 4-6 hours before adding detailed ‘top-level’ designs like flower petals or summer lettering to prevent bleeding.
- Finish with a light dusting of gold sprinkles or edible glitter while the top details are still slightly tacky for a sun-kissed, shimmering effect.
How to Brew Fun Coffee
Why we love this
Coffee doesn’t have to be just a morning necessity; it can be an indulgent part of your celebration board. ‘Fun’ coffee involves layers of texture—velvety cold foam, rich espresso, and perhaps a drizzle of salted caramel. The aroma of freshly ground beans mixed with sweet syrups creates an inviting, cafe-like vibe at home. It provides a sophisticated caffeine kick that balances out the sweet treats on your board, making the whole experience feel like a high-end brunch.
Ingredients
- 2 shots of strong espresso or cold brew concentrate
- 1 tablespoon flavored syrup (vanilla or lavender)
- 1/2 cup cold milk (for frothing)
- Ice cubes
- Cinnamon or cocoa powder for dusting
How to make it
- Start by pouring your flavored syrup into the bottom of a tall glass, followed by a generous amount of ice to keep the drink crisp and refreshing.
- Slowly pour your espresso over the ice; if you pour it over the back of a spoon, you can create a beautiful layered effect where the coffee sits on top of the syrup.
- Froth your cold milk using a handheld electric frother for about 30-45 seconds until it doubles in volume and becomes a thick, cloud-like ‘cold foam’.
- Gently spoon the cold foam over the top of the coffee, allowing it to slowly bleed down into the dark liquid for a stunning visual ombre effect.
- Complete the look with a light dusting of cinnamon or cocoa powder through a stencil to create a heart or star shape on the foam surface.
How to Prep Toddler Lunch
Why we love this
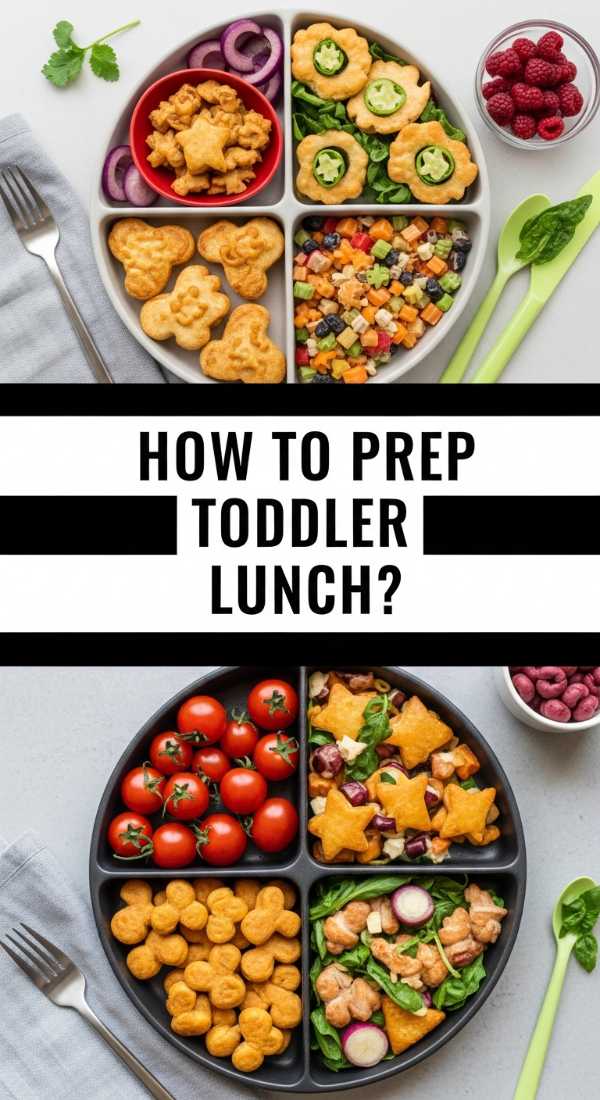
A food board is the perfect solution for picky toddlers! Prepping a toddler lunch board is about variety, bite-sized shapes, and vibrant colors that make healthy eating feel like a game. The soft texture of cheese cubes, the crunch of cucumbers, and the sweetness of berries provide a balanced sensory experience. It’s a stress-free way to serve a meal that feels special and intentional, turning a regular Tuesday lunch into a mini-celebration.
Ingredients
- Miniature sandwich shapes (using cookie cutters)
- Cheese cubes or strings
- Sliced cucumbers and cherry tomatoes
- Fresh berries
- Hummus or yogurt dip
How to make it
- Use small crust cutters to turn standard whole-wheat sandwiches into stars, dinosaurs, or hearts, which makes the food more approachable and engaging for small children.
- Arrange the components in a ‘bento’ style on a small wooden board, ensuring that no two ‘wet’ foods (like tomatoes) are touching ‘dry’ foods (like crackers) to maintain textures.
- Slice grapes and cherry tomatoes vertically into quarters to ensure they are safe for toddlers to chew and swallow easily.
- Place a small, colorful silicone cup in the center of the board to hold dips like hummus or Greek yogurt, preventing them from spreading across the board.
- Add a few ‘fun’ picks or colorful forks to the board to encourage fine motor skills and make the assembly look like a tiny, edible party.
How to Bake Rhubarb Scones

Why we love this
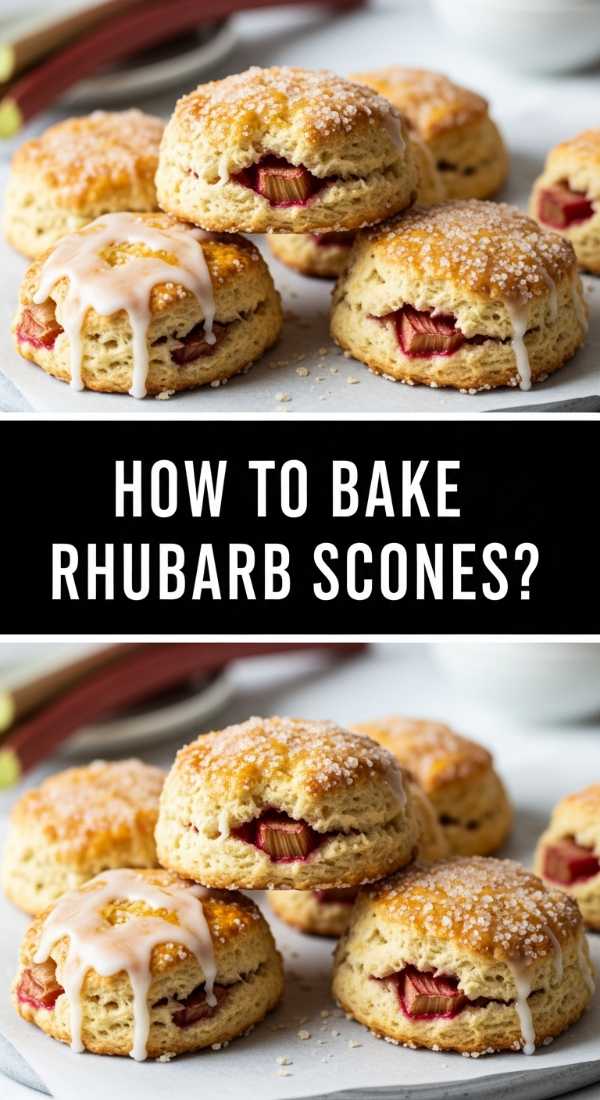
Rhubarb scones are the epitome of sophisticated comfort food. They feature a tender, flaky crumb that practically melts in your mouth, punctuated by tart bursts of roasted rhubarb. The aroma of butter and cream baking in the oven is intoxicating, and when finished with a sweet glaze, these scones offer a perfect balance of flavors. They are the ideal centerpiece for a tea-themed food board, looking beautiful and tasting like a dream.
Ingredients
- 2 cups all-purpose flour
- 1/3 cup sugar
- 1 tablespoon baking powder
- 1/2 cup cold salted butter, grated
- 1/2 cup fresh rhubarb, finely diced
- 2/3 cup heavy cream (plus extra for brushing)
How to make it
- Whisk the dry ingredients together, then use a box grater to shred the cold butter into the flour; toss gently with your hands to create a texture like coarse sand.
- Fold in the finely diced rhubarb, ensuring each piece is coated in flour to prevent the fruit from sinking or clumping together in the dough.
- Make a well in the center and pour in the heavy cream, stirring with a fork just until the dough begins to come together—do not overmix, as this will lead to tough scones.
- Turn the dough onto a floured surface, pat it into a 1-inch thick disk, and cut it into 8 wedges using a sharp knife or bench scraper.
- Brush the tops with a bit of extra cream, sprinkle with sparkling sugar, and bake at 400°F (200°C) for 18-22 minutes until the edges are golden and the centers are set.
How to Design Graduation Pops
[IMAGE_10]
Why we love this
Graduation pops are a delightful, modern twist on celebratory treats. Whether they are made from cake or marshmallows, these pops are incredibly versatile and easy to display on a board. They offer a satisfying crunch from the chocolate coating followed by a soft, sweet interior. Decorated with tiny tassels and graduation years, they feel like miniature trophies that guests can enjoy while mingling, making them a viral-worthy addition to any party spread.
Ingredients
- 12 large marshmallows or cake balls
- White and dark chocolate melting wafers
- Lollipop sticks
- Mini chocolate squares
- Fruit leather (for tassels)
How to make it
- Dip the end of a lollipop stick into melted chocolate and insert it halfway into your marshmallow or cake ball; let it set for 5 minutes to create a secure bond.
- Submerge the entire pop into a bowl of melted white or dark chocolate, tapping the stick gently on the edge of the bowl to remove the excess and create a smooth finish.
- While the chocolate is still wet, place a small chocolate square on top of the pop to create the ‘cap’ of the graduation hat.
- Once the base coating has hardened, use a tiny dab of melted chocolate to attach a thin strip of fruit leather to the side of the square to act as the tassel.
- Stand the pops upright in a block of foam or a decorative jar filled with sugar until they are completely dry and ready to be placed on your food board.
Wrapping Up Your Easy Food Board
Creating a viral-worthy food board is all about the harmony between flavors, themes, and presentation. By combining these graduation-themed treats with the seasonal brightness of rhubarb, you’ve created a spread that isn’t just a meal—it’s a memory. Don’t be afraid to mix and match these sections to fit your crowd, and remember that the most important ingredient is the joy you feel while sharing it with your loved ones. Happy hosting!