
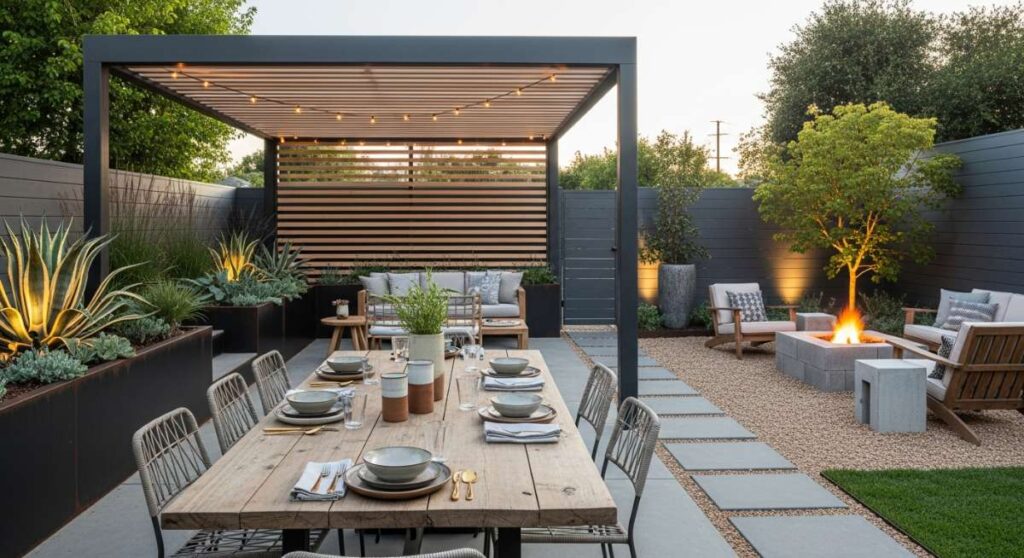
There is a specific kind of magic that happens when the sun begins to dip below the horizon, casting a golden hue over your own backyard sanctuary. For me, the true essence of a home isn’t found within its four walls, but in the transition between the comfort of the indoors and the wild, breathing beauty of the outside. It’s about creating a space where the air smells of blooming jasmine and the only soundtrack is the gentle clink of ice in a glass or the distant song of a robin.
We often treat our outdoor spaces as afterthoughts, but modern al fresco living is about intentionality. It’s about curating an environment that feels as sophisticated and layered as your living room, yet remains rugged enough to withstand the elements. Whether you have a sprawling estate or a cozy urban balcony, the goal is the same: to create a retreat that invites you to linger just a little bit longer in the moonlight.
In this guide, I’m sharing my favorite ways to elevate your outdoor experience. From chic bird sanctuaries to minimalist water features, these DIY projects are designed to blend high-end aesthetics with the soulful satisfaction of creating something with your own hands. Let’s turn your backyard into the sophisticated oasis you’ve always dreamed of.
How to Create a Chic Oasis for Birds on a Budget
Why we love this
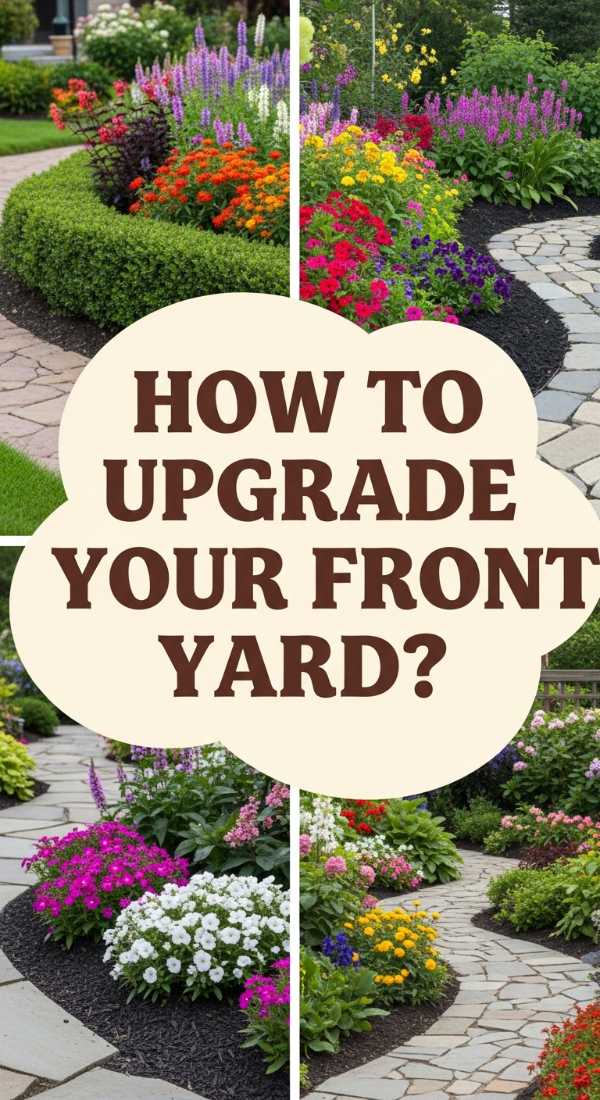
There is nothing quite as soul-soothing as the sight of a vibrant blue jay or a delicate sparrow visiting a beautifully designed sanctuary right outside your window. This project brings a sense of refined nature to your garden, combining the architectural beauty of a modern birdhouse with the shimmering texture of a copper-lined water basin. The aroma of sun-warmed cedar and the cool, crisp feel of polished river stones create a sensory experience that feels like a boutique garden retreat. It’s a way to invite life into your space while maintaining a sleek, sophisticated aesthetic that elevates the entire vibe of your patio.
Essential Elements:
- Untreated Cedar planks (naturally rot-resistant)
- Copper sheet or a shallow copper dish
- Stainless steel screws
- Polished river stones
- Solar-powered micro-bubbler
How to make it
- Measure and cut your cedar planks into four 8-inch walls and a sloped roof to create a minimalist cube-style birdhouse; ensure the entrance hole is sized specifically for the local birds you wish to attract.
- Assemble the walls using stainless steel screws to prevent rust streaks, pre-drilling holes to avoid splitting the delicate cedar wood.
- Attach the copper sheet to the roof using small upholstery tacks for a metallic pop that will develop a stunning patina over time.
- Select a sturdy branch or post and mount the house at least six feet high, ensuring it is level and stable against the wind.
- Place a shallow copper basin at the base of the post, filled with river stones and a solar bubbler to provide fresh, moving water that birds find irresistible.
How to Design a Dreamy Front Yard with Lush Blooms
Why we love this
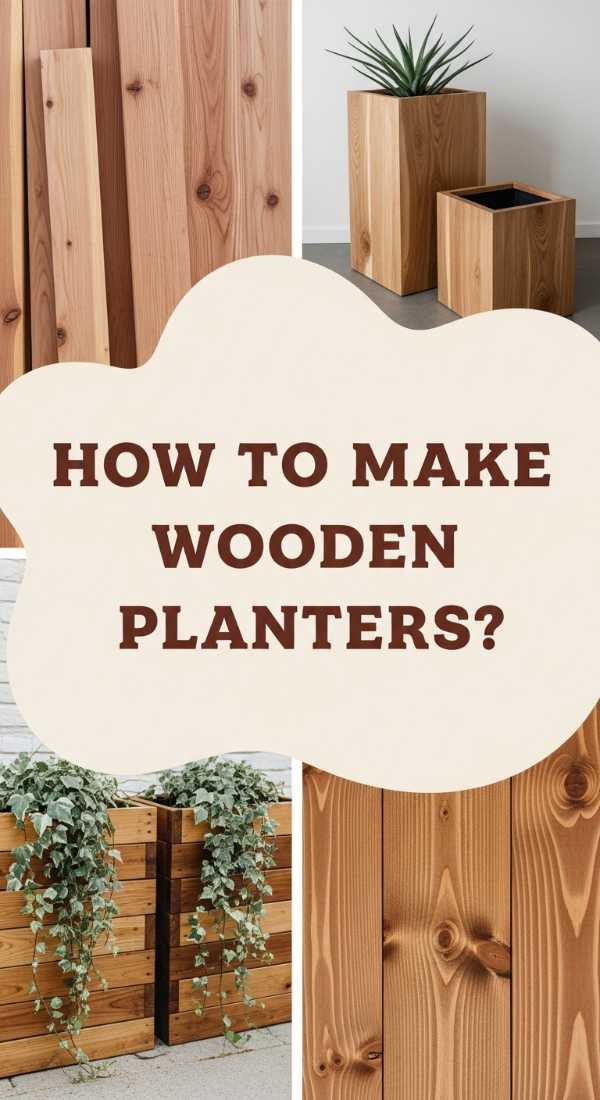
Walking up to a home framed by lush, intentional greenery feels like a warm embrace before you even reach the front door. We love the way layers of varying textures—the softness of lavender against the structured geometry of boxwood—create a visual depth that is both calming and expensive-looking. The scent of blooming hydrangeas on a humid evening is intoxicating, and the way the petals catch the morning dew adds a touch of ethereal beauty to your morning routine. This is about creating curb appeal that isn’t just a facade, but a living, breathing extension of your home’s inner peace.
Essential Elements:
- Endless Summer Hydrangeas
- English Lavender
- Japanese Boxwood for structure
- Dark hardwood mulch
- Organic soil conditioner
How to make it
- Map out your garden beds using a garden hose to create organic, flowing curves rather than rigid straight lines; this creates a more sophisticated, designer look.
- Prepare the soil by tilling in three inches of organic soil conditioner and compost to ensure your blooms have the nutrient-dense foundation they need to thrive.
- Plant your largest specimens, like the Boxwoods and Hydrangeas, toward the back or center to serve as the structural anchor of the design.
- Intersperse Lavender and smaller perennials in the foreground, staggering them in groups of three for a natural, non-linear appearance that mimics wild meadows.
- Apply a thick two-inch layer of dark hardwood mulch to suppress weeds and provide a high-contrast backdrop that makes the green foliage pop brilliantly.
How to Build Modern Wood Planters for Elegant Curb Appeal

Why we love this
Clean lines and warm wood tones are the hallmarks of modern design, and these planters bring that high-end architectural feel to any entryway. The smooth, sanded texture of the wood paired with the deep green of an architectural plant like a Sansevieria or a structural grass creates a look that is both grounded and avant-garde. We love the way the natural grain of the wood glows under porch lights, offering a sophisticated contrast to concrete or brick. It’s an easy weekend project that yields a professional-grade result, making your home look like it belongs on the pages of a design magazine.
Essential Elements:
- 1×4 Cedar or Redwood boards
- Waterproof wood glue
- Brad nailer and 1.25-inch nails
- Plastic pond liner
- Matte black exterior wood stain (optional)
How to make it
- Cut your 1×4 boards into sixteen equal lengths (e.g., 18 inches) to create a perfectly square, tall planter box that commands attention.
- Build four side panels by joining four boards together with wood glue and reinforcing them with horizontal cleats on the interior side.
- Join the four panels using a miter joint for a seamless, high-end look, or a simple butt joint for a more rustic, chunky modern aesthetic.
- Staple a plastic pond liner inside the box to protect the wood from moisture, ensuring you poke several drainage holes through the bottom layer.
- Finish with a clear UV-resistant sealant or a chic matte black stain to protect the wood from graying in the sun while maintaining that crisp, clean look.
How to Curate a Stylish Outdoor Space for Little Explorers

Why we love this
Creating a space for children doesn’t mean sacrificing your aesthetic; in fact, the most magical play spaces are those that feel integrated into the natural landscape. We love the earthy palette of canvas, smooth wood, and woven textures that invite little ones to explore with their senses. Imagine the scent of pine needles underfoot and the soft rustle of a canvas teepee in the breeze—it’s a space that encourages slow, imaginative play away from screens. This curated approach ensures your backyard remains a sanctuary for adults while becoming a world of wonder for the little explorers in your life.
Essential Elements:
- Canvas bell tent or teepee
- Smooth-sanded log rounds
- Woven outdoor rug
- Sand and water sensory bins
- String lights (battery-operated)
How to make it
- Select a shaded corner of your yard to serve as the “base camp” to keep the area cool and comfortable during the peak afternoon sun.
- Lay down a durable, woven outdoor rug to define the play zone and provide a soft surface for little knees and elbows.
- Erect a canvas teepee and secure it with heavy-duty stakes; drape battery-operated fairy lights inside for a whimsical, starlit glow in the evenings.
- Arrange smooth-sanded log rounds of varying heights to create a natural balance beam or a gathering circle for storytelling and snacks.
- Integrate a minimalist sand and water station using wooden crates to house the bins, keeping the plastic elements hidden and the aesthetic cohesive.
How to Accessorize a Boho Mud Kitchen for Creative Play

Why we love this
The mud kitchen is the heart of backyard creativity, and accessorizing it with a boho-chic flair turns it into a stylish focal point rather than just a toy. We love the tactile contrast of hammered brass pots against weathered wood and the organic aroma of dried eucalyptus hanging from the hooks. It’s a space that celebrates the beautiful mess of childhood—the “potions” made of rose petals and rainwater—while looking absolutely stunning in your garden layout. This aesthetic bridges the gap between a child’s imagination and a parent’s love for sophisticated, cohesive design.
Essential Elements:
- Vintage brass or stainless steel pots
- S-hooks for hanging
- Woven baskets for storage
- Dried botanicals and flower petals
- Chunky wooden spoons
How to make it
- Install a row of sturdy brass hooks along the backboard of the mud kitchen to keep utensils organized and visually appealing.
- Source vintage metallic pots and pans from thrift stores; these are more durable than plastic and develop a beautiful aged look over time.
- Place small woven baskets on the lower shelves to hold “ingredients” like pinecones, acorns, and smooth pebbles, keeping the workspace tidy.
- Hang a small bundle of dried lavender or eucalyptus to provide a lingering, calming scent that enhances the sensory experience of play.
- Set out a large wooden bowl and a set of heavy wooden spoons to encourage the “cooking” of sensory mud pies and botanical soups.
How to Transform Your Hot Tub Area into a Private Spa
Why we love this
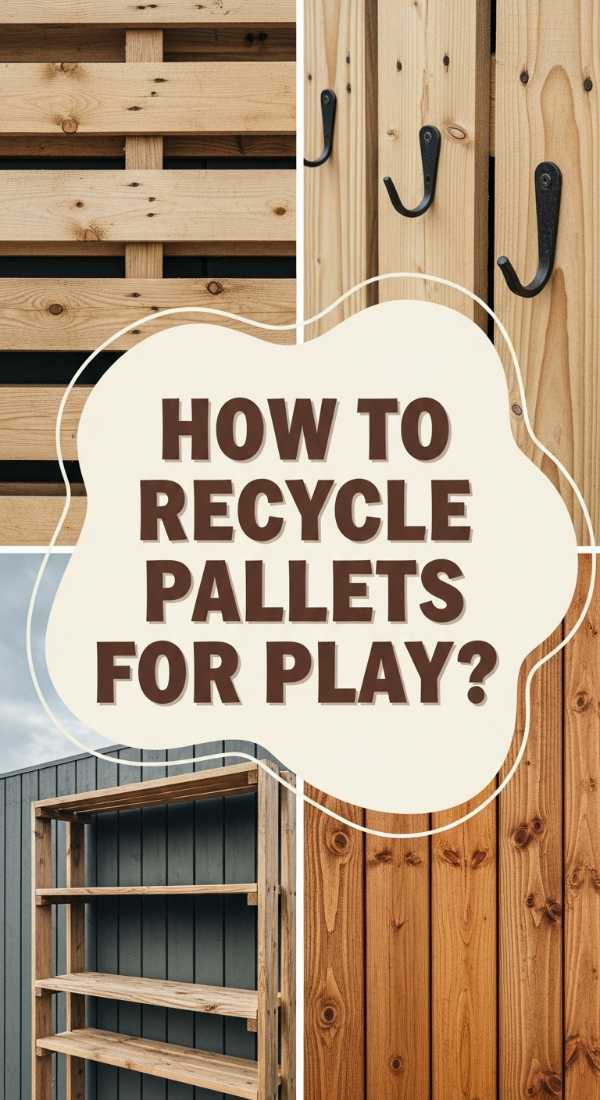
There is nothing quite like the feeling of sinking into hot, bubbling water while the cool night air hits your face, but the experience is truly elevated when the surroundings feel like a five-star resort. We love the enveloping sense of privacy created by tall cedar screens and the soft, diffused glow of Moroccan lanterns. The air is thick with the steam of eucalyptus oil and the faint scent of cedar wood, creating a cocoon of luxury in your own backyard. It turns a simple hot tub into a daily ritual of restoration and peace, providing a sophisticated escape from the noise of the world.
Essential Elements:
- Cedar privacy lattice panels
- Outdoor floor cushions
- Large potted palms
- Aromatherapy diffuser (outdoor rated)
- Plush oversized Turkish towels
How to make it
- Install cedar privacy screens around three sides of the hot tub area to create a secluded, intimate zone that blocks out neighbors and wind.
- Position large, leafy tropical plants like Areca Palms in the corners to soften the hard edges of the tub and add a lush, jungle-spa vibe.
- Add a low-profile wooden bench or a set of high-quality outdoor floor cushions to provide a comfortable transition area for cooling off.
- Place a small side table nearby to hold a tray with citrus-infused water and an outdoor-rated aromatherapy diffuser filled with eucalyptus oil.
- Install dimmable warm LED strip lighting under the rim of the hot tub or along the base of the screens for a sophisticated, high-end glow.
How to Craft a Sustainable Mud Kitchen from Reclaimed Pallets
Why we love this
There is a profound beauty in giving new life to discarded materials, and a mud kitchen crafted from reclaimed pallets is the height of sustainable chic. We love the rugged, textured grain of the aged wood and the sturdy, industrial feel of the construction. It smells of the great outdoors—earthy and authentic—and provides a durable stage for years of creative play. By choosing reclaimed materials, you’re not just building a toy; you’re telling a story of environmental stewardship and timeless design that fits perfectly into a modern, conscious lifestyle.
Essential Elements:
- Heat-treated (HT) reclaimed pallets
- Crowbar and hammer
- Orbital sander with 60 and 120 grit paper
- Stainless steel mixing bowl (for the sink)
- Food-grade mineral oil
How to make it
- Carefully dismantle two HT-stamped pallets using a crowbar, removing all rusty nails to ensure the wood is safe for handling.
- Sand every surface thoroughly, starting with 60-grit sandpaper to remove splinters and finishing with 120-grit for a smooth, buttery touch.
- Construct a basic frame for the base and a taller backboard using the thickest pallet runners for structural integrity.
- Cut a circular hole in the countertop using a jigsaw and drop in a stainless steel mixing bowl to serve as the removable “sink.”
- Seal the entire unit with several coats of food-grade mineral oil, which protects the wood while keeping it safe for the little ones who will use it.
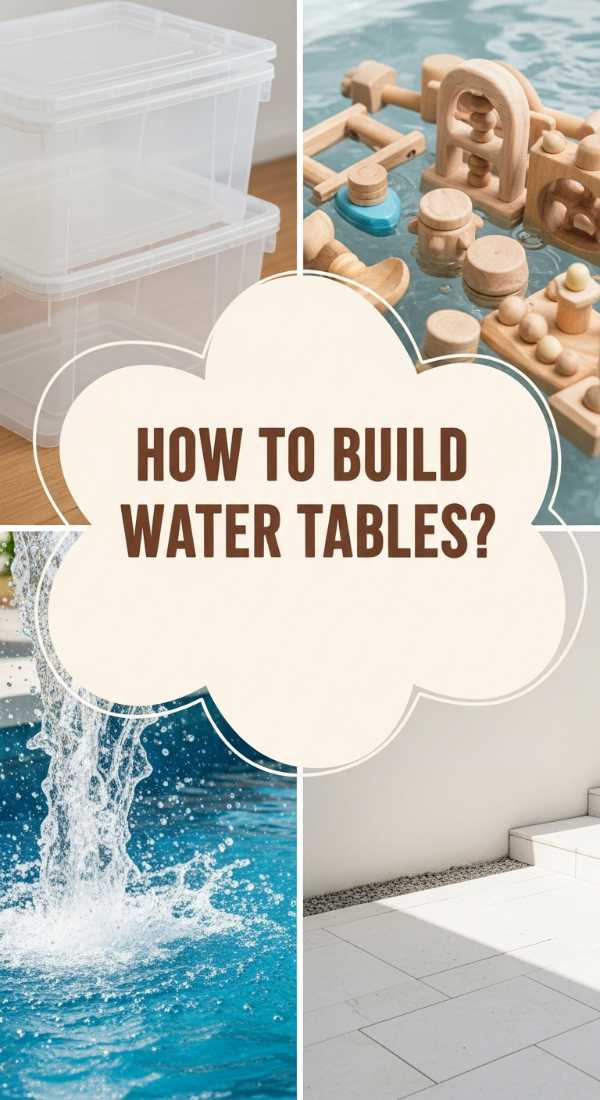
How to Assemble a Minimalist Water Table for Endless Summer Fun

Why we love this
Water has a natural ability to focus the mind and cool the spirit, and a minimalist water table brings this zen-like quality to your outdoor space. We love the clean, monochromatic look of a smooth gray basin filled with clear, shimmering water and a few carefully chosen accessories. The sound of water trickling over smooth stones is incredibly therapeutic, providing a subtle acoustic layer to your backyard. It’s a project that proves children’s items can be beautiful, functional pieces of decor that contribute to the overall tranquility of your al fresco environment.
Essential Elements:
- Low-profile concrete or resin planter (no drainage)
- Submersible mini-pump
- Frosted glass pebbles
- Bamboo water spout
- Filtered water
How to make it
- Select a wide, shallow basin made of concrete or high-quality resin that fits the height of your children but maintains a sleek profile.
- Place a small submersible pump in the center of the basin, concealing the cord under a layer of frosted glass pebbles or smooth river stones.
- Attach a minimalist bamboo spout to the side of the basin, connecting it to the pump to create a gentle, recirculating flow of water.
- Fill the basin with filtered water to prevent mineral buildup and ensure the water stays crystal clear for an inviting look.
- Add a few high-quality wooden or silicone water toys that complement the color palette of your outdoor furniture.
How to Install a Vertical Garden for Ultimate Backyard Privacy
Why we love this
A vertical garden is more than just a privacy screen; it’s a living, breathing wall of art that transforms a flat surface into a lush tapestry. We love the vibrant shades of green and the way the leaves of ivy or jasmine dance in the wind, creating a sense of movement and life. The air around a vertical garden feels cooler and fresher, and the scent of climbing star jasmine is nothing short of heavenly. It provides a sophisticated solution to privacy, replacing cold fences with a soft, organic barrier that makes your backyard feel like a secluded European courtyard.
Essential Elements:
- Wall-mounted planter system or trellis
- Drip irrigation kit
- Climbing plants (Ivy, Star Jasmine, or Clematis)
- Lightweight potting mix
- Slow-release fertilizer
How to make it
- Secure a heavy-duty trellis or a modular vertical planter system to your fence or exterior wall using appropriate masonry or wood anchors.
- Install a simple drip irrigation line that runs along the top of the planters; this is crucial for vertical gardens as they dry out faster than traditional beds.
- Fill the planters with a lightweight, high-quality potting mix designed to retain moisture without becoming overly heavy.
- Plant your climbers at the base or in the pockets, gently weaving the stems into the trellis to encourage upward growth.
- Apply a slow-release fertilizer at the start of the season to ensure the foliage remains dense and vibrant, providing maximum privacy coverage.
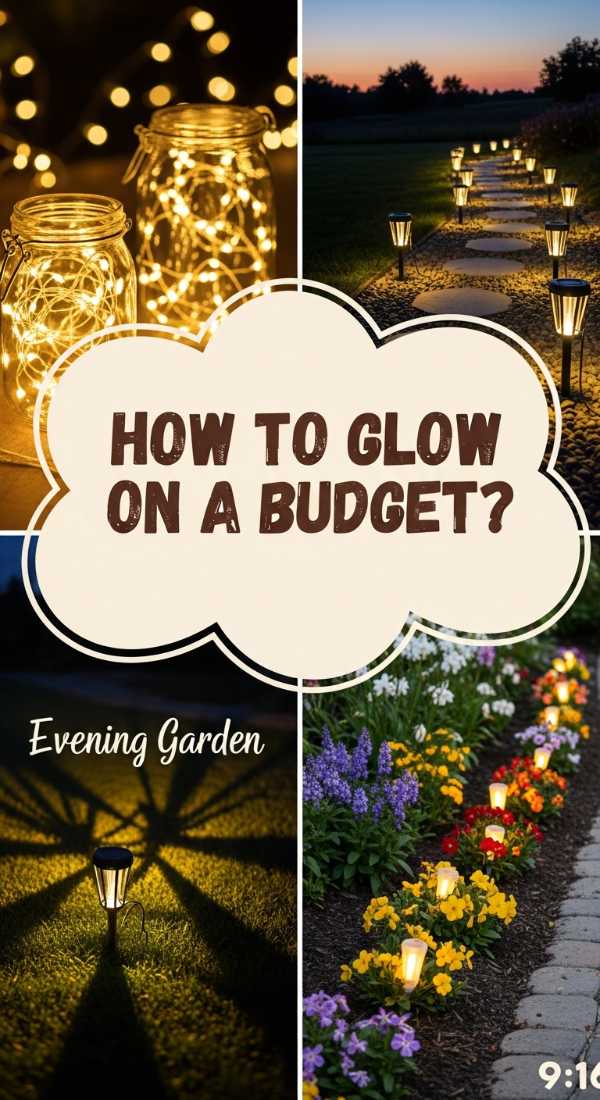
How to Light Up Your Path with Affordable Solar Gems
[IMAGE_10]
Why we love this
As the daylight fades, the right lighting can turn a simple garden path into a magical, starlit journey. We love the way small, high-quality solar lights can mimic the warm glow of candlelight, casting soft shadows across the grass and highlighting the textures of your plants. These “solar gems” add a layer of sophistication and safety without the need for complex wiring or high electricity bills. The visual of a gently illuminated path leading toward a seating area creates an inviting, high-end atmosphere that makes your outdoor space usable and enchanting long after dark.
Essential Elements:
- Warm-white LED solar path lights
- Matte black or antique brass finishes
- Rechargeable NiMH batteries
- Rubber mallet
- Glass cleaner
How to make it
- Choose solar lights with a high lumen count (at least 15-20) and a warm-white color temperature (around 2700K) for a sophisticated, non-industrial look.
- Space the lights evenly but sparingly—every 4 to 6 feet—to avoid the “runway” look and create a more subtle, rhythmic glow.
- Use a rubber mallet to gently tap the stakes into the ground, ensuring they are perfectly vertical to maintain a clean, professional line.
- Ensure the solar panels are positioned to receive at least 6-8 hours of direct sunlight during the day for maximum brightness at night.
- Clean the glass lenses and solar panels with a soft cloth and glass cleaner once a month to keep the light crisp and the charging efficient.
Final Thoughts: Your Sanctuary Awaits
Creating a sophisticated outdoor space is not about spending a fortune; it’s about the care and intentionality you put into every detail. By blending DIY projects with high-end materials and sensory elements, you turn a simple yard into an extension of your home’s soul. I hope this guide inspires you to step outside, get your hands a little dirty, and build the oasis you deserve. Happy upgrading!