
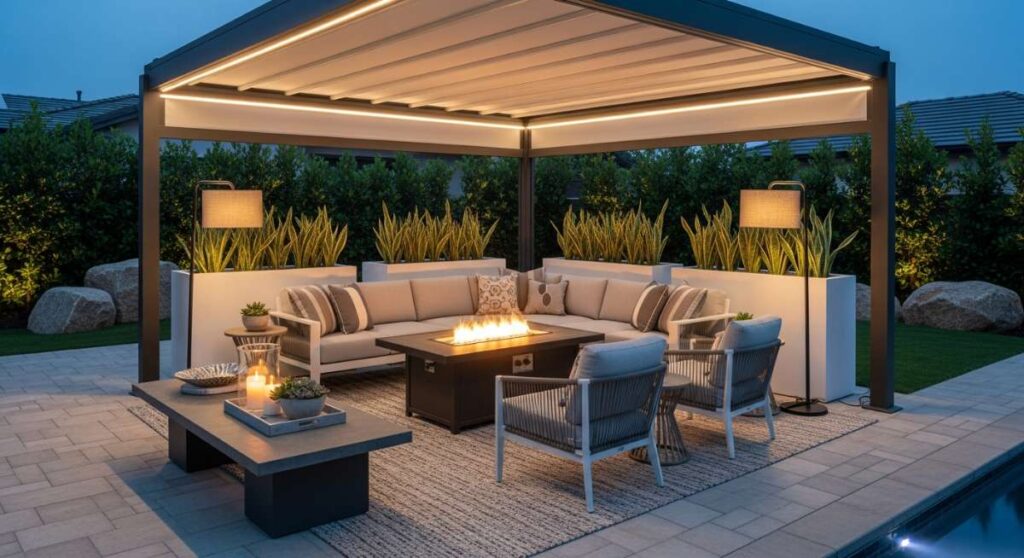
From Basic to Boutique: How to Design an Upscale Outdoor Living Room
There is something truly transformative about the first warm evening of the season, when the sun lingers just a little longer and the air turns sweet with the scent of blooming jasmine. We’ve all looked out at our backyards and seen just a patch of grass or a weathered deck, but I truly believe that our outdoor spaces should be an extension of our souls—a place where the morning coffee tastes better and the evening wine feels like a celebration. Transitioning your backyard from a ‘basic’ utility space to a ’boutique’ retreat doesn’t require a massive renovation; it requires a shift in perspective and a touch of intentional design.
In this guide, we are diving deep into the art of elevated outdoor living. We’re moving beyond plastic chairs and uninspired corners to create a multi-sensory experience that rivals any five-star resort. Whether you have a sprawling estate or a cozy balcony, these DIY projects and styling tips are designed to help you curate a sanctuary that feels lush, expensive, and—most importantly—perfectly like home. Let’s roll up our sleeves and turn those outdoor dreams into a breathtaking reality.
How to Craft a Budget Bird Sanctuary for Peaceful Garden Mornings
Why we love this
There is no alarm clock in the world quite as gentle or restorative as the rhythmic chirping of songbirds filtering through a window on a Sunday morning. Designing a bird sanctuary is about more than just aesthetics; it’s about creating a living, breathing ecosystem that invites nature into your daily ritual. Imagine sitting on your porch, the cool mist still clinging to the grass, while vibrant cardinals and tiny chickadees flutter around a crystal-clear bath. The soft rustle of wings and the gentle splashing of water provide a natural soundtrack that melts away stress, making your garden feel like a hidden woodland escape far removed from the bustle of the city.
Essential Elements:
- Weather-resistant bird feeders (various heights)
- A sturdy birdbath with a solar-powered bubbler
- Native seed mixes (sunflower hearts, nyjer, and suet)
- Native shrubs for nesting and protection
- A clean, dedicated water source
How to make it
- Begin by surveying your yard for the perfect location; choose a spot that is visible from your windows but quiet enough for birds to feel safe, ideally near a tree or large bush for quick cover.
- Install your bird feeders at varying heights to attract different species; ground feeders like sparrows prefer lower stations, while finches enjoy hanging tube feeders. Ensure the poles are secured deep in the ground or mounted firmly to prevent swaying in the wind.
- Set up your birdbath on a level surface; if using a pedestal bath, ensure the base is stable and doesn’t wobble. Add a solar-powered bubbler or ‘wiggler’ to the center of the water—this prevents mosquitoes from breeding and the sound of moving water acts as a magnet for birds.
- Plant a ‘protection perimeter’ using native shrubs or tall grasses around the sanctuary area; this gives birds a place to scout for predators before they land to eat.
- Fill your feeders with high-quality, non-filler seeds and maintain a strict cleaning schedule—scrubbing the birdbath and feeders once a week with a mild vinegar solution ensures the health of your feathered visitors and keeps the boutique look pristine.
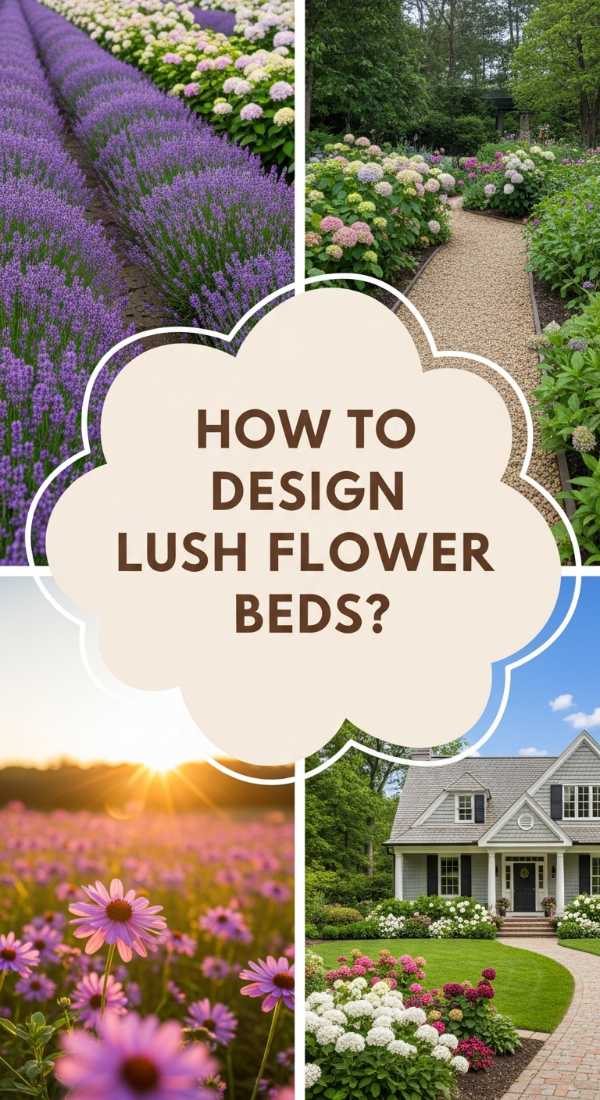
How to Design Lush Flower Beds for Instant Curb Appeal

Why we love this
Lush flower beds are the ‘jewelry’ of your home’s exterior, providing a sophisticated pop of color and texture that immediately elevates your property’s status. The sight of layered blooms—from deep velvety purples to crisp, clean whites—creates a visual feast that changes with the light of the day. As you walk toward your front door, the delicate fragrance of lavender or gardenias greets you, offering a sensory transition from the frantic outside world to your private haven. A well-designed bed feels abundant and intentional, giving your home that sought-after ‘English Garden’ charm that feels both timeless and luxurious.
Essential Elements:
- High-quality organic topsoil and compost
- Selection of ‘Thriller, Filler, and Spiller’ plants
- Professional-grade landscape edging
- Hardwood mulch (dark brown or black for contrast)
- Slow-release organic fertilizer
How to make it
- Start by defining the shape of your beds using a garden hose to create soft, organic curves; avoid straight lines for a more boutique, high-end feel. Use a sharp spade to cut a clean edge along the hose line.
- Remove any existing grass or weeds from the area, then till the soil to a depth of 8-10 inches. Mix in a generous amount of organic compost and topsoil to create a nutrient-rich foundation that promotes rapid growth.
- Layout your plants while they are still in their pots using the ‘triangulation’ method; place the tallest plants (Thrillers) in the back or center, surround them with mid-height blooms (Fillers), and finish with low-growing, trailing plants (Spillers) at the edges.
- Dig holes twice as wide as the root balls, place the plants in, and backfill with soil, pressing down gently to remove air pockets. Ensure the crown of the plant is level with the soil surface.
- Apply a 2-3 inch layer of hardwood mulch across the entire bed, being careful not to pile it against the plant stems; this retains moisture and creates a polished, professional finish. Water deeply immediately after planting to settle the roots.
How to Build Custom Planter Boxes for a Vibrant Herb Garden
Why we love this
There is a profound culinary joy in stepping outside to snip fresh rosemary for a roast or mint for a mojito. Custom planter boxes allow you to bring this luxury right to your back door, combining architectural structure with the wild, aromatic beauty of a kitchen garden. The scent of sun-warmed herbs is intoxicating, filling the air with notes of citrus, earth, and spice every time a breeze passes through. These boxes act as living decor, their vibrant greens and varied leaf textures adding a layer of sophisticated ‘edible landscaping’ that makes your outdoor living room feel curated and functional.
Essential Elements:
- Cedar or redwood planks (naturally rot-resistant)
- Corrosion-resistant deck screws
- Heavy-duty landscape fabric (liner)
- Potting mix specifically for vegetables and herbs
- Assorted herb starts (basil, thyme, rosemary, sage)
How to make it
- Measure and cut your cedar planks to create four sides and a bottom; a standard boutique size is 24 inches long by 12 inches wide and 10 inches deep. Use a miter saw for clean 45-degree angles if you want a seamless ‘high-end’ furniture look.
- Pre-drill holes to prevent the wood from splitting, then assemble the frame using deck screws. Ensure the corners are perfectly square by checking them with a speed square during assembly.
- Drill 1/2-inch drainage holes in the bottom plank every 6 inches. Line the interior of the box with landscape fabric, stapling it to the sides to prevent soil from washing out while allowing excess water to escape.
- Fill the box with a high-quality potting mix enriched with perlite for drainage. Do not use garden soil, as it is too heavy for containers and may harbor pests.
- Plant your herbs, placing the more aggressive growers like mint in their own dedicated boxes. Water the soil until it runs out the bottom, and place the boxes in a spot that receives at least 6 hours of direct sunlight daily for the most vibrant growth.
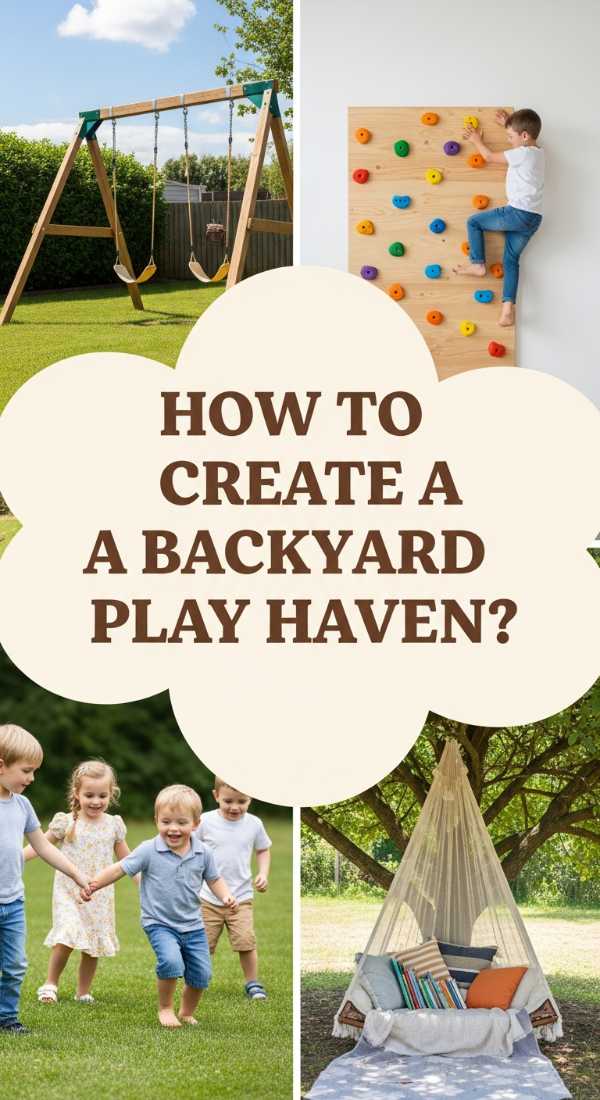
How to Create a Backyard Play Haven for Endless Summer Joy
Why we love this
Creating a dedicated play haven is about fostering magic and movement in a way that blends seamlessly with your upscale aesthetic. We love this because it transforms the backyard into a multi-generational destination where the sounds of joy and discovery become the heartbeat of the home. By using natural materials and thoughtful zoning, you can create a space that encourages kids to unplug and explore while maintaining the sophisticated vibe of your landscape. It’s about the feeling of soft grass under bare feet, the thrill of a swing catching the breeze, and the peace of knowing your family is making memories just steps from the kitchen.
Essential Elements:
- Safe, non-toxic ground cover (like engineered wood fiber or clover)
- High-quality wooden swing set or climbing structure
- UV-resistant shade sails or umbrellas
- Outdoor-rated storage trunks for toys
- Solar-powered pathway lighting
How to make it
- Select a level area of the yard that is easily visible from your main seating area. Clear the ground of rocks, debris, and any tripping hazards.
- Define the play zone with a border of rounded timber or recycled plastic edging. Excavate the area to a depth of 4-6 inches and fill with a certified playground-safe mulch or soft ground cover to provide impact protection.
- Assemble your play structures—whether a swing set, slide, or climbing wall—following the manufacturer’s instructions with extreme precision. Use an impact driver to ensure all bolts are recessed and tightened fully to prevent snagging.
- Anchor the structures into the ground using concrete footings or heavy-duty ground augers to ensure they remain stable even during vigorous play. Check for stability by applying weight to different points of the structure.
- Install shade sails overhead by attaching them to sturdy posts or the side of the house; this protects children from UV rays and keeps the equipment cool to the touch. Add solar lights along the perimeter so the fun can safely continue as the sun begins to set.
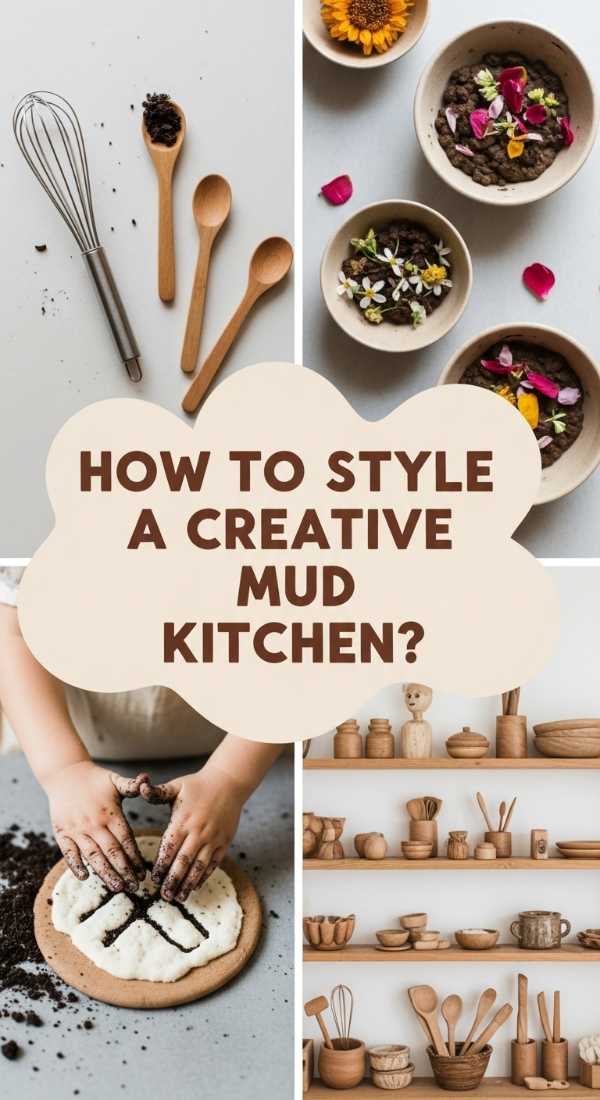
How to Style a Creative Mud Kitchen for Imaginative Outdoor Play

Why we love this
The mud kitchen is the ultimate ‘chic-meets-messy’ addition to a backyard, providing a tactile sensory experience that kids absolutely adore. There is something wonderfully nostalgic about ‘baking’ mud pies and ‘brewing’ leaf tea in the open air. We love the way a well-styled mud kitchen looks—like a rustic, miniature version of a professional chef’s station. The combination of cool stainless steel, warm wood, and the earthy textures of sand and water creates an inviting atmosphere that sparks deep, imaginative play. It’s where science and art meet, all while keeping the mess safely outside your pristine indoor kitchen.
Essential Elements:
- A sturdy wooden potting bench or DIY frame
- Stainless steel drop-in sink or plastic basins
- Real (but old) kitchen utensils: whisks, ladles, mashers
- Assorted ‘nature ingredients’: pinecones, stones, dried petals
- Chalkboard for the ‘Daily Menu’
How to make it
- Choose a durable wooden base, such as a refurbished potting bench or a custom frame made from pressure-treated lumber. The height should be approximately 20-24 inches to accommodate toddlers and young children comfortably.
- Cut a hole in the countertop surface slightly smaller than the lip of your stainless steel sink or plastic basin. Drop the sink in and secure it with waterproof construction adhesive to ensure it stays in place during heavy ‘cooking’ sessions.
- Install a decorative ‘backsplash’ using a piece of exterior-grade plywood or a small section of trellis. This provides a place to screw in hooks for hanging utensils, keeping them organized and off the ground.
- Stock the kitchen with real kitchen tools—stainless steel bowls and wooden spoons feel much more ’boutique’ and last longer than cheap plastic versions. Fill jars with interesting natural textures like smooth river stones or dried lavender.
- Finish the look by painting a small section with chalkboard paint or hanging a weather-resistant chalkboard. This allows children to write out their recipes and menus, adding a layer of literacy to their outdoor play.
How to Arrange a Spa Retreat Area for Ultimate Home Relaxation

Why we love this
Imagine the tension leaving your shoulders as you step into your own private spa sanctuary, the air filled with the faint scent of eucalyptus and the sound of a trickling fountain. An outdoor spa retreat is the pinnacle of boutique living, offering a dedicated space for mindfulness and rejuvenation. It’s the contrast of the warm water or plush seating against the cool evening air, the soft glow of lanterns reflecting off glass surfaces, and the total privacy afforded by lush greenery. This area isn’t just a luxury; it’s a vital ‘reset button’ for the modern, busy life, providing a sanctuary for deep breathing and quiet contemplation.
Essential Elements:
- Comfortable, weather-resistant lounge seating or a hot tub
- Privacy screens (slatted wood or tall planters)
- Outdoor rug with a soft, plush texture
- Waterproof Bluetooth speakers for ambient sound
- Dimmable outdoor lanterns or string lights
How to make it
- Identify the most private corner of your yard, preferably one that is sheltered from the wind and noise. If privacy is lacking, install tall, slatted wooden screens or a row of fast-growing ‘Green Giant’ arborvitae to create a living wall.
- Lay down a high-quality outdoor rug to define the space and provide a soft surface for bare feet. Choose a neutral palette—creams, soft greys, or muted blues—to evoke a high-end spa aesthetic.
- Arrange your seating or install your water feature. If using lounge chairs, position them toward a focal point, like a beautiful view or a flickering fire pit. Ensure there is a small side table within reach for drinks or books.
- Layer your lighting to create a ‘glow’ rather than a ‘glare.’ Use battery-operated LED candles in glass lanterns and hang dimmable Edison-style string lights overhead. Avoid bright white bulbs; warm yellow light is essential for a relaxing atmosphere.
- Add the finishing boutique touches: a basket of fresh, rolled white towels, a tray with a carafe of cucumber-infused water, and a few weatherproof pillows in linen-like fabrics to complete the five-star experience.
How to Upcycle Pallet Wood for a Sustainable Play Space
Why we love this
There is a rugged, artisanal beauty in upcycled wood that brand-new materials simply can’t replicate. Using pallets to build a play space is a win for both the planet and your design aesthetic, offering a weathered, ‘coastal-chic’ look that feels incredibly grounded. We love the tactile nature of the grain, the history in the wood, and the satisfaction of turning something discarded into a place of wonder. It’s a sustainable way to add structure to your yard—whether as a playhouse, a deck, or a reading nook—giving the garden a custom, handmade feel that speaks to a life well-lived and thoughtfully curated.
Essential Elements:
- Heat-Treated (HT) pallets (avoid chemically treated MB pallets)
- Orbital sander and 80/120 grit sandpaper
- Heavy-duty pry bar and hammer
- Exterior-grade wood stain or sealant
- Galvanized nails and screws
How to make it
- Source pallets that are marked with the ‘HT’ stamp, indicating they were heat-treated rather than chemically preserved. Use a pry bar to carefully disassemble the pallets, removing all old nails and staples to ensure the wood is safe for handling.
- Sand every board thoroughly using an orbital sander. Start with 80-grit to remove splinters and rough patches, then finish with 120-grit for a smooth-to-the-touch surface. This is the most critical step for making ‘basic’ wood look ’boutique.’
- Design your structure—for a play platform, build a base frame from thicker pallet runners and then lay the sanded slats across the top, leaving a 1/8-inch gap between boards for drainage.
- Apply a high-quality exterior stain in a modern shade, like a weathered grey or a deep ebony. This not only protects the wood from the elements but also gives it a sophisticated, uniform appearance that masks its humble origins.
- Assemble the structure using galvanized hardware to prevent rust streaks. Add ‘designer’ elements like a canvas canopy or a few outdoor floor cushions to turn the upcycled platform into a cozy, high-end destination for kids or adults alike.
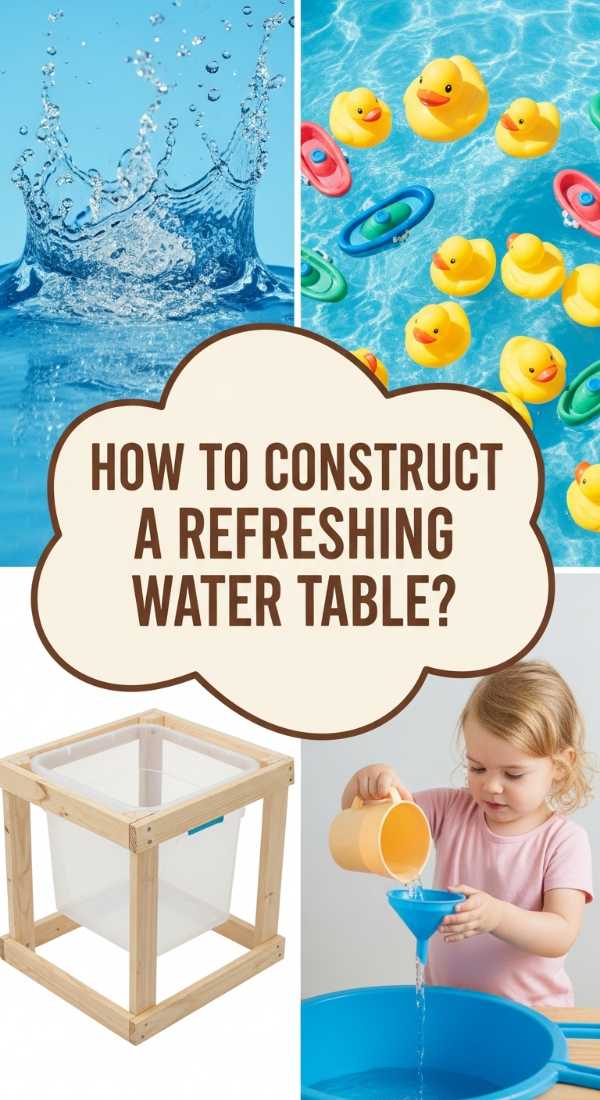
How to Construct a Refreshing Water Table for Sunny Day Fun
Why we love this
On those sweltering August afternoons when the heat seems to shimmer off the pavement, a water table is an absolute oasis. We love this project because it combines the sleek look of modern outdoor furniture with the pure, unadulterated joy of water play. The sound of water cascading over tiers and the feeling of cool droplets on sun-warmed skin is the essence of summer. A custom-built water table looks like a high-end architectural feature rather than a plastic toy, allowing it to sit proudly on your patio while providing hours of refreshing, cooling entertainment for the little ones.
Essential Elements:
- Pressure-treated 2x4s for the frame
- Large, deep plastic storage bins or galvanized tubs
- Submersible water pump and clear vinyl tubing
- PVC pipe fittings for ‘waterfall’ features
- Waterproof silicone sealant
How to make it
- Build a sturdy wooden frame at a comfortable height for children (usually 18-24 inches). The frame should have a recessed ‘shelf’ where your bins will sit securely without shifting.
- If creating a multi-tiered table, mount one bin higher than the other. Drill a hole in the bottom of the upper bin and insert a PVC drain pipe, sealing it with waterproof silicone. This allows water to flow from the top level to the bottom level.
- Place a small submersible pump in the bottom bin and run the vinyl tubing up to the top bin. Conceal the tubing along the back of the wooden frame using cable clips to keep the look clean and professional.
- Fill the bins with water and plug in the pump to test the flow. The water should cycle continuously from the bottom to the top, creating a soothing ‘fountain’ effect. Adjust the pump flow rate to prevent splashing outside the bins.
- Decorate the water table with smooth river rocks, floating wooden boats, or glass pebbles. This elevates the visual appeal and provides different textures for children to explore during their refreshing play sessions.
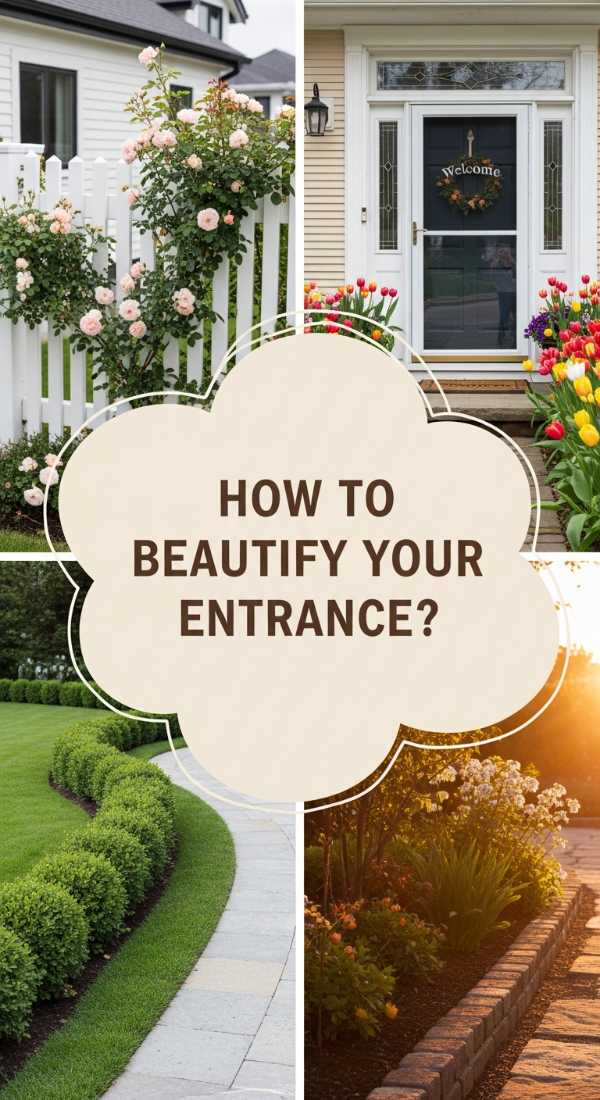
How to Beautify Your Entrance with Flowers for a Warm Welcome
Why we love this
Your home’s entrance sets the tone for everything that lies within; it is the first ‘hello’ to your guests and your own daily ‘welcome home.’ Beautifying this space with flowers creates an immediate sense of warmth and abundance. We love the way a pair of oversized, matching planters can frame a doorway, adding symmetry and a ’boutique hotel’ vibe. The vibrant colors of seasonal petals against the texture of a classic front door create a visual harmony that feels deeply inviting. It’s a small change that yields a massive emotional impact, making every arrival feel like a special occasion.
Essential Elements:
- Two large, high-quality planters (ceramic or heavy-duty resin)
- Premium potting mix with moisture-retaining crystals
- Seasonal ‘Impact’ flowers (Hydrangeas, Petunias, or Mums)
- Tall architectural plants (like Boxwood or Dracaena)
- Slow-release flower food
How to make it
- Select planters that complement your home’s architecture; for a modern look, choose tall, tapered charcoal pots; for a classic look, go with footed stone-finish urns. Ensure they have adequate drainage holes.
- Fill the bottom third of large pots with empty plastic water bottles or packing peanuts before adding soil—this makes the pots lighter and saves on expensive potting mix while still allowing for plenty of root space.
- Use the ‘Thriller, Filler, Spiller’ technique: Place a tall, structural plant like a topiary boxwood in the center (the Thriller). Surround it with lush, flowering annuals like million bells or geraniums (the Fillers).
- Plant trailing ivy or sweet potato vine around the edges (the Spillers) so they can drape elegantly over the sides of the pot. Ensure the plants are packed tightly for an ‘instant’ lush look; boutique displays never look sparse.
- Water the containers immediately with a liquid fertilizer to kickstart the blooms. To maintain the ‘warm welcome,’ deadhead (remove) spent flowers every few days and rotate the pots occasionally so they grow evenly on all sides.
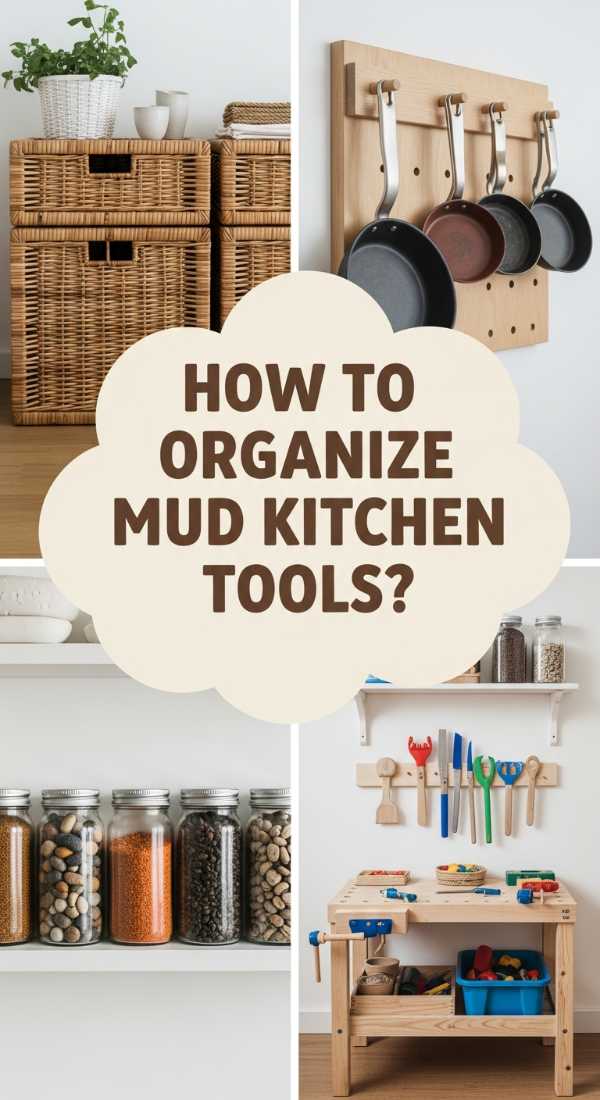
How to Organize Mud Kitchen Accessories for Tidy Outdoor Fun
[IMAGE_10]
Why we love this
The secret to a truly upscale outdoor space is the absence of clutter. Organizing mud kitchen accessories is the key to maintaining that ’boutique’ feel even in a high-play zone. We love this because it teaches children the value of their tools and the beauty of order, while the organized display itself becomes a charming piece of decor. Think of a rustic French kitchen where copper pots hang neatly from a rack—that’s the vibe we’re going for. When every whisk, spoon, and tin has its place, the kitchen is always ready for the next adventure, and your backyard remains a serene, tidy retreat for the adults.
Essential Elements:
- Weatherproof pegboard or wooden lattice
- Stainless steel S-hooks and wire baskets
- Galvanized metal buckets for small items
- Labels (painted or vinyl) for ‘stations’
- Small outdoor shelving unit
How to make it
- Mount a weatherproof pegboard or a series of wooden slats to the back of the mud kitchen or a nearby fence. Use spacers behind the board so that hooks can be easily inserted and moved as needed.
- Group your accessories by type: hanging items (spoons, whisks, pans) and container items (stones, shells, acorns). Use S-hooks to hang the larger tools directly on the pegboard at a height reachable for children.
- Attach wire baskets to the board for holding bulkier items like plastic ‘bottles’ or larger bowls. The wire allows rain to drain through, preventing the tools from sitting in stagnant water and keeping them clean.
- Use galvanized buckets for the ‘natural’ ingredients. Label each bucket—’Magic Mud,’ ‘Fairy Dust’ (sand), or ‘Forest Crunch’ (bark)—using a white paint pen for a clean, stylish look that encourages organized play.
- Establish a ‘closing time’ ritual where children help return each item to its designated hook or basket. This ensures the yard is tidy before the evening ‘cocktail hour’ begins, preserving the sophisticated atmosphere of your outdoor living room.
Creating Your Forever Sanctuary
Designing an upscale outdoor living room isn’t about the amount of money you spend, but the amount of thought you pour into every corner. By blending functional play areas with serene relaxation zones and lush greenery, you create a space that nourishes every member of the family. From the quiet morning chirps in your bird sanctuary to the evening glow of your spa retreat, your backyard is now more than just a yard—it’s a boutique experience that celebrates the beauty of outdoor living every single day.
Frequently Asked Questions
Q: How do I keep my outdoor textiles looking ’boutique’ and fresh?
A: Always choose solution-dyed acrylic fabrics (like Sunbrella) which resist fading and mold. Store cushions in a deck box during heavy rain or the off-season, and spot-clean with a mixture of mild soap and water as soon as spills occur.
Q: What is the best way to maintain a mud kitchen without it looking messy?
A: The key is ‘contained chaos.’ Use dedicated bins for mud and water, and ensure all accessories are returned to their hooks or baskets after play. A quick spray with a garden hose at the end of the day keeps the wood and metal surfaces shining.
Q: How can I make a small patio feel like an upscale ‘living room’?
A: Focus on vertical interest and soft textures. Use tall planters to add height, hang string lights to create a ‘ceiling,’ and use a high-quality outdoor rug to anchor the furniture. Minimalist, multi-functional pieces work best in smaller spaces.