
The Minimalist’s Guide to a Warm and Inviting Backyard Fire Pit Haven
There is an inexplicable magic that happens the moment a match strikes wood and the first tendrils of smoke drift into the twilight air. For years, I chased the idea of a perfect home by filling it with things, but it wasn’t until I cleared the clutter and focused on the center of my backyard that I found true peace. A fire pit isn’t just a feature; it is the heartbeat of a home, a sacred space where the digital world fades away and the rhythmic dance of amber flames takes center stage.
As a minimalist, I’ve learned that the most luxurious experiences come from simplicity, texture, and intention. Imagine the crisp evening air nipping at your cheeks while your toes are toasted by a steady, radiant heat, the scent of parched oak and toasted marshmallows swirling around you. In this guide, we are going to explore how to transform your outdoor space into a sanctuary that feels both expansive and intimate, proving that you don’t need a sprawling estate to capture the essence of a high-end retreat.
How to Create a DIY Firepit for Cozy Family Nights
Why we love this
There is a profound sense of groundedness that comes from a hand-built stone fire pit, where the rough, earthy texture of the masonry meets the soft, flickering light of a family hearth. We love this because it encourages a tactile connection to your environment, offering a scent profile of deep woodsmoke and the comforting sound of wood popping as the sap heats up. It creates a focal point that feels permanent and purposeful, turning an ordinary lawn into a destination for storytelling and laughter under the stars.
Essential Elements:
- Heat-resistant retaining wall blocks
- Lava rocks or fire-rated gravel
- Leveling sand
- Steel fire ring insert
- Shovel and tamper
- String and a stake for marking the circle
How to make it
- Mark the Perimeter: Drive a stake into the center of your chosen spot and tie a string to it. Measure out half the width of your desired pit (usually 3-4 feet total) and walk in a circle, marking the ground with spray paint to ensure a perfect radius.
- Excavate the Base: Dig out the grass and soil within your circle to a depth of about 6 inches. It is crucial to remove all organic material to prevent it from smoldering under the heat later.
- Level and Compact: Fill the hole with 2-3 inches of gravel or leveling sand. Use a manual tamper to pack it down firmly until the surface is rock-hard and perfectly level, which prevents the stones from shifting over time.
- Lay the First Tier: Place your first ring of blocks around the edge. Use a level on every single block to ensure the foundation is flawless. If one block is high, tap it down with a rubber mallet; if low, add a pinch of sand beneath it.
- Stack and Secure: Apply concrete adhesive between layers if you want a permanent structure, staggering the seams (like bricks) for maximum stability. Stop at about 12-18 inches in height for the perfect footrest level.
- Insert and Fill: Drop your steel fire ring into the center and fill the gap between the ring and the stones with gravel. Add a layer of lava rocks to the bottom to provide drainage and protect the soil beneath from high temperatures.
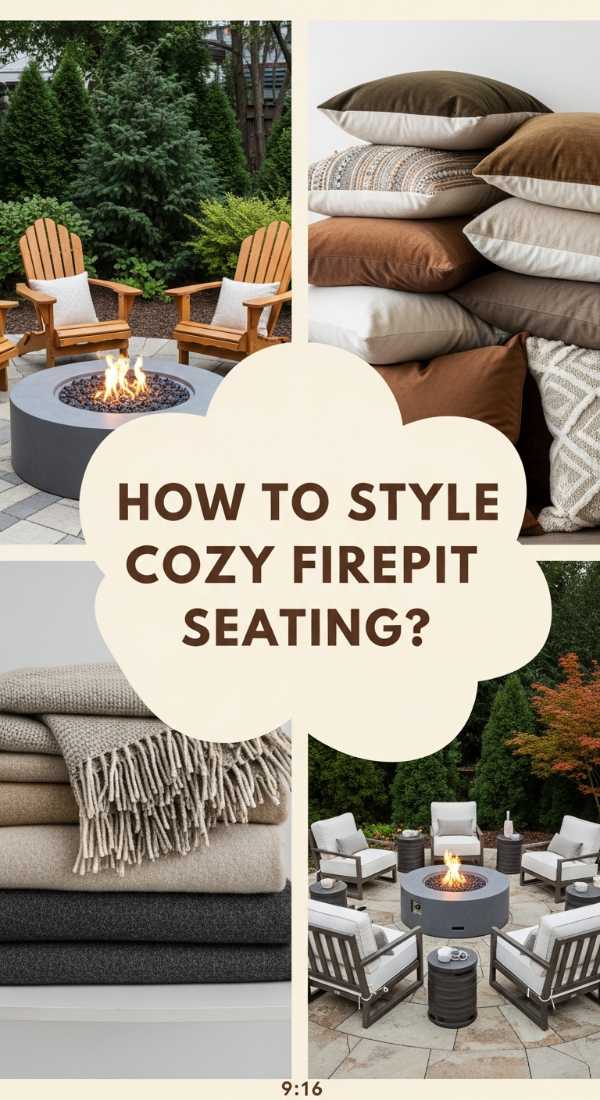
How to Arrange Outdoor Fire Pit Seating for Ultimate Comfort
Why we love this
The layout of your seating is the difference between a cramped gathering and a flowing, soulful conversation. We love a well-arranged seating area because it creates a sense of ‘hygge’—that Danish concept of cozy contentment—where every chair feels like the best seat in the house. The feeling of sinking into a deep-seated chair with a chunky knit throw over your lap, while the heat from the fire radiates against your shins, creates a sensory cocoon that makes you never want to go back inside.
Essential Elements:
- Deep-seated Adirondack chairs or weatherproof sofas
- Textured outdoor pillows and wool throws
- Small side tables for drinks
- Weather-resistant rug
- Ambient floor lanterns
How to make it
- Determine the Heat Zone: Place your primary chairs exactly 30 to 36 inches away from the edge of the fire pit. This distance is the ‘sweet spot’—close enough to feel the intense warmth but far enough to avoid stray sparks or excessive smoke.
- Create a Horseshoe Configuration: Arrange the seating in a semi-circle or horseshoe shape rather than a tight closed circle. This keeps the view open to the rest of the yard and prevents the area from feeling claustrophobic.
- Prioritize Ergonomics: Choose seating with a slight backward recline. When sitting by a fire, the body naturally wants to lean back and look upward at the stars or the flames; upright dining chairs will feel stiff and uncomfortable after twenty minutes.
- Add Multi-Level Surfaces: Place a low side table between every two chairs. This ensures that guests don’t have to lean forward or reach across others to set down their mugs of cocoa or wine glasses.
- Define the Space with a Rug: Lay a large, circular outdoor rug beneath the seating area. This visually ‘anchors’ the furniture and provides a soft texture for bare feet, making the outdoor space feel like a true extension of your living room.
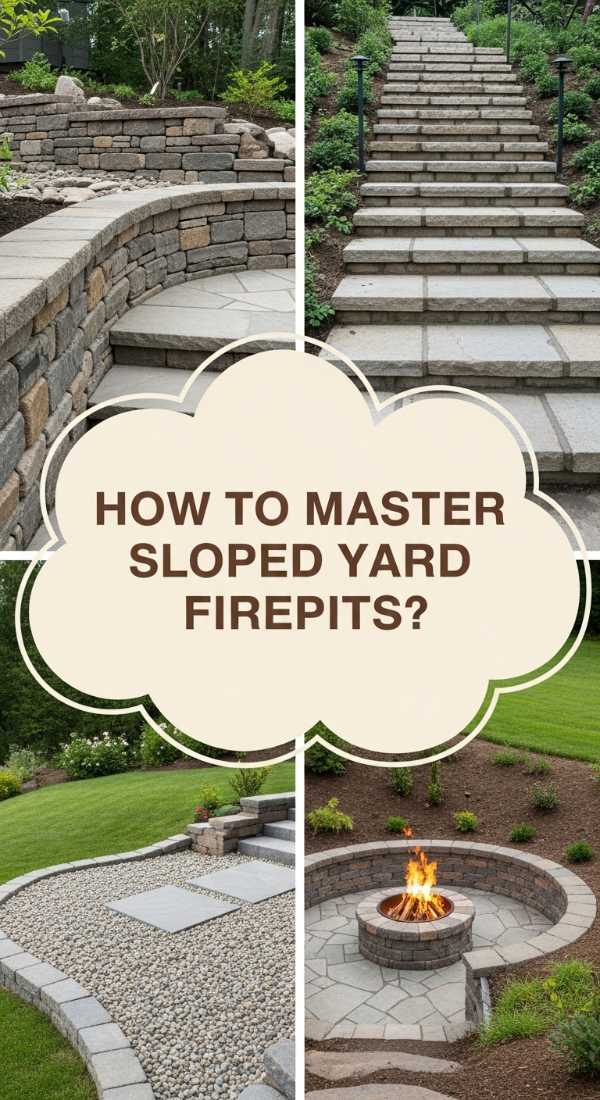
How to Level a Fire Pit on Sloped Yard for Safe Gatherings
Why we love this
There is a unique architectural beauty in a fire pit that seems to emerge naturally from a hillside, creating a tiered sanctuary that feels tucked away from the world. We love this approach because it utilizes the natural topography of your land, providing a ‘theatre’ feel where the slope acts as a natural backdrop. The sensation of being slightly recessed into the earth provides a windbreak, making the fire burn more steadily and the atmosphere feel incredibly private and secure.
Essential Elements:
- Retaining wall stones or timber sleepers
- Crushed stone for drainage
- Spirit level and landscape fabric
- Rebar for anchoring (if using timber)
- Gravel base
How to make it
- Cut into the Slope: Dig into the high side of the hill to create a flat ‘shelf.’ You are essentially carving a notch out of the slope where your fire pit will sit.
- Build a Low Retaining Wall: On the side where you cut into the earth, build a semi-circular retaining wall. This prevents soil from eroding into your fire area. Ensure the wall is slightly higher than the surrounding ground to redirect water runoff.
- Install Drainage: Behind your retaining wall, fill a 6-inch gap with crushed stone and a perforated pipe. This is vital; without it, hydrostatic pressure from rainwater will eventually push your wall over.
- Build Up the Low Side: If the slope is steep, you may need to build a small platform on the ‘downhill’ side using compacted fill dirt and gravel to ensure the entire seating area is level with the pit.
- Check for Plumb: Use a long 2×4 board and a spirit level across the entire diameter of the pit area. Even a 1-inch tilt can cause chairs to feel unstable and fire logs to roll dangerously to one side.
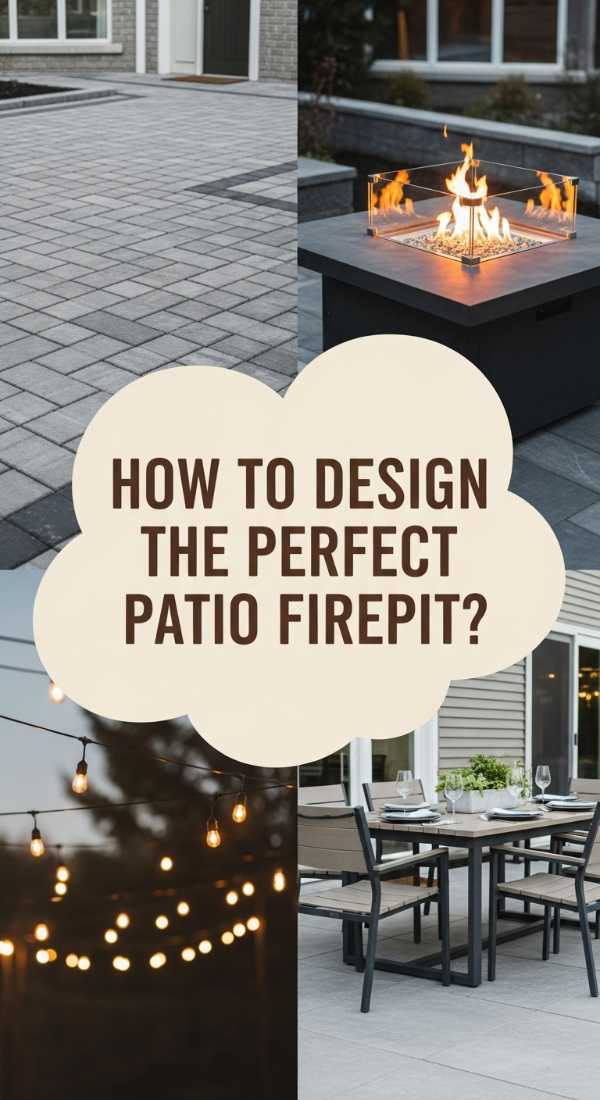
How to Design a Patio Fire Pit for Elegant Evening Entertaining
Why we love this
An elegant patio fire pit bridges the gap between raw nature and refined architecture, offering a sleek, polished environment for sophisticated soirées. We love this for the way the dancing flames reflect off smooth pavers or polished concrete, creating a shimmering light show that feels like a high-end lounge. The air is filled with the subtle aroma of expensive candles mixed with a clean gas flame, providing a pristine backdrop for clinking glasses and polished conversation.
Essential Elements:
- Natural stone pavers (Travertine or Slate)
- Linear gas fire table
- Hidden propane tank storage
- LED strip lighting for walkways
- Potted architectural plants (like Boxwood or Agave)
How to make it
- Select a Focal Point: Position the fire pit as the central axis of your patio. If using a gas table, ensure it is aligned perfectly with the back doors of your home for a stunning visual ‘sightline’ from indoors.
- Install Heat Shields: If your fire pit is sitting directly on high-end pavers, use a thermal mat or built-in heat shield to prevent the stones from cracking or discoloring over time.
- Incorporate Built-in Benches: For an elegant look, use the same stone as your patio to build permanent ‘floating’ benches. This creates a seamless, minimalist aesthetic that looks like a piece of modern art even when not in use.
- Layer the Lighting: Avoid bright overhead lights. Instead, install low-voltage ‘puck’ lights under the lip of the fire pit or benches to create a soft, golden wash of light across the floor.
- Hide the Utility: Use a matching stone enclosure or a decorative side table to hide the propane tank. In luxury design, the ‘work’ of the fire should be invisible, leaving only the beauty of the flame.
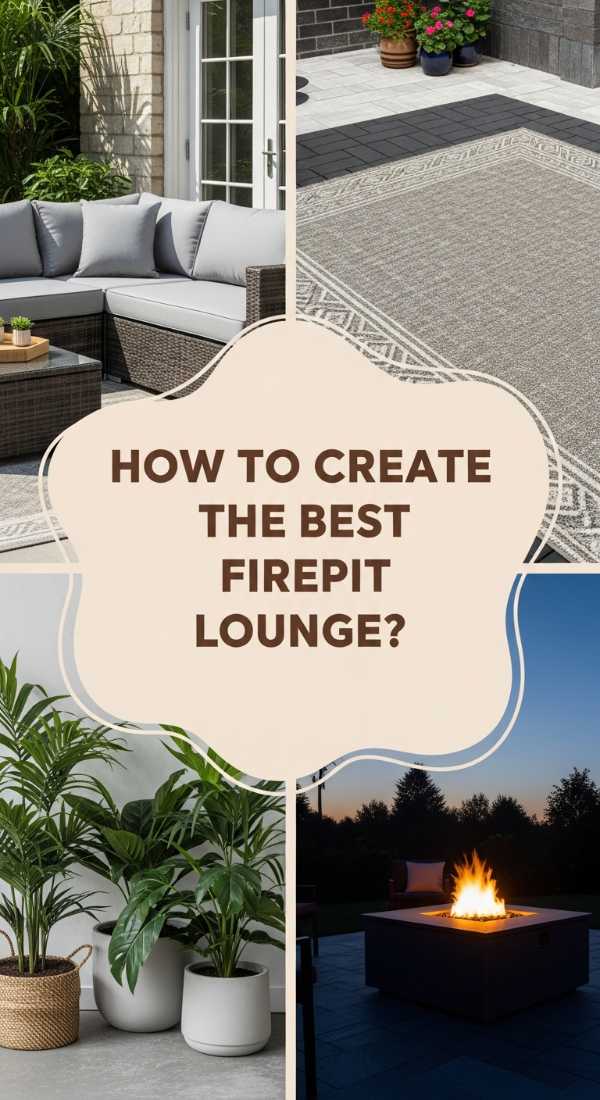
How to Create Backyard Fire Pit Ideas Lounge Areas for Relaxation
Why we love this
A dedicated lounge area turns a quick fire into a destination for total restoration, where the boundary between indoors and outdoors completely vanishes. We love the plush, tactile experience of oversized cushions and low-slung furniture that invites you to stretch out and watch the embers glow. It’s about the feeling of soft linen against your skin, the cool touch of a stone drink coaster, and the deep, resonant peace that comes from a space designed specifically for doing absolutely nothing.
Essential Elements:
- Modular outdoor sectional
- All-weather wicker or teak frames
- Overhead pergola or sun shade
- Floor pillows and poufs
- Outdoor speakers for soft soundscapes
How to make it
- Zone the Area: Use a different flooring material (like wood decking or pea gravel) to separate the ‘Lounge’ from the rest of the yard. This psychological boundary tells your brain it’s time to relax.
- Choose Low-Profile Furniture: To keep the minimalist vibe, select furniture that sits low to the ground. This keeps the view of the fire unobstructed and creates a more intimate, ‘sunken’ feeling.
- Incorporate ‘Soft’ Barriers: Use tall grasses or potted bamboo around the perimeter of the lounge. This provides privacy and a gentle rustling sound in the wind, which enhances the relaxation.
- Optimize for Sound: Position small, hidden Bluetooth speakers around the perimeter. Play low-frequency ambient music or nature sounds to mask neighborhood noise and deepen the immersion.
- Add a Warming Station: Keep a weatherproof basket nearby filled with clean, rolled-up blankets. This allows guests to grab extra warmth without having to leave the conversation.
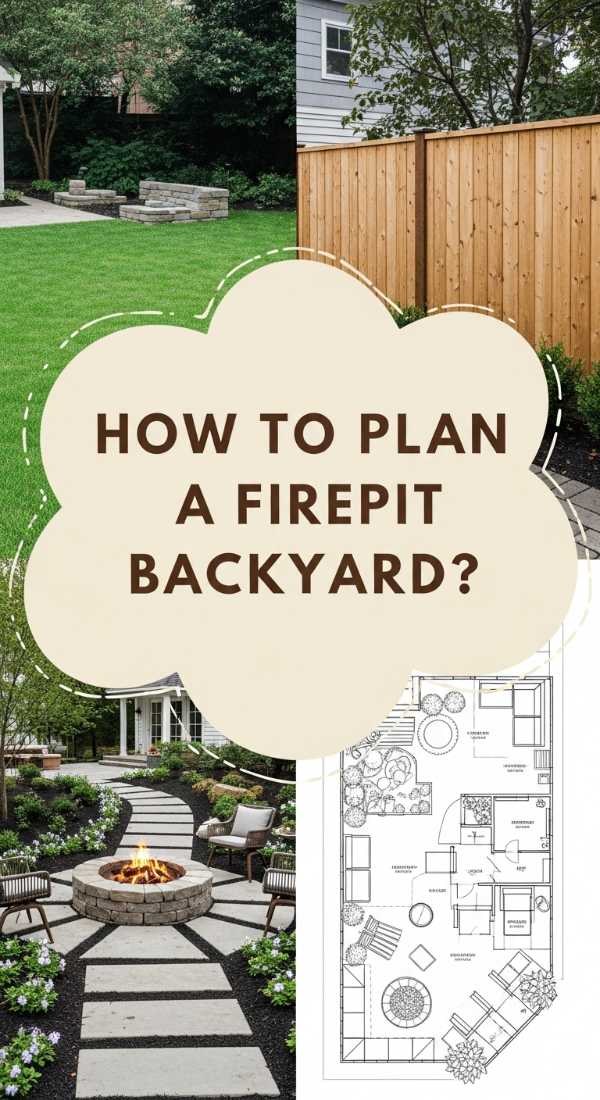
How to Plan a Fire Pit Backyard for Year Round Enjoyment

Why we love this
There is a special kind of thrill in sitting by a roaring fire while snow falls gently around you or the autumn leaves perform a frantic dance in the wind. We love year-round fire pits because they defy the seasons, providing a warm, smoky refuge even when the mercury drops. The contrast between the biting cold air and the intense, dry heat of the fire creates a sensory duality that makes you feel incredibly alive and connected to the cycle of the year.
Essential Elements:
- Windbreak walls or privacy screens
- Overhead cover (Non-flammable)
- High-BTU output fire source
- Heated chair pads
- Storage for dry wood
How to make it
- Analyze Wind Patterns: Observe which way the wind typically blows in your yard. Position your seating so the wind is at your back, and use a decorative wall or fence as a windbreak to keep the heat from being blown away.
- Select High-Output Fuel: For winter use, choose dense hardwoods like Oak or Hickory which burn hotter and longer. If using gas, ensure your burner is rated for high BTU output to combat the ambient cold.
- Keep Fuel Dry: Build or buy a sleek, minimalist woodshed. Wet wood produces more smoke and less heat, which is the enemy of a comfortable winter fire.
- Install Permanent Lighting: Since the sun sets earlier in winter, ensure your paths are well-lit with solar stakes or hardwired path lights to prevent trips in the dark.
- Add a ‘Warm’ Surface: Use wood or composite decking for the floor of the seating area. Stone can feel icy underfoot in winter; wood retains a bit more ambient warmth and feels much ‘softer’ in the cold.
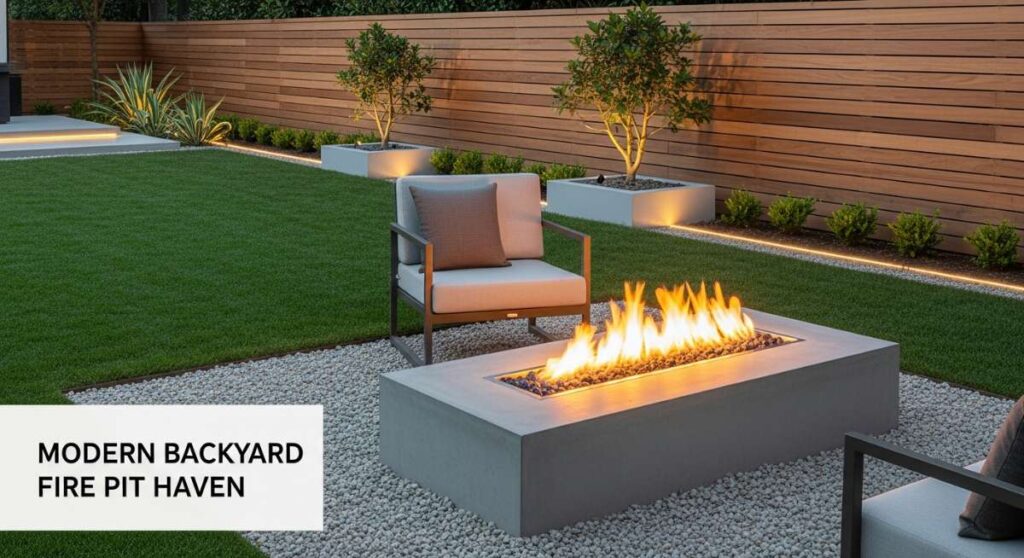
How to Style a Modern Outside Fire Pit for Chic Gatherings
Why we love this
Modern styling is all about the ‘less is more’ philosophy, where every line is crisp and every color is intentional. We love this look because it creates a high-contrast, visually striking environment where the organic chaos of the fire is framed by the geometric precision of the design. The aesthetic is clean and cool—think matte black steel, smooth grey concrete, and sharp edges—making the warm, orange glow of the fire pop with dramatic intensity.
Essential Elements:
- Concrete fire bowl or square pit
- Black lava rock or glass fire beads
- Monochrome furniture (Grey, Black, White)
- Architectural metal accents
- Minimalist lanterns
How to make it
- Stick to a Palette: Limit your color scheme to three tones—usually a dark charcoal, a light grey, and one natural wood tone. This ensures the space looks professionally designed and cohesive.
- Use Linear Layouts: Arrange furniture in straight lines or perfect 90-degree angles. Modern design thrives on symmetry and clean sightlines.
- Choose ‘Industrial’ Textures: Swap traditional logs for black fire glass or uniform ceramic spheres. This gives the fire itself a modern, curated look while maintaining the heat.
- Incorporate Hidden Lighting: Use ‘cool’ white LED strips hidden under the base of the fire pit to create a ‘floating’ effect. This adds a futuristic, chic vibe to evening gatherings.
- Simplify Decor: Remove any ‘kitsch.’ Instead of many small decorations, choose one large, statement piece like a tall metal sculpture or a single, oversized concrete planter.
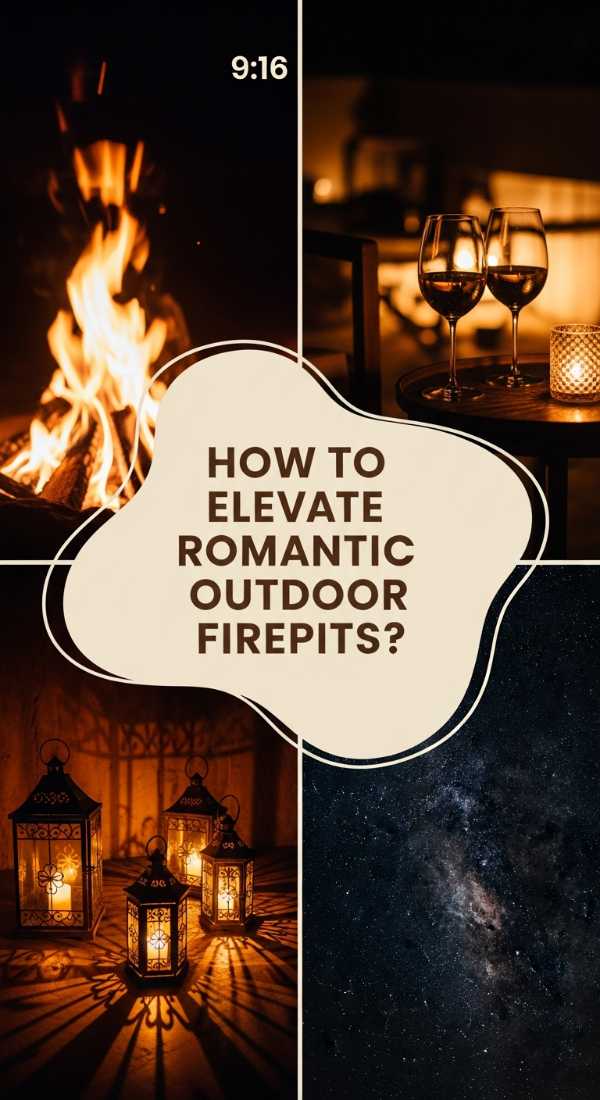
How to Elevate an Outdoor Fire Pit for Romantic Starlit Evenings
Why we love this
A romantic fire pit setting is an exercise in soft focus and gentle sensory input, where the world shrinks down to just the two of you. We love this because it prioritizes intimacy, using the low, flickering light to create a golden halo that softens features and encourages whispered secrets. The scent of jasmine or lavender planted nearby, mixed with the warmth of the flames, creates an aphrodisiac atmosphere that is far more powerful than any indoor restaurant could offer.
Essential Elements:
- Double-wide ‘loveseat’ Adirondack chairs
- Sheer outdoor curtains or screens
- Fragrant evening-blooming plants
- Soft, battery-operated candles
- Chilled wine bucket
How to make it
- Create a Sense of Enclosure: Use tall plants or a low trellis to wrap around the back of the seating area. Feeling ‘tucked in’ increases the sense of intimacy and romance.
- Switch to Soft Lighting: Turn off all harsh landscape lights. Use only the fire and a few scattered, dimmable lanterns or real wax candles in tall hurricane vases to create a flickering, magical glow.
- Prioritize Soft Textures: Cover the seating in the softest materials possible—think velvet outdoor pillows or faux-fur throws. The goal is to make the environment feel as indulgent as a high-end spa.
- Scent the Air: Plant Night-Blooming Jessamine or Moonflowers around the fire area. These flowers release their perfume after the sun goes down, adding a layer of olfactory magic to the night.
- Curate the Sounds: Use a high-quality speaker to play low-volume acoustic music. The sound should be just loud enough to provide a backdrop, but never so loud that you have to raise your voice.
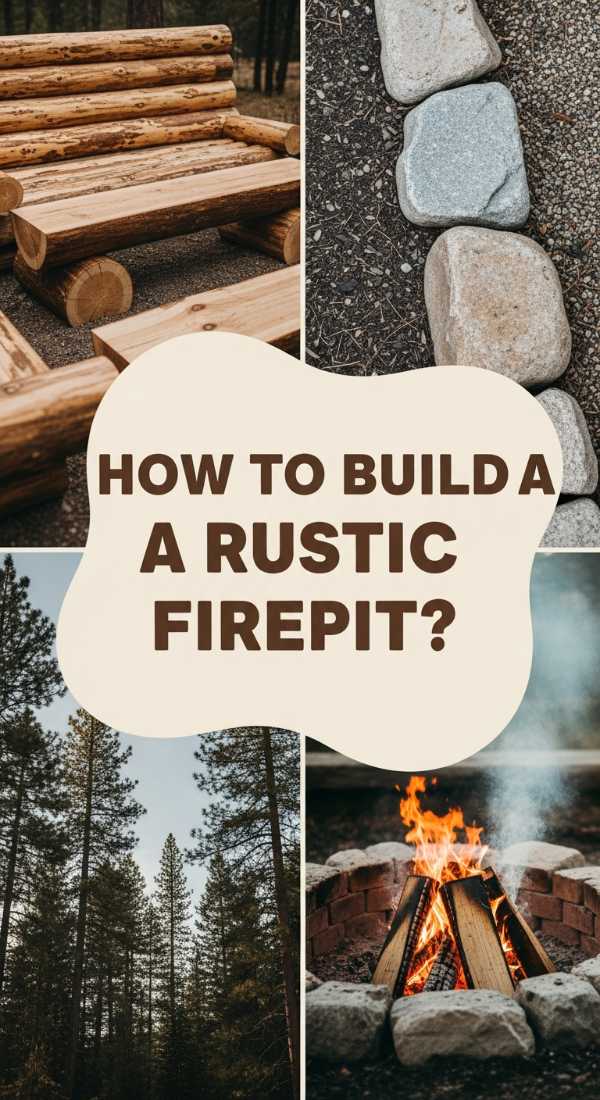
How to Build a Rustic Fire Pit for Authentic Cabin Vibes
Why we love this
There is nothing quite like the rugged, unpretentious charm of a rustic fire pit that feels like it belongs in the middle of a deep forest. We love the smell of cedar boughs, the sight of irregular fieldstones, and the heavy weight of solid log benches. It’s an authentic experience that grounds you in the heritage of the great outdoors, offering a gritty, beautiful texture that only improves as the wood chars and the stones weather over time.
Essential Elements:
- Natural fieldstone or river rock
- Rough-hewn log benches
- Cast iron fire grates
- Cast iron cooking tripod
- Axe for decorative wood stacking
How to make it
- Select Irregular Stones: Avoid store-bought, uniform blocks. Instead, source natural rocks of varying sizes. The ‘imperfection’ of the gaps is what gives the pit its rustic, handmade character.
- Build a ‘Deep’ Pit: Dig the pit slightly deeper than usual (about 12 inches) to mimic a traditional campfire. This helps contain the ash and allows for a larger, more traditional wood fire.
- Use Tree Stumps for Seating: Sand down the tops of large stumps and seal them with a clear coat to prevent rot. These provide sturdy, rustic seating that blends perfectly into a wooded backyard.
- Incorporate a Cooking Element: Add a swing-away iron grate. A rustic fire pit is best enjoyed when you’re slow-cooking something over the embers, like a cast-iron pot of chili or simple sausages.
- Stack Wood Visually: Create a large ‘wood wall’ nearby using split logs. The texture of the stacked bark and the raw wood adds to the cabin aesthetic and provides a functional windbreak.
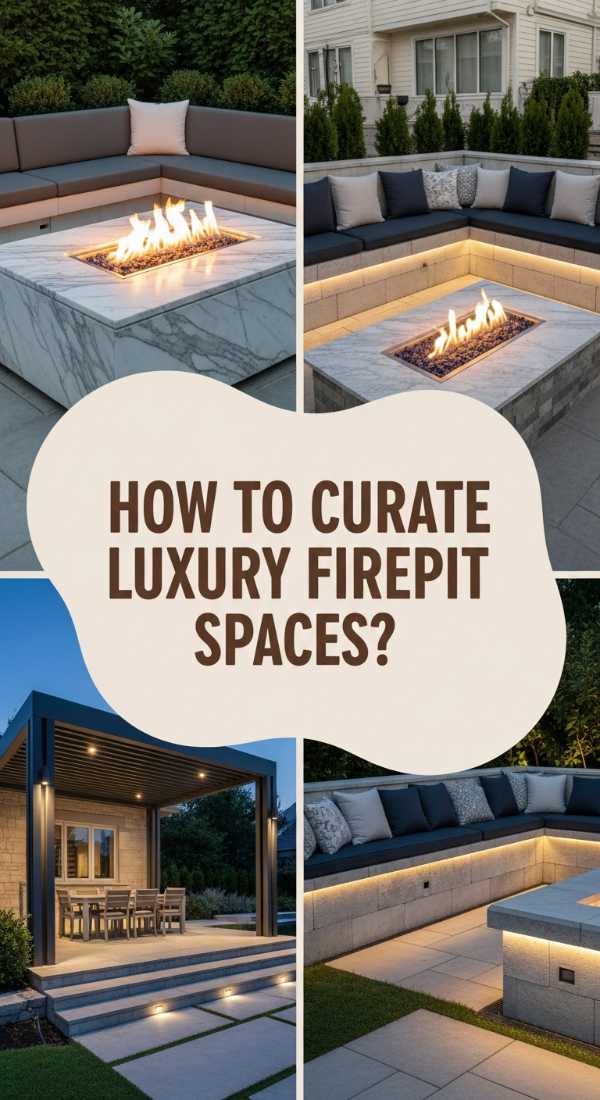
How to Curate a Luxury Fire Pit Area for High End Living
[IMAGE_10]
Why we love this
Luxury is the seamless integration of technology, high-end materials, and effortless comfort, creating a resort-style experience in your own backyard. We love this because it offers total control—with the push of a button, you have a perfect flame, the right temperature, and flawless lighting. It’s the feeling of cool marble under your hand, the whisper-quiet operation of a professional gas burner, and the knowledge that every element has been curated for maximum aesthetic impact and longevity.
Essential Elements:
- Electronic ignition gas fire feature
- Premium stone cladding (Granite or Marble)
- Integrated smart-home lighting
- High-end weather-resistant textiles (Sunbrella)
- Built-in sound system
How to make it
- Select a Statement Feature: Invest in a custom-built fire table made from a single slab of stone or a high-end designer fire bowl. In luxury design, the fire pit is a piece of sculpture.
- Automate the Experience: Use an electronic ignition system that connects to your smartphone. This allows you to pre-heat the area before you even step outside.
- Use Premium Fabric: Don’t settle for standard outdoor cushions. Use high-GSM fabrics and quick-dry foam inserts that feel like indoor furniture but can withstand the elements.
- Incorporate a ‘Wet Bar’: A luxury fire pit area should have easy access to refreshments. Install a small, matching outdoor refrigerator or a built-in ice chest nearby to keep drinks perfectly chilled.
- Focus on Detail: Use matching metal finishes for everything—from the fire ring to the furniture legs to the light fixtures. Consistency is the hallmark of high-end design.
Creating Your Minimalist Sanctuary
Building a backyard fire pit haven isn’t just about landscaping; it’s about life-scaping. Whether you choose the rugged charm of a rustic pit or the sleek lines of a modern gas table, the goal is the same: to create a space that draws people in and allows them to breathe. By focusing on quality over quantity and intention over impulsiveness, you can turn a simple patch of grass into a transformative retreat that brings warmth to your soul and beauty to your home for years to come.
Frequently Asked Questions
Is a wood-burning fire pit better than gas?
It depends on your priority. Wood provides the classic sensory experience (scent, sound, high heat), while gas offers convenience, cleanliness, and the ability to turn it off instantly.
How far should a fire pit be from a house?
For safety, keep your fire pit at least 10 to 20 feet away from any structures, overhanging trees, or flammable surfaces. Check your local fire codes as they vary by city.
What is the best base for a fire pit?
A non-combustible base like gravel, sand, or pavers is essential. Never place a fire pit directly on a wood deck or grass without a heat shield or a proper stone foundation.
How do I stop my fire pit from smoking too much?
Always use dry, seasoned hardwood. Softwoods like pine contain resin that causes popping and excessive smoke. Ensuring good airflow by not overcrowding the logs also helps.