
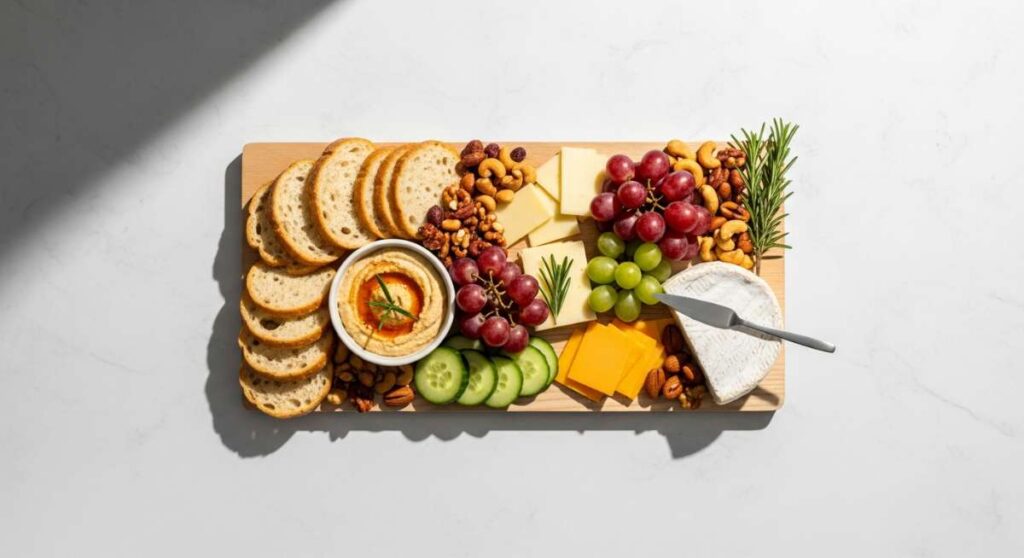
Why Simple Food Boards are Taking Over Social Media
There is something undeniably magical about a shared meal, but the latest trend taking over our feeds isn’t about stiff white tablecloths or five-course menus. It’s about the ‘Simple Food Board’—a way of eating that feels like a warm hug from a dear friend. I remember the first time I set down a massive wooden board covered in nothing but perfectly charred corn and a sprinkle of sea salt; the room instantly transformed. The pressure to be perfect vanished, replaced by the sound of laughter and the reaching of hands.
We are collectively moving away from the curated, ‘look but don’t touch’ aesthetic and leaning into the messy, beautiful reality of shared grazing. These boards celebrate the ingredients themselves, allowing the natural colors of a sun-ripened peach or the golden crust of a salmon cake to do the talking. It’s a return to slow living, even if we only have thirty minutes to spare on a Tuesday night.
In this post, I want to share with you my favorite ways to build these viral boards. Whether you’re hosting a backyard bash or just want to make a weeknight feel a little more special, these ten components will elevate your grazing game. Let’s dive into the sensory details and the techniques that make these simple dishes shine.
How to roast summer vegetables
Why we love this
There is nothing quite like the aroma of summer vegetables caramelizing in a hot oven, filling the kitchen with an earthy, sweet scent that signals a wholesome meal. As the heat works its magic, the natural sugars in zucchini, bell peppers, and cherry tomatoes intensify, creating a complex flavor profile that is both savory and slightly jammy. Each bite offers a delightful contrast between the tender, melt-in-your-mouth interiors and the slightly charred, crispy edges that provide a satisfying crunch. It is a celebration of the season’s harvest, served warm and glistening with high-quality olive oil and a sprinkle of flaky sea salt.
Ingredients
- 2 medium zucchinis, sliced into rounds
- 1 red bell pepper, cut into chunks
- 1 yellow bell pepper, cut into chunks
- 1 pint cherry tomatoes
- 1 red onion, wedged
- 3 tablespoons extra virgin olive oil
- 2 cloves garlic, minced
- 1 teaspoon dried oregano
- Salt and black pepper to taste
- Fresh basil for garnish
How to make it
- Preheat your oven to 425°F (220°C). This high temperature is crucial for achieving that beautiful caramelization without turning the vegetables into mush.
- Prepare your baking sheet by lining it with parchment paper to prevent sticking and ensure an even roast.
- In a large mixing bowl, toss all the chopped vegetables with the olive oil, minced garlic, oregano, salt, and pepper. Use your hands to ensure every single piece is thoroughly coated; this oil barrier is what creates the golden texture.
- Spread the vegetables across the baking sheet in a single layer. Do not overcrowd the pan; if the vegetables are touching too much, they will steam rather than roast, and you will lose that signature char.
- Place the tray in the center rack of the oven and roast for 20-25 minutes. At the halfway mark, use a spatula to toss the vegetables gently so they brown evenly on all sides.
- You’ll know they are ready when the peppers have slight char marks and the cherry tomatoes have begun to burst their skins, releasing their sweet juices.
- Remove from the oven and let them rest for 2 minutes before transferring to your food board. Garnish with fresh torn basil leaves.
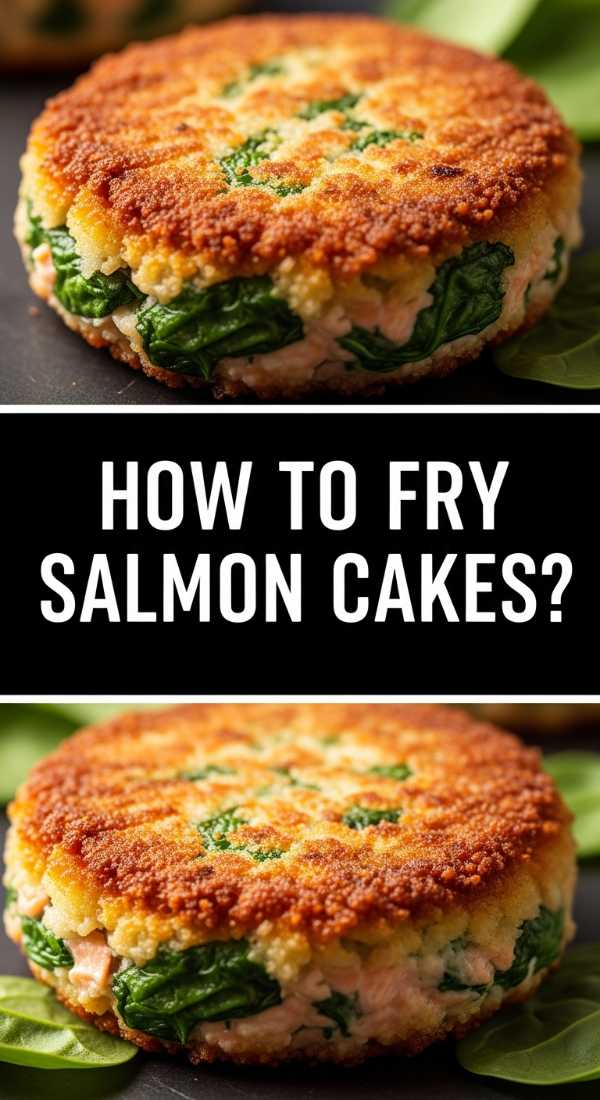
How to fry salmon cakes
Why we love this
Salmon cakes are the ultimate comfort food for a sophisticated food board, offering a brilliant texture that is crispy on the outside and incredibly flaky on the inside. The sound of the cakes hitting the hot oil creates an instant sense of anticipation, while the smell of searing seafood and fresh herbs creates an irresistible kitchen atmosphere. When you bite into one, the richness of the salmon is balanced by the brightness of lemon zest and the kick of fresh parsley, making it a savory delight that pairs perfectly with a creamy dipping sauce. It’s a rustic yet refined addition that feels much more expensive than it actually is to prepare.
Ingredients
- 1 pound fresh salmon fillet, cooked and flaked
- 1/2 cup panko breadcrumbs
- 1/4 cup mayonnaise
- 1 large egg, lightly beaten
- 1 tablespoon Dijon mustard
- 1 tablespoon fresh parsley, chopped
- 1 teaspoon lemon zest
- 1/2 teaspoon garlic powder
- 2 tablespoons avocado oil or vegetable oil for frying
How to make it
- Start by ensuring your cooked salmon is completely cooled. Flake it into small, uniform pieces using a fork, being careful to remove any stray bones or skin.
- In a medium mixing bowl, whisk together the mayonnaise, egg, Dijon mustard, lemon zest, parsley, and garlic powder until smooth.
- Gently fold in the flaked salmon and the panko breadcrumbs. The goal is to bind the mixture without overworking the fish, which can lead to a dense, rubbery texture.
- Form the mixture into small patties, about 2 inches in diameter and half an inch thick. Press them firmly so they hold their shape, then place them on a plate and chill in the refrigerator for at least 15 minutes to help them set.
- Heat the oil in a large non-stick skillet over medium-high heat. You can test the heat by dropping a single breadcrumb into the oil; if it sizzles immediately, you’re ready to go.
- Carefully place the patties in the skillet, leaving space between each one. Sear for 3-4 minutes on the first side until a deep, golden-brown crust forms.
- Flip the cakes gently with a thin spatula and cook for another 3 minutes. The cakes should feel firm to the touch and be heated through to the center.
- Drain on a paper towel for 30 seconds before serving to keep the bottoms from getting soggy.
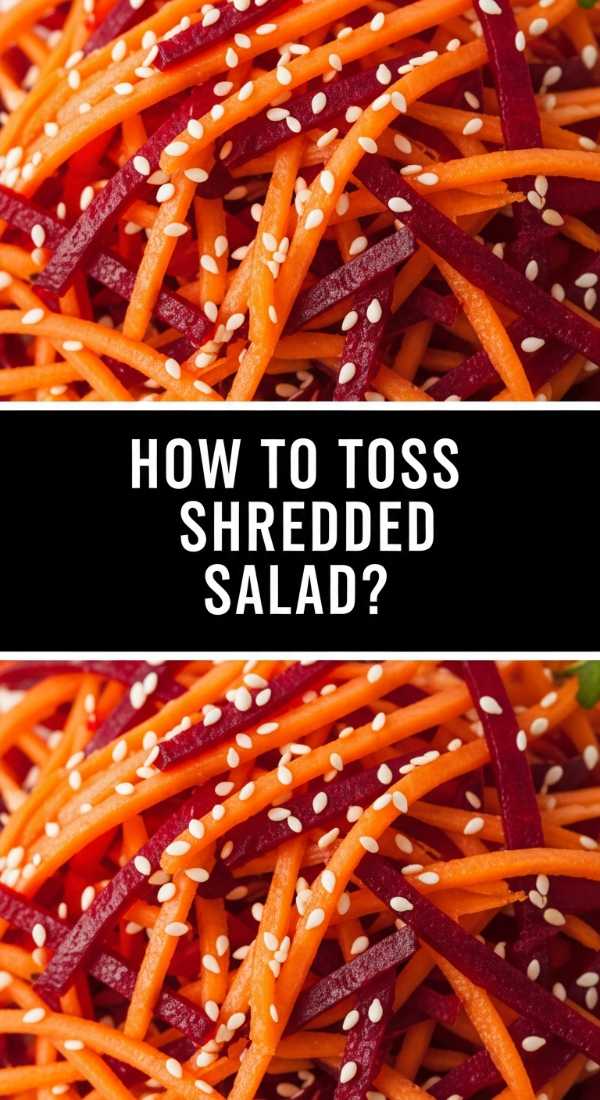
How to toss shredded salad

Why we love this
A shredded salad is a game-changer for food boards because it provides a uniform, crunchy base that holds up beautifully even after being dressed. There is something deeply satisfying about the way a finely julienned cabbage or kale leaf catches the dressing in every tiny crevice, ensuring that no bite is dry or bland. The vibrant greens and purples add a pop of color that makes the board look alive, while the refreshing, crisp texture acts as a palate cleanser between richer items like cheeses or fried proteins. It is the kind of salad that makes you feel energized and nourished, with a bright acidity that wakes up the senses.
Ingredients
- 4 cups finely shredded green or purple cabbage
- 2 cups shredded kale (ribs removed)
- 1 large carrot, grated
- 1/2 cup thinly sliced radishes
- 1/4 cup toasted pumpkin seeds or sunflower seeds
- Dressing: 3 tbsp olive oil, 2 tbsp apple cider vinegar, 1 tsp honey, salt and pepper.
How to make it
- Preparation is key: use a sharp chef’s knife or a mandoline to shred the cabbage as thinly as possible. The finer the shred, the more luxurious the mouthfeel of the salad.
- For the kale, remove the tough center ribs and stack the leaves. Roll them tightly like a cigar and slice into very thin ribbons (a technique called chiffonade).
- Place the shredded kale in a large bowl and pour a teaspoon of olive oil over it. Use your hands to “massage” the kale for about 2 minutes. This breaks down the fibrous structure, making it tender and sweet rather than tough and bitter.
- Add the shredded cabbage, grated carrots, and radishes to the bowl with the kale.
- In a small jar, shake together the dressing ingredients until emulsified. Taste and adjust the honey or vinegar to your preference for a perfect balance of sweet and tangy.
- Drizzle the dressing over the vegetables and toss thoroughly using two large spoons or your hands. Ensure every strand is coated.
- Let the salad sit for 10 minutes before serving. This allows the acids in the dressing to slightly soften the vegetables, making the salad easier to eat while retaining its crunch. Top with seeds just before placing on the board.
How to bake berry flatbreads
Why we love this
Berry flatbreads are the surprising star of a modern food board, blurring the line between sweet and savory in the most intoxicating way. As the flatbread bakes, the berries burst and release their vibrant juices, staining the dough with purples and reds while creating a naturally sweet jam. The addition of creamy goat cheese or salty ricotta provides a velvety contrast to the crisp, charred edges of the crust. The scent of warm fruit and toasted dough wafting through the air is enough to bring anyone to the table, and the visual of those bubbling, jewel-toned berries is absolutely viral-worthy.
Ingredients
- 1 ball of store-bought or homemade pizza dough
- 1 cup mixed berries (blueberries, raspberries, sliced strawberries)
- 4 ounces goat cheese or ricotta
- 1 tablespoon honey
- 1 teaspoon fresh thyme leaves
- 1 tablespoon olive oil
- Optional: balsamic glaze for drizzling
How to make it
- Preheat your oven to 450°F (230°C). If you have a pizza stone, place it in the oven while it heats to ensure a perfectly crispy bottom crust.
- On a lightly floured surface, stretch or roll out your dough into a long, rustic oval shape. It doesn’t need to be perfect—the irregular edges add to the board’s aesthetic charm.
- Brush the surface of the dough lightly with olive oil to promote browning and prevent the berries from making the dough soggy.
- Spread small dollops of goat cheese or ricotta evenly across the dough, leaving a 1-inch border for the crust.
- Scatter the berries generously over the cheese. Press them down slightly into the dough so they stay in place as they bake.
- Slide the flatbread onto the hot pizza stone or a preheated baking sheet. Bake for 12-15 minutes until the crust is golden and blistered, and the berries have softened and begun to bleed their juices.
- Remove from the oven and immediately drizzle with honey and sprinkle with fresh thyme. The warmth will release the herb’s aroma beautifully.
- Let it cool for 5 minutes so the cheese sets slightly, then slice into thin wedges or squares for easy grabbing.
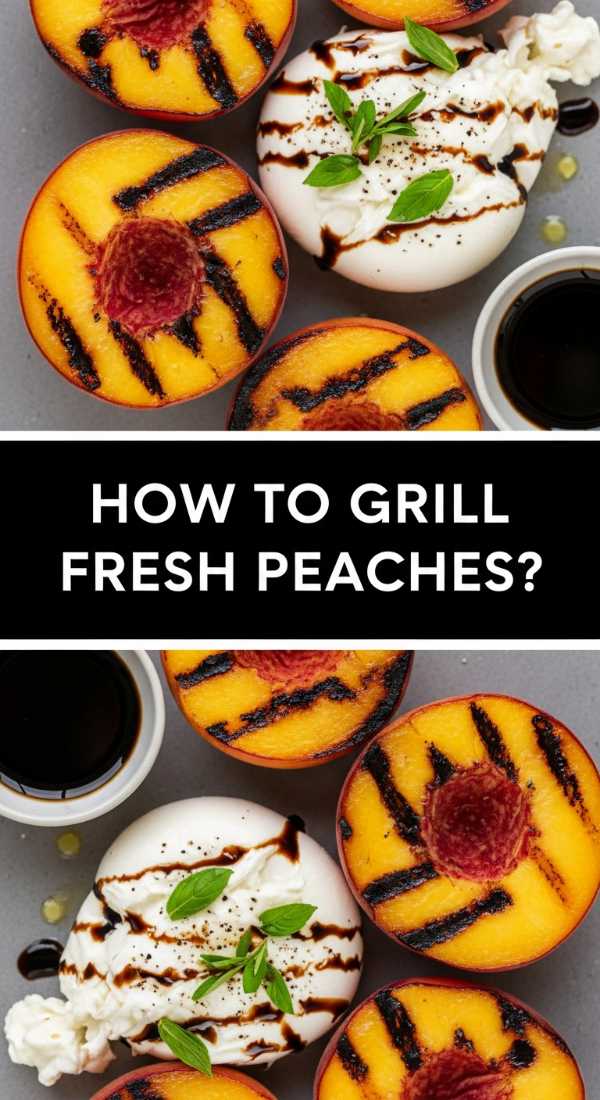
How to grill fresh peaches

Why we love this
Grilling peaches transforms a simple piece of fruit into a smoky, caramelized masterpiece that feels like pure summer. The intense heat of the grill sears the sugars, creating deep brown grill marks and a soft, yielding texture that is almost buttery. There is something primal and lovely about the smell of fruit hitting a hot grate, and the resulting flavor is a sophisticated mix of natural sweetness and subtle char. Served warm, these peaches are incredible when paired with salty prosciutto or a dollop of burrata, making them the ultimate versatile player on your food board.
Ingredients
- 4 ripe but firm peaches, halved and pitted
- 1 tablespoon neutral oil (like grapeseed or canola)
- 1 tablespoon honey or maple syrup
- A pinch of sea salt
- Fresh mint for garnish
How to make it
- Ensure your grill grates are scrubbed clean and lightly oiled to prevent the delicate fruit skins from sticking. Preheat the grill to medium-high heat.
- Slice the peaches in half along the seam and gently twist to separate them. Remove the pit with a spoon or your fingers.
- Brush the cut side of each peach lightly with a neutral oil. Avoid using butter here as it can burn too quickly and create a bitter taste.
- Place the peaches cut-side down directly onto the hot grill grates. Close the lid and let them sear undisturbed for 4-5 minutes. This patience is what creates those iconic, dark grill marks.
- Use a thin metal spatula or tongs to check one peach. Once it releases easily from the grate and shows deep char lines, flip them over.
- Grill on the skin side for another 2-3 minutes until the peach feels slightly soft when pressed.
- Remove the peaches from the grill and place them on a platter. While still hot, drizzle with honey and a tiny pinch of sea salt to enhance the sweetness.
- Garnish with fresh mint and serve warm or at room temperature for the best texture.
How to chill tomato soup

Why we love this
A chilled tomato soup, often known as gazpacho’s sophisticated cousin, is a refreshing revelation on a warm afternoon food board. Unlike its hot counterpart, chilled soup celebrates the bright, acidic punch of raw or lightly blanched tomatoes, offering a clean and vibrant flavor that is incredibly cooling. The texture is silky and smooth, often enhanced by a swirl of high-quality olive oil that adds a luxurious mouthfeel. It is served in small glasses or ramekins, making it a portable, sip-able addition that balances out the heavier, bready elements of a grazing spread with its garden-fresh essence.
Ingredients
- 2 lbs ripe Roma or beefsteak tomatoes
- 1 small cucumber, peeled and diced
- 1 red bell pepper, diced
- 1 clove garlic
- 2 tablespoons sherry vinegar
- 1/4 cup extra virgin olive oil
- Salt and pepper to taste
- Microgreens for garnish
How to make it
- To achieve the smoothest texture, start by blanching the tomatoes. Cut a small ‘X’ on the bottom of each and drop them into boiling water for 30 seconds, then immediately into an ice bath. The skins will slip right off.
- Core the tomatoes and chop them roughly, discarding the excess seeds if you prefer a less watery soup.
- Place the tomatoes, cucumber, bell pepper, and garlic into a high-speed blender.
- Add the sherry vinegar and a generous pinch of salt. Blend on high until the mixture is completely liquefied and velvety.
- With the blender running on low, slowly stream in the olive oil. This emulsifies the soup, giving it a creamy, pale orange hue and a rich consistency.
- Taste the soup and adjust the acidity with more vinegar or salt as needed. Tomatoes vary in sweetness, so this step is vital.
- Pour the soup into a glass container and refrigerate for at least 4 hours, or ideally overnight. Chilling is essential for the flavors to meld and for the soup to reach its refreshing potential.
- Serve in small chilled glasses, topped with a drop of oil and a few microgreens.
How to char corn ribs
Why we love this
Corn ribs have become a viral sensation for a reason: they are fun to eat, visually stunning, and packed with smoky flavor. When corn is quartered vertically and roasted or grilled, the cob curls into a ‘rib’ shape that is perfect for picking up and gnawing on. The kernels become chewy and intensely sweet, while the spices rubbed into the crevices create a savory crust that keeps you coming back for more. It’s a playful, rustic dish that brings a sense of theater to the food board, encouraging guests to get their hands a little messy in the best way possible.
Ingredients
- 3 ears of fresh corn, husked
- 2 tablespoons melted butter or olive oil
- 1 teaspoon smoked paprika
- 1/2 teaspoon garlic powder
- 1/4 teaspoon cayenne pepper (optional)
- Lime wedges and cotija cheese for serving
How to make it
- The most important step is the cut. Stand an ear of corn vertically on a sturdy cutting board. Using a very sharp chef’s knife, slice the corn in half lengthwise through the center of the cob. Then, slice each half again to create quarters (the ribs). Be extremely careful and apply steady, downward pressure.
- In a small bowl, whisk together the melted butter (or oil), smoked paprika, garlic powder, and cayenne.
- Place the corn ribs on a baking sheet and brush them generously on all sides with the spiced butter mixture.
- For the best curl, air fry at 400°F (200°C) for 12-15 minutes or roast in a 425°F (220°C) oven for 20 minutes.
- You are looking for the cob to curve and the kernels to turn golden brown with dark, charred spots. The char is where the deep, smoky flavor lives.
- Flip the ribs halfway through the cooking time to ensure even browning.
- Remove from heat and immediately squeeze fresh lime juice over them. Sprinkle with crumbled cotija cheese and chopped cilantro for a ‘street corn’ inspired finish.
How to make lemon pasta
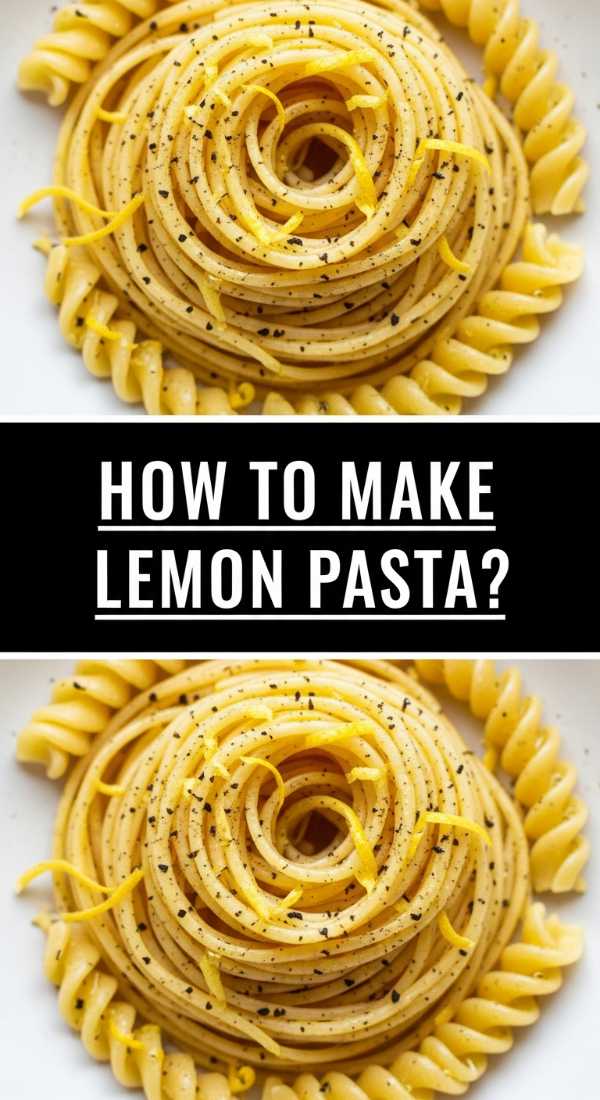
Why we love this
Lemon pasta is the epitome of simple elegance, proving that you only need a few high-quality ingredients to create a dish that feels like a trip to the Amalfi Coast. The bright, zingy scent of fresh lemon zest hits you instantly, followed by the comforting aroma of melting butter and toasted peppercorns. Each strand of pasta is coated in a silky, emulsified sauce that is light enough for a summer afternoon but satisfying enough to be the heart of a board. It’s a clean, vibrant dish that sparkles under the light and offers a refreshing zestiness that cleanses the palate.
Ingredients
- 8 ounces long pasta (linguine or spaghetti)
- 1/4 cup unsalted butter
- 2 tablespoons extra virgin olive oil
- Zest and juice of 2 large organic lemons
- 1/2 cup freshly grated Parmesan cheese
- 1/2 cup pasta water (reserved)
- Fresh cracked black pepper and sea salt
How to make it
- Bring a large pot of heavily salted water to a boil. Cook the pasta until it is just shy of al dente (about 1-2 minutes less than the package directions). The pasta will finish cooking in the sauce.
- Before draining, scoop out at least one cup of the starchy pasta water. This is the secret ingredient for a silky sauce.
- In a large skillet over medium heat, melt the butter with the olive oil. Add the lemon zest and a generous amount of cracked black pepper. Let it sizzle for 1 minute to infuse the fats with the aromatics.
- Add the lemon juice and 1/4 cup of the reserved pasta water to the skillet, whisking to combine.
- Transfer the cooked pasta directly into the skillet. Toss vigorously using tongs.
- Add the Parmesan cheese and another splash of pasta water. Continue to toss and stir over low heat for 2 minutes. The starch in the water and the fat in the cheese will emulsify into a glossy, creamy sauce that clings to the noodles.
- If the pasta looks dry, add more pasta water a tablespoon at a time until it reaches a silky consistency.
- Garnish with extra zest and serve in small, twirled nests on your food board.
How to assemble fruit skewers
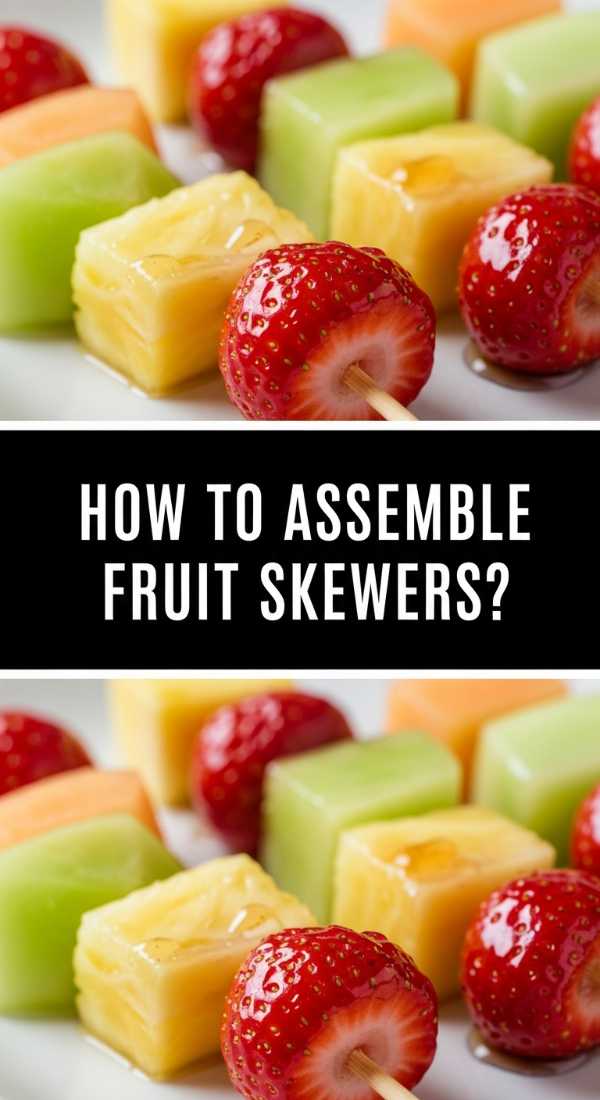
Why we love this
Fruit skewers are the colorful jewelry of a food board, providing a vibrant, structural element that is as beautiful as it is delicious. There is a simple joy in seeing the rainbow of colors—deep red strawberries, bright orange cantaloupe, and translucent green grapes—all lined up in perfect harmony. Each bite is a burst of refreshing juice, providing a natural sweetness that complements the savory cheeses and salty meats on the board. They are the perfect ‘grab-and-go’ item, requiring no utensils and offering a clean, mess-free way to enjoy nature’s candy during a lively gathering.
Ingredients
- 1 cup strawberries, hulled
- 1 cup pineapple chunks
- 1 cup melon balls (cantaloupe or honeydew)
- 1 cup green or red grapes
- 1/2 cup blueberries
- Wooden or bamboo skewers
- Optional: Fresh mint leaves or a honey-lime drizzle
How to make it
- Select fruit that is ripe but still firm. Overripe fruit will slip off the skewers or become mushy during assembly.
- Wash all fruit thoroughly and pat dry. Any excess water will make the skewers slippery and dilute the flavor.
- Cut larger fruits like pineapple and melon into uniform, bite-sized pieces. Consistency in size makes the skewers look professional and ensures they balance well on the board.
- Thread the fruit onto the skewers in a repeating color pattern. For example: strawberry, orange, pineapple, grape, and blueberry. This creates a striking ‘rainbow’ effect that is highly photogenic.
- If using mint, thread a small leaf between the fruit pieces for an extra pop of green and a refreshing aroma.
- Once assembled, place the skewers on a tray and cover with a damp paper towel. Refrigerate until the very moment you are ready to assemble the board to keep the fruit crisp and cold.
- Just before serving, you can lightly drizzle the skewers with a mixture of honey and lime juice to give them a beautiful, glistening sheen.
How to sear zucchini slices
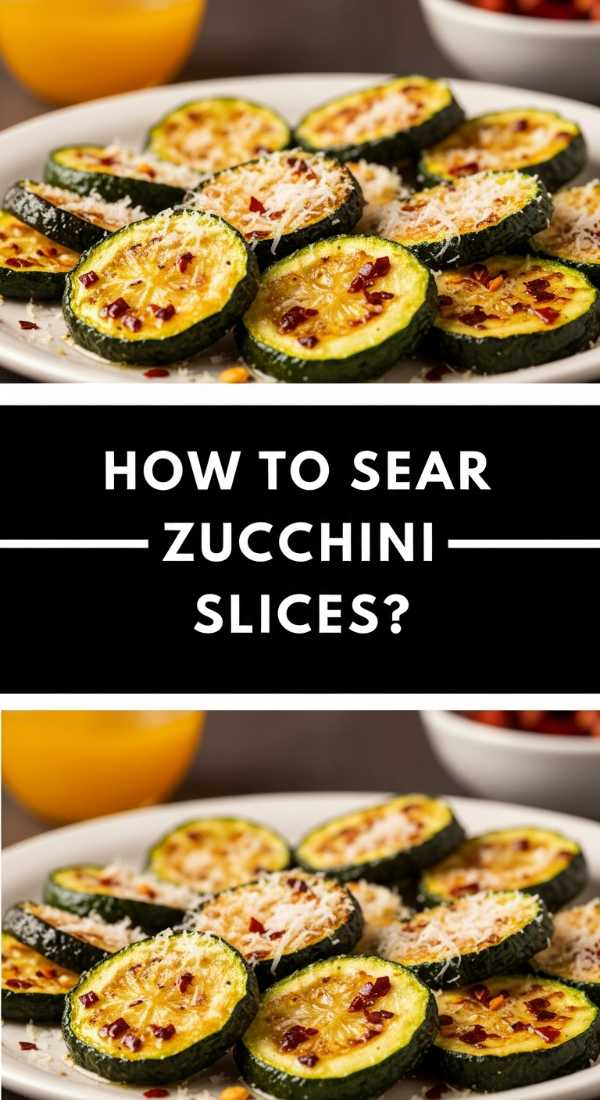
[IMAGE_10]
Why we love this
Searing zucchini is a masterclass in how heat can transform a humble vegetable into something truly decadent. When sliced thin and hit with high heat, the zucchini develops a deep, savory crust through the Maillard reaction, while the center remains tender and succulent. The smell of the squash caramelizing in olive oil is nutty and sweet, and the finished slices have a delicate, melt-in-your-mouth quality that is far superior to steamed versions. These golden rounds are perfect for layering or stacking, providing a warm, savory element that pairs beautifully with creamy dips or crusty bread.
Ingredients
- 2 medium zucchinis
- 2 tablespoons olive oil
- 1 teaspoon garlic powder
- 1/2 teaspoon dried thyme
- Salt and black pepper to taste
- Lemon wedges for finishing
How to make it
- Slice the zucchini into rounds that are exactly 1/4 inch thick. If they are too thin, they will disintegrate; if too thick, they won’t get that golden crust before the center turns mushy.
- Place the rounds on a paper towel and sprinkle lightly with salt. Let them sit for 10 minutes to draw out excess moisture, then pat them dry. This is the most critical step for achieving a hard sear rather than a steam.
- In a large heavy-bottomed skillet (cast iron is best), heat the olive oil over medium-high heat until it begins to shimmer.
- Place the zucchini slices in the pan in a single layer. Do not crowd them; work in batches if necessary.
- Sear undisturbed for 3 minutes. Resist the urge to move them; you need that sustained contact with the pan to build a crust.
- Flip the slices using a fork or small spatula. The underside should be a rich, golden brown. Sear the second side for another 2 minutes.
- Season with garlic powder, thyme, and pepper while still in the hot pan.
- Remove to a plate and immediately finish with a squeeze of fresh lemon juice to brighten the flavors. Serve while warm for the best texture.
The Art of the Simple Board
As we’ve explored these ten viral-worthy dishes, I hope you see that the beauty of a simple food board lies in the intention behind it. It’s about taking the time to roast a vegetable until it’s just right, or to chill a soup until it’s perfectly refreshing. These boards work because they are approachable and inclusive. They invite people to linger, to try a bit of everything, and to engage with their food in a sensory way. So, next time you’re feeling the urge to host, skip the complicated recipes and the formal seating. Grab a big wooden board, pick three or four of these techniques, and let the ingredients tell the story.
Frequently Asked Questions
What kind of board is best for food?
For most food boards, a large, food-safe wooden board is ideal. Wood is durable, naturally antimicrobial, and provides a warm, rustic aesthetic. If you are serving chilled items like the tomato soup or fruit skewers, a marble or slate board can help keep the food cool for longer periods.
How do I keep the food from getting soggy on the board?
The key is to use small ramekins or bowls for any items with high moisture content, such as the shredded salad or chilled soup. For cooked items like the seared zucchini or salmon cakes, let them rest on a paper towel for a minute before placing them on the board to ensure any excess oil or moisture is absorbed.
Can I make these components ahead of time?
Many of these items are perfect for prep! The chilled tomato soup actually tastes better the next day. The shredded salad and fruit skewers can be prepped a few hours in advance and kept in the fridge. However, items like the roasted vegetables, pasta, and salmon cakes are best served warm or shortly after cooking to maintain their ideal texture.