
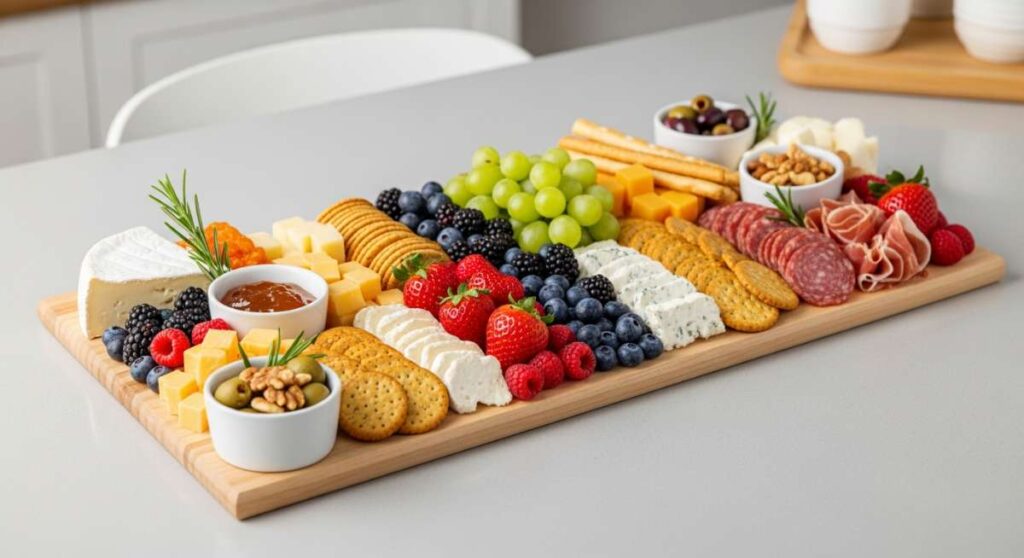
There is something inherently magical about the moment your guests walk into the kitchen and see a sprawling, colorful food board waiting for them. It’s not just about the food; it’s about that collective exhale of relief and excitement. I remember the first time I hosted a big dinner party—I was a nervous wreck, sweating over a hot stove while my friends laughed in the other room. That night, I realized that the best memories aren’t made in the kitchen alone, but around a table where everyone can reach in, grab a bite, and share a story.
The secret to a viral-worthy party isn’t a five-course meal that keeps you trapped in the kitchen. It’s the art of the ‘Simple Food Board.’ By mastering a few versatile techniques, you can transform ordinary ingredients into a visual and culinary masterpiece that caters to every craving, from crispy midnight snacks to elegant brunch spreads. This guide is my love letter to stress-free hosting, designed to help you lower your hosting anxiety and elevate your party game to influencer status.
How to make crispy appetizers?
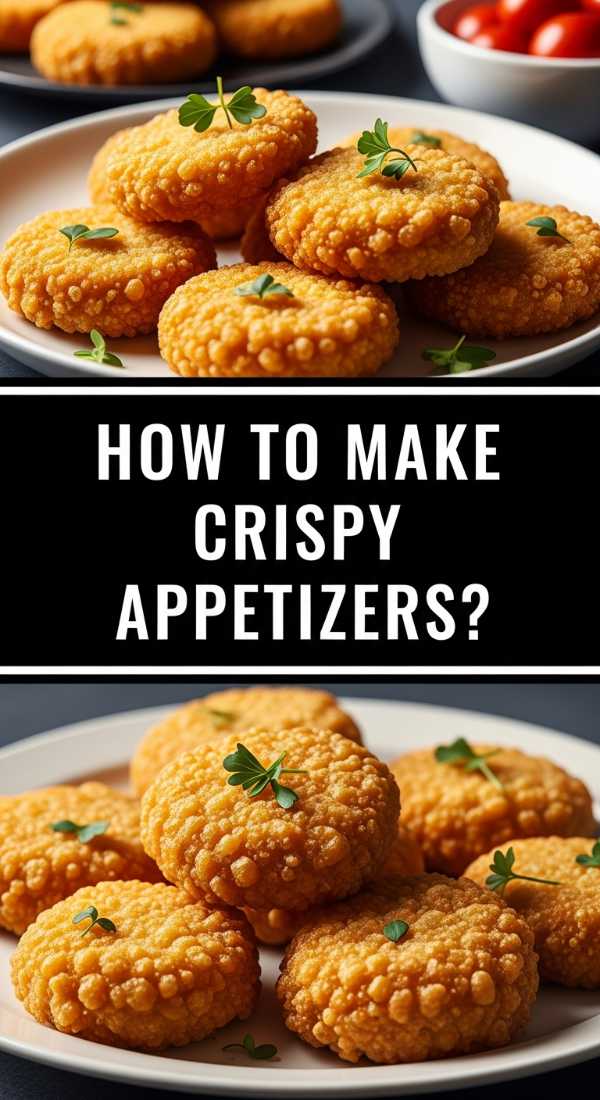
Why we love this
There is nothing quite like the audible crunch of a perfectly air-fried ravioli or a panko-crusted zucchini fry to kick off a party. The contrast between the shattered-glass texture of the golden exterior and the molten, savory center creates a sensory explosion that keeps guests hovering by the snack table. The aroma of toasted breadcrumbs and parmesan wafting through the air signals that the fun has officially begun, offering a comforting warmth that only fried-style comfort food can provide.
Ingredients
- 1 package refrigerated cheese ravioli
- 1 cup Panko breadcrumbs
- 1/2 cup grated Parmesan cheese
- 2 beaten eggs
- 1 teaspoon dried oregano and garlic powder
- Marinara sauce for dipping
How to make it
- Begin by setting up a dredging station: place the beaten eggs in one shallow bowl and combine the Panko, Parmesan, and spices in another.
- Dip each ravioli into the egg wash, ensuring it is fully coated, then press it firmly into the breadcrumb mixture until every crevice is covered; the pressure helps the crumbs adhere for maximum crunch.
- Preheat your air fryer to 400°F (200°C) for at least 3 minutes to ensure a high-heat environment that prevents the pasta from getting soggy.
- Arrange the ravioli in a single layer, ensuring they do not touch to allow hot air to circulate freely around each piece.
- Cook for 3-4 minutes per side, flipping halfway through when the edges turn a deep mahogany brown and the centers puff up slightly.
- Serve immediately while the cheese is still stretchy, accompanied by a bowl of warm, chunky marinara.
How to cook better bbq?
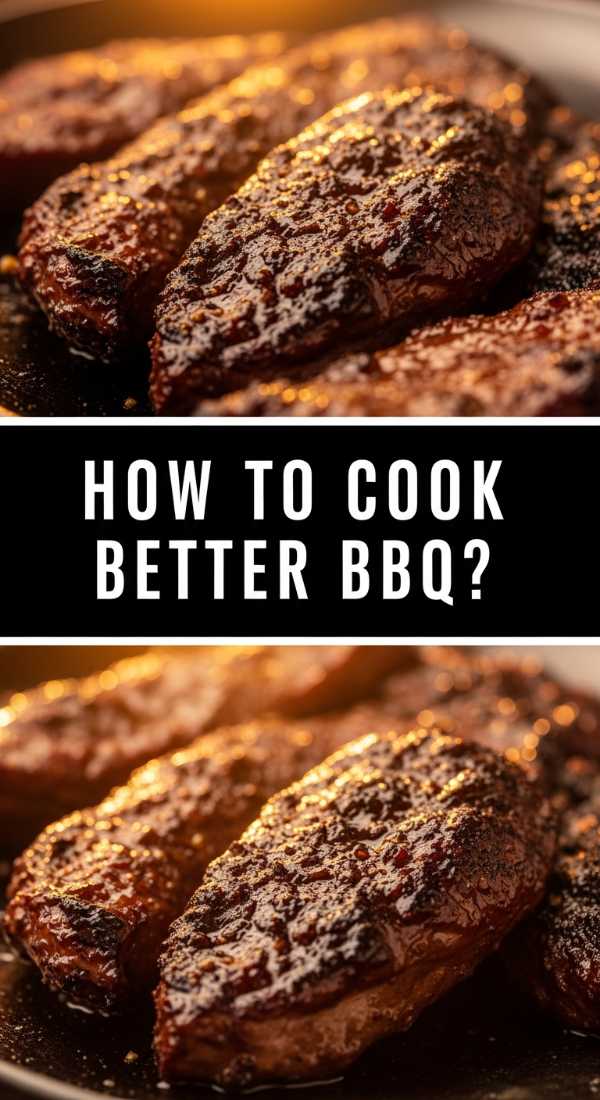
Why we love this
True BBQ is a labor of love that rewards you with meat so tender it practically melts off the bone the moment it touches your tongue. The smell of hickory smoke mingling with a sweet, sticky glaze creates a nostalgic atmosphere of summer nights and backyard laughter. Each bite offers a complex balance of charred, caramelized sugars and deep, earthy spices, leaving a lingering, smoky richness that defines the ultimate communal dining experience.
Ingredients
- 2 lbs chicken wings or pork ribs
- Dry rub: brown sugar, smoked paprika, onion powder, salt
- 1 cup high-quality BBQ sauce
- Apple cider vinegar for spritzing
How to make it
- Generously coat your protein in the dry rub at least 2 hours before cooking, pressing the spices into the meat to form a ‘bark’ that will lock in moisture.
- Set your grill or smoker to a steady ‘low and slow’ temperature of 225°F (107°C); consistency is the key to breaking down tough connective tissues without drying out the meat.
- Place the meat on the indirect heat side of the grill, away from the flames, and close the lid to create a convection oven effect.
- Every 45 minutes, lightly spritz the meat with apple cider vinegar using a spray bottle; this adds acidity and moisture while helping the smoke stick to the surface.
- During the final 20 minutes of cooking, brush on the BBQ sauce in thin layers, allowing each layer to ‘tack up’ and caramelize into a shiny, dark glaze under the heat.
- Test for doneness: for ribs, they should bend easily without breaking; for wings, the skin should be taut and the internal temperature 165°F.
How to serve better brunch?

Why we love this
Brunch is the ultimate canvas for a food board, blending the saltiness of cured meats with the bright, acidic burst of fresh fruit. A well-curated smoked salmon board feels incredibly luxurious yet remains effortless to assemble, offering a palette of textures from the velvety fish to the snap of pickled red onions. The sight of vibrant greens, creamy cheeses, and golden toasted bagels laid out artfully creates an inviting morning ritual that encourages guests to linger over their coffee.
Ingredients
- 8 oz smoked salmon (Lox)
- Whipped cream cheese with chives
- Capers, thinly sliced red onions, and fresh dill
- Sliced cucumbers and heirloom tomatoes
- Toasted mini bagels or sourdough points
How to make it
- Start by choosing a large wooden or marble slab; place your bowls of cream cheese and capers first to act as anchors for the layout.
- Ribbon the smoked salmon by folding the slices loosely and tucking them around the bowls to create height and visual movement on the board.
- Fan out the sliced cucumbers and tomatoes in overlapping rows to provide a fresh, crisp contrast to the richness of the fish.
- Tuck small sprigs of fresh dill and clusters of red onions into the gaps, ensuring the colors are distributed evenly for a professional, ‘overstuffed’ look.
- Toast the bread elements just before serving so they are warm; wrap them in a cloth napkin briefly to retain heat without becoming chewy.
- Finish with a light sprinkle of flaky sea salt and cracked black pepper over the tomatoes to enhance their natural sweetness.
How to lower cortisol levels?

Why we love this
Food can be a powerful tool for grounding the nervous system, and a ‘Zen Board’ filled with magnesium-rich snacks is a beautiful way to care for your guests’ well-being. The deep, bitter notes of dark chocolate paired with the earthy crunch of raw walnuts create a sophisticated flavor profile that feels indulgent rather than heavy. This approach to snacking focuses on steady energy and calming textures, providing a sanctuary of flavor that helps melt away the day’s stress with every mindful bite.
Ingredients
- 70% or higher dark chocolate squares
- Raw walnuts and pumpkin seeds (pepitas)
- Fresh blueberries and blackberries
- Dried apricots (no sugar added)
- Chamomile or Lavender tea sachets on the side
How to make it
- Select a smaller, more intimate board to encourage a slow, grazing pace; avoid overcrowding to maintain a sense of visual calm.
- Group the dark chocolate in the center, as it contains flavonoids that help reduce stress hormones; ensure pieces are bite-sized for easy portioning.
- Surround the chocolate with walnuts and pumpkin seeds, which are high in magnesium, a mineral known for muscle relaxation and anxiety reduction.
- Add the berries in small clusters; their antioxidants combat oxidative stress, and their bright color adds a natural ‘happy’ aesthetic to the plate.
- Incorporate the dried apricots for a chewy texture that provides a slow release of natural sugars, preventing the cortisol-spiking ‘sugar crash’ of processed sweets.
- Serve with a carafe of hot water and floral tea to engage the sense of smell, which further signals the brain to enter a state of relaxation.
How to pack picnic foods?
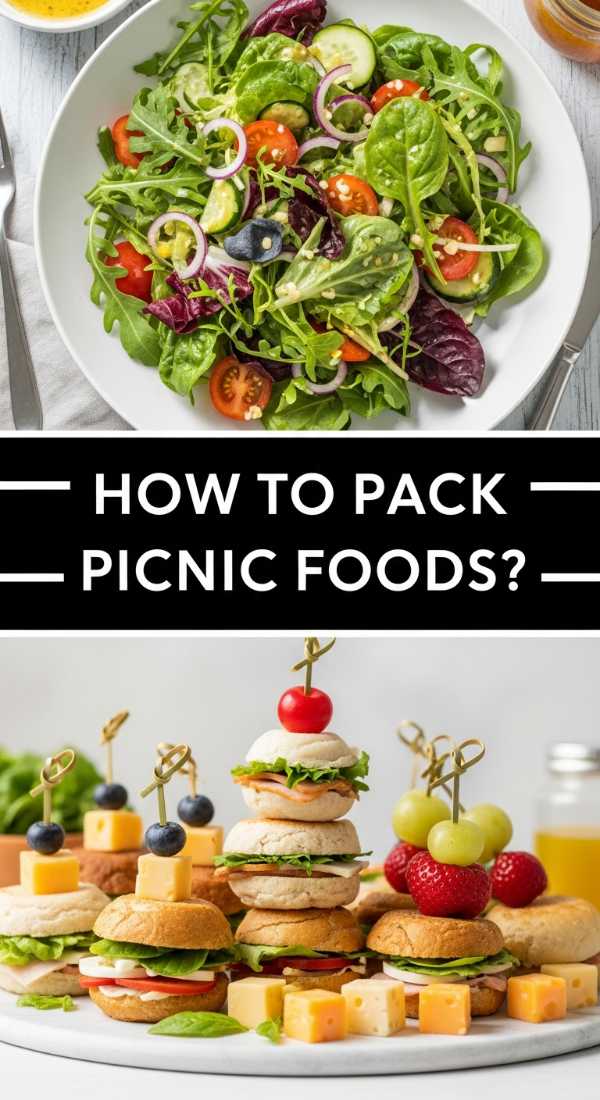
Why we love this
Picnics are all about the romance of the outdoors, and the perfect picnic board is one that travels beautifully without losing its charm. We love the clever use of jars and skewers to keep ingredients pristine, preventing that dreaded ‘soggy sandwich’ syndrome while you’re lounging on a blanket. There is a specific joy in unrolling a picnic spread to find vibrant, bite-sized antipasto skewers that taste as fresh as the breeze, offering a mix of salty, tangy, and herbal notes that feel perfectly suited for sunshine.
Ingredients
- Cured salami and prosciutto
- Mozzarella pearls (bocconcini)
- Pitted green and Kalamata olives
- Artichoke hearts (marinated and drained)
- Wooden skewers and airtight glass jars
How to make it
- Drain all marinated items, like artichokes and olives, thoroughly on paper towels; excess oil or vinegar will leak and soften the other ingredients during transport.
- Thread a mozzarella pearl, a folded slice of salami, an olive, and an artichoke heart onto each skewer, leaving enough room at the bottom for guests to hold them.
- Pack the skewers vertically into a tall glass jar; this prevents them from being crushed and makes for a stunning ‘bouquet’ presentation when you open the cooler.
- For a side dip, use a small mason jar to layer hummus or pesto at the bottom, topped with vertical carrot and cucumber sticks to keep them crisp and upright.
- Place the jars in an insulated bag with flat ice packs at the bottom; avoid loose ice which can melt and seep into your containers.
- When you arrive at your destination, simply set the jars on a flat board or the picnic blanket for an instant, mess-free feast.
How to feed party guests?
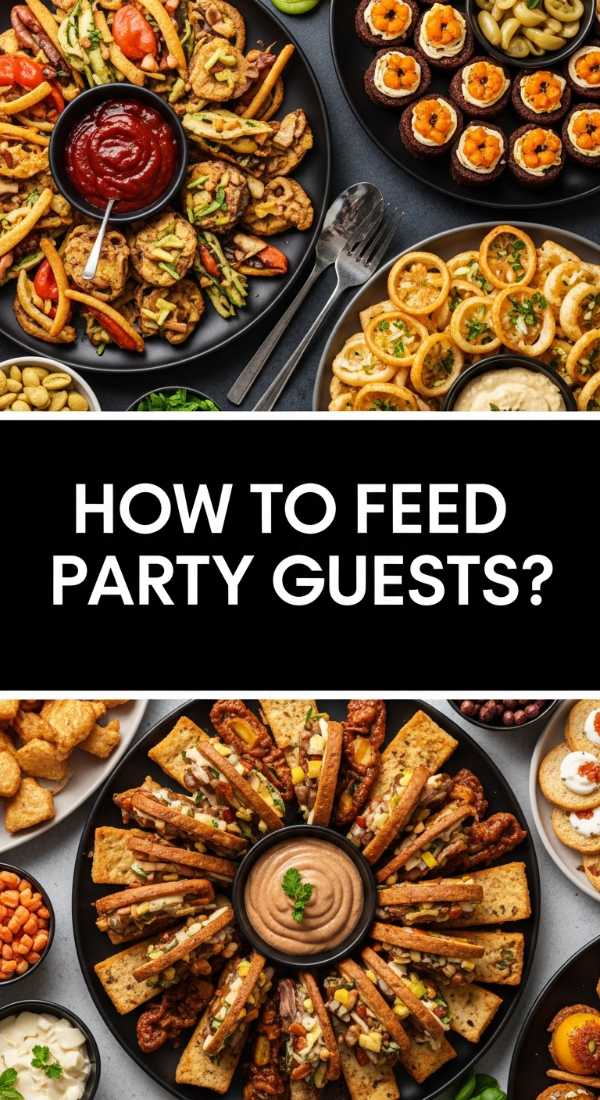
Why we love this
Feeding a crowd is an art form that centers on the ‘big reveal’—a board so bountiful it feels like a celebration in itself. The whipped feta dip is the star here, offering a cloud-like, creamy base that carries the punchy flavors of honey and crushed red pepper. It’s a social centerpiece that encourages dipping, scooping, and conversation, providing a satisfying richness that fills guests up without the formality of a seated dinner. The visual of golden honey drizzling over snowy-white cheese is a guaranteed showstopper.
Ingredients
- 8 oz block of high-quality Feta cheese
- 1/2 cup Greek yogurt
- 1 clove minced garlic and juice of half a lemon
- Honey and red pepper flakes for drizzling
- Warm pita bread and sliced bell peppers
How to make it
- Crumble the feta into a food processor and add the Greek yogurt, garlic, and lemon juice; process on high for at least 2-3 minutes until the graininess disappears and it becomes aerated and light.
- Taste the mixture; depending on the saltiness of your feta, you may need a tiny splash of olive oil to achieve a glossy, spreadable sheen.
- Spread the whipped feta onto a large wooden board using the back of a spoon to create deep swoops and ‘wells’ that will catch the toppings.
- Drizzle a generous amount of honey into the wells and sprinkle with red pepper flakes and dried oregano for a sweet-and-spicy kick.
- Surround the dip with piles of warm pita bread (cut into triangles) and a rainbow of sliced vegetables to ensure there is something for every dietary preference.
- Replenish the pita frequently; keeping the bread warm is the secret to making this simple dip feel like a gourmet catering experience.
How to prep camping foods?
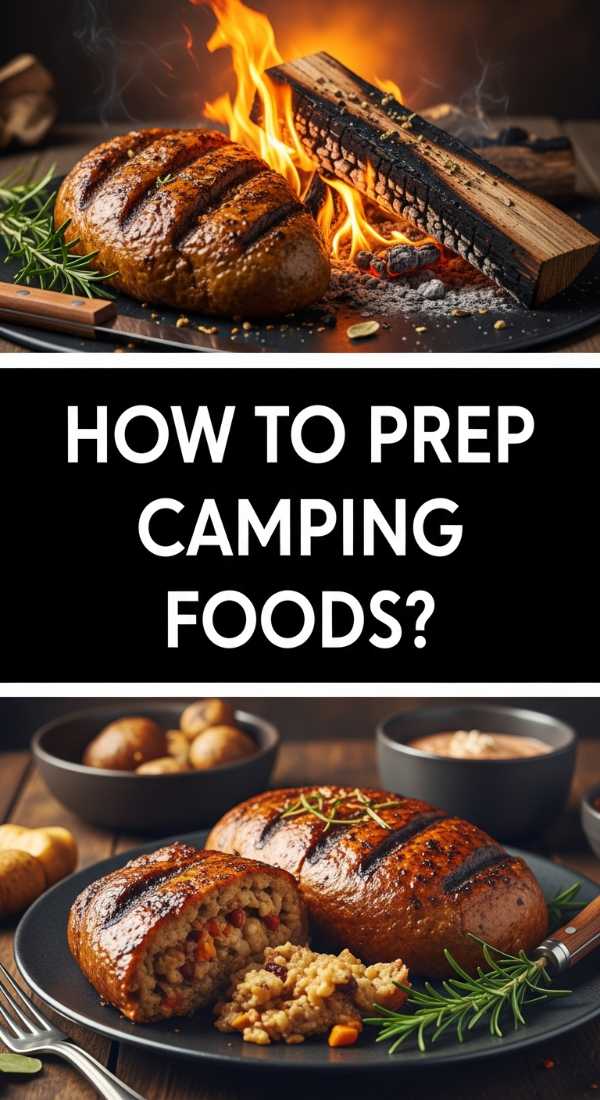
Why we love this
Camping food should feel like a reward after a day of hiking, and these gourmet foil-packet potatoes are the ultimate comfort. The way the edges of the potatoes get crispy and charred against the foil while the centers remain buttery and soft is pure campfire magic. Infused with the scent of woodsmoke and fresh rosemary, this dish transforms a humble root vegetable into a sophisticated side board that tastes a thousand times better when eaten under a canopy of stars.
Ingredients
- Baby Yukon Gold potatoes, quartered
- Olive oil or butter pats
- Fresh rosemary sprigs and minced garlic
- Smoked sea salt and cracked pepper
- Heavy-duty aluminum foil
How to make it
- Pre-cut your potatoes at home and toss them in a bowl with oil, garlic, and spices so they are ready to go; this prevents messy prep at the campsite.
- Tear off a large square of heavy-duty foil—the ‘heavy-duty’ part is crucial to prevent the fire from burning through the bottom.
- Place the potatoes in the center and fold the edges of the foil up to create a tight, airtight seal, which allows the potatoes to steam in their own juices before roasting.
- Place the packet on a grate over hot coals, not direct flames; direct flames will char the outside while leaving the inside raw.
- Cook for 20-25 minutes, carefully flipping the packet once with tongs halfway through to ensure even browning.
- Carefully peel back the foil (watch for steam!) and serve directly on a heat-safe board with an extra sprinkle of smoked salt for that authentic outdoor flavor.
How to make mexican snacks?
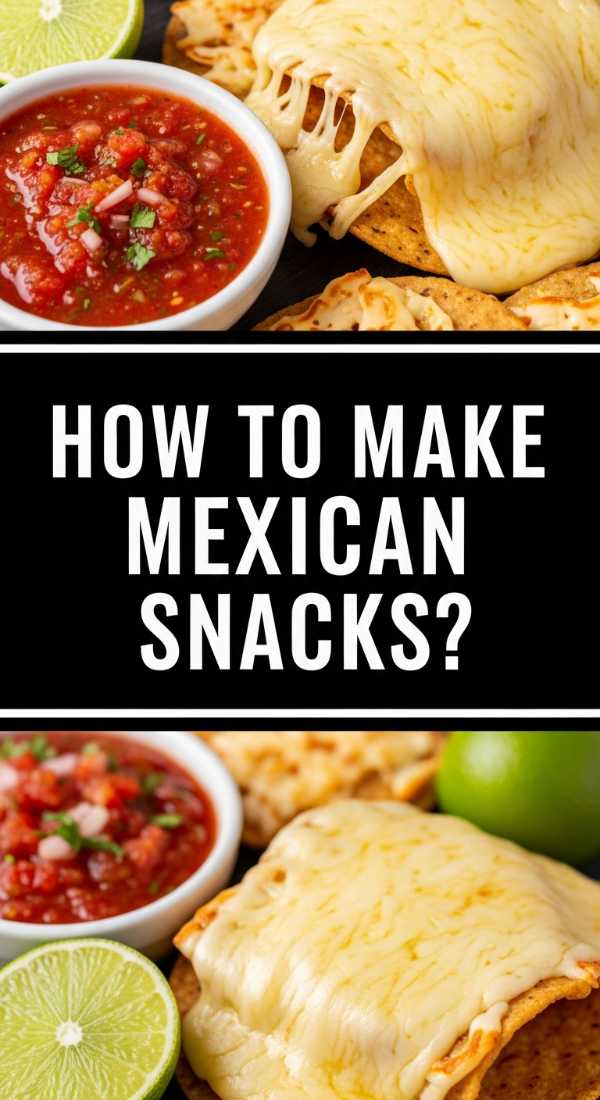
Why we love this
Mexican street corn, or Esquites, brings a vibrant, festive energy to any gathering with its bold layers of cream, lime, and spice. There is something addictive about the combination of sweet, charred corn kernels and the salty, crumbly texture of Cotija cheese. It’s a snack that hits every taste bud—sweet, sour, salty, and spicy—making it the perfect conversation starter for a casual get-together where the drinks are cold and the vibes are high.
Ingredients
- 4 cups charred corn (fresh or frozen)
- 1/4 cup Mexican Crema or Mayo
- 1/2 cup crumbled Cotija cheese
- Chili powder (Ancho or Tajin) and fresh cilantro
- Lime wedges for squeezing
How to make it
- If using frozen corn, thaw it and pat it dry; sear it in a cast-iron skillet over high heat with a tiny bit of oil until the kernels are blackened in spots to mimic a street grill.
- Transfer the warm corn to a large bowl and immediately fold in the crema and half of the Cotija cheese so it slightly melts and coats the kernels.
- Divide the mixture into small individual cups or one large decorative bowl in the center of your food board.
- Top with a heavy dusting of chili powder; Tajin is recommended if you want an extra hit of lime and saltiness.
- Finish with a forest of freshly chopped cilantro and the remaining Cotija cheese to provide a beautiful color contrast against the golden corn.
- Place plenty of lime wedges around the base of the bowl, as the fresh acidity is essential for cutting through the richness of the cream.
How to cook japanese treats?
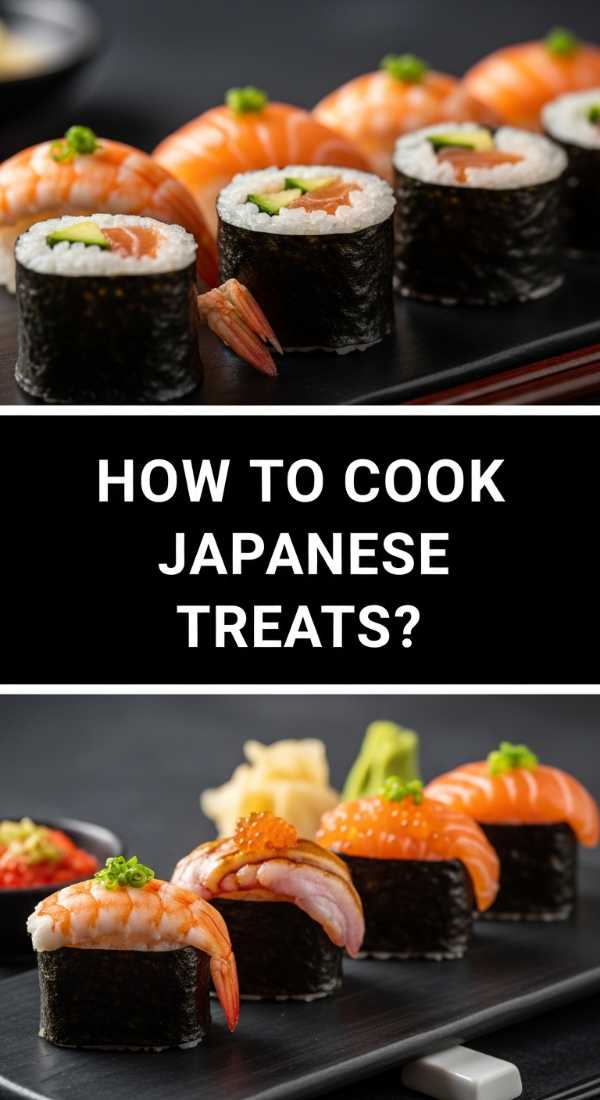
Why we love this
Japanese treats bring a sense of refined elegance and ‘umami’ to a food board, offering flavors that are both subtle and deeply satisfying. We love the mix of textures, from the airy crunch of furikake-dusted popcorn to the snap of traditional rice crackers. The aesthetic is clean and intentional, often featuring muted greens from matcha or the deep purples of shiso, providing a calming and sophisticated snacking experience that feels like a trip to a Tokyo tea house.
Ingredients
- Plain popped popcorn
- Furikake seasoning (seaweed and sesame seed mix)
- Assorted rice crackers (Senbei)
- Mochi (sweet rice cakes) for a sweet finish
- Wasabi peas for a spicy kick
How to make it
- Toss freshly popped popcorn with a light drizzle of toasted sesame oil while it’s still hot; the oil acts as the ‘glue’ for your seasonings.
- Generously sprinkle the furikake over the popcorn, tossing constantly to ensure the seaweed flakes and sesame seeds are distributed into every nook and cranny.
- Arrange the rice crackers in neat, overlapping rows on one side of the board; their rigid structure provides a great visual contrast to the chaotic pile of popcorn.
- Place a small bowl of wasabi peas in the center; warn your guests that these pack a punch, as the heat is sharp but dissipates quickly.
- Add the mochi last, keeping them slightly separated so their sticky surfaces don’t fuse together.
- Serve with a side of iced green tea to cleanse the palate between the salty crackers and the sweet mochi.
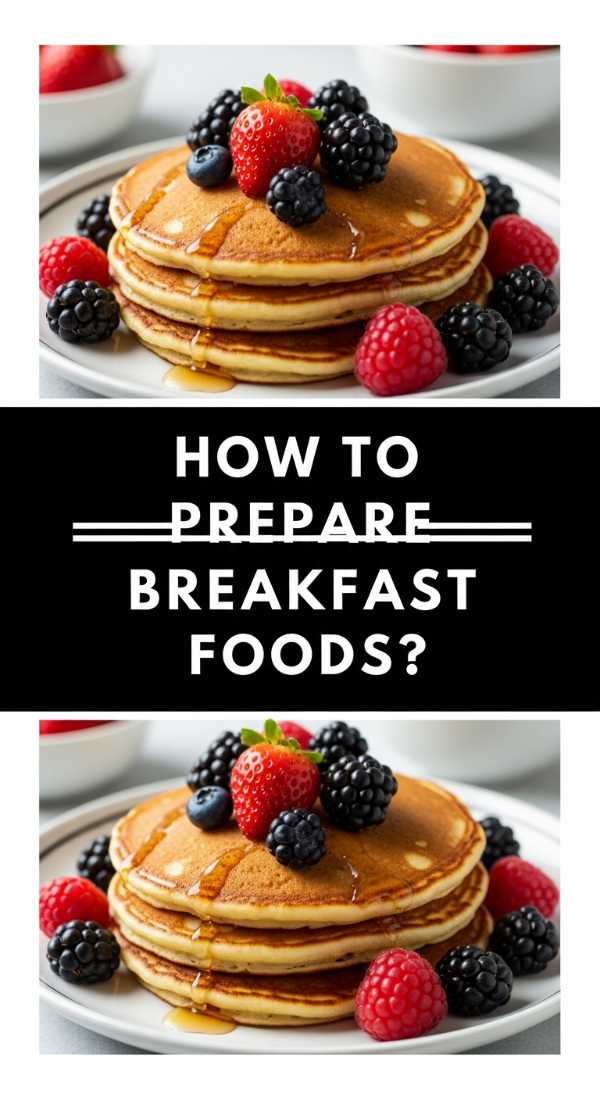
How to prepare breakfast foods?
Why we love this
A breakfast board is the ultimate ‘choose your own adventure’ meal, turning the first hour of the day into a creative and interactive experience. The creamy, cool base of Greek yogurt or overnight oats serves as a blank canvas for a riot of toppings, from the crunch of toasted granola to the juicy burst of macerated berries. It’s a bright, energizing way to wake up, filling the room with the scent of fresh fruit and toasted nuts, and ensuring everyone starts their day exactly how they like it.
Ingredients
- Large bowl of Greek yogurt or pre-made overnight oats
- Granola (honey almond or chocolate chunk)
- Sliced strawberries, bananas, and kiwi
- Chia seeds, hemp hearts, and shredded coconut
- Maple syrup or agave nectar for drizzling
How to make it
- If making overnight oats, mix equal parts rolled oats and almond milk with a splash of vanilla the night before; by morning, the oats will be soft and creamy.
- Place the base (yogurt or oats) in a large, wide-mouthed bowl in the center of the board to make scooping easy for multiple people.
- Create ‘flavor stations’ around the bowl: group the fruits by color to create a rainbow effect that is visually stimulating and appetizing.
- Toast your granola in a pan for 2 minutes before serving to release the oils in the nuts; this small step makes the board smell like a professional bakery.
- Provide small individual bowls for each guest, so they can build their own parfaits without making a mess on the main board.
- Set out a small pitcher of maple syrup so guests can control their own sweetness level, ensuring the board accommodates everyone from health-conscious eaters to those with a sweet tooth.
Final Thoughts on the Ultimate Food Board
The beauty of the food board hack lies in its versatility and the way it brings people together. Whether you are prepping for a rowdy game night, a quiet camping trip, or a sophisticated brunch, these techniques ensure you spend less time hovering over a stove and more time making memories. Remember, there are no strict rules—only guidelines to help your creativity shine. So grab a board, pick your favorite subtopic, and start building your own edible masterpiece!
Frequently Asked Questions
Q: How do I keep my food board from looking messy?
A: Start with your largest bowls or items first to create ‘anchors,’ then fill in the gaps with smaller items like nuts or berries. Using different heights and textures helps the board look intentional rather than cluttered.
Q: Can I prep a food board in advance?
A: Most components can be prepped 24 hours ahead, but always wait until the last 15 minutes to add anything that might wilt (like herbs) or get soggy (like crackers and bread).
Q: What is the best type of board to use?
A: For cold items, marble is excellent as it stays cool. For hot items, use a thick wooden board or a slate tile to protect your table and keep the heat concentrated.