
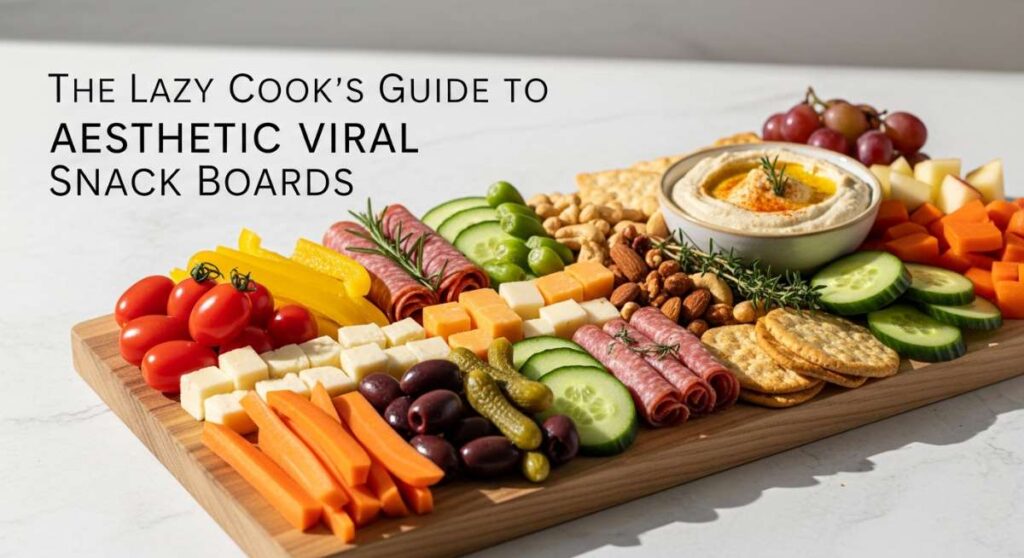
The Lazy Cook’s Guide to Aesthetic Viral Snack Boards
Let’s be honest: the best part of any gathering isn’t the five-course meal that left the host sweating in the kitchen for six hours. It’s the moment everyone gathers around a sprawling, colorful board, picking at bits of salty cheese, honey-drizzled fruit, and perfectly crisp crackers. There is something deeply primal and joyful about grazing. It breaks down social barriers and turns a simple meal into an interactive experience. I used to stress about dinner parties until I realized that people just want to eat with their eyes first and their hands second.
This guide is for my fellow ‘lazy cooks’ who crave that high-end, viral aesthetic without the culinary school degree. We are talking about maximum visual impact with minimum effort. Whether you are hosting a girl’s night, a cozy date, or just want to treat yourself to a fancy lunch, these boards are your secret weapon. Get ready to transform your coffee table into a Pinterest-worthy masterpiece using simple ingredients and a little bit of styling magic.
The beauty of a viral snack board lies in its imperfections. You don’t need a perfectly symmetrical layout; you need abundance. We’re going to play with textures, heights, and colors to create spreads that look expensive but come together in minutes. Grab your biggest wooden board or a marble slab, and let’s dive into the world of effortless, aesthetic snacking.
How to Build the Ultimate Butter Board?
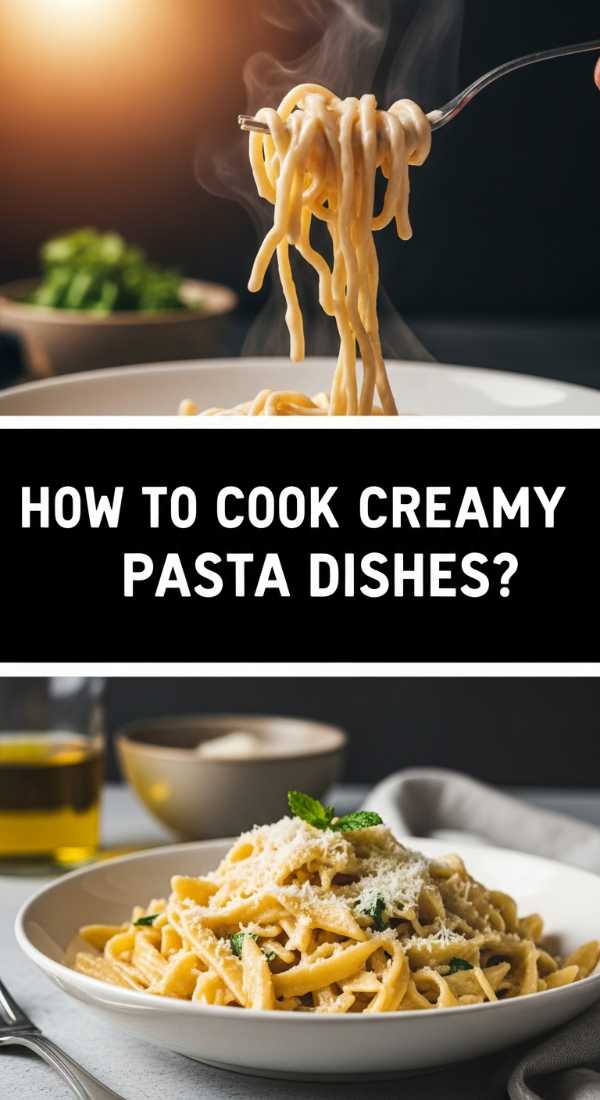
Why we love this
There is a reason the butter board took the internet by storm; it is pure, unadulterated decadence. Imagine the silky, velvet texture of high-quality, room-temperature butter swirling under a drizzle of spicy hot honey and a sprinkle of flaky sea salt. As you drag a warm, crusty piece of sourdough through the peaks, the aroma of toasted bread mingles with the earthy scent of fresh rosemary and the bright, citrusy zing of lemon zest. It’s a sensory explosion that feels incredibly indulgent yet costs only a few dollars to assemble.
Ingredients
- 2 sticks of high-quality unsalted butter (softened)
- 1 tablespoon flaky sea salt (Maldon is best)
- 2 tablespoons hot honey or Mike’s Hot Honey
- Fresh rosemary and thyme sprigs
- Zest of one organic lemon
- Edible flowers (optional)
- Warm sourdough or baguette slices
How to make it
- Begin by ensuring your butter is perfectly softened at room temperature for at least 2 hours. It should be pliable but not melting; when pressed, your finger should leave an indentation without any resistance.
- Using a small offset spatula or the back of a spoon, take dollops of butter and ‘swoosh’ them across your board. Create little waves and peaks—this isn’t just for looks; those valleys hold the toppings.
- Evenly sprinkle the flaky sea salt from a height to ensure total coverage. The salt is crucial for cutting through the fat of the butter.
- Slowly drizzle the hot honey over the butter peaks, letting it pool slightly in the crevices you created.
- Finely mince the fresh herbs and zest the lemon directly over the board. This releases the essential oils right where you want them.
- Serve immediately with bread that has been toasted in a pan with a little olive oil until the edges are golden brown and ‘glassy’ to the touch.
How to Craft a Dreamy Mediterranean Mezze?
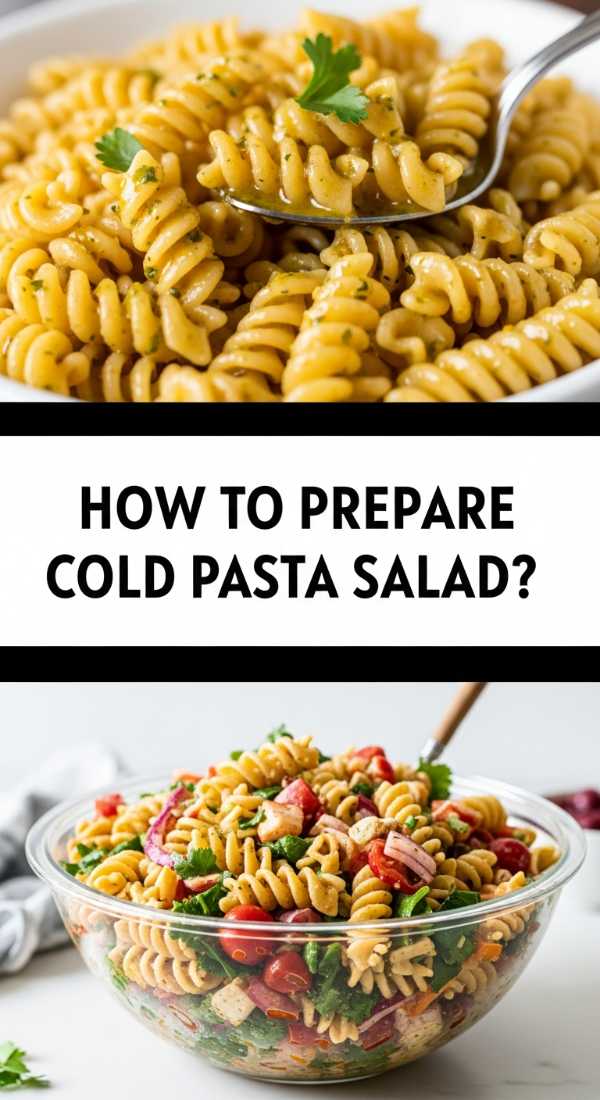
Why we love this
This board is a celebration of the sun. It brings together the briny punch of Kalamata olives, the creamy tang of feta cheese, and the cooling freshness of cucumbers. When you open a jar of roasted red peppers, the smoky sweetness instantly transports you to a seaside tavern in Greece. The contrast between the crunch of a toasted pita chip and the soft, yielding texture of a stuffed grape leaf is what makes this board a crowd-favorite. It’s light, vibrant, and incredibly healthy, making it the perfect guilt-free grazing option for long summer afternoons.
Ingredients
- 1 cup classic hummus
- 1/2 cup tzatziki sauce
- Block of feta cheese in brine
- Kalamata olives and green olives
- Sliced cucumbers and cherry tomatoes
- Dolmas (stuffed grape leaves)
- Warm pita bread and pita chips
How to make it
- Place your two ‘anchor’ bowls—the hummus and the tzatziki—on opposite corners of the board to create visual balance. Use a spoon to create a circular well in the hummus and fill it with a splash of olive oil and paprika.
- Slice the feta block into thick cubes or triangles. For a professional touch, sear the feta in a non-stick pan over medium-high heat for 2 minutes per side until a golden-brown crust forms.
- Arrange the dolmas in a neat row or ‘river’ flowing through the center of the board.
- Fill the gaps with clusters of olives and tomatoes. Ensure the colors are distributed; don’t put all the green items in one corner.
- Toast the pita bread in a 350°F (175°C) oven for about 5 minutes until soft and pillowy. Cut into triangles using a pizza cutter for clean lines.
- Garnish with fresh parsley or mint leaves to add a pop of ‘alive’ green to the spread.
How to Master the Viral Dessert Taco Board?
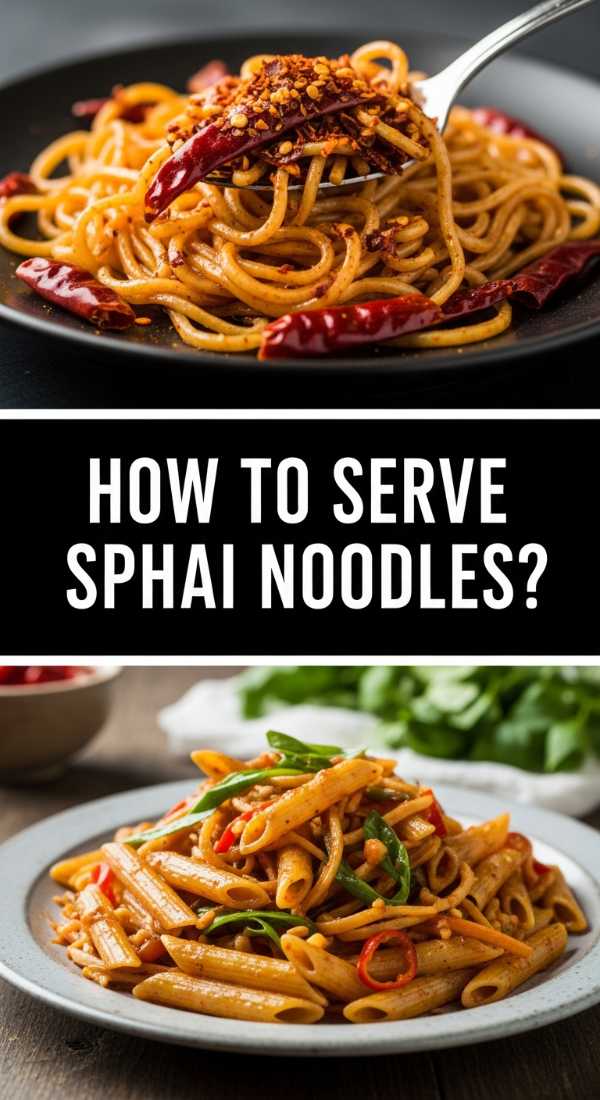
Why we love this
Who says boards have to be savory? The dessert taco board is the ultimate whimsical treat that turns mealtime into a DIY party. The air is filled with the scent of cinnamon and sugar-dusted flour tortillas that have been crisped to perfection. Dipping a crunchy ‘taco shell’ into velvety chocolate ganache and topping it with tart, juicy strawberries and cloud-like whipped cream creates a symphony of textures. It is messy, fun, and hits every single sweet tooth craving while looking like a candy-coated dreamscape.
Ingredients
- Small flour tortillas (street taco size)
- 1/2 cup granulated sugar + 2 tbsp cinnamon
- Melted butter
- Nutella or chocolate hazelnut spread
- Fresh strawberries, raspberries, and kiwi
- Whipped cream in a bowl
- Mini chocolate chips or sprinkles
How to make it
- Preheat your oven to 375°F (190°C). Brush both sides of your small tortillas with melted butter and dredge them in the cinnamon-sugar mixture.
- Drape the tortillas over the rungs of an oven rack (or use an upside-down muffin tin) so they hang in a ‘U’ shape. Bake for 7-10 minutes until they are stiff and golden. Watch for bubbles; they should be firm to the touch.
- Place a large bowl of whipped cream in the center of the board. Chill the bowl beforehand to keep the cream from deflating.
- Slice your fruit into uniform bite-sized pieces. Pat the fruit dry with a paper towel so the juices don’t run and make the other ingredients soggy.
- Arrange the taco shells in a fan shape around the edges.
- Fill small ramekins with Nutella and sprinkles. If the Nutella is too stiff, microwave it for 15 seconds until it reaches a pourable consistency.
How to Assemble a Cozy Hot Cocoa Spread?
Why we love this
There is nothing more comforting than the aroma of rich cocoa and toasted marshmallows on a chilly evening. This board is all about ‘cozy vibes.’ The sight of pillowy white marshmallows piled high next to dark chocolate shavings and peppermint sticks makes you want to curl up with a blanket immediately. The steam rising from the mugs creates a soft haze, and the warmth of the chocolate melting into a buttery shortbread cookie is the definition of soul food. It’s an aesthetic hug in snack form.
Ingredients
- High-quality hot cocoa mix or ganache
- Mini and jumbo marshmallows
- Candy canes or peppermint sticks
- Pirouline wafers or shortbread cookies
- Chocolate shavings or cocoa powder
- Cinnamon sticks for stirring
How to make it
- Start with your largest mugs already on or near the board to gauge spacing.
- Create a ‘marshmallow mountain’ in the center. For a viral look, use a kitchen torch to lightly toast the tops of the marshmallows until they are charred and gooey.
- Stack the cookies and wafers in ‘logs’ to create height.
- Place candy canes in a glass jar or small pitcher to keep them upright and accessible.
- Sift a fine layer of cocoa powder over the entire board for a ‘snow-dusted’ effect.
- Provide a small bowl of whipped cream and a grater with a bar of dark chocolate so guests can grate fresh shavings directly onto their drinks.
How to Create a Rainbow Fruit Grazing Platter?
Why we love this
This board is nature’s candy at its finest. The visual impact of a gradient rainbow—from deep violet grapes to bright red strawberries—is an instant mood lifter. Each fruit brings its own unique texture: the snap of a crisp apple, the floral softness of a ripe peach, and the explosive pop of pomegranate seeds. It smells like a tropical garden and feels incredibly refreshing. It’s the perfect centerpiece for a brunch or a poolside snack because it stays vibrant and inviting even in the heat.
Ingredients
- Red: Strawberries, raspberries, pomegranate
- Orange: Oranges, cantaloupe, dried apricots
- Yellow: Pineapple, mango, starfruit
- Green: Grapes, kiwi, honeydew
- Blue/Purple: Blueberries, blackberries, figs
- Honey or yogurt dip for the center
How to make it
- The key to the ‘rainbow’ look is the color transition. Start at one end with your red fruits and work your way through the spectrum.
- Cut larger fruits like pineapple and melon into uniform wedges or cubes. Use a star-shaped cookie cutter for the starfruit to add visual interest.
- Layer the fruit tightly so no part of the board is visible. Overlapping the fruits creates a lush, abundant feel.
- Add ‘fillers’ like blueberries and pomegranate seeds to tuck into the small gaps between larger items.
- For a professional finish, glaze the fruit lightly with a mixture of honey and lime juice to prevent browning and give them a photographic shine.
- Place a bowl of Greek yogurt mixed with honey and vanilla in the center as a ‘neutral’ landing spot for the eyes.
How to Style a Savory Bagel Brunch Board?
Why we love this
Sunday mornings were made for this. The smell of toasted ‘everything’ seasoning wafting through the house is enough to wake anyone up. This board combines the silky, fatty luxury of smoked salmon with the sharp bite of red onions and the briny pop of capers. It’s a sophisticated take on a classic breakfast that feels like a high-end deli experience. The contrast of the cream cheese ‘clouds’ against the vibrant pink of the lox and the green of fresh dill is visually stunning and incredibly appetizing.
Ingredients
- Assorted mini bagels (plain, everything, sesame)
- Whipped cream cheese
- Smoked salmon (lox)
- Capers and thinly sliced red onions
- Sliced tomatoes and cucumbers
- Fresh dill and lemon wedges
How to make it
- Slice the bagels in half and toast them until the edges are just beginning to brown but the centers remain chewy. Slice them into halves again to make ‘half-moons’ for easier grabbing.
- Using a cookie scoop, place three or four perfect spheres of whipped cream cheese around the board. Sprinkle one with ‘everything’ seasoning and another with fresh dill.
- Ribbon the smoked salmon. Instead of laying it flat, fold each slice loosely into a ‘rose’ shape to create volume and height.
- Arrange the tomato and cucumber slices in an overlapping shingle pattern.
- Scatter capers generously over the salmon and cream cheese. Their small size makes them perfect for filling tiny voids.
- Finish with lemon wedges tucked into the corners; the bright yellow adds a necessary pop of color and the acidity is vital for the salmon.
How to Make a Cinema-Style Popcorn Bar?
Why we love this
Movie night just got a massive upgrade. The scent of buttery, salty popcorn is nostalgic and universally loved. This board is all about the ‘sweet and salty’ combo. The crunch of the popcorn paired with the chew of gummy bears and the melt-in-your-mouth quality of chocolate buttons is addictive. It’s a low-effort, high-reward board that feels like a celebration. It’s perfect for kids and adults alike, turning a simple film screening into a full-blown event.
Ingredients
- Large bowl of buttered popcorn
- M&Ms or chocolate chips
- Pretzels or pretzel sticks
- Gummy bears or worms
- Caramel sauce or melted chocolate
- Shaker of cinnamon sugar or truffle salt
How to make it
- Use a very large bowl as your anchor for the popcorn. If you’re feeling fancy, toss the popcorn with a little truffle oil and sea salt while it’s still hot.
- Surround the popcorn bowl with smaller bowls filled with the ‘add-ins.’
- Scatter loose pretzels and chocolates directly onto the board around the bowls to create an ‘overflowing’ look.
- For a viral ‘drizzle’ effect, take a spoon of melted chocolate and move your hand quickly back and forth over a section of the popcorn.
- Provide small individual popcorn boxes or paper cones so guests can build their own custom mix.
- Include a ‘flavor station’ with small spice shakers containing nutritional yeast, chili powder, or cinnamon sugar for DIY seasoning.
How to Design a Loaded Hummus Garden?
Why we love this
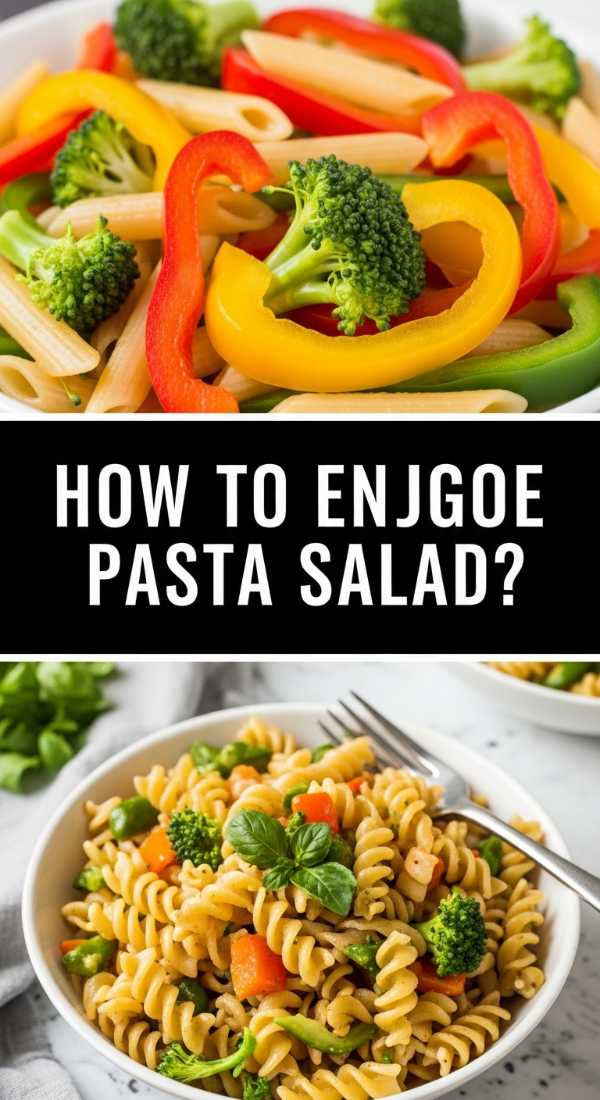
This is basically a salad in board form, and it is gorgeous. The base is a thick, creamy layer of hummus that acts as the ‘soil’ for a garden of crunchy vegetables. It smells of garlic, tahini, and lemon. The best part is the texture—every bite is a mix of smooth puree and crisp, raw veggies. It’s a healthy, vibrant, and incredibly Instagrammable way to serve a vegetable platter that people will actually want to eat. It feels fresh, alive, and artisanal.
Ingredients
- 2 tubs of plain or roasted garlic hummus
- Radishes (thinly sliced)
- Snap peas and baby carrots
- Cherry tomatoes (halved)
- Chickpeas (roasted for crunch)
- Olive oil and za’atar seasoning
- Pine nuts
How to make it
- Spread the hummus across the entire surface of a rimmed board or a large shallow platter. Use a spoon to create deep ‘furrows’ and swirls in the dip.
- Drizzle a generous amount of extra virgin olive oil into the swirls.
- ‘Plant’ your vegetables by standing them upright or tucking them into the hummus. Group them by type to look like garden rows.
- Sprinkle the za’atar and pine nuts over the top. For the pine nuts, toast them in a dry pan for 2-3 minutes until they smell nutty and turn golden brown.
- Add the roasted chickpeas for an extra layer of crunch. To roast: toss canned chickpeas with oil and bake at 400°F (200°C) for 20 minutes until ‘clink-y.’
- Serve with crisp crackers or warm flatbread on a separate side plate to keep the main board looking clean.
How to Prep a Mini Sliders Party Tray?
Why we love this
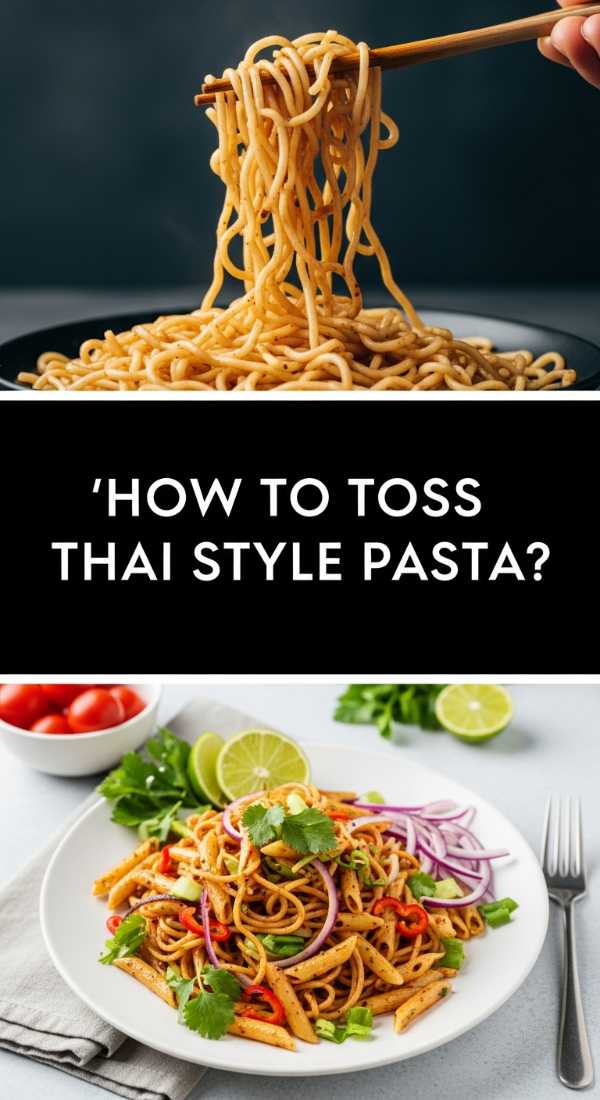
Nothing says ‘host with the most’ like a tray of miniature burgers. The aroma of toasted brioche and melted cheddar is intoxicating. These tiny sandwiches are the ultimate finger food—easy to pick up but substantial enough to be a meal. The contrast between the soft, sweet bun and the savory, juicy patty, topped with a tangy pickle, is a classic flavor profile that never fails. It’s an aesthetic powerhouse because the repetition of the small sliders creates a clean, organized, and abundant look.
Ingredients
- 12-pack of brioche slider buns
- Pre-cooked mini beef or veggie patties
- Cheddar cheese slices (cut into quarters)
- Pickle chips
- Slider sauce (mayo, ketchup, mustard mix)
- Curly fries or potato chips for filling
How to make it
- Brush the buns with melted butter and toast them under a broiler for 1-2 minutes until the edges are dark gold. Stay close—they burn fast!
- Assemble the sliders: Bottom bun, a dollop of sauce, the patty, a square of cheese, and a pickle. Use a long toothpick to skewer the whole thing together.
- Line the sliders up in neat rows on your board. Precision matters here for the ‘viral’ look.
- Fill the empty spaces between the rows with a mountain of hot, crispy curly fries.
- Garnish the top of each bun with a sprinkle of sesame seeds or a tiny parsley leaf.
- Place a small ramekin of extra dipping sauce in the center.
How to Perfect the Classic Charcuterie Hack?
[IMAGE_10]
Why we love this
The OG of boards. This is the gold standard for a reason. It’s the perfect balance of salty, sweet, fatty, and acidic. The smell of aged prosciutto and sharp parmesan is sophisticated and inviting. What makes this a ‘hack’ is using the glass-folding method to create meat roses, which makes a simple pile of salami look like a professional catering job. It’s a timeless classic that feels like a luxury feast every single time, providing a little bit of everything for everyone.
Ingredients
- Meats: Salami, Prosciutto, Capicola
- Cheeses: Brie, Sharp Cheddar, Gorgonzola
- Nuts: Marcona almonds or walnuts
- Sweet: Fig jam or honey
- Crunch: Water crackers or breadsticks
- Garnish: Grapes and dried apricots
How to make it
- Place your cheeses first. Leave the Brie whole but cut a small wedge out to show the creamy interior. Slice the cheddar into rustic, uneven shards.
- The Meat Rose Hack: Take a wine glass and fold slices of salami over the rim, overlapping them until you’ve gone around three times. Flip the glass onto the board, and voila—a meat rose.
- Place a small jar of fig jam near the Brie.
- Create ‘cracker paths’ that wind through the cheese and meat.
- Fill every single remaining hole with almonds and dried apricots. The goal is to see zero board surface.
- Add a few sprigs of fresh rosemary for a woody aroma and a professional pop of deep green.
Conclusion
Creating a viral-worthy snack board isn’t about being a master chef; it’s about the art of assembly and the joy of sharing. By focusing on color, texture, and a few clever ‘lazy’ hacks, you can turn basic ingredients into a stunning centerpiece that will have your guests reaching for their phones before their forks. Remember, there are no rules—just follow your cravings and keep the board crowded. Happy grazing!