

The Curated Edit: Mastering the Modern Aesthetic
There is a profound, quiet magic in coming home to a space that feels like a physical manifestation of your soul. We often think of ‘aesthetic’ as a surface-level trend, a collection of filtered photos or color palettes, but the modern aesthetic is truly about intentionality. It is the way the light hits a linen tablecloth on a Tuesday evening, the scent of fresh basil on your windowsill, and the grounding feeling of walking across a well-designed patio. It’s about creating a sanctuary that breathes with you.
In our fast-paced world, curating our surroundings is an act of self-care. It’s the process of sifting through the noise to find the textures, colors, and rhythms that bring us back to ourselves. Whether you are planting a kitchen garden or organizing your workspace, these small shifts in your environment create a ripple effect of peace and productivity. Join me as we explore ten ways to elevate your everyday life, turning the mundane into the extraordinary through the lens of thoughtful, modern design.
How to Design Simple Front Yard Landscaping for Instant Curb Appeal

Why we love this
A beautifully landscaped front yard is the ultimate ‘hello’ to the world, offering a soft transition from the public sphere into your private retreat. We love the way structured boxwoods contrast with the organic, swaying stems of lavender, creating a visual symphony of green and purple that shifts with the breeze. There is something deeply satisfying about the scent of damp mulch and the sight of clean stone edges that makes every homecoming feel like a celebration of the seasons and a testament to a well-kept life.
Essential Elements:
- Low-maintenance evergreen shrubs (Boxwood or Yew)
- Fragrant perennials like Lavender or Salvia
- High-quality dark brown mulch or river stones
- Solar-powered warm LED path lights
- Steel or stone garden edging
How to make it
- Begin by clearing your canvas; remove any tired weeds or old sod using a sharp spade, ensuring you dig deep enough to remove the root systems entirely.
- Outline your flower beds using a garden hose to create soft, organic curves rather than rigid straight lines, which softens the visual impact of the house.
- Install your edging material—whether metal or stone—at a depth of at least three inches to prevent grass from creeping into your new beds; check for levelness to ensure a professional, crisp finish.
- Place your largest ‘anchor’ plants first, spacing them at least 24 inches apart to allow for mature growth, then fill in the gaps with smaller perennials, ensuring the crowns are level with the soil surface.
- Apply a thick three-inch layer of organic mulch across the entire bed, avoiding the direct stems of the plants to prevent rot, and finish with a thorough deep-soak watering to settle the soil around the roots.
How to Style an Office Desk Setup for a Productive Work Cubicle

Why we love this
An intentional desk setup is the foundation of a flow state, where the tactile click of a mechanical keyboard and the smooth glide of a felt mousepad turn work into a sensory experience. We adore the juxtaposition of sleek technology with natural wood grains and the soft, diffused glow of a task lamp that eliminates the harsh glare of overhead office lights. It’s about creating a micro-environment where your eyes have a place to rest—on a small succulent or a framed print—allowing your mind to focus on the task at hand with effortless clarity.
Essential Elements:
- Large felt or leather desk mat
- Ergonomic monitor riser in oak or walnut
- Dimmable warm-spectrum desk lamp
- Wireless mechanical keyboard and vertical mouse
- A single, low-maintenance plant like a Snake Plant
How to make it
- Clear the entire desk surface and wipe it down with a microfiber cloth to ensure a dust-free foundation before placing your large desk mat as the central anchor for your workspace.
- Position your monitor so the top third of the screen is at eye level; if using a riser, ensure it is centered and stable, leaving enough space underneath for hidden cord storage.
- Group your tech items—keyboard, mouse, and charging docks—in a way that aligns with your dominant hand’s natural reach to minimize repetitive strain throughout the day.
- Implement cable management by using adhesive clips under the desk to route power cords, ensuring no wires are visible from a seated position for a clean, ‘floating’ aesthetic.
- Introduce a personal ‘rhythm’ element like a minimalist analog clock or a small ceramic tray for pens, placing them at the periphery to avoid cluttering your primary work zone.
How to Choose JBL Speaker Wallpapers for a High Tech Aesthetic

Why we love this
In the modern home, even our tech interfaces deserve a curated look, and choosing the right wallpaper for your smart speakers or connected displays bridges the gap between hardware and decor. We love how a high-resolution, minimalist gradient or an abstract liquid texture can turn a black screen into a piece of digital art that complements your room’s color palette. The way the light from the screen gently pulses in sync with deep bass notes creates an immersive atmosphere that feels both futuristic and incredibly cozy.
Essential Elements:
- High-resolution 4K abstract or landscape images
- Customized color palettes that match your room’s accents
- Minimalist digital clock widgets
- App-based wallpaper management tools
- Microfiber cloth for screen maintenance
How to make it
- Access your JBL or smart home app and navigate to the display settings, ensuring your device is connected to the same high-speed Wi-Fi network for a seamless sync.
- Select an image with a high contrast ratio; darker backgrounds with vibrant ‘pops’ of color look best on modern screens and reduce the appearance of digital noise in low-light settings.
- Adjust the brightness levels to ‘auto’ or set a manual dimming schedule so the wallpaper softens as the evening progresses, preventing the screen from becoming a distraction during dinner.
- Crop the image carefully within the app to ensure any text or clock overlays do not obscure the focal point of the artwork, maintaining a balanced composition.
- Test the visual in different lighting conditions throughout the day to ensure the colors don’t wash out when hit by direct sunlight through a nearby window.
How to Build Cheap Pool Deck Ideas for an Affordable Summer Oasis
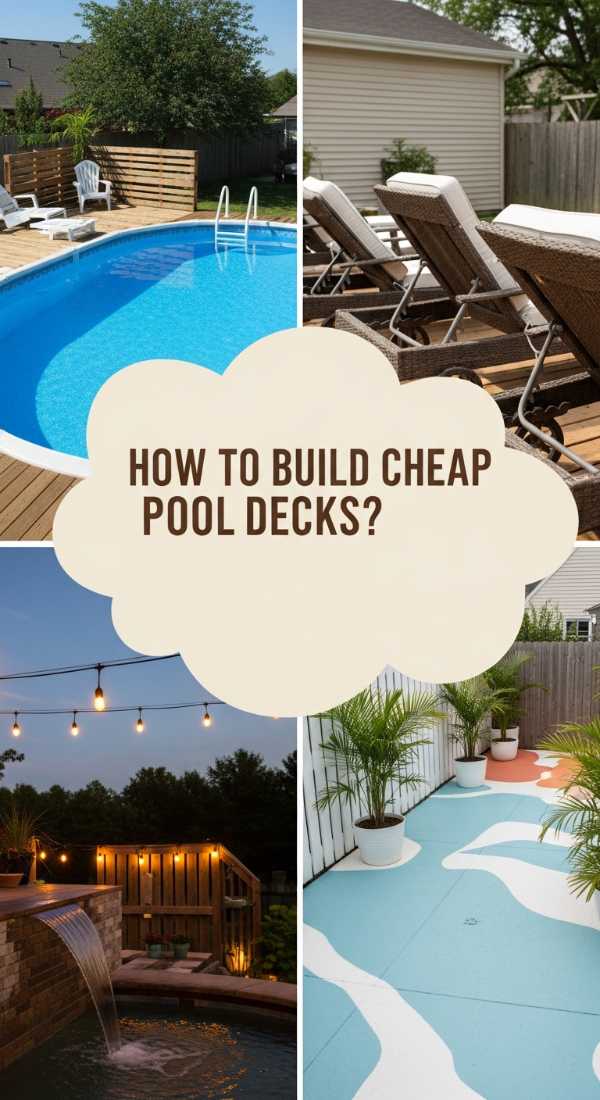
Why we love this
There is nothing quite like the feeling of sun-warmed wood under your bare feet and the rhythmic splashing of water on a hot July afternoon. Building an affordable pool deck using reclaimed materials or pressure-treated pine brings the luxury of a resort into your own backyard without the hefty price tag. We love the rustic, lived-in charm of a low-profile platform deck surrounded by oversized floor cushions and twinkling string lights, turning an above-ground pool into a sophisticated summer destination.
Essential Elements:
- Pressure-treated 2×4 and 2×6 lumber
- Decking screws with weather-resistant coating
- Pre-fabricated concrete deck blocks
- Outdoor wood stain in a modern ‘driftwood’ or ‘charcoal’ hue
- Solar-powered deck post caps
How to make it
- Level the ground around your pool area meticulously using a rake and a spirit level, then lay down a heavy-duty weed barrier covered with a thin layer of gravel to prevent moisture buildup under the deck.
- Space your concrete deck blocks every four feet to create a stable foundation, ensuring they are perfectly aligned so your joists sit flush without wobbling.
- Construct your outer frame using 2×6 boards, checking the squareness by measuring the diagonals; the frame should sit approximately one inch away from the pool wall to allow for slight movement.
- Install the internal joists every 16 inches for a bouncy-free feel, then screw down your top decking boards leaving a 1/8-inch gap between them for water drainage and wood expansion.
- Sand the edges thoroughly with 80-grit sandpaper to prevent splinters, and apply two coats of high-quality exterior stain, allowing 24 hours of drying time between coats for maximum durability.
How to Install Vinyl Lattice Panels for a Private Backyard Sanctuary

Why we love this
Privacy is the ultimate luxury, and vinyl lattice panels provide a clean, modern way to create a secret garden feel in any outdoor space. We love how the geometric patterns create a play of light and shadow on your patio, providing the perfect structure for climbing roses or ivy to weave through over time. The crisp white or charcoal finish of the vinyl stays pristine through rain and sun, offering a maintenance-free backdrop for intimate outdoor dinners and quiet morning coffees.
Essential Elements:
- High-density vinyl lattice panels (Privacy weave)
- Matching vinyl U-channel molding for the edges
- Stainless steel screws with white caps
- Pressure-treated 4×4 posts
- Level and power drill
How to make it
- Measure the span of your opening carefully and cut your vinyl lattice panels using a circular saw with a fine-toothed blade to ensure the edges are smooth and don’t shatter.
- Slide the lattice into the U-channel moldings, which act as a frame; ensure you leave a 1/4-inch gap inside the channel to allow the vinyl to expand and contract with temperature changes.
- Pre-drill holes through the U-channel every 12 inches, making the holes slightly larger than the screws to prevent the vinyl from buckling when the sun hits it.
- Attach the framed panels to your existing wooden posts or structure, using a level to ensure the horizontal lines of the lattice are perfectly straight for a professional look.
- Wipe down the panels with a damp cloth to remove any construction dust, and consider planting fast-growing vines like Clematis at the base to soften the transition between the ground and the wall.
How to Create Summer Table Centerpieces for a Beautiful Outdoor Dinner
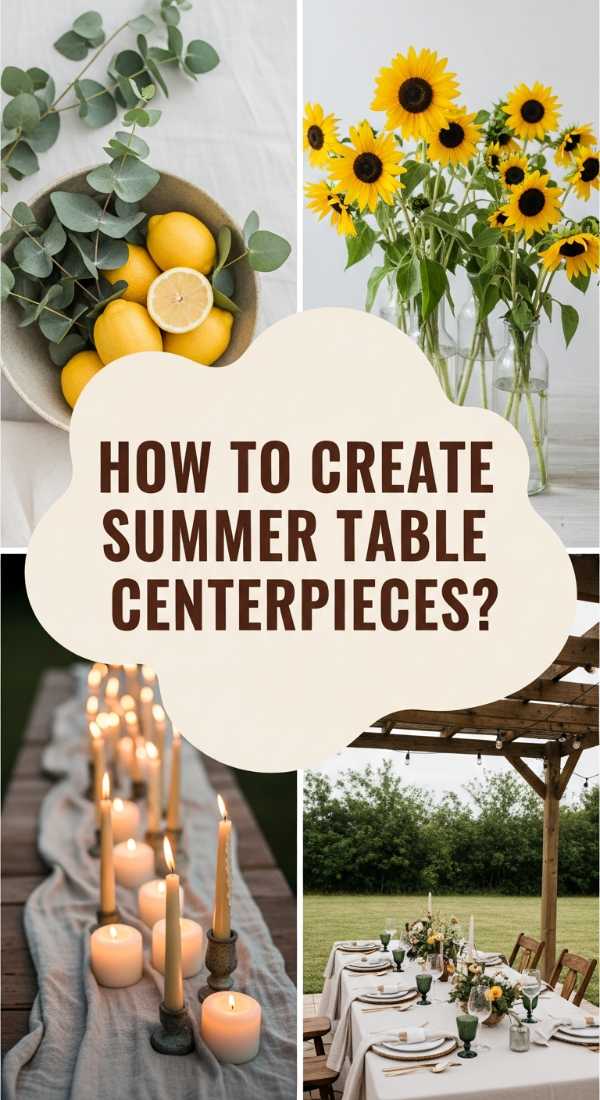
Why we love this
A summer centerpiece is the heart of an outdoor gathering, capturing the vibrant, ephemeral energy of the season in a single arrangement. We love using ‘living’ elements like halved lemons, sprigs of fresh eucalyptus, and bowls of sun-ripened peaches that not only look stunning but fill the air with a zesty, clean aroma. When the candles are lit and the wine is poured, a thoughtful centerpiece turns a simple meal into a memorable event, grounded in the textures of the earth and the warmth of good company.
Essential Elements:
- Low-profile wooden dough bowl or ceramic platter
- Fresh citrus (Lemons, Limes, or Oranges)
- Bundles of seeded eucalyptus or olive branches
- Unscented pillar candles in varying heights
- Small glass bud vases for single blooms
How to make it
- Start with a clean, ironed linen runner as your base to provide a soft texture that anchors the centerpiece to the middle of the table.
- Place your largest elements first—the wooden bowl or the largest candles—spacing them evenly along the runner to create a rhythmic flow that doesn’t block guests’ views of each other.
- Weave your greenery (eucalyptus or olive stems) through the center, tucking the ends under the bowls or candles to hide the cut stems and create a lush, continuous vine look.
- Slice a few pieces of citrus to expose the bright interiors and scatter them among whole fruits and greenery; the moisture from the fruit adds a fresh, glistening quality to the display.
- Fill small bud vases with seasonal flowers like Zinnias or Cosmos and nestle them into the greenery at the last minute to ensure they remain crisp and vibrant throughout the evening.
How to Decorate a Patriotic Front Porch for a Festive Neighborhood Welcome

Why we love this
There is a classic, nostalgic beauty in a patriotic front porch that feels like a warm hug for the whole neighborhood. We love the crisp contrast of deep navy blues against stark white wicker furniture, accented by the soft, faded red of vintage-style bunting. It’s a look that celebrates heritage through texture—think chunky knit throws, weathered wood flags, and the rhythmic creak of a porch swing—creating a space that feels both celebratory and deeply peaceful in the summer twilight.
Essential Elements:
- Cotton American flag with brass grommets
- Tea-stained or vintage-style bunting
- Navy and white striped outdoor pillows
- Galvanized metal buckets for red geraniums
- A natural coir doormat with a simple greeting
How to make it
- Secure your main flag to a sturdy wall mount at a 45-degree angle, ensuring it is positioned high enough that it doesn’t touch the floor or any porch railings, in accordance with traditional etiquette.
- Drape bunting across the top of your porch railing or above the front door, using clear zip ties for a secure hold that won’t damage your paint or woodwork.
- Group galvanized buckets in odd numbers (three or five) near the steps and fill them with vibrant red flowers; ensure the pots have drainage holes or use a plastic liner to prevent the metal from rusting.
- Layer your textiles by placing navy striped pillows on chairs and a soft white throw over the arm of a bench, choosing outdoor-rated fabrics that won’t fade in direct sunlight.
- Add a final touch of warm lighting with battery-operated lanterns placed on the steps, which will provide a safe and inviting glow for guests arriving after sunset.
How to Curate a Whimsical Apartment Aesthetic for a Dreamy Living Space

Why we love this
Whimsical design is all about breaking the rules in favor of joy, creating a space that feels like it’s been plucked from a storybook. We love the use of sheer, iridescent curtains that catch the afternoon light, paired with an eclectic mix of velvet textures and fairy lights that shimmer like stars. It’s an aesthetic that prioritizes comfort and imagination, where every corner holds a small surprise—a vintage brass mirror, a stack of colorful art books, or a hanging chair that invites you to daydream for hours.
Essential Elements:
- Sheer voile or iridescent window curtains
- Fairy lights with warm white or pastel globes
- Velvet floor pillows in jewel tones
- Floating shelves for ‘curiosity’ displays
- A mix of vintage and modern gold-framed mirrors
How to make it
- Hang your sheer curtains high and wide—at least 10 inches above the window frame—to create a sense of ethereal height and allow maximum light to filter through the fabric.
- Drape fairy lights along the ceiling perimeter or behind the curtains, using small clear command hooks to ensure the wires are hidden and the glow appears to emanate from the walls themselves.
- Arrange a gallery wall of mirrors of different sizes and shapes; the reflections will bounce light around the room and create the illusion of a much larger, more magical space.
- Incorporate soft, tactile layers by placing a high-pile faux fur rug over a flat-weave base, creating a cozy ‘nest’ area for reading or listening to music.
- Style your shelves with a mix of organic shapes (dried flowers, crystals) and structured items (vintage cameras, brass clocks) to maintain a balance between chaos and intentionality.
How to Master Aquarium Setup Ideas for a Serene Underwater World
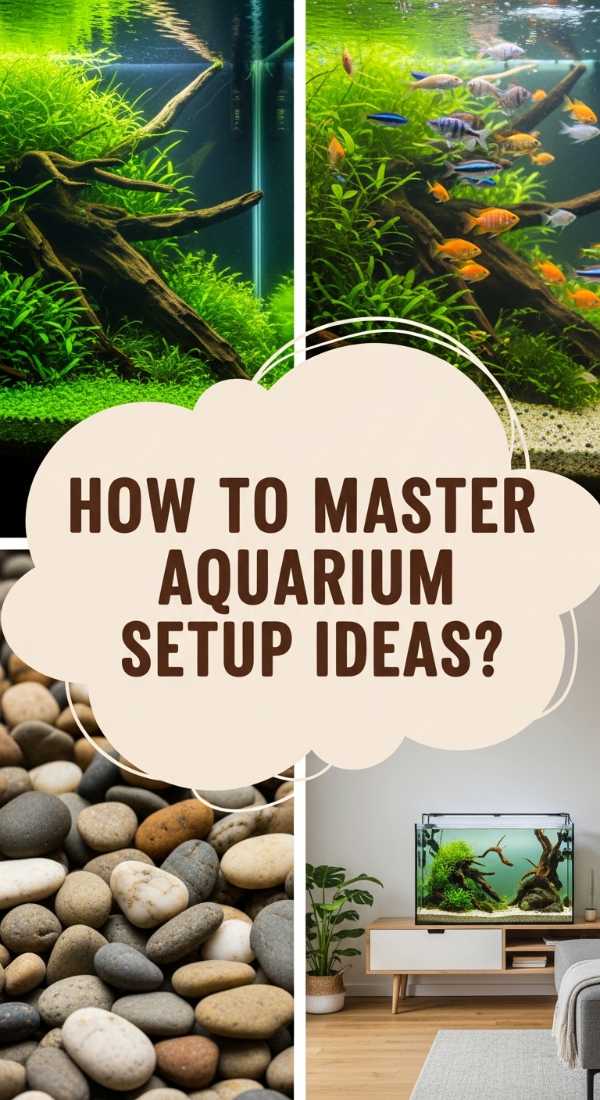
Why we love this
An aquarium is more than a hobby; it is a living piece of art that brings the meditative rhythm of the underwater world into your living room. We love the lush, vibrant greens of live aquatic plants like Java Moss and Anubias, which sway gently in the current created by the filter. The sound of soft, bubbling water and the sight of colorful fish darting through intricate driftwood structures create a focal point that instantly lowers the heart rate and provides a deep sense of serenity.
Essential Elements:
- Rimless glass aquarium for a modern look
- Active substrate for live plant growth
- Natural spider wood or driftwood pieces
- Low-light aquatic plants (Java Fern, Anubias)
- Quiet, high-efficiency canister filter
How to make it
- Place your aquarium on a dedicated, level stand away from direct sunlight to prevent algae blooms, and layer two inches of nutrient-rich substrate at the bottom, sloping it upward toward the back for visual depth.
- Position your ‘hardscape’ elements—large rocks and driftwood—using the ‘rule of thirds’ to create a natural, off-center focal point that draws the eye across the tank.
- Fill the tank halfway with dechlorinated water, pouring it over a small plate to avoid disturbing the substrate, then anchor your live plants into the soil or tie them to the wood using clear fishing line.
- Install the filter and heater, hiding them behind the taller plants or wood pieces to maintain the ‘natural’ aesthetic, and let the tank ‘cycle’ for at least two weeks to establish healthy bacteria.
- Slowly introduce your fish, acclimating them to the water temperature by floating their bags for 20 minutes before releasing them into their new, serene sanctuary.
How to Grow a Sustainable Kitchen Garden for Fresh Organic Herbs

Why we love this
There is a unique, earthy satisfaction in snipping fresh herbs directly from your windowsill while you cook, the peppery aroma of basil and the sharp scent of rosemary filling the kitchen. We love the sustainable loop of growing your own food, where small terracotta pots and organic soil turn a sunny corner into a functional, fragrant paradise. It’s a daily reminder of our connection to nature, offering a burst of flavor and a touch of vibrant green life that elevates even the simplest homemade pasta or morning tea.
Essential Elements:
- Terracotta or ceramic pots with drainage holes
- Organic, peat-free potting mix
- High-quality heirloom herb seeds (Basil, Mint, Thyme)
- Small watering can with a fine rose spout
- Natural liquid seaweed fertilizer
How to make it
- Select a south-facing windowsill that receives at least six hours of bright, indirect sunlight daily; if your kitchen is dark, consider a small, sleek LED grow light to supplement.
- Fill your pots with pre-moistened organic soil, leaving about an inch of space at the top to prevent overflow when watering, and press the soil down lightly to remove large air pockets.
- Sow your seeds at the depth recommended on the packet—usually quite shallow for herbs—and mist the surface gently with a spray bottle to keep the seeds in place.
- Water your herbs only when the top inch of soil feels dry to the touch; overwatering is the most common mistake, so look for slightly drooping leaves as a sign it’s time for a drink.
- Harvest your herbs by snipping the top leaves just above a node (where new leaves are growing), which encourages the plant to grow bushier and more productive over time.
Conclusion: The Art of Living Well
Mastering the modern aesthetic isn’t about achieving perfection; it’s about the joy of the process. Whether you’re feeling the grit of soil between your fingers in a kitchen garden or the smooth texture of a new desk mat, these moments of curation are what make a house feel like a home. By focusing on sensory details and intentional choices, you can create a lifestyle that is as beautiful to live in as it is to look at. Take it one corner at a time, and watch as your world transforms into a curated edit of your very best self.