
The Contemporary Curator: Home and Garden Trends for the Modern Dweller
There is a unique kind of magic that happens when a house finally begins to feel like a home. It’s in the way the morning light catches the dust motes dancing over a perfectly organized desk, or the scent of damp earth and lavender that greets you when you step onto a freshly landscaped porch. For the modern dweller, our spaces are more than just four walls; they are a living, breathing extension of our personalities and a sanctuary from the relentless pace of the outside world.
As we navigate the intersection of functionality and aesthetics, the art of curation becomes our most powerful tool. Whether you are looking to transform a tiny apartment into a whimsical escape or turn a patch of backyard grass into a high-end retreat, the secret lies in the details. In this guide, we are diving deep into the trends that define contemporary living—blending the tactile beauty of nature with the sleek sophistication of modern technology to help you curate a life that feels as good as it looks.
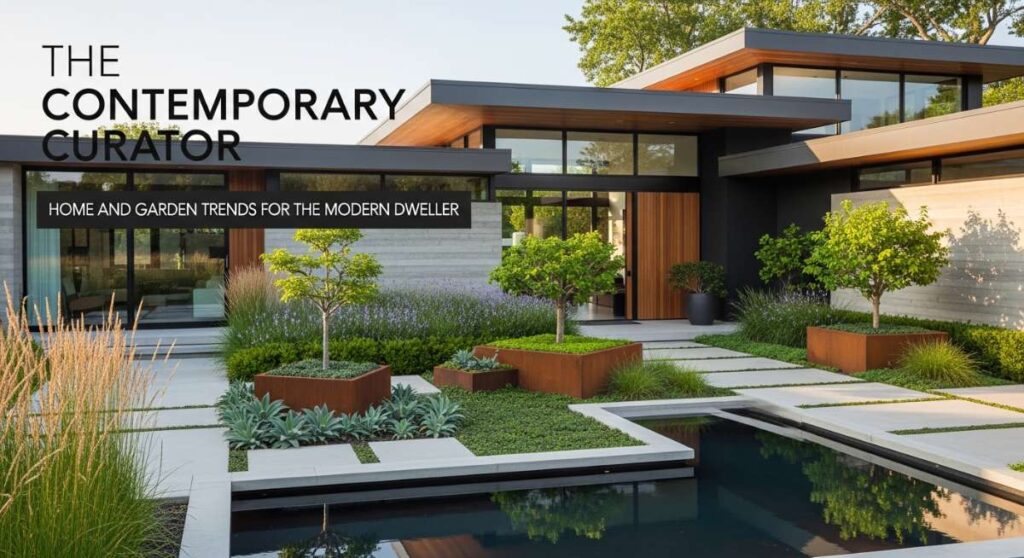
How to Design Simple Landscaping for a Gorgeous Front Yard
Why we love this
A simple front yard design is the ultimate breath of fresh air, offering a clean and sophisticated greeting every time you pull into the driveway. We adore the sensory contrast between the crunchy, earthy texture of dark cedar mulch and the waxy, vibrant green leaves of manicured boxwoods. When the sun sets, the soft glow of path lights creates a rhythmic play of light and shadow that feels both expensive and peaceful. It’s about stripping away the clutter to let the organic beauty of architectural plants and natural stone textures shine through with effortless elegance.
Essential Elements:
- Hardy Boxwood shrubs or Hostas
- Premium dark brown or black cedar mulch
- Natural river stones or slate chipping
- Low-voltage solar pathway lighting
- A focal point tree, such as a Japanese Maple
How to make it
- Begin by defining your borders using a garden hose to visualize curved, organic lines, then use a sharp spade to cut a crisp edge into the turf to prevent grass from encroaching.
- Clear the area of all weeds and old debris, ensuring the soil is leveled and slightly sloped away from your home’s foundation to manage drainage effectively.
- Space your primary shrubs (like Boxwoods) at least 24 inches apart to allow for growth; when planting, dig a hole twice as wide as the root ball and backfill with a mix of native soil and organic compost for a nutrient boost.
- Lay down a professional-grade weed barrier fabric, securing it with landscape staples, before spreading a consistent 3-inch layer of mulch to lock in moisture and suppress unwanted growth.
- Position your solar lights at 3-foot intervals along the path, angling them slightly toward the foliage to create a dramatic ‘uplighting’ effect that highlights the textures of your plants at night.
How to Curate Office Desk Setups for a Productive Work Cubicle

Why we love this
Stepping into a curated cubicle feels like entering a private cockpit of productivity and inspiration. We love the tactile satisfaction of a felt desk mat against the skin and the warm, golden glow of a task lamp that cuts through harsh overhead fluorescent lighting. There is a specific, calming aroma that comes from a small desktop diffuser or a fresh eucalyptus sprig that transforms a sterile workspace into a sensory retreat. It’s about creating a visual rhythm where every cord is tucked away and every object serves a purpose, allowing your mind to focus solely on the task at hand.
Essential Elements:
- Ergonomic monitor riser in wood or acrylic
- Large wool felt desk mat
- Dimmable warm-toned LED desk lamp
- Noise-canceling headphone stand
- Small potted succulent or air plant
How to make it
- Start with a total ‘tabula rasa’ by clearing everything off the desk and wiping down the surface with an anti-static cleaner to remove dust and grime.
- Position your monitor riser directly in front of your eye line; the top third of your screen should be at eye level to prevent neck strain during long sessions.
- Implement cable management by using adhesive clips under the desk surface and a weighted cable hub on top to keep charging cords from slipping behind the furniture.
- Layer your textures by placing a felt or leather mat down first, which serves to dampen the sound of typing and provides a soft surface for your wrists and mouse movement.
- Add a ‘life element’ like a low-maintenance Snake Plant or Pothos in a ceramic pot to improve air quality and provide a visual ‘reset’ point for your eyes during breaks.
How to Integrate JBL Speakers for a High Fidelity Sound Room

Why we love this
There is nothing quite like the immersive experience of a high-fidelity sound room where the bass is felt in your chest and the highs are as crisp as breaking glass. We love the iconic, rugged aesthetic of JBL speakers—their textured grilles and bold silhouettes act as functional art pieces in a modern room. The sound is warm, expansive, and deeply emotive, filling every corner of the space with a rich sonic landscape that makes you feel like you’re sitting in the front row of a private concert. It’s the ultimate luxury for the ears and the eyes alike.
Essential Elements:
- JBL L-Series or Authentics speakers
- Vibration-dampening speaker stands
- High-quality copper speaker wire (if passive)
- Acoustic foam panels or heavy velvet curtains
- A dedicated analog or digital preamp
How to make it
- Identify the ‘sweet spot’ in your room by placing your speakers at the two points of an equilateral triangle, with your primary listening chair being the third point.
- Toe-in the speakers by angling them slightly inward toward your ears; this sharpens the stereo imaging and ensures you receive the full frequency range directly.
- Decouple the speakers from the floor or bookshelves using foam isolation pads or spiked stands to prevent low-end frequencies from vibrating the furniture, which can muddy the sound.
- Manage room acoustics by placing soft materials, like a thick shag rug or wall-mounted acoustic tiles, at the ‘first reflection points’ on the side walls to reduce echo.
- Calibrate your levels using a dedicated app or your preamp’s built-in EQ, ensuring the crossover frequency is set correctly so the speakers and subwoofers work in perfect harmony.
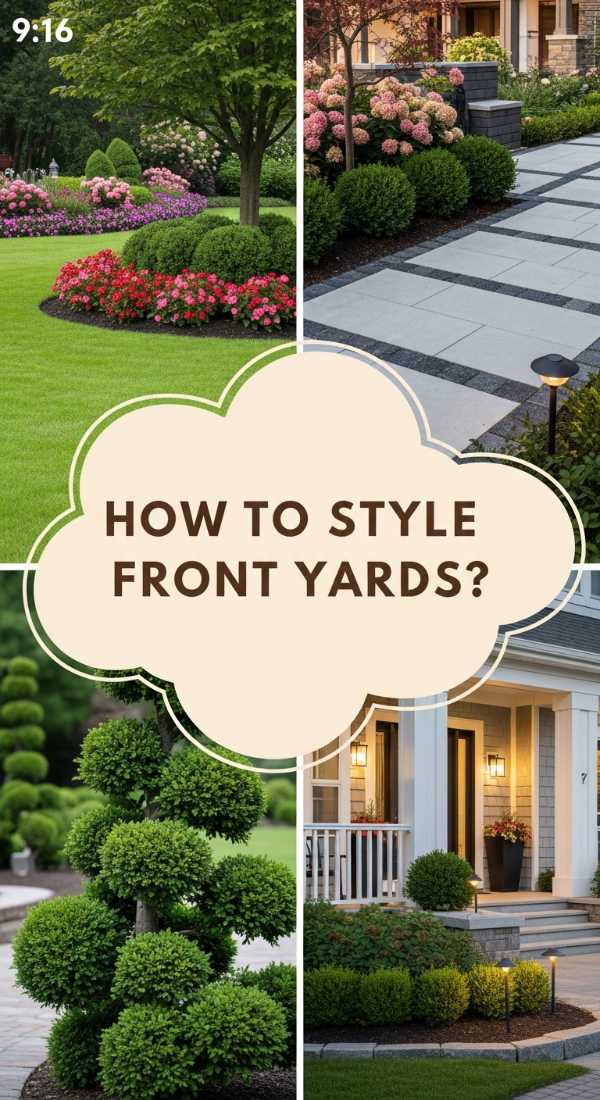
How to Build Cheap Pool Decks for an Affordable Backyard Oasis
Why we love this
The dream of a poolside retreat shouldn’t be reserved for the elite, and we are obsessed with the rugged, lived-in charm of a budget-friendly DIY deck. There is a wonderful, sun-warmed scent of pressure-treated pine and the cooling sensation of bare feet on smooth, stained wood after a dip in the water. These decks offer a sense of accomplishment and a rustic, bohemian vibe that feels approachable and cozy. It turns a standard above-ground pool into a destination, creating a platform for sunbathing, laughter, and ice-cold drinks under the summer sun.
Essential Elements:
- Pressure-treated 2×4 and 5/4 decking boards
- Pre-fabricated deck blocks
- Galvanized deck screws
- Weather-resistant wood stain or sealant
- Solar-powered deck post caps
How to make it
- Level the ground around the pool perimeter using a rake and a spirit level, then lay down a layer of pea gravel to prevent weeds and provide a stable base for your deck blocks.
- Place your deck blocks in a grid pattern, ensuring they are perfectly aligned; these act as the foundation, meaning you don’t have to dig post holes or pour concrete.
- Construct the outer frame using pressure-treated 2×6 joists, securing them with heavy-duty lag bolts, and check for levelness multiple times to ensure the deck won’t slope toward or away from the pool.
- Install the decking boards with a 1/8-inch gap between them (using a nail as a spacer) to allow for wood expansion and water drainage; use two screws per joist to prevent warping.
- Sand any rough edges or splinters with 80-grit sandpaper before applying a high-quality semi-transparent stain, which protects the wood from UV damage and moisture while letting the natural grain show through.
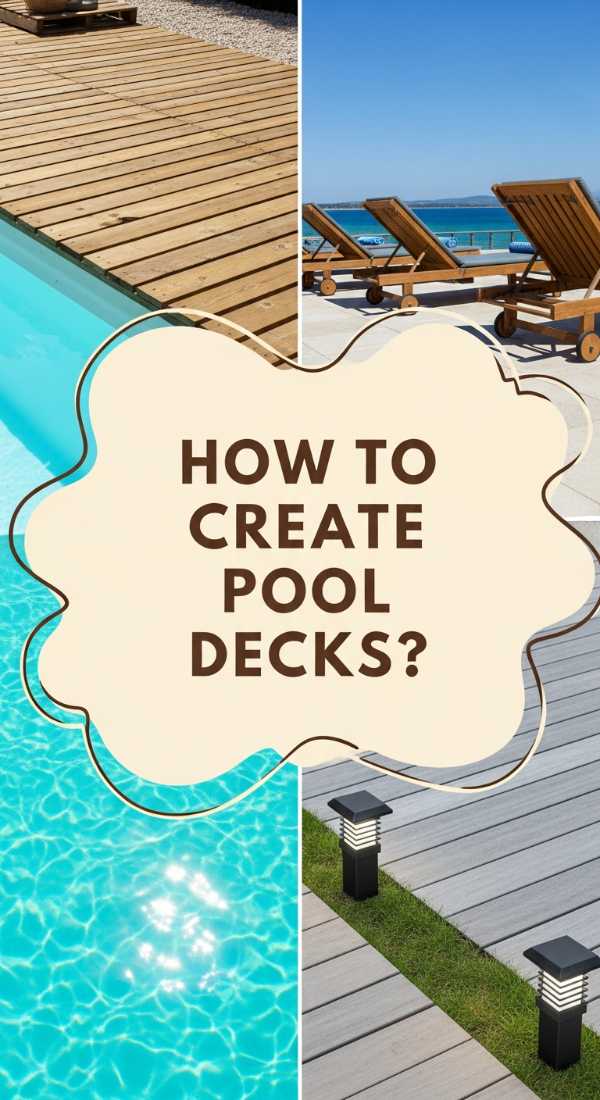
How to Install Vinyl Lattice Panels for a Secluded Garden Retreat
Why we love this
Vinyl lattice is the secret weapon of the private garden, offering an instant sense of seclusion without feeling claustrophobic. We love the clean, crisp lines of the white or slate-gray diamond patterns and the way they provide a sturdy skeleton for climbing roses or fragrant jasmine. There is a romantic, secret-garden quality to sitting behind a lattice screen where the breeze still flows through, but the prying eyes of the neighborhood are blocked out. It’s a low-maintenance way to add vertical interest and architectural depth to any outdoor space.
Essential Elements:
- Heavy-duty vinyl lattice panels
- Vinyl U-channel molding and H-channel connectors
- Pressure-treated 4×4 posts
- Stainless steel screws with color-matched caps
- Climbing plants like Clematis or Wisteria
How to make it
- Install your vertical support posts first, ensuring they are set at least 2 feet deep in concrete and spaced exactly the width of your lattice panels plus the width of the molding.
- Attach the vinyl U-channel molding to the inside of your posts and horizontal rails using small stainless steel screws; this channel allows the lattice to float and expand.
- Slide the lattice panel into the channels, leaving a 1/4-inch gap at the top and sides within the channel to accommodate thermal expansion during hot summer days.
- Secure the lattice by drilling ‘oversized’ pilot holes through the lattice and into the frame, then driving screws in loosely; this prevents the vinyl from buckling or cracking as it moves.
- Finish the look by planting fast-growing vines at the base; as they grow, weave the young tendrils through the lattice holes to encourage them to climb upward and create a living wall.
How to Arrange Summer Table Centerpieces for an Elegant Garden Party

Why we love this
A summer centerpiece is the heartbeat of an outdoor gathering, a sensory explosion that ties the table to the surrounding garden. We love the vibrant pop of sliced lemons submerged in water, the delicate, papery texture of hydrangea petals, and the heady, sweet aroma of fresh basil tucked into floral arrangements. It’s about capturing the essence of the season—the bright colors, the freshness of the air, and the effortless grace of nature—and bringing it right to the eye level of your guests for an unforgettable dining experience.
Essential Elements:
- Low-profile wooden trough or ceramic vessels
- Fresh-cut seasonal flowers (Peonies, Zinnias)
- Fresh citrus fruits (Lemons, Limes, Oranges)
- Unscented pillar candles or fairy lights
- Natural linen table runner
How to make it
- Start with a ‘base layer’ by laying a wrinkled linen runner down the center of the table to provide texture and protect the wood from moisture.
- If using a clear vase, slice lemons or limes into thin rounds and press them against the glass walls before filling with water and inserting your flowers; this hides the stems and adds a citrusy punch.
- Create an ‘S-curve’ arrangement by placing your largest ‘thriller’ flowers in the center and allowing smaller ‘spiller’ greenery or vines to drape off the ends of the vessel onto the table.
- Integrate height variation by nesting different-sized candles among the greenery; ensure they are unscented so they don’t compete with the aroma of the food or flowers.
- Finalize the look by scattering a few loose elements—like individual flower heads or small river stones—directly onto the runner around the base of the centerpiece to create a more organic, ‘found’ aesthetic.
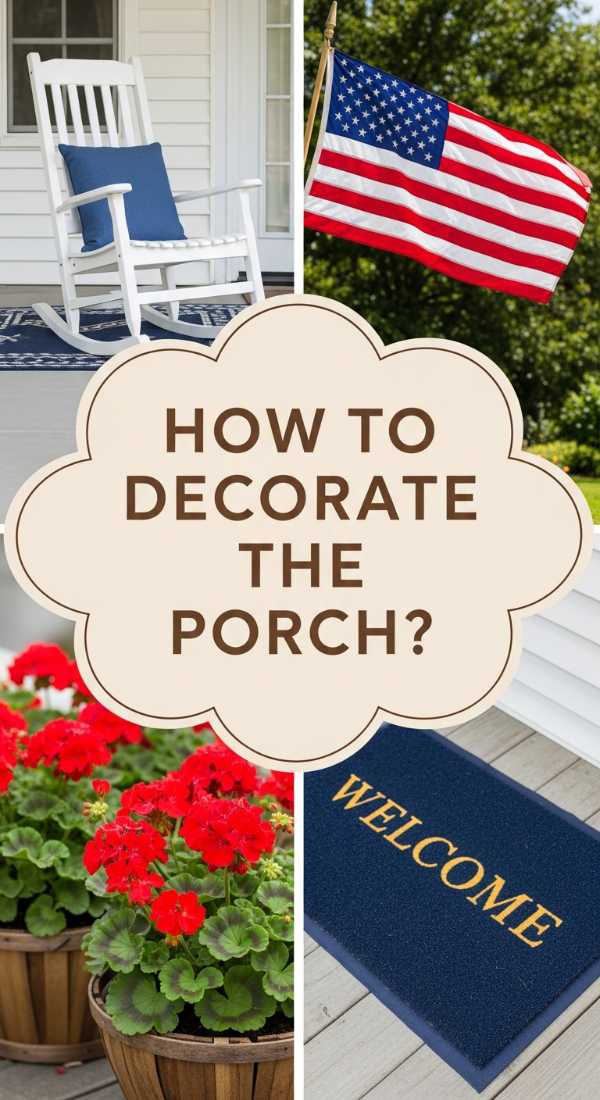
How to Style a Patriotic Front Porch for a Timeless Festive Look
Why we love this
There is a classic, nostalgic beauty in a patriotic porch that feels like a warm embrace from a bygone era. We love the crisp contrast of deep navy, stark white, and vibrant crimson against a neutral house color, and the gentle rustle of a heavy cotton flag in the breeze. The scent of blooming geraniums in wicker baskets and the sight of a weathered rocking chair create an atmosphere of timeless comfort and pride. It’s a celebration of heritage that feels sophisticated and welcoming, rather than cluttered or over-the-top.
Essential Elements:
- High-quality embroidered American flag
- Bunting or pleated fans for the railings
- Red geraniums in classic navy blue pots
- Woven wicker or wooden rocking chairs
- Outdoor throw pillows in stars and stripes patterns
How to make it
- Mount your flag holder at a 45-degree angle on a sturdy porch pillar, ensuring the flag has enough clearance to hang freely without touching any bushes or the roofline.
- Attach pleated bunting fans to the top rail of your porch, using zip ties hidden behind the fabric to ensure they stay taut and centered throughout the season.
- Symmetrically place two large navy blue ceramic planters on either side of the front door, filling them with bright red geraniums for a ‘pop’ of living color that anchors the space.
- Layer your textiles by placing a neutral jute rug down first, followed by a smaller, festive ‘Welcome’ mat to create depth and a high-end, layered look at the entryway.
- Add a final touch of Americana with a set of vintage-style lanterns or a wooden ‘USA’ sign leaning against the house wall, blending the festive theme with your year-round decor.
How to Achieve a Whimsical Apartment Aesthetic for a Dreamy Living Space

Why we love this
The whimsical aesthetic is all about breaking the rules and embracing the ethereal, turning a standard apartment into a storybook escape. We are enchanted by the soft, diffused glow of fairy lights hidden behind sheer curtains and the eclectic mix of velvet textures and brass accents. There’s a playful, ‘lived-in’ magic here—the scent of vanilla candles, the sight of hanging ivy trailing down bookshelves, and the cozy clutter of thrifted treasures. It’s a style that celebrates the imagination, making even the smallest studio feel like a sprawling, enchanted manor.
Essential Elements:
- Warm-toned fairy lights or ‘curtain’ lights
- Sheer voile or lace window treatments
- Mismatched vintage frames and art
- Velvet floor pillows and textured throws
- Hanging macramé plant holders
How to make it
- Create ‘mood lighting’ by ditching the big overhead light; instead, string warm LED fairy lights along the ceiling perimeter or behind your headboard to create a soft, ethereal glow.
- Layer your windows with sheer, lightweight fabrics that allow natural light to filter in while providing a soft-focus effect on the view outside, enhancing the ‘dreamy’ vibe.
- Install a ‘gallery wall’ with an intentional lack of symmetry, mixing ornate gold frames with simple wooden ones and incorporating 3D elements like dried flower hoops or small mirrors.
- Maximize vertical space by hanging plants at different heights using macramé hangers; choose trailing varieties like String of Pearls or Heartleaf Philodendron to create a ‘jungle’ effect.
- Incorporate ‘hidden’ details like a tray of crystals on a coffee table or a vintage trunk used as a side table, which adds a sense of history and mystery to the contemporary space.
How to Design Aquarium Setups for a Serene Living Room Focal Point

Why we love this
An expertly designed aquarium is more than just a pet habitat; it is a living piece of kinetic art that brings the calming pulse of the ocean into your home. We love the hypnotic dance of silver fish through vibrant green Java moss and the soft, rhythmic bubbling of the filtration system that acts as a natural white noise machine. The visual depth of the aquascape—with its rugged dragon stones and fine white sand—creates a sense of infinite discovery that pulls the viewer into a state of deep relaxation. It is a stunning, glowing focal point that breathes life into any room.
Essential Elements:
- Rimless glass aquarium tank
- LED lighting with ‘sunrise/sunset’ modes
- Live aquatic plants (Anubias, Moss balls)
- Natural driftwood and Ohko (Dragon) stone
- High-quality substrate (Aqua-soil)
How to make it
- Start with ‘hardscaping’ by placing your largest pieces of driftwood or stone first, following the ‘Rule of Thirds’ to create a visually balanced but naturally asymmetrical landscape.
- Add your substrate, sloping it from the back of the tank down toward the front; this creates an illusion of greater depth and makes the tank feel much larger than it actually is.
- Slowly fill the tank halfway with dechlorinated water, pouring it over a saucer to avoid disturbing the sand, then use long aquascaping tweezers to tuck the roots of live plants into the soil.
- Install a high-quality canister filter and an adjustable LED light; set the light on a timer for 8 hours a day to encourage plant growth while preventing excessive algae buildup.
- Wait at least 2-4 weeks for the tank to ‘cycle’—allowing beneficial bacteria to establish—before introducing fish, ensuring the water chemistry is perfect for a thriving, healthy ecosystem.
How to Combine Simple Landscaping with Lattice for a Polished Perimeter

Why we love this
When clean landscaping meets the architectural detail of lattice, the result is a polished, professional perimeter that completely transforms a property’s ‘curb appeal.’ We love the interplay between the structured, geometric lines of the lattice and the soft, flowing textures of ornamental grasses planted at its base. There is a sense of completion and boundary that feels both secure and sophisticated, like a well-tailored suit for your home. It’s the ultimate way to hide unsightly foundations or AC units while adding a layer of high-end design that feels integrated and intentional.
Essential Elements:
- Horizontal or diamond vinyl lattice panels
- Dwarf fountain grass or Feather Reed grass
- Matching vinyl trim kits
- Consistent edging material (Brick or Metal)
- Low-voltage spotlighting for the lattice surface
How to make it
- Measure the height of your home’s exposed foundation or the area you wish to screen, and cut your lattice panels to size using a circular saw with a fine-tooth blade to prevent chipping.
- Mount the lattice to a simple 2×4 frame that is slightly offset from the wall, allowing for airflow behind the panel which prevents moisture buildup and mold on the house siding.
- Install a clean ‘mowing strip’ or border at the base of the lattice using decorative bricks or metal edging to separate the garden bed from the lawn.
- Plant a row of ornamental grasses—like ‘Karl Foerster’—directly in front of the lattice; their upright form complements the vertical lines of the screen while providing soft movement.
- Finish the installation by adding small, low-voltage spotlights at the base of the grasses, aimed upward to wash the lattice in light, creating a high-end architectural look after dark.
Conclusion
Curating a home is a journey, not a destination. It’s about making choices that resonate with your spirit and provide comfort to your daily life. Whether it’s the high-fidelity sound of a JBL speaker or the quiet rustle of a lattice-enclosed garden, these modern trends are designed to help you build a space that is uniquely yours. Start small, focus on the details, and watch as your home transforms into a modern sanctuary.