
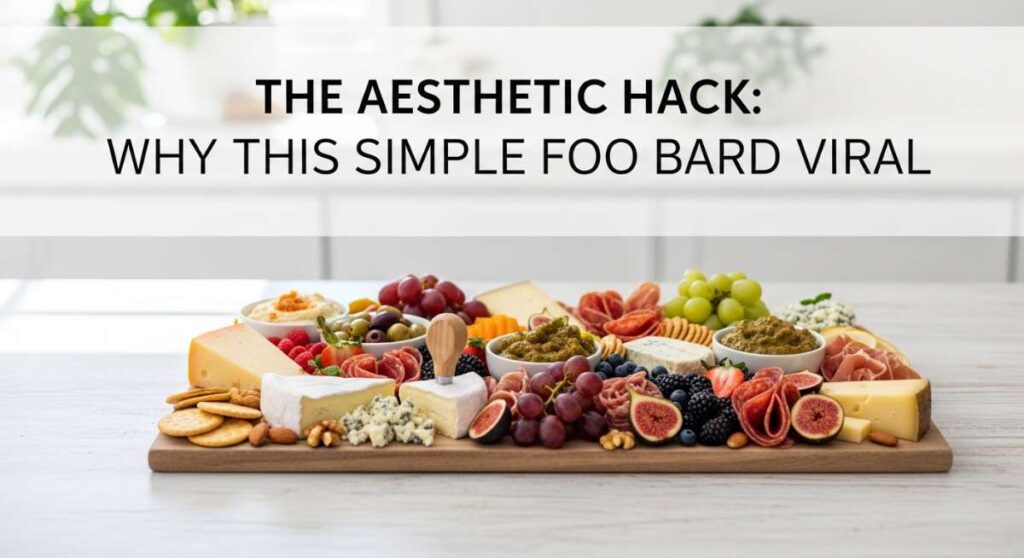
Have you ever walked into a room and felt an immediate sense of warmth just by looking at a table spread? That’s the magic of the ‘Simple Food Board’—the viral trend that has taken my social feeds by storm. It’s not just about the food; it’s about the art of grazing, the effortless beauty of colors clashing in the best way possible, and the realization that you don’t need a five-course meal to host a memorable evening. It’s the ultimate lifestyle hack for the busy soul who still craves a touch of luxury.
Last Friday, I decided to test the waters with my own board. As I laid out the textures—the velvety creams, the snap of dark chocolate, and the brightness of fresh berries—I realized why this went viral. There is something deeply human about sharing small bites. It invites conversation, slows down the clock, and turns a simple snack into an aesthetic experience. Whether you’re hosting a girl’s night or just treating yourself on a Tuesday, this board is your new best friend.
This post is your ultimate guide to recreating that viral magic. I’ve curated ten of the most requested, most aesthetic treats that fit perfectly onto a grazing board. From the rich indulgence of lava cakes to the refreshing bite of a fruit tart, these recipes are designed to make your table look like a Pinterest dream. Let’s dive into the sweetness and transform your next gathering into a viral-worthy event.
How to make no bake cheesecake?

Why we love this
There is a specific kind of magic in a dessert that requires zero oven time but tastes like a professional pastry chef spent hours on it. This no-bake cheesecake is the epitome of velvety indulgence, featuring a buttery, salty graham cracker crust that provides the perfect anchor for the cloud-like filling. As you take a bite, the tanginess of the cream cheese hits your palate first, followed by the subtle, floral notes of high-quality vanilla bean. The texture is incredibly smooth, melting away slowly and leaving a rich, creamy coating that makes you want to close your eyes and savor every single second of the experience.
Ingredients
- 2 cups graham cracker crumbs
- 1/2 cup unsalted butter, melted
- 16 oz cream cheese, softened
- 1 cup powdered sugar
- 1 tsp vanilla extract
- 1 1/2 cups heavy cream, chilled
How to make it
- Begin by preparing your base. In a medium-sized bowl, combine the graham cracker crumbs with the melted butter. Use a fork to ensure every crumb is hydrated; the texture should resemble wet sand. Press this mixture firmly into the bottom of an 8-inch springform pan, using the bottom of a flat glass to ensure evenness and a solid structure. Chill in the freezer for 15 minutes.
- In a large mixing bowl, beat the softened cream cheese using an electric mixer on medium-high speed. You are looking for a completely smooth, lump-free consistency. Gradually sift in the powdered sugar and add the vanilla extract, continuing to beat until the mixture is light and fluffy.
- In a separate, chilled bowl, whip the heavy cream until it forms stiff peaks. This is the secret to the cheesecake’s structure. Be careful not to over-whip, or it will turn into butter; you want it to hold its shape firmly when the whisk is lifted.
- Gently fold the whipped cream into the cream cheese mixture using a rubber spatula. Use a slow ‘over-and-under’ motion to keep the air in the batter. Once combined, pour the mixture over the chilled crust and smooth the top with an offset spatula.
- Refrigerate for at least 6 hours, though overnight is best for the flavors to meld and the structure to fully set. Top with fresh berries or a drizzle of caramel before serving.
How to bake gooey chocolate brownies?
Why we love this
A truly great brownie is a multi-sensory journey, starting with that iconic paper-thin, crinkly top that shatters under the slightest pressure from your fork. Beneath that delicate crust lies a heart of molten darkness—a center so dense and fudgy that it borders on truffle territory. The aroma of toasted cocoa and browned butter fills the kitchen, promising a deep, bittersweet flavor profile that isn’t just sugary, but complex. Every bite offers a contrast between the slightly chewy, caramelized edges and the soft, decadent middle that sticks to the roof of your mouth in the most satisfying way possible.
Ingredients
- 1 cup unsalted butter, melted and browned
- 2 cups granulated sugar
- 3 large eggs, room temperature
- 1 tsp espresso powder
- 3/4 cup Dutch-processed cocoa powder
- 1/2 cup all-purpose flour
- 1 cup semi-sweet chocolate chunks
- 1/2 tsp sea salt
How to make it
- Preheat your oven to 350°F (175°C) and line an 8×8 inch baking pan with parchment paper, leaving an overhang on the sides for easy removal. Brown your butter in a saucepan over medium heat until it smells nutty and shows little golden specks; this adds a massive depth of flavor.
- In a large bowl, whisk the melted brown butter and granulated sugar vigorously for about 2 minutes. This aeration is what creates the crinkly top. Add the eggs one at a time, whisking thoroughly after each addition until the batter looks glossy and slightly pale.
- Sift in the cocoa powder, flour, espresso powder, and salt. Switch to a spatula and fold the dry ingredients into the wet just until no streaks of white remain. Over-mixing at this stage will make the brownies cakey rather than fudgy, so be gentle.
- Fold in the chocolate chunks. Pour the thick batter into the prepared pan and spread it into the corners. Smooth the top and sprinkle with a little extra sea salt if you like that salty-sweet balance.
- Bake for 25-30 minutes. The key is to look for slightly set edges and a center that still has a very slight jiggle. Do not overbake! Let them cool completely in the pan to allow the structure to set before lifting them out and slicing into squares.
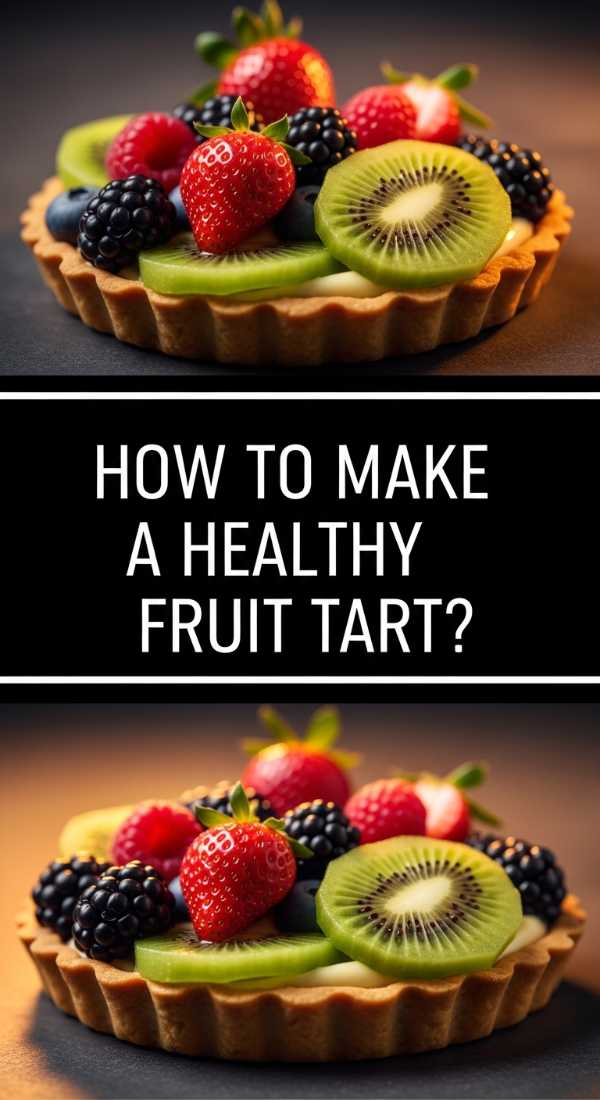
How to make healthy fruit tart?
Why we love this
This fruit tart is a vibrant celebration of nature’s candy, offering a refreshing break from the heavier desserts on the board. The base is a nutty, crisp crust made from almonds and oats, providing a satisfying snap that echoes the freshness of the toppings. Topped with a layer of cool, honey-sweetened Greek yogurt, it acts as a creamy canvas for a kaleidoscope of seasonal fruits. Each bite is a burst of juice and bright acidity, perfectly balanced by the earthy crust and the smooth, probiotic-rich filling. It’s light, guilt-free, and looks like a piece of edible art that brightens the entire table.
Ingredients
- 1 1/2 cups almond flour
- 1/2 cup rolled oats
- 3 tbsp maple syrup
- 2 tbsp coconut oil, melted
- 1 cup Greek yogurt (plain or vanilla)
- 2 cups mixed fresh fruit (strawberries, kiwi, blueberries)
- 1 tbsp honey for glazing
How to make it
- Start by preheating your oven to 350°F (175°C). In a bowl, mix the almond flour, rolled oats, maple syrup, and melted coconut oil until it forms a cohesive, slightly sticky dough. Press this firmly into the bottom and sides of a tart pan with a removable bottom.
- Bake the crust for 12-15 minutes or until it turns a light golden brown and smells like toasted nuts. It’s crucial to let the crust cool completely before adding the filling, otherwise, the yogurt will melt and create a soggy base.
- Once the crust is cool, spread the Greek yogurt evenly across the bottom. If using plain yogurt, you can stir in a teaspoon of honey or vanilla extract beforehand to add a bit more sweetness.
- Slice your fruit into uniform shapes. Arrange them in concentric circles starting from the outside edge and working your way in. This geometric pattern is what gives the tart its ‘viral’ aesthetic.
- In a small bowl, warm a tablespoon of honey for 10 seconds in the microwave. Use a pastry brush to lightly glaze the fruit. This gives it a professional shine and keeps the fruit looking fresh for hours. Serve immediately or chill for 30 minutes.
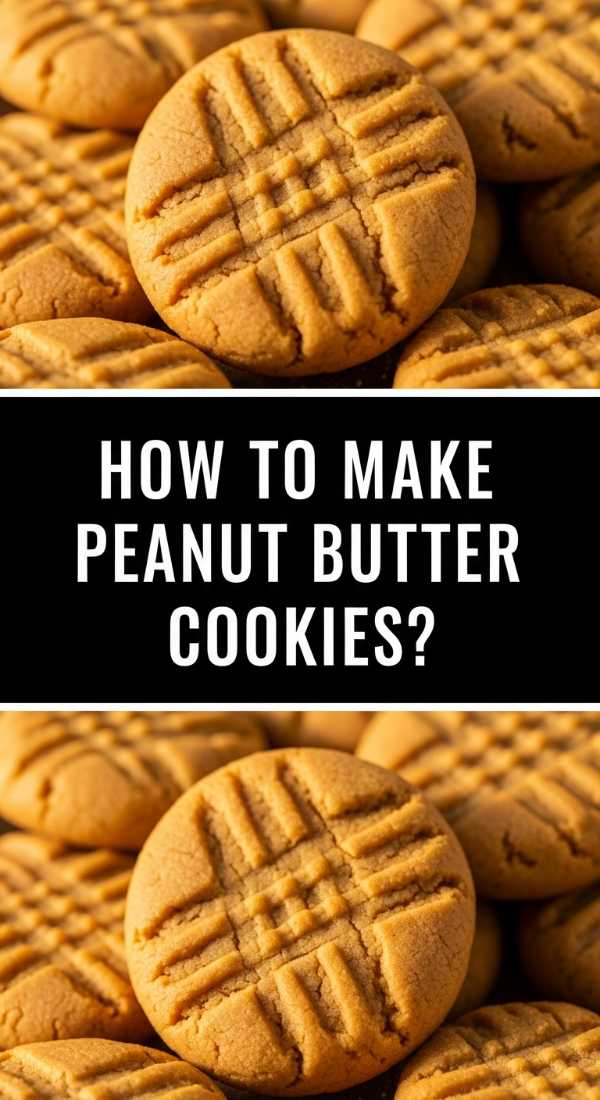
How to make peanut butter cookies?
Why we love this
There is something timeless and comforting about the smell of peanut butter cookies wafting through a home. These aren’t your average dry cookies; these are soft, chewy, and boast those iconic fork-cross patterns that scream nostalgia. The edges are slightly crisp and caramelized, while the centers remain tender and packed with protein-rich nuttiness. The aroma is a warm hug of roasted peanuts and toasted sugar, creating a scent that lingers in the air and draws everyone to the kitchen. They are the perfect balance of salty and sweet, making them an addictive addition to any food board.
Ingredients
- 1 cup creamy peanut butter
- 3/4 cup brown sugar
- 1 large egg
- 1 tsp baking soda
- 1/2 tsp vanilla extract
- Pinch of sea salt
How to make it
- Preheat your oven to 350°F (175°C) and line a large baking sheet with parchment paper. This recipe is naturally gluten-free as it uses no flour, which makes the texture incredibly soft.
- In a medium mixing bowl, combine the peanut butter, brown sugar, egg, baking soda, and vanilla. Stir with a wooden spoon until the mixture is completely combined and forms a thick, slightly oily dough. The sugar should be well-incorporated so you don’t get grainy bites.
- Scoop about a tablespoon of dough at a time and roll it into a ball between your palms. Place the balls on the baking sheet about 2 inches apart, as they will spread slightly during baking.
- Using the tines of a fork, press down on each ball to create a criss-cross pattern. Press once vertically and once horizontally. This isn’t just for looks; it helps the dense dough bake evenly.
- Bake for 8-10 minutes. The cookies will look slightly underdone and very soft when you take them out—this is exactly what you want. Let them cool on the baking sheet for at least 10 minutes to firm up before moving them to a wire rack. This patience ensures a perfect chewy texture.
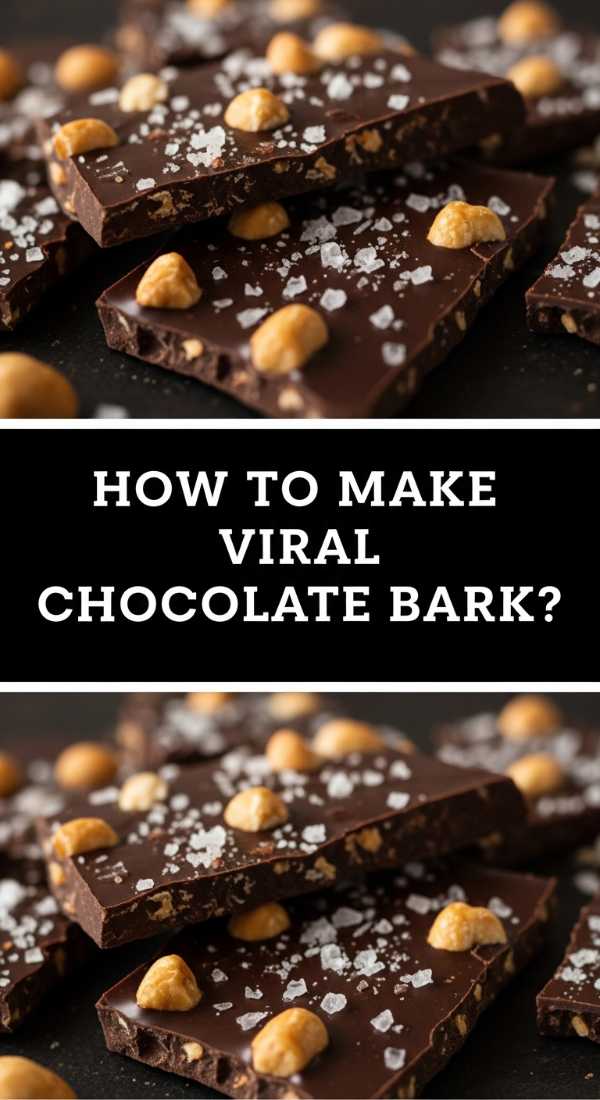
How to make viral chocolate bark?
Why we love this
Chocolate bark is the ultimate ‘freestyle’ dessert, and that’s exactly why it went viral. It’s a jagged, beautiful mess of high-quality dark chocolate studded with a variety of textures: the crunch of toasted pistachios, the chew of dried cranberries, and the sharp, crystalline finish of flaky sea salt. Breaking it into uneven shards is incredibly satisfying, and the visual of the colorful toppings embedded in the dark, glossy chocolate is stunning. It’s a sophisticated treat that feels like something from a high-end boutique, offering a complex flavor profile that changes with every single bite you take.
Ingredients
- 12 oz high-quality dark chocolate (60-70% cocoa)
- 1/4 cup crushed pistachios
- 1/4 cup dried cranberries or cherries
- 1 tbsp shredded coconut
- 1 tsp flaky sea salt
How to make it
- Prepare a baking sheet by lining it with parchment paper or a silicone baking mat. It is vital that the surface is flat so the chocolate sets in an even layer.
- Chop the dark chocolate into uniform pieces. Melt two-thirds of the chocolate in a heat-proof bowl over a pot of simmering water (a double boiler). Stir constantly until smooth. Once melted, remove from heat and stir in the remaining one-third of the chocolate; this ‘seed’ method helps temper the chocolate for a shiny finish and a crisp snap.
- Pour the melted chocolate onto the parchment paper. Use a spatula to spread it into a rectangle about 1/4 inch thick. Don’t worry about making the edges perfect; the rustic look is part of the charm.
- Immediately sprinkle your toppings over the wet chocolate. Start with the larger items like pistachios and cranberries, then finish with the coconut and a generous sprinkle of flaky sea salt. Press down very lightly with your fingertips to ensure the toppings are anchored.
- Let the bark sit at room temperature for about 2-3 hours until completely firm, or place it in the fridge for 30 minutes if you’re in a hurry. Once set, use your hands to snap it into irregular, large shards. Store in a cool place to maintain that ‘snap’ factor.
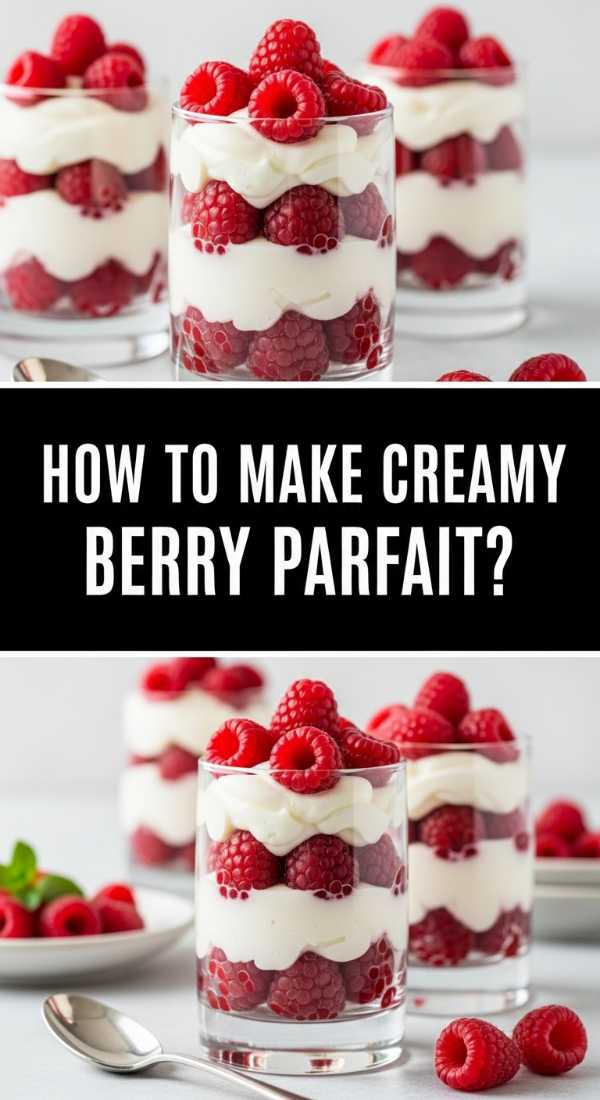
How to make creamy berry parfait?
Why we love this
The berry parfait is a masterclass in layering textures and temperatures. Imagine digging your spoon through a cloud of whipped cream, only to hit a pocket of tart, macerated raspberries and the crunch of toasted granola. It’s light, airy, and bursting with the freshness of summer. The visual of the distinct red, white, and golden layers viewed through a clear glass is enough to make anyone stop and stare. It’s the kind of dish that feels indulgent but leaves you feeling energized, with the natural sweetness of the berries providing a bright, clean finish to the palate.
Ingredients
- 2 cups fresh mixed berries (raspberries, blackberries, blueberries)
- 2 cups heavy whipping cream
- 1/4 cup powdered sugar
- 1 cup honey-toasted granola
- Fresh mint for garnish
How to make it
- Wash your berries and pat them dry. In a small bowl, take half of the berries and lightly crush them with a fork and a teaspoon of sugar. This creates a natural ‘syrup’ that will seep into the other layers, adding moisture and intense fruit flavor.
- In a cold metal bowl, whisk the heavy cream and powdered sugar until stiff peaks form. The cold bowl helps the fat in the cream stay stable, resulting in a fluffier, more durable whipped cream. If you want a bit more tang, you can fold in a dollop of Greek yogurt.
- Select clear glasses or small jars for assembly. Start with a spoonful of the crushed berry mixture at the bottom, followed by a thick layer of whipped cream.
- Sprinkle a generous layer of granola over the cream. The granola provides a necessary textural contrast to the soft elements. Follow this with a layer of whole, fresh berries.
- Repeat the layers until the glass is full, finishing with a dollop of cream and a sprig of fresh mint. Serve immediately to keep the granola crunchy, or chill for up to an hour for a softer, more integrated dessert experience.
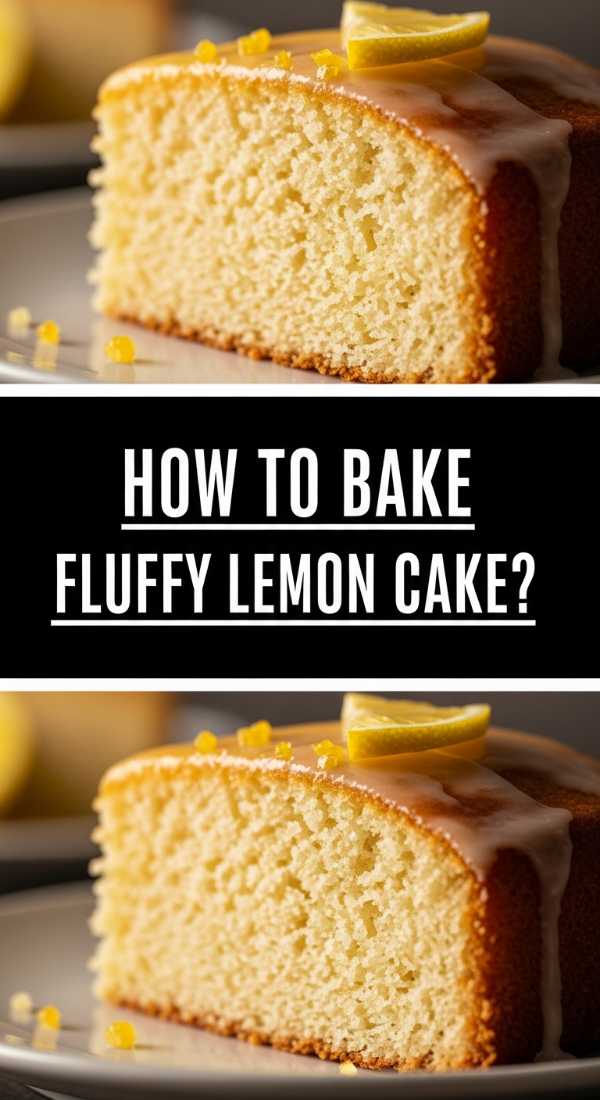
How to bake fluffy lemon cake?
Why we love this
This fluffy lemon cake is like a slice of pure sunshine. The crumb is incredibly tight yet airy, creating a sponge that feels like a marshmallow but holds its shape perfectly. As you slice into it, the zesty, citrusy aroma fills the room, instantly waking up your senses. The flavor is a sophisticated balance—tart enough to make your mouth water, but sweet enough to be a true dessert. Finished with a simple lemon glaze that seeps into the top of the cake, every bite is a moist, tangy explosion that cuts through the richness of other board items beautifully.
Ingredients
- 1 1/2 cups all-purpose flour
- 1 cup granulated sugar
- 1/2 cup unsalted butter, softened
- 2 large eggs
- 1/2 cup buttermilk
- Zest and juice of 2 large lemons
- 1 tsp baking powder
How to make it
- Preheat your oven to 350°F (175°C) and grease a loaf pan thoroughly. In a large bowl, cream together the softened butter and granulated sugar until the mixture is pale and extremely fluffy—this should take about 3-5 minutes of high-speed mixing.
- Add the eggs one at a time, beating well after each. Stir in the lemon zest. The oils in the zest are where the majority of the lemon flavor lives, so don’t skip this step!
- In a separate bowl, whisk together the flour, baking powder, and a pinch of salt. Gradually add the dry ingredients to the butter mixture, alternating with the buttermilk. Start and end with the flour. The buttermilk is key here as the acid reacts with the baking powder to create that signature fluffiness.
- Pour the batter into the pan and bake for 45-50 minutes. Check for doneness by inserting a toothpick into the center; it should come out clean or with just a few moist crumbs.
- While the cake is cooling, whisk together the juice of one lemon and 1/2 cup of powdered sugar to make a glaze. While the cake is still slightly warm, poke small holes in the top with a skewer and pour the glaze over. This allows the lemon flavor to penetrate deep into the sponge.
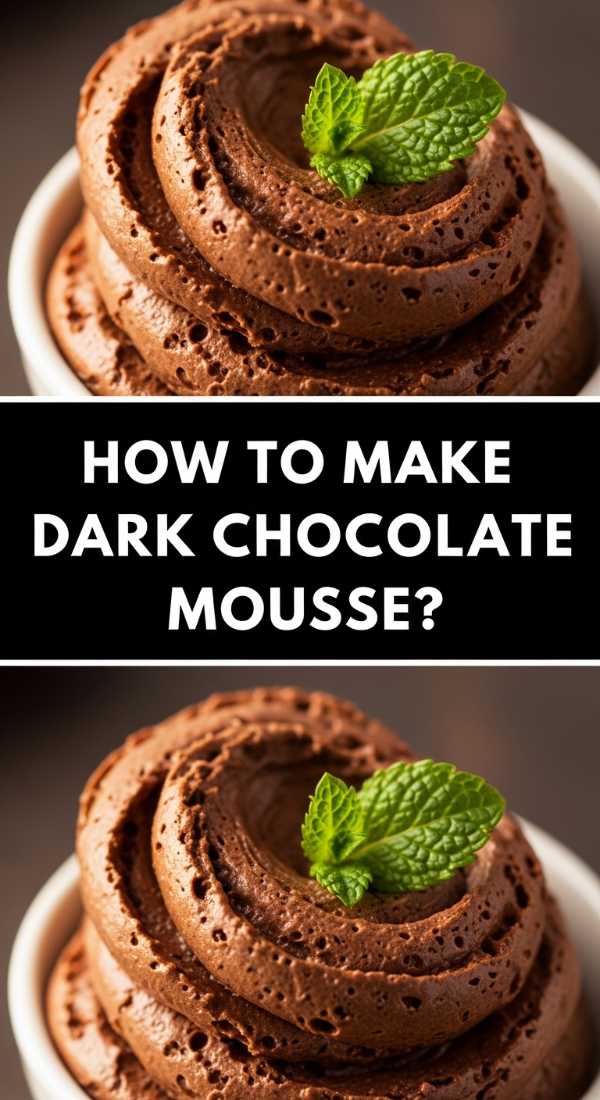
How to make dark chocolate mousse?
Why we love this
Dark chocolate mousse is the height of culinary elegance, a dessert that manages to be both light as air and incredibly rich at the same time. The texture is filled with tiny air bubbles that pop on your tongue, releasing a flood of deep, intense cocoa flavor. It isn’t overly sweet, allowing the fruity and earthy notes of the dark chocolate to shine through. The sensation of a spoonful of mousse dissolving instantly in your mouth is one of the most luxurious experiences in the world of sweets. It’s the perfect ‘sophisticated’ corner for your viral food board.
Ingredients
- 6 oz high-quality dark chocolate (70% cocoa)
- 3 large eggs, yolks and whites separated
- 1 cup heavy cream
- 2 tbsp granulated sugar
- 1/2 tsp vanilla extract
How to make it
- Melt the dark chocolate in a double boiler over low heat. Once smooth, remove from the heat and let it cool for about 5 minutes. You want it still liquid but not hot enough to scramble the egg yolks. Whisk in the egg yolks and vanilla until the mixture is thick and glossy.
- In a clean bowl, whisk the egg whites with 1 tablespoon of sugar until stiff peaks form. The whites should be firm enough that you can turn the bowl upside down without them falling out. This provides the ‘lift’ for the mousse.
- In another bowl, whip the heavy cream with the remaining tablespoon of sugar until it reaches soft peaks. Soft peaks are gently curled at the tip when the whisk is lifted.
- Gently fold the egg whites into the chocolate mixture using a rubber spatula. Once mostly incorporated, fold in the whipped cream. Work slowly and gently to preserve as many air bubbles as possible; this is what creates the ‘mousse’ texture.
- Spoon the mixture into small ramekins or decorative glasses. Chill in the refrigerator for at least 4 hours to allow the mousse to set. Serve with a single raspberry or a chocolate shaving on top for that extra aesthetic touch.
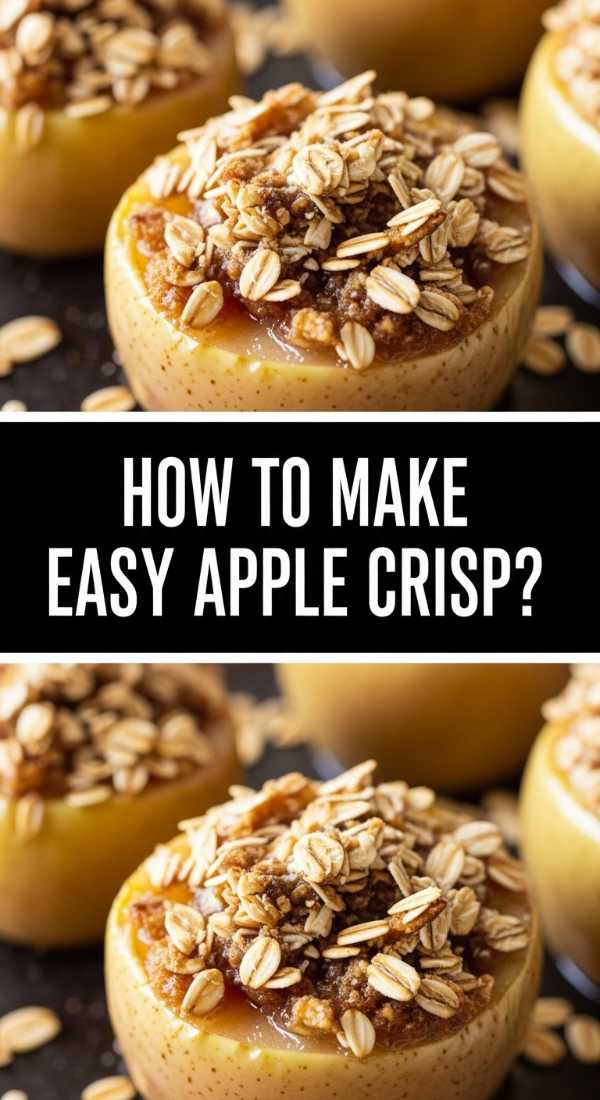
How to make easy apple crisp?
Why we love this
Apple crisp is the ultimate ‘comfort’ dish, offering a warm, rustic appeal that balances out the more delicate items on your board. The contrast between the soft, cinnamon-spiced apples that have broken down into a jammy consistency and the crunchy, buttery oat topping is legendary. As it bakes, the smell of bubbling fruit and warm spices like nutmeg and cloves creates an atmosphere of pure cozy bliss. It’s best served warm, providing a temperature contrast that feels like a literal hug for your tastebuds. It’s hearty, sweet, and wonderfully textured.
Ingredients
- 4 large Granny Smith apples, peeled and sliced
- 1/2 cup brown sugar
- 1 tsp cinnamon
- 1/2 cup rolled oats
- 1/2 cup all-purpose flour
- 1/4 cup cold unsalted butter, cubed
How to make it
- Preheat your oven to 375°F (190°C). In a large bowl, toss the sliced apples with half of the brown sugar and all of the cinnamon. Granny Smith apples are preferred because their tartness holds up well against the sweet topping and they don’t turn to mush.
- Place the apple mixture into a small baking dish or individual ramekins. Spread them out evenly so they cook at the same rate.
- In a separate bowl, combine the oats, flour, and the remaining brown sugar. Add the cold, cubed butter. Use your fingers or a pastry cutter to work the butter into the dry ingredients until the mixture resembles coarse crumbs with some pea-sized pieces of butter remaining. These butter chunks are what create the ‘crisp.’
- Sprinkle the oat topping generously over the apples, covering them completely. The topping should be thick and uneven for the best texture.
- Bake for 30-35 minutes or until the topping is golden brown and the apple juices are bubbling up around the edges. Let it cool for 5 minutes before serving so the juices can thicken slightly. It’s divine when paired with a scoop of vanilla bean ice cream.
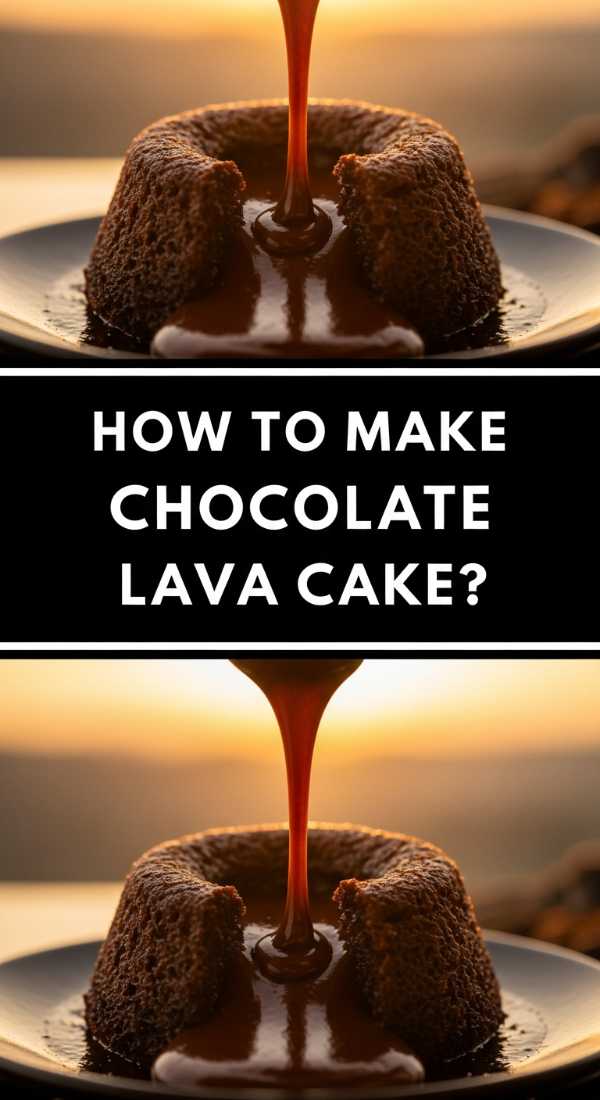
How to make chocolate lava cake?
[IMAGE_10]
Why we love this
The chocolate lava cake is the undisputed king of ‘wow-factor’ desserts. There is no experience quite like cutting into a firm, cakey exterior only to have a river of warm, liquid chocolate flow out onto the plate. It is a decadent, intense hit of cocoa that feels like pure luxury. The aroma is heavy with chocolate and butter, and the texture is a play between the light, baked sponge and the silkiness of the ‘lava.’ It’s the ultimate centerpiece for a board, offering a dramatic moment that guests will be talking about—and filming—long after the last bite is gone.
Ingredients
- 4 oz semi-sweet baking chocolate
- 1/4 cup unsalted butter
- 1/2 cup powdered sugar
- 1 large egg + 1 egg yolk
- 3 tbsp all-purpose flour
- 1/2 tsp vanilla extract
How to make it
- Preheat your oven to 425°F (218°C). This high temperature is crucial; it bakes the outside of the cake quickly while leaving the center raw and liquid. Grease two 6-oz ramekins thoroughly with butter and dust them with cocoa powder to ensure the cakes slide out easily.
- Melt the chocolate and butter together in the microwave in 30-second intervals, stirring between each, until completely smooth. Stir in the powdered sugar until well combined.
- Whisk in the egg, egg yolk, and vanilla extract. Be careful not to over-beat the eggs, as you don’t want too much air in this dense batter. Finally, gently fold in the flour just until combined.
- Divide the batter evenly between the two prepared ramekins. Place the ramekins on a baking sheet to make them easier to handle.
- Bake for 12-14 minutes. The sides should be firm and the top should be set, but the center should still look soft and slightly sunken. Let them cool for exactly 1 minute, then run a thin knife around the edge and invert them onto a plate. Serve immediately while the ‘lava’ is still molten.
The Final Word on Your Viral Board
Creating a viral-worthy food board isn’t just about following recipes; it’s about the intention you put into the presentation. When you bring these ten elements together, you’re creating more than a meal—you’re creating an atmosphere. The textures, the smells, and the sheer variety allow everyone to find something they love. So, grab your favorite wooden board, arrange these treats with a little bit of flair, and get ready for the compliments to roll in. Your aesthetic lifestyle hack is officially complete!