
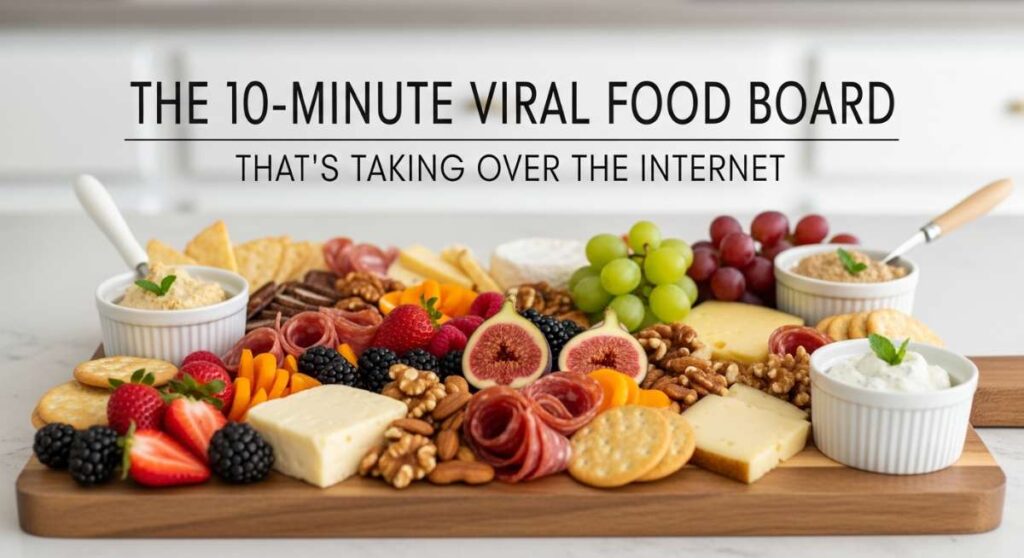
There’s a certain magic that happens when the late spring air starts to smell like blooming jasmine and the calendar begins to fill with graduation invites. I remember my first big hosting gig—I was so stressed about making everything ‘perfect’ that I barely spent any time with the guest of honor. That’s why I’m absolutely obsessed with the viral 10-minute food board trend. It’s the ultimate hack for the busy host who still wants that ‘Pinterest-perfect’ aesthetic without the midnight kitchen meltdowns.
Today, we’re diving into the components of the ultimate Graduation Garden Party Board. We are blending the tart, seasonal brightness of rhubarb with the celebratory sweetness of graduation treats, all anchored by savory bites and artisanal coffee. This isn’t just a meal; it’s a visual feast that invites people to linger, snack, and celebrate those big life milestones together. Let’s get into how you can recreate this viral sensation at home!
How to Bake Graduation Cakes?
Why we love this
There is nothing quite like the soft, pillowy crumb of a homemade celebration cake to make a graduate feel truly seen. Imagine the scent of high-quality Madagascar vanilla bean and warm butter filling your home, creating an atmosphere of cozy indulgence before the first slice is even cut. The texture is moist and velvet-like, melting on the tongue and providing the perfect canvas for silky-smooth buttercream that balances the sweetness with a hint of salt. It is the centerpiece of the board, a towering symbol of achievement that looks as stunning as it tastes.
Ingredients
- 2 1/2 cups all-purpose flour
- 1 1/2 teaspoons baking powder
- 1/2 teaspoon baking soda
- 1 teaspoon salt
- 3/4 cup unsalted butter, softened to room temperature
- 1 3/4 cups granulated sugar
- 2 large eggs plus 3 egg yolks
- 1 tablespoon vanilla bean paste
- 1 cup buttermilk, room temperature
How to make it
- Preheat your oven to 350°F (175°C). Grease and flour two 6-inch round cake pans, lining the bottoms with parchment paper to ensure an effortless release later.
- In a medium bowl, whisk together the flour, baking powder, baking soda, and salt. Sifting these together ensures a lighter, airier crumb structure by removing any dense clumps.
- Using a stand mixer fitted with the paddle attachment, cream the butter and sugar on medium-high speed for at least 5 minutes. You are looking for a pale, almost white color and a fluffy texture—this aeration is key for a light cake.
- Lower the speed and add the eggs one at a time, followed by the yolks and vanilla bean paste. Scrape down the sides of the bowl to ensure every bit of fat and sugar is emulsified.
- Alternately add the dry ingredients and the buttermilk in three batches, starting and ending with the flour. Mix only until just combined; over-mixing at this stage will develop gluten and make the cake tough.
- Divide the batter evenly between the pans. Bake for 30-35 minutes or until a skewer inserted into the center comes out with just a few moist crumbs. Cool in the pans for 10 minutes before transferring to a wire rack.
How to Make Rhubarb Jam?

Why we love this
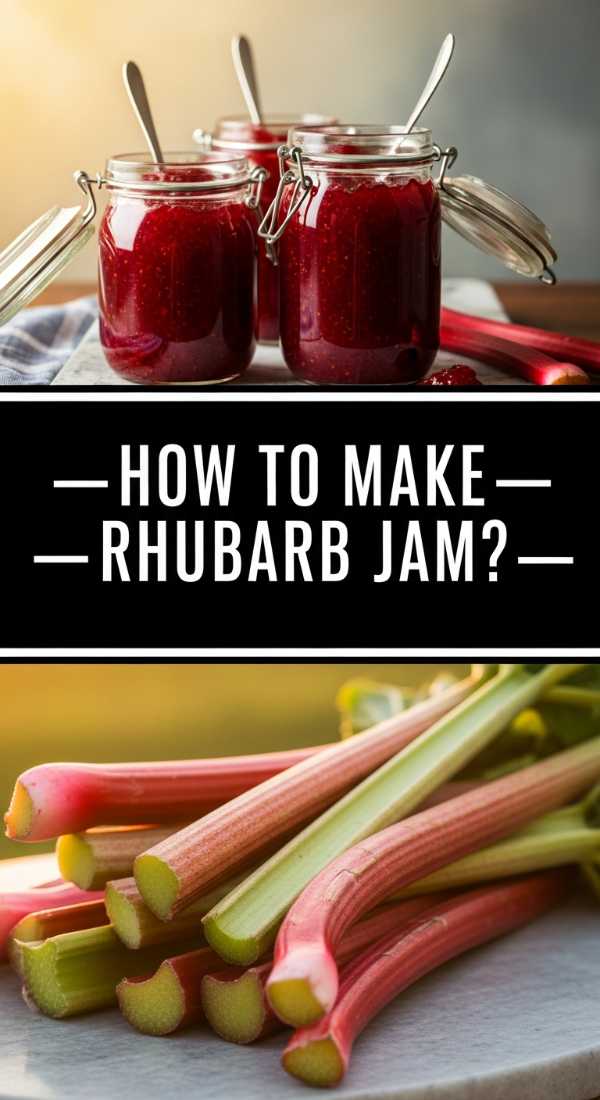
This jam is the secret weapon of the food board, offering a neon-pink pop of color and a sophisticated tartness that cuts right through the richer cheeses and sweets. As it simmers on the stove, the rhubarb breaks down into a luscious, glossy compote that smells like a summer garden after a rainstorm—bright, vegetal, and deeply sweet. The texture is thick enough to spread but soft enough to dollop, providing a zingy explosion of flavor that wakes up the palate. It’s the perfect bridge between the savory crackers and the sweet cookies on your display.
Ingredients
- 4 cups fresh rhubarb, chopped into 1/2 inch pieces
- 1 1/2 cups granulated sugar
- 1 tablespoon lemon juice
- 1 teaspoon lemon zest
- 1/2 teaspoon pure vanilla extract
How to make it
- In a heavy-bottomed saucepan, combine the chopped rhubarb, sugar, and lemon juice. Let the mixture sit for about 15 minutes; the sugar will draw out the natural juices from the rhubarb, creating its own syrup.
- Place the pan over medium heat and bring the mixture to a gentle boil, stirring frequently with a wooden spoon to prevent the sugar from scorching on the bottom.
- Once boiling, reduce the heat to medium-low. Simmer for 15-20 minutes. You will see the rhubarb stalks begin to fray and dissolve into a thick, jammy consistency.
- To test for doneness, place a small spoonful on a chilled plate. If it wrinkles when pushed with your finger, it’s ready. If it’s too runny, simmer for another 5 minutes.
- Stir in the lemon zest and vanilla extract at the very end to preserve their delicate aromatic oils. Transfer to a clean glass jar and let it cool completely before serving on the board.
How to Decorate Graduation Cupcakes?
Why we love this
Decorating these cupcakes is where the artistry of the board really shines, turning simple baked goods into tiny edible diplomas and mortarboards. The visual appeal of structured, piped buttercream swirls against the whimsical graduation toppers creates a sense of celebratory fun that guests of all ages adore. When you bite into one, you get the crunch of the decorative sugar pearls followed by the silky smooth frosting, creating a multi-sensory experience. These are the little details that make a food board feel curated and personal, rather than just thrown together.
Ingredients
- 12 pre-baked vanilla or chocolate cupcakes
- 2 cups stiff-consistency buttercream frosting
- Black fondant (for mortarboards)
- Square chocolate pieces (like Ghirardelli squares)
- Sour belt candy or fruit leather (for tassels)
- Edible gold leaf or gold sprinkles
How to make it
- Fit a piping bag with a large open star tip (like a 1M) and fill with your buttercream. Pipe a tall, tight swirl on each cupcake, starting from the outside and moving inward to create a stable base.
- To create the ‘cap,’ place a square chocolate piece flat onto the center of the frosting swirl. Press down gently so it adheres to the buttercream.
- Use a tiny dot of frosting to attach a small strip of sour belt or fruit leather to the center of the chocolate square, letting it hang over the side like a tassel.
- For a professional touch, use a toothpick to apply a tiny fleck of edible gold leaf to the ‘button’ of the cap.
- Chill the cupcakes for 20 minutes before placing them on the board to ensure the frosting stays set and the decorations don’t shift.
How to Bake Rhubarb Pie?

Why we love this
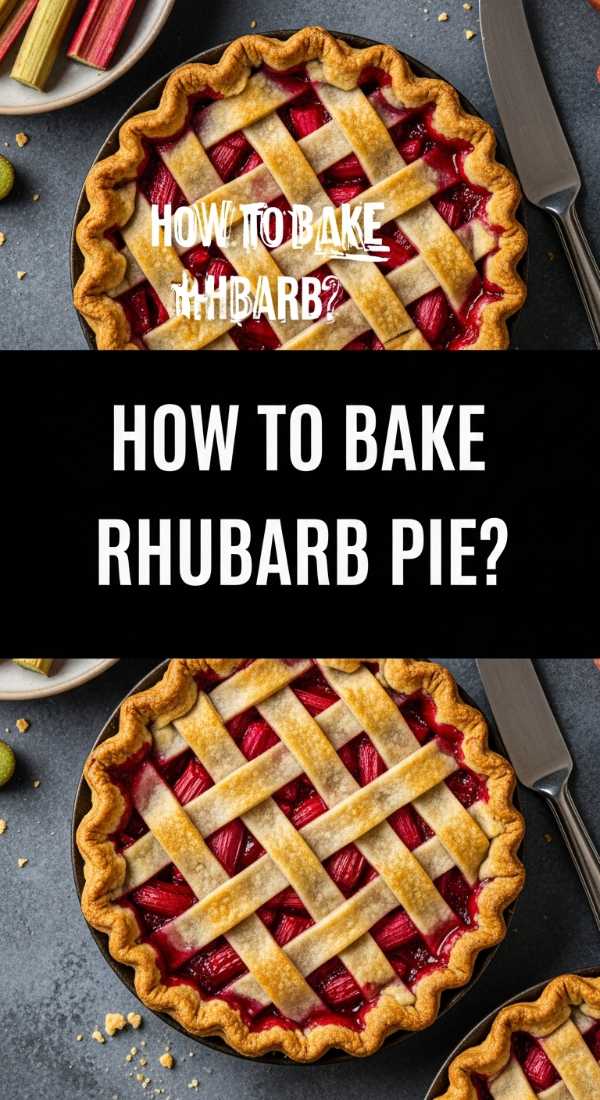
There is a rustic elegance to a rhubarb pie that feels both traditional and trend-forward when served on a modern board. The crust is the star here—shatteringly crisp, buttery, and golden brown, providing a savory counterpoint to the bubbling, jammy filling inside. The aroma of toasted flour and caramelized fruit is absolutely intoxicating, drawing people toward the board from across the room. Each bite offers a harmonious balance of the flaky, salty pastry and the intensely tart, syrupy rhubarb, making it a sophisticated dessert that isn’t overly sweet.
Ingredients
- Double pie crust dough (chilled)
- 5 cups rhubarb, cut into 1/2 inch pieces
- 1 1/4 cups granulated sugar
- 1/4 cup cornstarch
- 1/2 teaspoon cinnamon
- 1 tablespoon cold butter, cubed
- 1 egg (for egg wash)
How to make it
- Roll out your bottom crust and fit it into a 9-inch pie plate. Keep it in the refrigerator while you prepare the filling to ensure the butter in the crust stays cold, which is the secret to flakiness.
- In a large bowl, toss the rhubarb with the sugar, cornstarch, and cinnamon. The cornstarch is vital here; rhubarb releases a lot of moisture, and this will thicken the juices into a glossy sauce.
- Pour the filling into the prepared crust and dot the top with the cubes of cold butter for added richness.
- Roll out the second crust and cut into strips to create a lattice top. Weave the strips over the filling, crimping the edges to seal. A lattice top is preferred for rhubarb pie as it allows steam to escape, preventing a soggy bottom.
- Brush the lattice with a beaten egg and sprinkle with coarse sugar. Bake at 400°F for 20 minutes, then reduce heat to 350°F and bake for another 30-35 minutes until the crust is deep golden and the filling is bubbling through the gaps.
How to Make Coffee Drinks?

Why we love this
A sophisticated coffee element turns a standard food board into a full brunch or dessert experience, offering a bitter, roasty profile that cleanses the palate between sweet treats. The smell of freshly ground espresso beans provides a grounding, earthy base note to the sugary aromas of the baked goods. Whether it’s a frothy iced latte or a concentrated cold brew, the texture of micro-foam or the crispness of chilled coffee adds a refreshing dimension. It’s the ultimate ‘pick-me-up’ that keeps the graduation party energy high and the conversation flowing.
Ingredients
- 8 oz strong cold brew concentrate or double shot of espresso
- 1 cup whole milk or oat milk
- 1 tablespoon lavender or vanilla syrup
- Ice cubes (coffee ice cubes are best to prevent watering down)
- Dried culinary lavender or cocoa powder for dusting
How to make it
- For an Iced Lavender Latte, start by filling a tall glass with ice. If you have time, freeze leftover coffee in ice cube trays the night before to keep the drink strong.
- Pour the lavender or vanilla syrup over the ice, followed by your espresso or cold brew concentrate. Stir well to incorporate the flavors while the liquid is cold.
- In a separate jar or milk frother, froth your milk until it has doubled in volume and has a thick, velvety micro-foam texture. Using cold milk usually yields the best foam for iced drinks.
- Slowly pour the frothed milk over the coffee. If done carefully, the milk will marble through the dark coffee for a beautiful visual effect.
- Finish with a light dusting of cocoa powder or a few sprigs of dried lavender. Place the glasses directly onto the board or in a dedicated ‘drink zone’ nestled among the snacks.
How to Design Graduation Cookies?
Why we love this
Graduation cookies act like little pieces of edible art on your board, customized to the graduate’s school colors and personal journey. The snap of a well-baked sugar cookie combined with the smooth, matte finish of royal icing creates a satisfying texture that is as pleasing to the touch as it is to the eye. The scent is pure nostalgia—sweet sugar and almond extract. These cookies are often the first thing people reach for because they are easy to grab-and-go while mingling, making them the perfect ‘interactive’ element of your food display.
Ingredients
- Batch of sugar cookie dough, cut into diploma and star shapes
- 4 cups powdered sugar
- 3 tablespoons meringue powder
- 1/2 cup warm water
- Gel food coloring (school colors)
- Fine-tip piping bags
How to make it
- Bake your cookies and let them cool completely on a flat surface. Any residual heat will cause the icing to melt and run off the edges.
- Make your royal icing by beating the powdered sugar, meringue powder, and water until stiff peaks form. This ‘stiff’ icing is for outlining; thin a portion of it with a few drops of water to a ‘honey’ consistency for ‘flooding’ (filling in).
- Tint your icing with gel colors. Using a fine tip, outline the edge of each cookie. Let this border dry for 5-10 minutes.
- Fill in the centers with the thinner flood icing, using a toothpick to pop any tiny air bubbles and push the icing into the corners.
- Once the flood layer is dry (about 2-4 hours), use the stiff icing to pipe details like the year ‘2024,’ the graduate’s name, or ‘ribbons’ on the diploma shapes.
How to Cook Rhubarb Crumble?

Why we love this
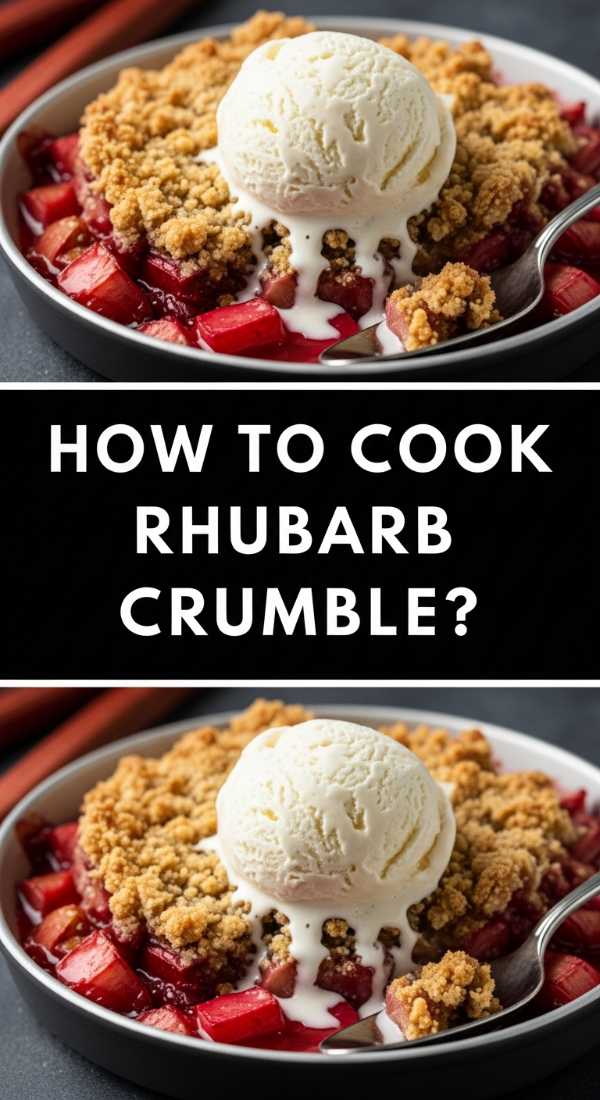
The rhubarb crumble is the ultimate comfort food addition to the board, offering a warm, tactile contrast to the chilled items. The topping is a crunchy, buttery landscape of toasted oats and brown sugar that shatters delightfully under a spoon, revealing the soft, ruby-red fruit underneath. As it bakes, the juices thicken into a syrup that smells like caramelized sugar and cinnamon. Serving this in small, individual ramekins on the board ensures everyone gets that perfect ratio of crunchy topping to tangy fruit, creating a cozy, home-cooked feel in a modern presentation.
Ingredients
- 4 cups chopped rhubarb
- 3/4 cup sugar
- 1 cup old-fashioned oats
- 1 cup all-purpose flour
- 1 cup brown sugar, packed
- 1/2 cup cold unsalted butter, cubed
- 1 teaspoon cinnamon
How to make it
- Toss the rhubarb with the 3/4 cup of granulated sugar and spread it into the bottom of a baking dish or individual ramekins.
- In a separate bowl, combine the oats, flour, brown sugar, and cinnamon. This mixture provides the structure for your ‘crumble.’
- Add the cold, cubed butter to the dry mixture. Use a pastry cutter or your fingers to work the butter in until the mixture looks like coarse crumbs with some pea-sized pieces of butter remaining. This unevenness is what creates the best texture.
- Sprinkle the crumble topping generously over the rhubarb. Don’t press it down; you want it to remain airy so the heat can circulate.
- Bake at 375°F for 30-35 minutes. You are looking for the fruit juices to be bubbling vigorously at the edges and the topping to be a deep, golden brown. Serve warm with a tiny dollop of whipped cream.
How to Whip Lemon Pesto?
Why we love this
To balance the sweetness of the board, a bright, herbaceous lemon pesto is essential. The fragrance of fresh basil and lemon zest is instantly uplifting, cutting through the heavier fats of the cheeses and meats on the platter. The texture is slightly chunky yet creamy from the emulsified olive oil and parmesan, providing a savory depth that lingers on the tongue. It adds a sophisticated, gourmet flair to the board, elevating simple crackers or baguette slices into something truly special. It’s the ‘green’ element that makes the whole board feel fresh and vibrant.
Ingredients
- 2 cups packed fresh basil leaves
- 1/2 cup freshly grated Parmesan cheese
- 1/3 cup toasted pine nuts or walnuts
- 2 cloves garlic, minced
- 1/2 cup extra virgin olive oil
- Zest of 1 large lemon
- 2 tablespoons fresh lemon juice
- Salt and pepper to taste
How to make it
- Place the basil, toasted nuts, and garlic in a food processor. Pulse several times until the ingredients are coarsely chopped. Do not over-process at this stage, or you’ll lose the texture.
- Add the Parmesan cheese and pulse a few more times to incorporate.
- With the processor running on low, slowly drizzle in the olive oil in a steady stream. This creates an emulsion, resulting in a creamy rather than oily pesto.
- Stop the processor and stir in the lemon zest and lemon juice by hand. Adding the acid at the end helps keep the basil from oxidizing and turning brown.
- Season with salt and pepper. Transfer to a small bowl and place it in the center of your board, surrounded by savory crackers or sliced cucumber rounds for dipping.
How to Mix Spice Blends?
Why we love this
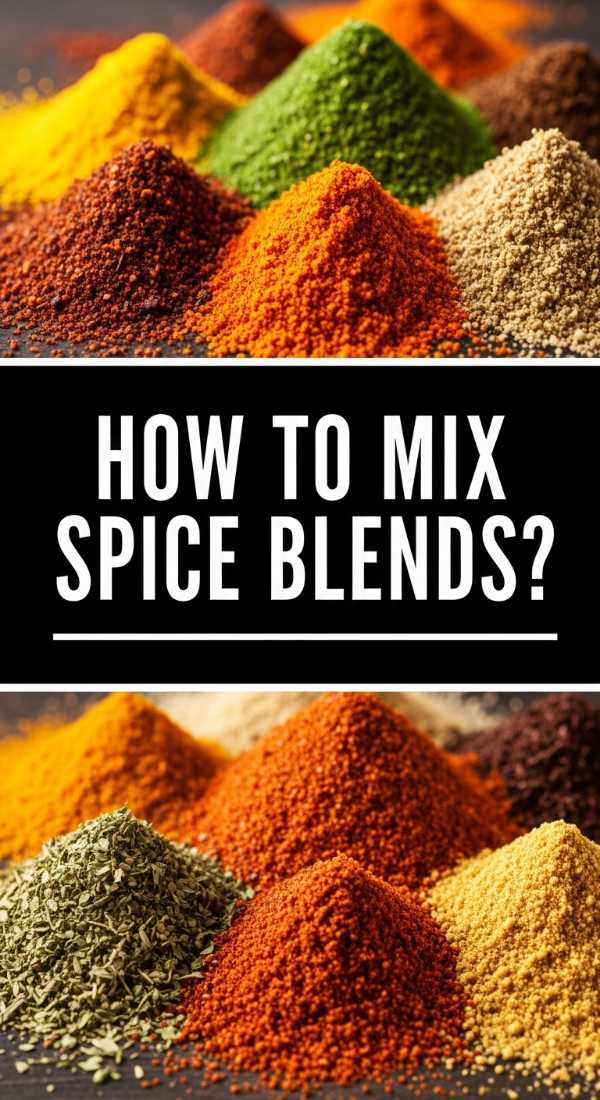
Custom spice blends are the ‘secret sauce’ of a professional-looking board, used to dust over nuts, cheeses, or even the rim of coffee drinks. The aroma of toasted cumin, smoked paprika, or sweet cinnamon creates a complex olfactory experience that draws people in. These blends allow you to customize the flavor profile of the board—making it smoky, spicy, or herbal to match the graduate’s favorites. The visual of colorful powders sprinkled over creamy brie or roasted almonds adds a layer of texture and detail that makes the board feel truly artisanal.
Ingredients
- 2 tablespoons smoked paprika
- 1 tablespoon garlic powder
- 1 teaspoon cayenne pepper (optional for heat)
- 1 tablespoon dried oregano
- 1 tablespoon sea salt
- 1 teaspoon coarse black pepper
How to make it
- Start with whole spices whenever possible and toast them in a dry pan for 2 minutes until fragrant before grinding. This releases the essential oils for maximum flavor.
- In a small glass jar, layer the paprika, garlic powder, cayenne, oregano, salt, and pepper.
- Seal the jar and shake vigorously for 30 seconds to ensure the heavier salt and pepper are evenly distributed through the lighter herbal and spice powders.
- Use this ‘Everything Savory’ blend to toss with warm almonds or pecans before placing them on the board.
- Store any leftovers in a cool, dark place for up to 3 months to maintain the potency of the aromatics.
How to Prepare Graduation Charcuterie?
[IMAGE_10]
Why we love this
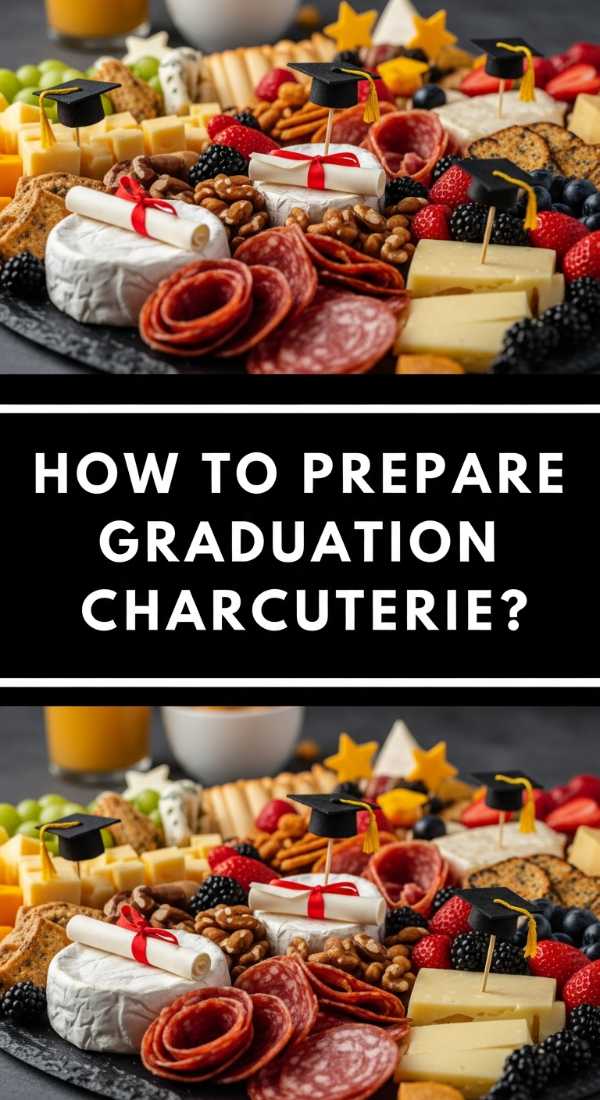
This is the final assembly—the moment where all your hard work comes together in a stunning, viral-worthy display. The visual impact of the graduation-themed treats nestled against piles of prosciutto, wedges of sharp cheddar, and the bright pink rhubarb jam is breathtaking. There is a sense of abundance and celebration in the way the different textures—crunchy, creamy, tart, and sweet—intermingle on the board. It encourages ‘grazing,’ which is the most relaxed and social way to eat, allowing the graduate and their guests to sample a bit of everything while they toast to the future.
Ingredients
- Assorted cheeses (Brie, Sharp Cheddar, Manchego)
- Cured meats (Prosciutto, Salami, Soppressata)
- Prepared Rhubarb Jam and Lemon Pesto
- Graduation Cakes, Cupcakes, and Cookies
- Fresh fruits (Grapes, Berries, Sliced Rhubarb stalks for garnish)
- Crackers, baguette slices, and nuts
How to make it
- Start with your ‘anchors’—place the larger items like the Graduation Cake and the bowls of Lemon Pesto and Rhubarb Jam on the board first. Space them out to balance the visual weight.
- Add the cheeses. Slice some into wedges and leave others whole with a cheese knife nearby to create height and interest.
- Fold the cured meats into ‘fans’ or ‘roses’ and tuck them into the gaps between the cheeses and the bowls.
- Arrange the graduation cupcakes and cookies in small clusters, ensuring they are near the sweet elements of the board like the jam.
- Fill in the remaining small gaps with handfuls of nuts, fresh berries, and crackers. The goal is to have no part of the board showing; it should look like a cornucopia of celebration. Garnish with fresh herbs or edible flowers for that final viral-ready touch.
The Secret to Your Best Graduation Party Yet
Building this board isn’t just about the food; it’s about the feeling of the day. When you put this together, you’re creating a focal point for memories to be made. Whether you’re celebrating a high school milestone or a college degree, this mix of tart rhubarb and sweet celebration treats offers something for everyone. Don’t be afraid to get messy, pile things high, and most importantly, enjoy the process. Happy hosting!