
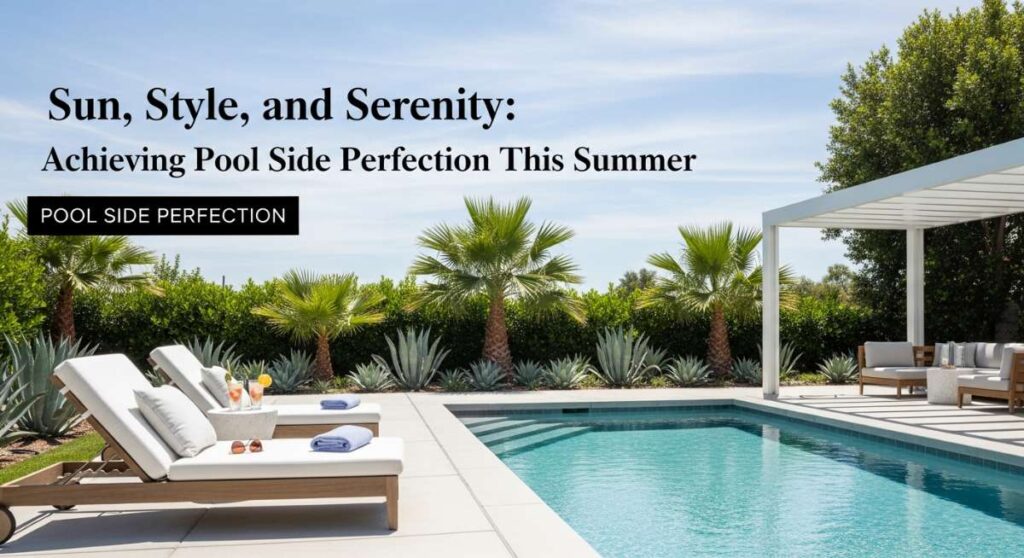
Sun, Style, and Serenity: Achieving Pool Side Perfection This Summer
There is a specific kind of magic that happens when the sun hits the water just right, casting dancing diamonds across the surface of your pool. For many of us, the backyard is more than just a patch of grass; it is our summer sanctuary, the place where memories are marinated in the scent of coconut sunscreen and the sound of laughter. However, that tranquility often gets interrupted by the chaos of deflated floats, soggy towels, and the general clutter that comes with a high-traffic swim zone.
Achieving poolside perfection isn’t just about having the clearest water or the trendiest lounge chairs; it is about creating a flow that allows you to relax without the mental weight of a mess. When every item has a dedicated home, the transition from ‘stressed professional’ to ‘vacation-mode relaxer’ happens the moment you step outside. Today, I’m sharing my ultimate guide to elevating your outdoor space through thoughtful organization and chic DIY projects that will turn your backyard into the resort of your dreams.
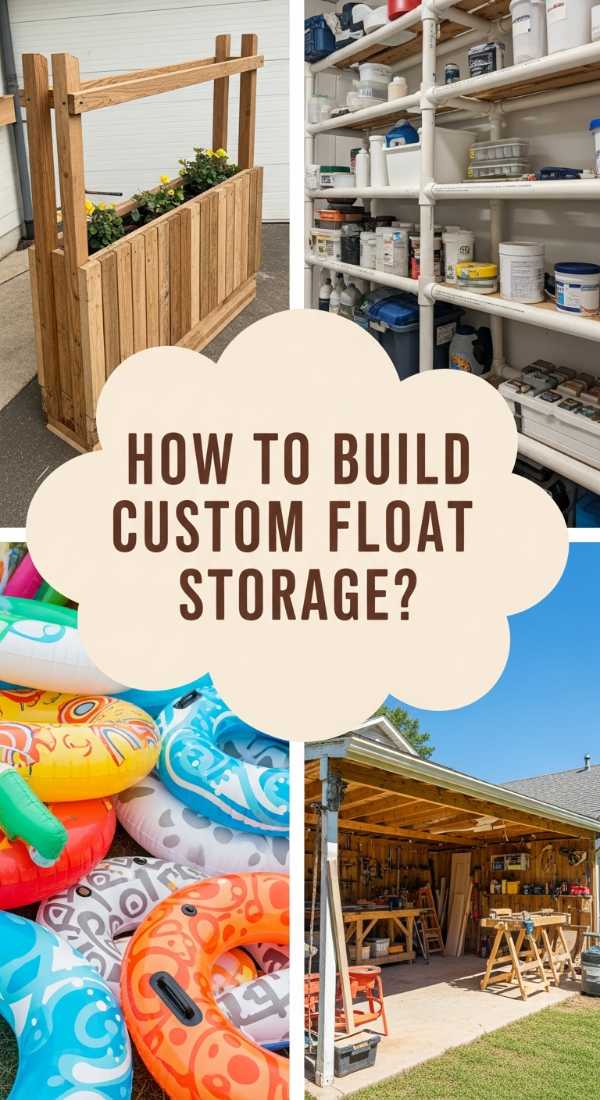
How to Build Custom Pool Float Storage for a Clutter-Free Deck
Why we love this
There is an immense sense of satisfaction in seeing those oversized, colorful floats neatly tucked away rather than scattered like confetti across your pristine deck. Imagine the aroma of freshly cut PVC or cedar mingling with the summer air as you assemble a structure that finally tames the inflatable beasts. The texture of a well-organized space feels as smooth as a calm lake at dawn, providing a visual relief that allows the architectural beauty of your pool to shine through without distraction. It transforms a chaotic yard into a curated experience where you can breathe deeply and enjoy the view.
Essential Elements:
- PVC pipes (1-inch or 2-inch depending on float weight)
- PVC T-joints and Elbow connectors
- Weather-proof PVC cement
- Outdoor spray paint (optional for a high-end metallic or matte look)
- Measuring tape and a hacksaw
How to make it
- Measure your largest floats to determine the width and depth of the stalls; typically, 12-15 inches between vertical bars is ideal for thick loungers.
- Using a hacksaw, cut your PVC pipes into four base lengths, four top lengths, and several vertical support bars based on your determined measurements.
- Dry-fit the base rectangle using elbow connectors, then insert T-joints at regular intervals where the vertical float dividers will sit.
- Apply a generous amount of PVC cement to the inside of each joint and firmly press the pipes in place, holding for 30 seconds to ensure a permanent, waterproof bond.
- Once the frame is cured, spray paint the entire structure with a UV-resistant coating to prevent yellowing and give it a custom furniture appearance that matches your decor.
How to Install a Chic Pool Towel Rack for Instant Backyard Elegance

Why we love this
Nothing says ‘luxury hotel’ quite like a row of perfectly hung, plush towels catching the afternoon breeze. This project brings a tactile softness to your outdoor walls, combining the ruggedness of outdoor hardware with the airy, spa-like feel of clean linens. As you reach for a warm, sun-dried towel, you’ll appreciate the organized rhythm of the space and the subtle scent of laundry detergent mixed with the salt air. It is a simple addition that provides an immediate aesthetic upgrade, making your backyard feel intentional, sophisticated, and infinitely more welcoming.
Essential Elements:
- A weather-resistant backboard (teak, cedar, or treated pine)
- Decorative heavy-duty brass or matte black hooks
- Stainless steel screws (to prevent rusting)
- Power drill and level
- Outdoor wood sealant or stain
How to make it
- Sand your backboard thoroughly to a smooth finish and apply two coats of high-quality outdoor sealant to protect the wood from splashing water and humidity.
- Use a measuring tape to mark equal intervals for your hooks; for a balanced look, space them roughly 8 to 10 inches apart so towels don’t overlap too much.
- Pre-drill pilot holes at your marks to prevent the wood from splitting, then securely fasten each hook using the stainless steel screws.
- Identify a sturdy location on your exterior wall or fence near the pool exit and use a level to ensure the rack sits perfectly horizontal.
- Mount the rack using heavy-duty wall anchors, ensuring it can handle the weight of multiple heavy, wet towels without sagging or pulling away from the surface.
How to Create Luxury Pool Towel Storage for a Resort Style Vibe

Why we love this
Stepping out of the water and being greeted by a stack of rolled, fluffy towels feels like a warm embrace from a high-end concierge. This storage solution focuses on the sensory delight of soft textures and organized abundance, creating a focal point that screams relaxation. The sight of neatly rolled fabric in a beautiful basket or shelving unit adds a layer of softness to the hard surfaces of a pool deck, while the convenience of having everything at arm’s reach ensures your leisure time is never interrupted by a trip inside. It’s about indulging in the finer details of summer living.
Essential Elements:
- Large weather-resistant resin or treated wicker baskets
- A tiered outdoor shelving unit (metal or wood)
- Matching high-gsm oversized pool towels
- Lavender or eucalyptus sachets (optional for scent)
- A small side table for placement
How to make it
- Select a storage unit that features open slats or breathable material to ensure airflow, which prevents the towels from developing a musty outdoor odor.
- Fold your towels in half lengthwise, then roll them tightly from one end to the other to create the signature ‘resort roll’ look that maximizes space.
- Arrange the rolled towels horizontally within your baskets or on the shelves, stacking them in a pyramid or grid pattern for maximum visual impact.
- Tuck a small weather-proof sachet of dried lavender behind the towels to provide a subtle, calming aroma every time a guest reaches for one.
- Position the storage unit in a shaded area to prevent the sun from fading the vibrant colors of your towels, ensuring they look brand new all season long.
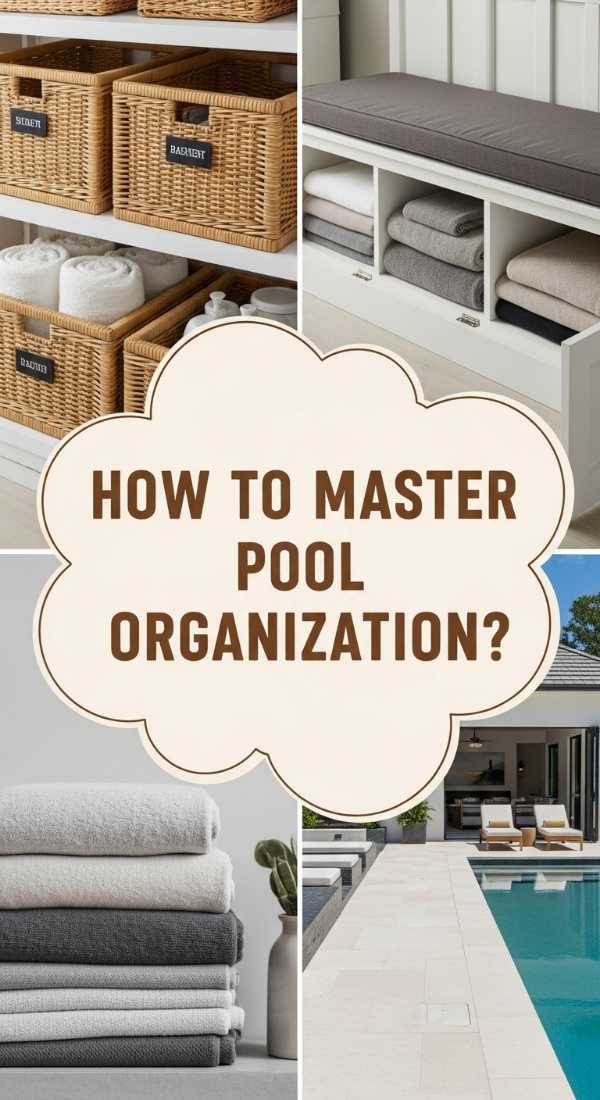
How to Master Pool Organization for a Serene Outdoor Oasis
Why we love this
Mastering organization is like clearing the clouds to let the sun shine through; it brings a profound sense of mental clarity and calm. When every noodle, goggle, and sunscreen bottle has a designated ‘zone,’ the pool area becomes a place of pure flow rather than a site of constant tidying. You’ll find yourself moving through the space with an effortless grace, inhaling the scent of blooming jasmine and the crisp ozone of the water. This holistic approach to organization doesn’t just clean up the yard—it cleanses the spirit, allowing you to focus entirely on the joy of the present moment.
Essential Elements:
- Clear plastic bins with drainage holes
- Label maker with waterproof tape
- A dedicated ‘Sunscreen Station’ tray
- A large mesh bag for small toys
- Hooks for goggles and fins
How to make it
- Categorize all pool items into ‘Active Play’ (toys), ‘Safety’ (vests), and ‘Maintenance’ (skimmers) to determine exactly how much storage you need for each group.
- Install a series of low-profile hooks on a hidden wall for items like goggles and flippers, keeping them off the ground where they can get stepped on or dirty.
- Create a ‘Sunscreen Station’ by placing a decorative tray on a side table, stocked with various SPFs, lip balms, and face mists for easy guest access.
- Use mesh bags for small dive toys and balls; the mesh allows water to drain and air to circulate, preventing mold growth and keeping the items fresh.
- Apply waterproof labels to every bin so that even the youngest swimmers know exactly where to return their gear at the end of the day.
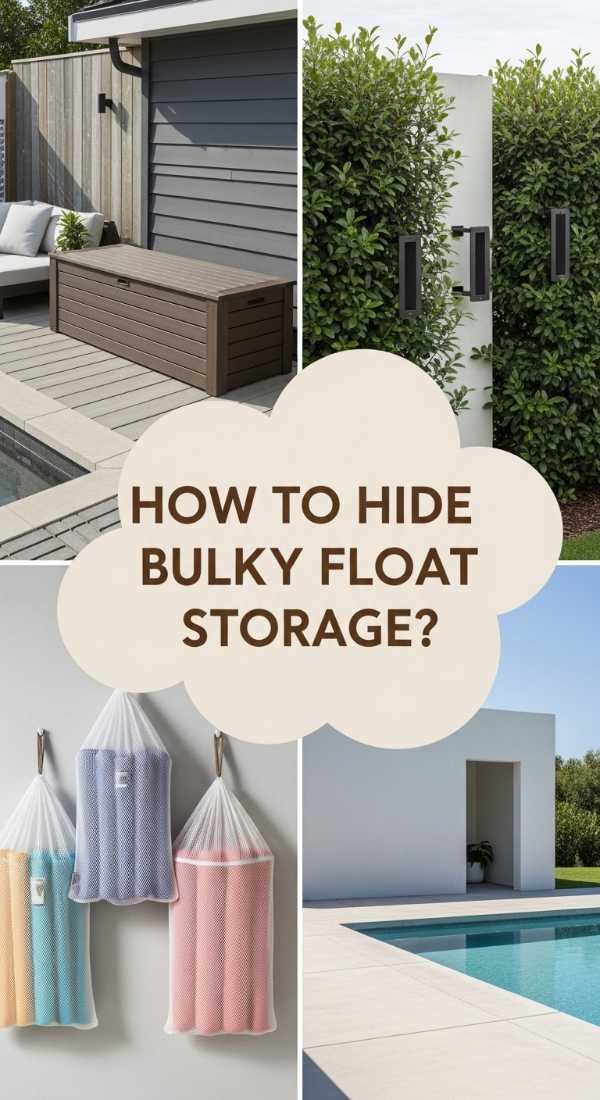
How to Hide Bulky Pool Float Storage for a Minimalist Aesthetic
Why we love this
There is a hidden beauty in things unseen, especially when it comes to those necessary but bulky pool accessories that can disrupt a minimalist landscape. By tucking away the bright plastics behind elegant screens or inside multifunctional furniture, you maintain the architectural integrity of your outdoor design. The feeling is one of sophisticated mystery—a sleek deck that conceals everything needed for fun, leaving only the sound of water and the sight of clean lines. It appeals to the lover of modern aesthetics who craves a clutter-free horizon where the eye can rest easy.
Essential Elements:
- A large outdoor deck box (wood or faux-stone)
- Decorative privacy screens (laser-cut metal or wood slats)
- Hydraulic hinges for easy lid lifting
- Paint or stain that matches your home’s exterior
- Heavy-duty casters for mobility
How to make it
- Choose a deck box that is deep enough to hold your largest inflatables when deflated or folded; look for one with a bench-top lid to provide extra seating.
- If using a privacy screen, position it at a 90-degree angle to a wall to create a ‘hidden nook’ where upright float racks can be tucked out of sight.
- Install hydraulic hinges on your storage box to ensure the lid opens smoothly and stays open while you are retrieving items, preventing accidental slams.
- Paint the storage unit the exact same color as your siding or fence to help it ‘disappear’ into the background of your yard.
- Add heavy-duty casters to the bottom of your storage solutions so you can easily wheel the ‘mess’ into a garage or shed during the off-season or before a formal party.
How to Design Smart Pool Storage for Total Summer Peace

Why we love this
Smart design is the ultimate luxury, providing solutions that anticipate your needs before you even realize them. We love this approach because it utilizes vertical space and hidden corners that would otherwise go to waste, creating a highly efficient environment. The touch of a well-placed shelf or the click of a magnetic cabinet door feels high-tech and satisfying, while the scent of fresh air circulating through ventilated cabinets keeps everything pristine. It’s the perfect blend of form and function that ensures your summer remains entirely focused on leisure and peace.
Essential Elements:
- Vertical wall-mounted storage tracks
- Weatherproof cabinetry
- Magnetic tool strips for metal accessories
- Solar-powered LED lights for night access
- Adjustable shelving units
How to make it
- Install a vertical track system on a sturdy wall; these allow you to move hooks and baskets around as your collection of pool gear changes throughout the summer.
- Mount weatherproof cabinets at eye level to store chemicals and testing kits securely away from children and pets while keeping them dry and accessible.
- Add magnetic strips to the inside of cabinet doors to hold metal items like skimmer attachments or small tools, keeping the shelves clear for larger items.
- Integrate solar-powered motion lights inside your storage areas so you can easily find a towel or a toy during those magical late-night swims.
- Configure your adjustable shelves so that the most frequently used items (like towels) are at waist height, while seasonal items are stored on the top or bottom.
How to Craft a Rustic Pool Towel Rack for Cozy Farmhouse Charm

Why we love this
For those who crave a bit of soul and history in their decor, a rustic towel rack offers an earthy, grounded aesthetic that balances the blue shimmer of the pool. We love the tactile experience of reclaimed wood—the ridges, the grain, and the warmth it brings to a space. It smells of cedar and sun, evoking memories of lakeside cabins and slow country afternoons. This project adds a layer of ‘cozy’ to the outdoors, proving that even a functional item can be a piece of art that tells a story of craftsmanship and comfort.
Essential Elements:
- Reclaimed wood or distressed cedar planks
- Vintage-style cast iron hooks
- Heavy-duty hemp rope for accents
- Matte outdoor polyurethane
- Hand-sander and rustic stain (Walnut or Driftwood)
- Lag bolts for mounting
How to make it
- Select your wood planks and sand them just enough to remove splinters while keeping the natural character and ‘imperfections’ of the wood visible.
- Apply a dark or weathered stain to emphasize the grain, followed by a matte polyurethane to protect the wood from the inevitable pool splashes.
- Attach cast iron hooks in a slightly staggered pattern for a more organic, ‘collected’ look rather than a rigid, industrial line.
- Wrap the ends of the wood board with hemp rope, securing it with hot glue or small nails to add a nautical, rustic texture to the piece.
- Mount the rack to a wooden fence or brick wall using heavy-duty lag bolts, ensuring the hardware is hidden behind the hooks for a seamless, floating appearance.
How to Optimize Small Pool Storage for Maximum Efficiency
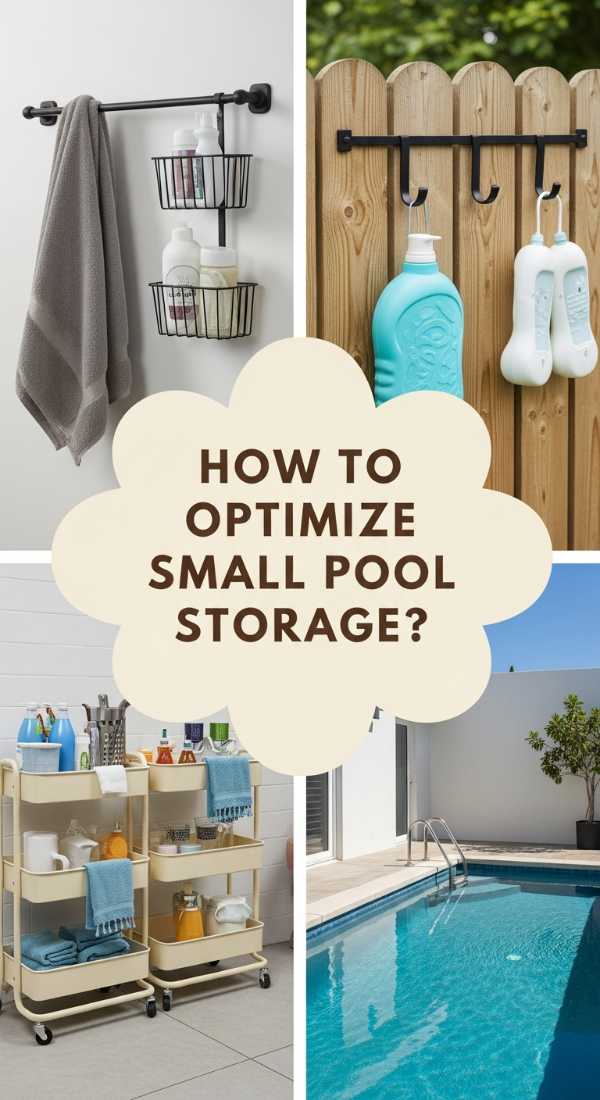
Why we love this
Small spaces demand creativity, and there is a unique joy in finding ‘hidden’ storage where none seemed to exist. We love this because it proves you don’t need a sprawling estate to have a perfect, organized oasis. The feeling is one of cleverness and intimacy; every square inch is curated for maximum enjoyment. The sight of a perfectly utilized corner, with sleek vertical racks and over-the-gate baskets, feels like a puzzle finally solved. It allows even the smallest plunge pool area to feel like a grand, spacious retreat where everything has its place.
Essential Elements:
- Over-the-fence wire baskets
- Slim-profile vertical racks
- Collapsible buckets and bins
- Under-bench storage drawers
- Wall-mounted folding drying racks
How to make it
- Utilize the ‘dead space’ on the back of your pool gate by hanging sturdy wire baskets to hold frequently used items like goggles and small toys.
- Swap out bulky storage boxes for slim vertical racks that have a footprint of less than 12 inches, allowing you to store floats upright against a wall.
- Invest in collapsible silicone buckets for cleaning or carrying toys; these can be folded flat and tucked into tiny gaps when not in use.
- If you have built-in seating, retro-fit the underside with sliding drawers to turn empty space into a hidden treasure chest of pool gear.
- Install a wall-mounted drying rack that can be folded flat against the wall when towels are dry, keeping the walking paths clear in tight quarters.
How to Streamline Family Pool Organization for Stress-Free Swim Days
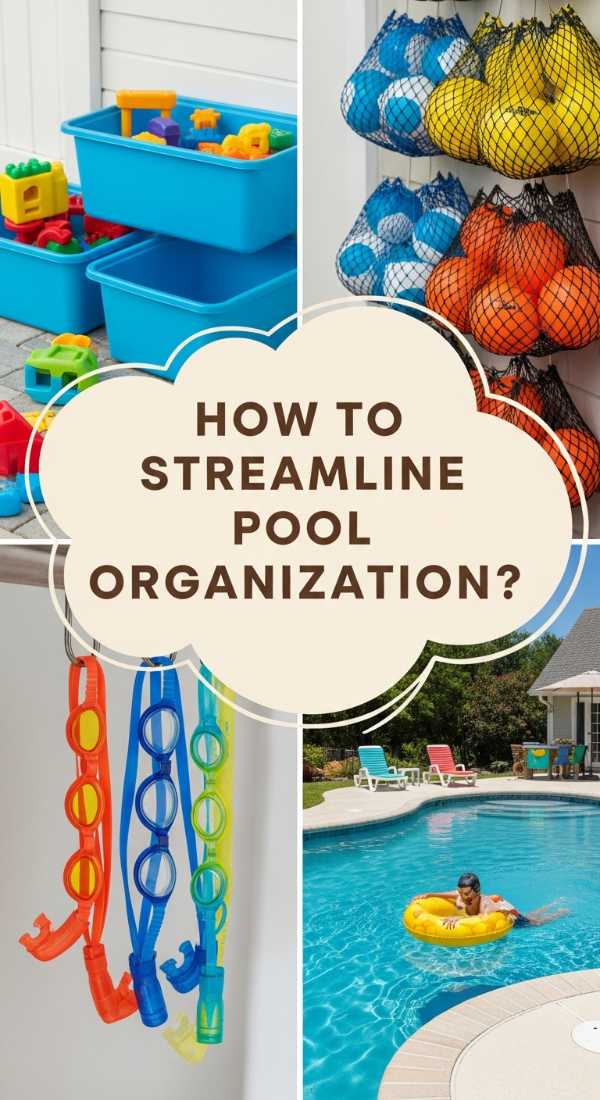
Why we love this
Family swim days should be about splashes and games, not hunting for a missing life vest or a matching flip-flop. We love this system because it brings order to the beautiful chaos of family life, using color-coded cues and accessible heights to empower everyone to help keep the space tidy. The air feels lighter when the ‘mom, where’s my…?’ questions are replaced by independent kids grabbing their own gear. It creates a harmonious environment where the sensory experience is focused on family bonding and the refreshing cool of the water.
Essential Elements:
- Color-coded bins (one for each family member)
- Low-mounted hooks for child-height access
- A large, easy-access ‘Toy Trunk’
- Waterproof chalkboard for ‘Pool Rules’ and daily notes
- Bench seating with integrated cubbies
How to make it
- Assign a specific color to each family member and provide them with a corresponding waterproof bin for their personal items like goggles and sun hats.
- Mount a row of hooks at a height of 3 feet so children can independently hang up their own wet towels and life vests without needing assistance.
- Use a large, open-top ‘Toy Trunk’ with a mesh bottom for shared pool balls and noodles, making ‘clean-up time’ a simple game of tossing items in.
- Place a waterproof chalkboard near the entrance to remind everyone to ‘Dry Off Before Entering’ and to check if they’ve put their gear away.
- Incorporate cubby-style shelving into your seating area, providing a ‘parking spot’ for shoes and bags so the deck remains a trip-free zone.
How to Upcycle Materials into Pool Float Storage for Sustainable Living

Why we love this
There is a profound beauty in giving new life to old materials, blending sustainability with summer style. We love the rugged, eclectic look of upcycled pallet wood or repurposed garden lattices; it adds a layer of soulful character to the pool deck. The aroma of sun-bleached wood and the satisfaction of knowing you’ve kept materials out of a landfill adds to the serenity of the space. It’s a project that feels as good as it looks, creating a unique, one-of-a-kind storage solution that reflects your values and your creativity.
Essential Elements:
- Heat-treated shipping pallets (look for the ‘HT’ stamp)
- Sandpaper and a crowbar
- Exterior-grade wood glue and screws
- Vibrant outdoor paint or eco-friendly stain
- Sturdy L-brackets for reinforcement
How to make it
- Source two heat-treated pallets and use a crowbar to remove every other slat, creating wide gaps that are perfect for sliding in large pool floats.
- Sand the wood vigorously to ensure there are no rough edges that could puncture your delicate inflatables or cause splinters.
- Connect the two pallets at a 90-degree angle using L-brackets to create a self-standing ‘L’ shape, or mount them directly to a fence for a wall-storage unit.
- Paint the structure in a fun, pop-of-color shade like turquoise or coral to turn the upcycled wood into a deliberate design statement.
- Line the bottom of the pallet slots with a piece of outdoor rug or mesh to prevent the floats from touching the ground and getting stained or dirty.
Conclusion: Your Serene Summer Awaits
Creating a poolside oasis is about more than just aesthetics; it’s about crafting an environment that supports your well-being. When you take the time to organize your space using these chic and smart storage solutions, you’re not just cleaning a deck—you’re clearing a path for relaxation, joy, and peace. Whether you opt for a rustic DIY rack or a sleek hidden storage box, the result is the same: a summer experience that feels like a permanent vacation. So, take a breath, dive in, and enjoy the serenity of your perfected poolside retreat.