
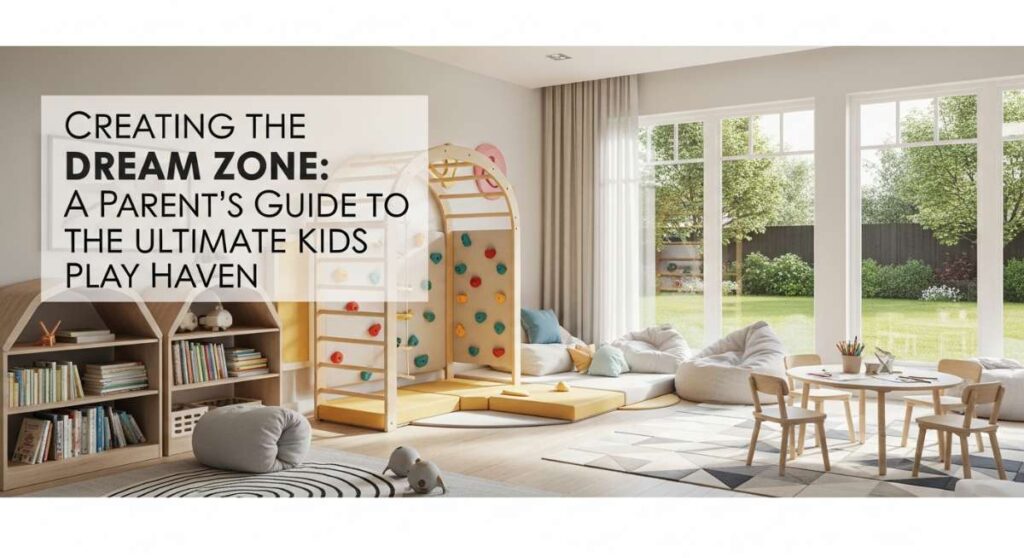
Creating the Dream Zone: A Parent’s Guide to the Ultimate Kids Play Haven
I still remember the afternoon it clicked for me—I was staring at a living room filled with plastic toys and feeling that familiar pang of ‘there has to be more to childhood than this.’ We all want our children to have those magical, core-memory-forming moments, the kind where they lose themselves in a world of their own making. It’s about more than just equipment; it’s about crafting an environment that whispers ‘adventure’ and ‘wonder’ the moment they step into it.
Building a play haven is a labor of love that pays dividends in giggles, growth, and those precious moments of quiet while they are deeply engaged in independent play. Whether you have a sprawling backyard or a dedicated corner in your apartment, creating a dream zone is about intentionality. It’s about blending the ruggedness of the outdoors with the comforts of home to foster a space where their imaginations can truly take flight.
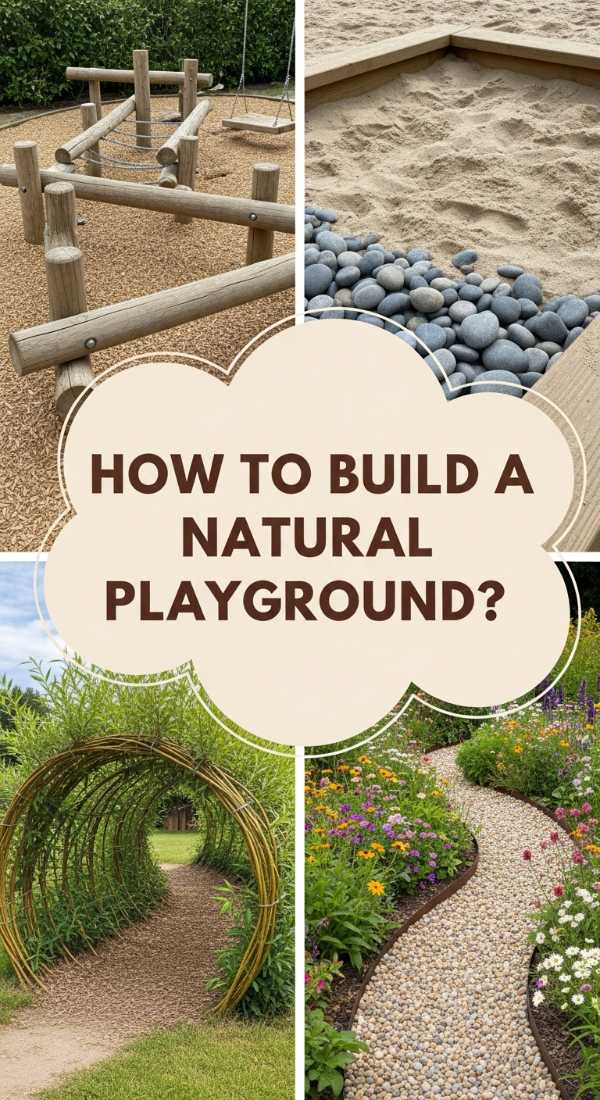
How to Build a Natural Outdoor Playground for Organic Sensory Growth
Why we love this
There is something fundamentally grounding about a play space that breathes with the earth. We love this approach because it trades neon plastics for the rough-hewn texture of cedar, the cool smoothness of river stones, and the earthy aroma of fresh wood chips. It creates a multi-sensory experience where children can feel the crunch of leaves underfoot and the gritty reality of soil between their fingers, fostering a deep, organic connection to the natural world while they develop their motor skills in a serene, park-like atmosphere.
Essential Elements:
- Sustainably sourced cedar logs and stumps
- Rounded river stones of varying sizes
- A dedicated mud kitchen with stainless steel bowls
- Non-toxic wood mulch or pea gravel for soft landings
- Native, non-toxic plants like lavender or lamb’s ear for tactile exploration
How to make it
- Level the ground by excavating the top 3-4 inches of sod in your designated area, ensuring a slight slope for drainage to prevent water pooling.
- Install a heavy-duty landscape fabric to suppress weeds while allowing water to pass through, securing it with galvanized garden stakes every 12 inches.
- Set your primary ‘anchors’ like large stumps or logs; bury them at least 1/3 deep into the ground to ensure they don’t tip during climbing, checking for ‘doneness’ by applying firm lateral pressure.
- Layer your sensory materials, starting with a base of 6 inches of playground-grade mulch, ensuring the texture feels springy and firm rather than loose or thin.
- Incorporate the mud kitchen by mounting a simple wooden table and plumbing it with a gravity-fed water jug, testing the flow to ensure a gentle trickle perfect for ‘mud-pie’ consistency.
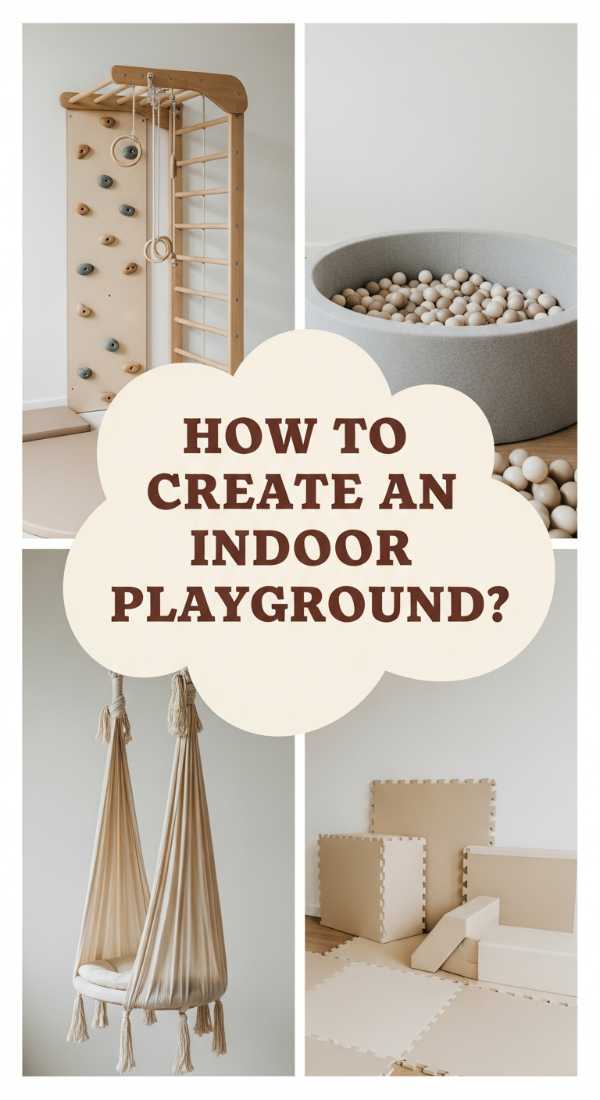
How to Create an Indoor Playground for Active Home Learning
Why we love this
When the rain starts pouring, the magic shouldn’t have to stop. This indoor haven is a sanctuary of soft textures and clever engineering, combining the velvet-soft touch of foam floor tiles with the sturdy, reliable grip of birch plywood climbing walls. It smells like clean laundry and fresh potential, offering a safe, climate-controlled environment where kids can burn off energy through vertical movement and cognitive puzzles, blending physical exertion with the quiet focus of a home learning environment.
Essential Elements:
- Interlocking high-density foam floor mats
- Wall-mounted Swedish ladder or climbing grips
- A cozy reading nook with floor pillows
- Integrated chalkboard or whiteboards for creative planning
- Soft-play obstacle blocks
How to make it
- Identify a structural wall and locate the studs using a high-quality sensor, marking them clearly as these will be your ‘load-bearing’ points for any climbing equipment.
- Install the floor mats first, ensuring a tight ‘click’ between the teeth of the foam to prevent slipping; the visual cue for a perfect fit is a seamless, flat surface with no upward-curving edges.
- Secure the climbing wall or ladder using 3-inch lag bolts directly into the studs, applying torque until the washer is slightly depressed into the wood for maximum stability.
- Arrange the soft-play blocks in a ‘flow’ pattern that encourages a circular movement around the room, keeping the ‘heat’ of activity away from breakable furniture.
- Test the ‘doneness’ of the setup by performing a weight-hang test on the wall fixtures to ensure they hold significantly more than your child’s weight without any creaking or movement.
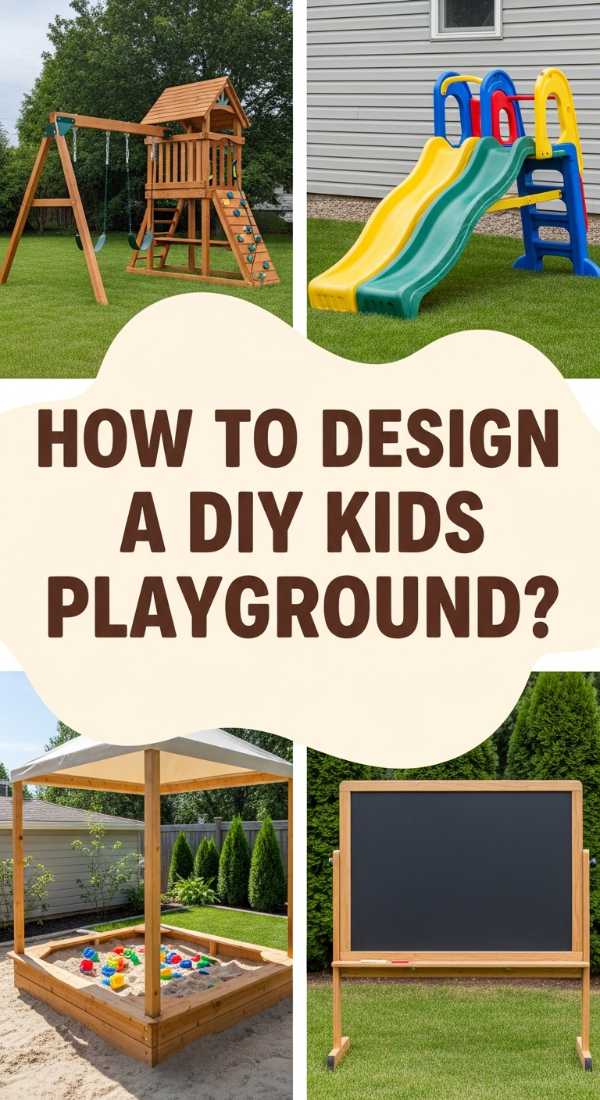
How to Design a DIY Kids Playground for Sunshine Filled Afternoons
Why we love this
This design is all about capturing the golden warmth of a summer afternoon. We love the way the sunlight glints off the polished slide and the rhythmic creak of a swing set that sounds like pure freedom. It’s a space that feels bright and airy, characterized by the scent of sun-warmed wood and the refreshing feel of a light breeze. It provides a classic, nostalgic playground experience right in your backyard, designed specifically to maximize Vitamin D and joyful, high-energy movement.
Essential Elements:
- A wooden A-frame swing set structure
- UV-resistant plastic or powder-coated metal slide
- A shaded sandbox with a removable cover
- Brightly colored climbing ropes and pulleys
- A sun-dial or outdoor weather station for learning
How to make it
- Select a south-facing spot in your yard to maximize sunshine, but ensure you have a canopy or umbrella nearby to provide a ‘cool-down’ zone.
- Construct the A-frame using pressure-treated 4×4 beams, pre-drilling holes to prevent splitting; the ‘visual cue’ for a perfect joint is a flush fit with no visible gaps between the beams.
- Dig post holes at least 2 feet deep and set them in quick-dry concrete, checking the ‘doneness’ with a spirit level to ensure the structure is perfectly vertical before the concrete cures.
- Attach the slide at a 30-40 degree angle; any steeper and the ‘heat’ of the descent is too high, any shallower and the ‘flow’ of play is interrupted.
- Fill the sandbox with washed play sand, ensuring it is at least 8 inches deep for optimal ‘digging’ texture, and finish by sanding all wooden edges to a buttery-smooth texture.
How to Plan a Backyard Play Area for Healthy Physical Development
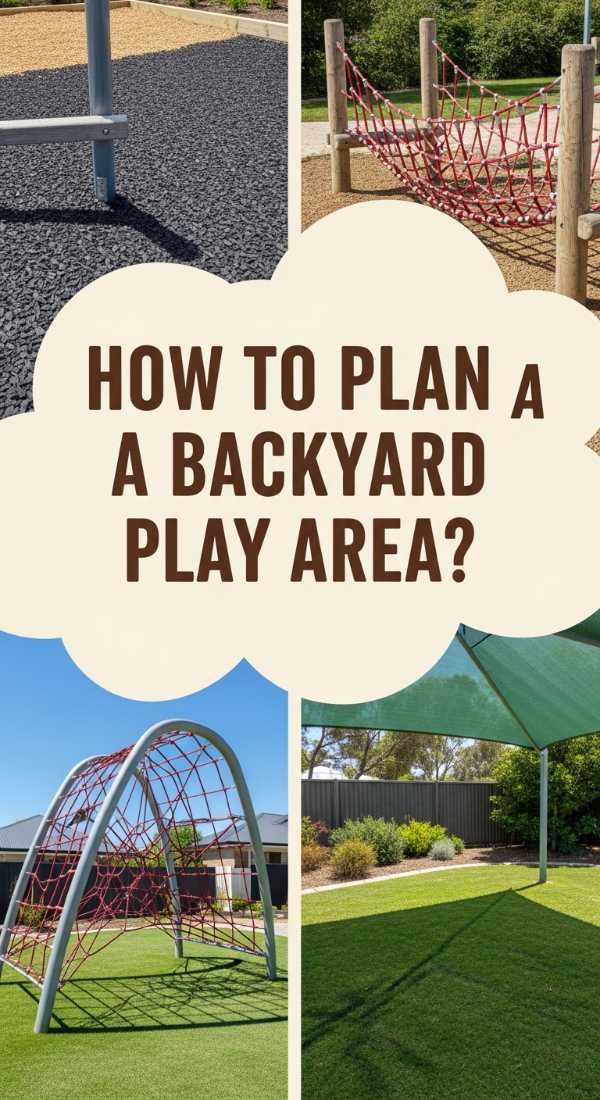
Why we love this
Focusing on physical development means creating a space that challenges the body in the best way possible. We love the rugged, athletic feel of this area, where the scent of grass meets the metallic tang of monkey bars. It’s a layout designed for grit and growth, featuring varied elevations and textures that require balance, grip strength, and coordination. It feels like a miniature ninja warrior course, encouraging kids to push their limits and celebrate their own physical strength and resilience.
Essential Elements:
- Low-profile balance beams
- Horizontal monkey bars at varying heights
- Stepping stones or ‘lava’ stumps
- A heavy-duty cargo climbing net
- A pull-up bar or hanging rings
How to make it
- Plan a circuit-style layout where each station leads naturally to the next, ensuring at least 6 feet of ‘fall zone’ clearance around every piece of equipment.
- Install the monkey bars by anchoring the support posts in concrete footings, ensuring the crossbars are level to prevent uneven shoulder strain during use.
- Mount the cargo net using heavy-duty eye bolts, tensioning it until it is taut but has enough ‘give’ to mimic a natural climbing surface; the visual cue is a slight arc when weighted.
- Set the balance beams on sturdy, low-profile blocks; pre-treat the wood with a non-slip grip additive to the sealant to ensure safety even when slightly damp.
- Conduct a ‘safety walkthrough’ by simulating movements to ensure no head-entrapment hazards exist (spaces between 3.5 and 9 inches should be avoided).
How to Construct a Playground Backyard for Epic Neighborhood Playdates
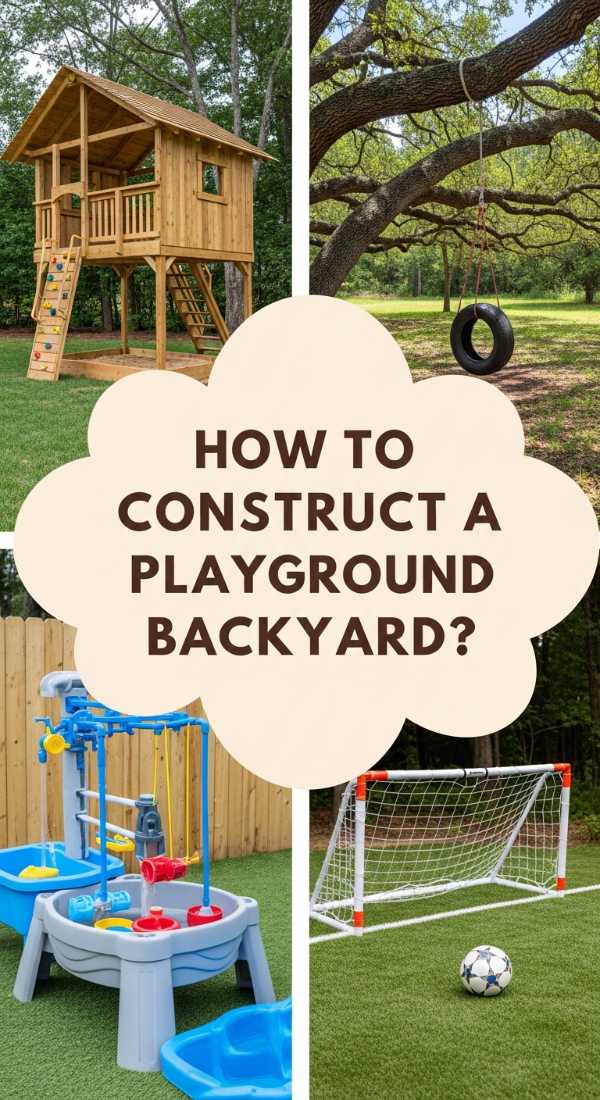
Why we love this
This is the ultimate social hub, designed to be the ‘place to be’ for every kid on the block. We love the communal energy of this space—the sound of multiple voices laughing, the clatter of a shared snack table, and the feeling of a miniature village. It’s built for scale and durability, with plenty of ‘open-ended’ zones that allow for group games, imaginative role-play, and the kind of social bonding that only happens over shared adventures in a big, bustling backyard.
Essential Elements:
- A multi-level clubhouse or fort
- Double-width slides for racing
- A ‘concession stand’ or play-store window
- Ample seating for ‘spectating’ parents and resting kids
- A large chalkboard for ‘neighborhood news’
How to make it
- Build the clubhouse foundation on a platform of deck blocks to allow for air circulation and prevent rot, ensuring the platform is perfectly level.
- Frame the walls using 2x4s, adding a ‘shop window’ with a wide sill that serves as a counter for play-store transactions or snack service.
- Install a double slide by securing two identical slides side-by-side with a central divider rail, ensuring the landing zone is widened to accommodate two children at once.
- Create a ‘village’ feel by adding a gravel path that connects the fort to a separate seating area, using metal edging to keep the ‘prep’ of the path neat and contained.
- Check the ‘doneness’ of the social zone by ensuring all stairs have handrails and all elevated platforms have guardrails at least 27 inches high.
How to Refresh Outdoor Play Areas for Vibrant Seasonal Fun

Why we love this
A playground shouldn’t be static; it should evolve with the seasons. We love the refreshing feeling of a seasonal update—the way the space transforms from a summer splash zone with the scent of coconut sunscreen to a crisp autumn wonderland filled with the smell of dry leaves and pine. It keeps the excitement alive year-round, ensuring the backyard always feels like a new discovery, reflecting the changing colors and textures of the natural world outside the playroom window.
Essential Elements:
- Interchangeable swing attachments (toddler vs. belt swings)
- Weatherproof bins for seasonal toys (water guns vs. snow molds)
- Removable sun shades or windbreaks
- A fire-pit area for winter s’mores (with safety perimeter)
- Seasonal plantings in hardy containers
How to make it
- Conduct a seasonal deep-clean by power-washing all surfaces on a medium-low pressure setting to remove grime without damaging wood fibers or paint.
- Check all hardware for rust or loosening after seasonal temperature shifts; tighten bolts until they are ‘snug-plus-a-quarter-turn’ for optimal safety.
- Swap out summer accessories for autumn elements, like replacing a water table with a sensory bin filled with dried corn and small pumpkins.
- Apply a fresh coat of UV-protective sealant during the spring ‘prep’ phase to maintain the wood’s vibrant color and prevent silvering from sun exposure.
- Inspect the ‘fall zone’ material; mulch tends to decompose over winter, so top it off to maintain a consistent 9-12 inch depth for safety.
How to Execute Kids Backyard Ideas for Dreamy Outdoor Escapes
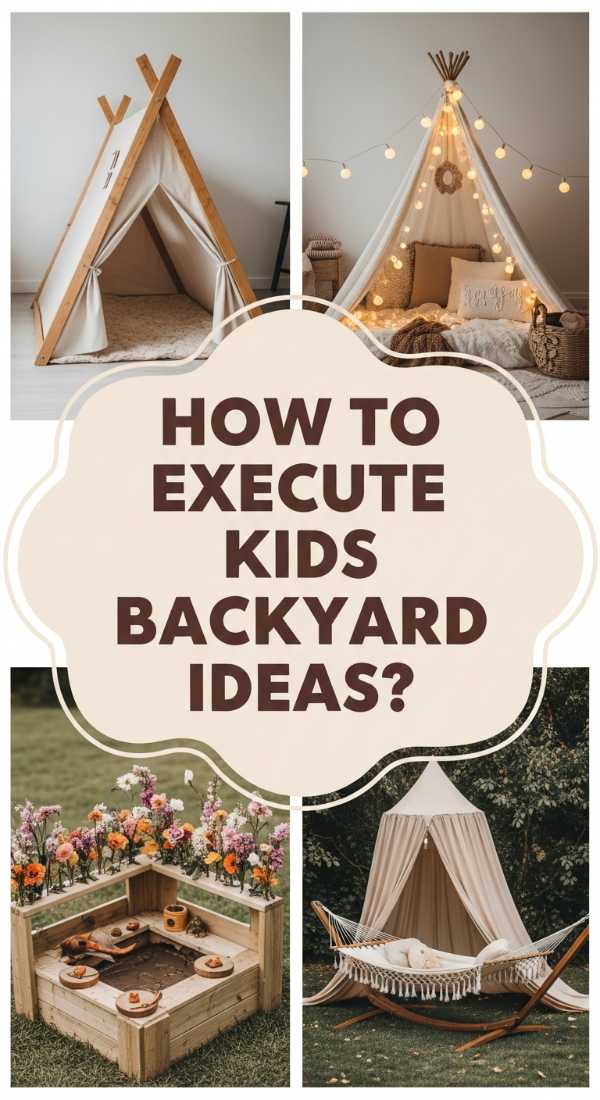
Why we love this
This is where whimsy meets reality. We love the dreamy, ethereal quality of an escape-focused play area—think fairy lights draped over willow branches, hidden nooks tucked behind tall grasses, and the soft chime of bells in the wind. It’s a space that feels quiet and enchanted, offering a sanctuary for reading, dreaming, and gentle play. It’s less about ‘running’ and more about ‘being,’ providing a sensory-rich environment that feels like a secret garden hidden away from the busy world.
Essential Elements:
- A canvas bell tent or teepee
- Solar-powered fairy lights or lanterns
- A ‘secret’ path made of irregularly shaped pavers
- Tall ornamental grasses or weeping trees for privacy
- Comfortable outdoor rugs and oversized floor cushions
How to make it
- Select a secluded corner of the yard and clear a circular area, laying down a base of fine gravel to provide a level and dry foundation for a tent or teepee.
- Set up the canvas structure, ensuring the poles are anchored into the ground to prevent ‘sailing’ during high winds; the visual cue for a good setup is a drum-tight canvas.
- String solar lights through the branches of nearby trees or along the tent poles, ensuring the ‘prep’ includes placing the solar panel in a high-sun spot for maximum evening ‘glow.’
- Plant a ‘living wall’ using fast-growing vines like jasmine or clematis on a simple trellis to create a sense of enclosure and an intoxicating floral aroma.
- Finish the space with weather-resistant textiles, checking for ‘doneness’ by spending a few minutes inside the nook to ensure it feels cozy and truly private.
How to Setup a Kids Outdoor Play Area for Daily Fresh Air Adventures
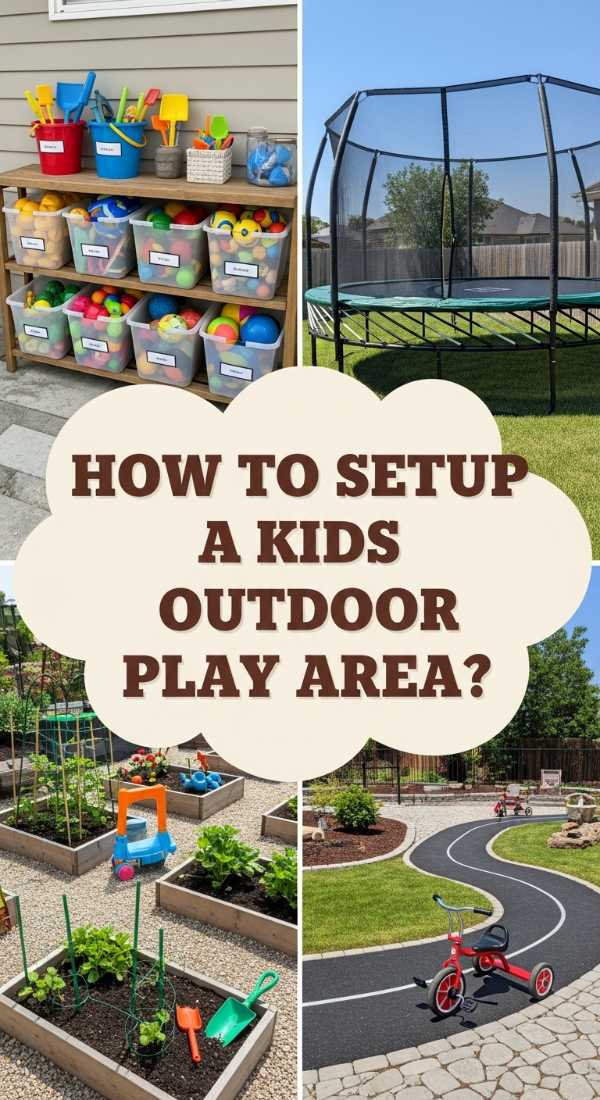
Why we love this
This is the ‘workhorse’ of play areas, designed for the daily 30-minute dash outside before dinner. We love how accessible and efficient this setup is—it’s characterized by organization, ease of use, and a sense of routine. The scent of fresh-cut grass and the tactile joy of a well-organized toy bin make it a breeze for parents and a delight for kids. It’s a space that makes ‘going outside’ the easiest choice of the day, fostering a consistent habit of fresh air and movement.
Essential Elements:
- Easily accessible storage cubbies for balls and bats
- A paved ‘trike track’ or flat concrete pad
- A sturdy outdoor easel for messy art
- A simple bubble-blowing station
- Low-maintenance, hardy lawn area
How to make it
- Designate a ‘staging area’ near the back door where shoes can be swapped for boots and outdoor gear is kept in ‘grab-and-go’ bins.
- Create a ‘track’ using large-format pavers set flush with the grass to allow for easy mowing while providing a smooth surface for scooters or tricycles.
- Install a wall-mounted storage rack for larger items like bikes or shovels, keeping the ‘flow’ of the yard clear and minimizing trip hazards.
- Set up the art station in a spot that can be easily hosed down; use a vertical ‘prep’ by mounting a roll of butcher paper to a fence or wall.
- Check the ‘doneness’ of the area by timing how long it takes to ‘open’ and ‘close’ the play space; it should be under five minutes to ensure it remains a daily habit.
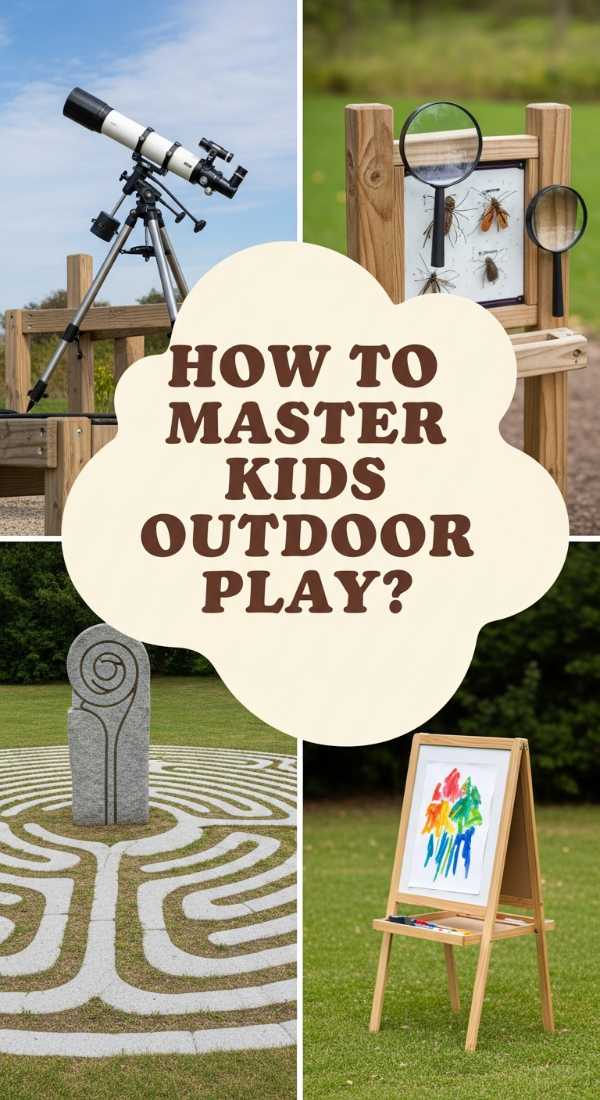
How to Master Kids Outdoor Play for Screen Free Family Time
Why we love this
In a world of tablets, this space is the ultimate digital detox. We love the ‘analog’ feel of this masterfully designed area—where the focus is on traditional games, physical challenges, and face-to-face interaction. The atmosphere is filled with the sounds of conversation and the tactile feedback of real-world physics. It’s a zone that encourages families to put down their phones and engage in a game of catch or a collaborative building project, rediscovering the simple joy of being present with one another.
Essential Elements:
- A large-scale outdoor ‘Connect Four’ or ‘Jenga’ set
- A dedicated ‘loose parts’ building area with scrap wood and bricks
- A sturdy picnic table for board games and snacks
- A DIY scavenger hunt board
- A basketball hoop or soccer goal
How to make it
- Define a ‘No-Phone Zone’ boundary with a physical marker, like a colorful painted line or a row of potted plants, to mentally separate the space from digital life.
- Build a ‘loose parts’ bin—a large wooden crate filled with sanded wood scraps, PVC pipes, and tires; the ‘visual cue’ for a good mix is a variety of shapes and weights.
- Install a permanent outdoor table by setting the legs in gravel-filled holes to ensure stability for intense board game sessions.
- Set the basketball hoop or goal against a solid backdrop (like a garage wall) to minimize the ‘heat’ of chasing stray balls into the neighbor’s yard.
- Establish a ‘closing ceremony’ routine, like gathering tools or toys together, which signals the ‘doneness’ of play and the transition back to indoor time.
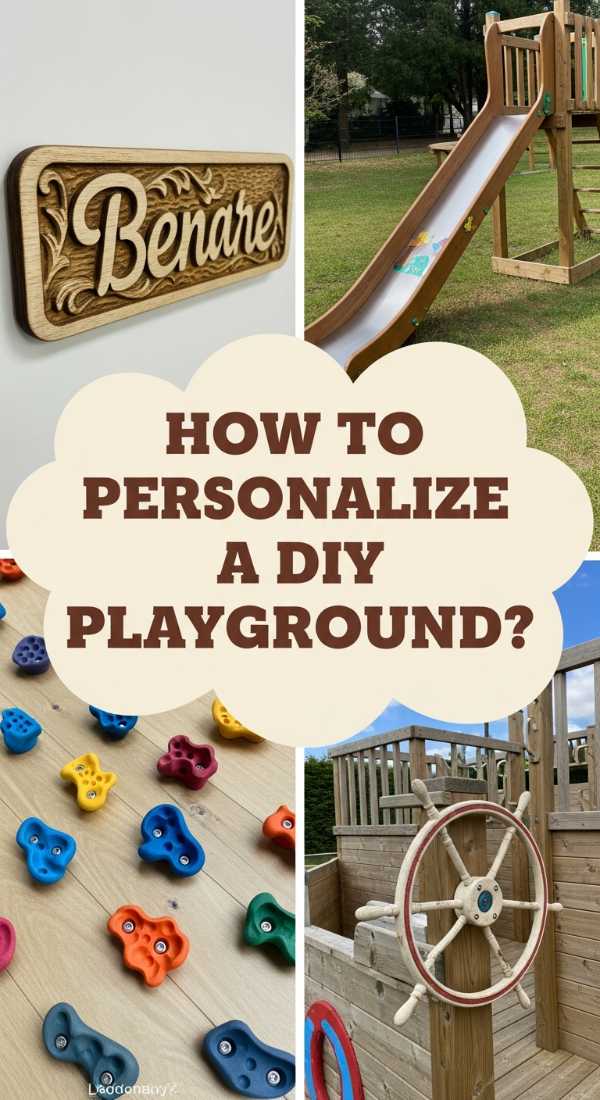
How to Personalize a DIY Playground for Unique Childhood Expression
Why we love this
This is the crowning jewel of play spaces because it reflects the specific soul of your child. We love the eclectic, vibrant energy of a personalized playground—where the colors are chosen by the kids, and the features match their current obsessions, whether it’s space travel or paleontology. It smells like fresh paint and creativity, feeling like a living scrapbook of their childhood interests. It’s a space that tells a story, making every child feel seen, celebrated, and completely at home in their own imagination.
Essential Elements:
- Customized name signs or hand-painted murals
- Theme-specific accessories (a telescope for space lovers, a periscope for explorers)
- A ‘treasure chest’ for personal finds
- Adjustable features that can change as the child grows
- A dedicated ‘gallery’ wire for displaying outdoor art
How to make it
- Involve your child in the ‘prep’ phase by letting them choose a three-color palette for the playground’s trim or accessories, using outdoor-grade acrylics.
- Install ‘theme’ hardware, like a ship’s wheel or a megaphone, using stainless steel screws to prevent rust and ensuring they are mounted at the child’s current eye level.
- Create a ‘personality’ mural on a fence or a side of the fort; prime the wood first to ensure the colors stay ‘vibrant’ and don’t soak into the grain too quickly.
- Add a ‘growth chart’ to one of the main support posts, marking milestones with a permanent outdoor marker to track their physical development alongside the space.
- Check the ‘doneness’ of the personalization by ensuring the space feels unique to your child—if it looks like a catalog, add one more handmade or kid-chosen element.
Conclusion: The Beginning of the Adventure
Creating the ultimate kids play haven is one of the most rewarding projects you can undertake. It’s about more than just construction; it’s about creating a stage where your child can perform the vital work of play. As you watch them climb, imagine, and grow, you’ll realize that the ‘Dream Zone’ isn’t just a place in your backyard or home—it’s a memory-making factory that will stay with them long after they’ve outgrown the swings.