

Close your eyes and imagine the perfect Saturday morning. The air is crisp, the sun is just beginning to peek over the horizon, and you’re clutching a warm mug of your favorite brew as you step outside. But instead of a cluttered patio or a barren yard, you are greeted by a sanctuary that feels like a five-star resort. There’s a certain magic that happens when our outdoor spaces reflect the peace we crave inside our souls, turning a simple backyard into a canvas for memories and a haven for rest.
For years, I treated my outdoor area as an afterthought, a place where the lawnmower lived and the weeds staged a coup. But I realized that our homes don’t end at the back door. By infusing our gardens and porches with intentionality, DIY charm, and lush greenery, we create an ‘outdoor room’ that beckons us to slow down, breathe deeply, and actually enjoy the beauty of the seasons. Whether you have a sprawling acre or a tiny balcony, these projects are designed to help you sip, sit, and style your way to paradise.
In this guide, we’re diving into ten transformative projects that balance sophisticated aesthetics with practical, hands-on DIY. From sensory play zones for the little ones to private spa retreats for the grown-ups, we are going to explore how to curate every inch of your exterior space. Let’s roll up our sleeves and start building the resort-worthy retreat you’ve always dreamed of.
How to Craft a Budget Bird Haven for Peaceful Morning Melodies

Why we love this
There is nothing quite like the therapeutic symphony of songbirds to accompany your morning coffee. This bird haven brings the raw beauty of nature right to your window, filling the air with the sweet, rhythmic trills of local finches and chickadees. We love the tactile warmth of the cedar wood and the earthy, nutty aroma of fresh sunflower seeds that permeates the area. It transforms a quiet corner into a living theater of movement and sound, providing a soul-soothing connection to the wild world without leaving your porch.
Essential Elements:
- Untreated Cedar planks (naturally rot-resistant)
- Exterior-grade wood glue
- Galvanized finishing nails
- Bird-safe non-toxic sealant
- A variety of seeds (black oil sunflower, safflower, and nyjer)
- Heavy-duty eye hooks for hanging
How to make it
- Measure and cut your cedar base to a 10×10 inch square, ensuring the edges are sanded smooth to prevent any splintering that could harm the birds.
- Prepare the ‘prep’ phase by cutting four side walls at 2 inches in height, mitering the corners at a 45-degree angle for a professional, seamless fit that keeps moisture out.
- Apply a thin, even bead of exterior wood glue to the mitered edges, pressing them together firmly; use a strap clamp to hold them in place while you secure them with two finishing nails per corner.
- For the ‘assembly’ phase, attach the base to the walls using glue and nails, then drill small 1/8-inch drainage holes in the bottom every two inches to ensure the seed stays dry and mold-free.
- Finish the wood with a light coat of bird-safe oil, allowing it to ‘cure’ in the sun for at least 24 hours until the surface is no longer tacky to the touch.
- Install eye hooks at the four corners, attach your hanging wire, and fill the tray with a high-quality seed blend, placing it near a shrub for ‘cover’ so birds feel safe while they dine.
How to Style a Lush Entrance for Instant Curb Appeal Bliss
Why we love this
Your front entrance is the handshake of your home, and styling it with lush greenery creates an immediate sense of arrival and hospitality. We adore the visual depth created by layering different shades of emerald and lime, and the intoxicating scent of jasmine or lavender or jasmine provides as you walk through the door. The texture of smooth ceramic pots against the ruggedness of a new doormat provides a sensory ‘hello’ that makes coming home the best part of your day, instantly elevating your mood before you even turn the key.
Essential Elements:
- Over-sized ceramic planters in neutral tones
- Statement-making ‘thriller’ plant (like a Dracaena or Topiary)
- Soft ‘filler’ plants (like Ferns or Begonias)
- Cascading ‘spiller’ plants (like Creeping Jenny or Ivy)
- High-quality potting mix with perlite
- Solar-powered accent up-lighting
How to make it
- Begin the ‘foundation’ phase by selecting two identical, large-scale planters to flank your door, ensuring they are heavy enough to withstand wind gusts while providing enough root space for growth.
- Fill the bottom third of the pots with lightweight drainage filler (like recycled plastic bottles) to save on soil and weight, then top with a premium, nutrient-rich potting mix.
- Execute the ‘thriller’ step by planting your tallest focal point plant exactly in the center; ensure the root ball is teased out gently to encourage rapid outward growth.
- Surround the focal point with ‘fillers,’ spacing them about 4 inches apart to allow for airflow while creating a dense, lush carpet of foliage that covers the soil completely.
- Tuck the ‘spillers’ along the very edge of the rim, angling them slightly outward so they begin their graceful descent over the sides of the pot immediately.
- Finish by positioning solar up-lights at the base of the pots, angled at 45 degrees toward the foliage to create dramatic shadows and a welcoming glow once the sun sets.
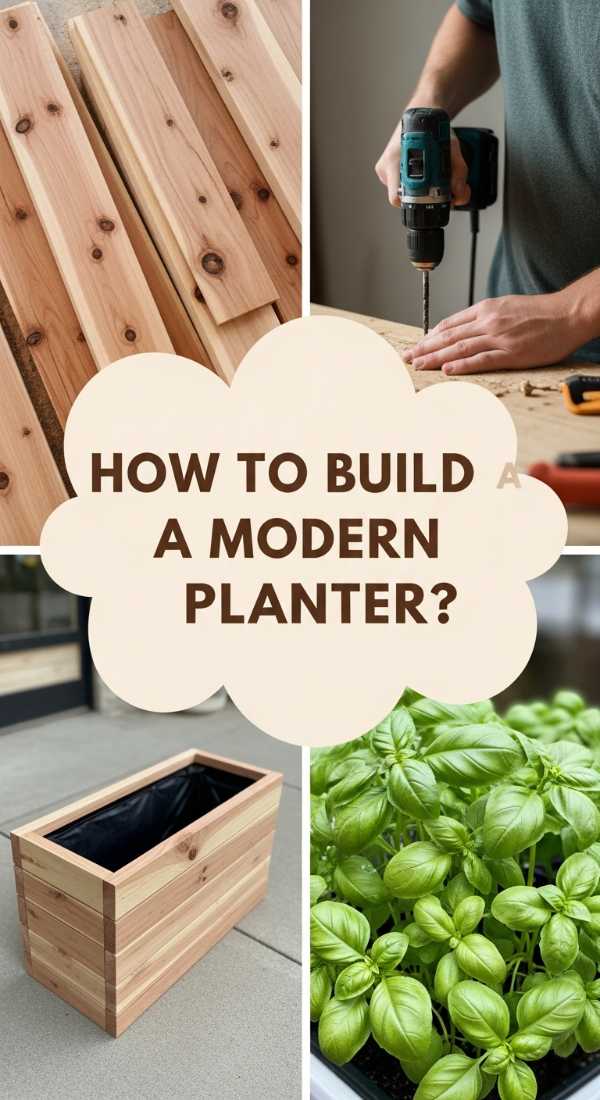
How to Build a Modern Planter for an Organic Herb Oasis
Why we love this
A modern herb planter is the perfect marriage of sleek industrial design and organic, edible beauty. We love the way the clean lines of stained wood contrast with the soft, feathery texture of dill and the vibrant, broad leaves of basil. The aroma is legendary—a quick brush of your hand against the rosemary releases a woody, pine-like scent that instantly clears the mind. It’s a functional masterpiece that brings the ‘farm-to-table’ experience to your fingertips, making every home-cooked meal feel like a gourmet event.
Essential Elements:
- 2×4 Cedar boards for the frame
- Black corrugated metal sheets for the side panels
- Food-safe waterproof liner
- Stainless steel screws
- Organic herb starts (Basil, Rosemary, Mint, Thyme)
- Organic potting soil enriched with compost
How to make it
- Construct the ‘skeleton’ by cutting your 2x4s into four 24-inch legs and four 36-inch crossbeams, using a Kreg jig to create pocket holes for hidden, high-strength joins.
- Assemble the frame using 2.5-inch stainless steel screws, ensuring every corner is perfectly square to maintain that crisp, modern aesthetic.
- Prep the metal panels by cutting the corrugated sheets to fit the interior of the frame; use a metal file to smooth any sharp edges to ensure safety during the ‘finishing’ phase.
- Mount the metal sheets to the inside of the timber frame using self-tapping screws, creating a striking black-on-wood contrast that defines the modern look.
- Install a food-safe plastic liner with drainage holes, then fill with a ‘prep’ mix of 70% potting soil and 30% organic compost for maximum nutrient density.
- Plant your herbs, placing the tallest (like Rosemary) in the back and the spreaders (like Mint) in their own dedicated sections to prevent them from overtaking the other plants.
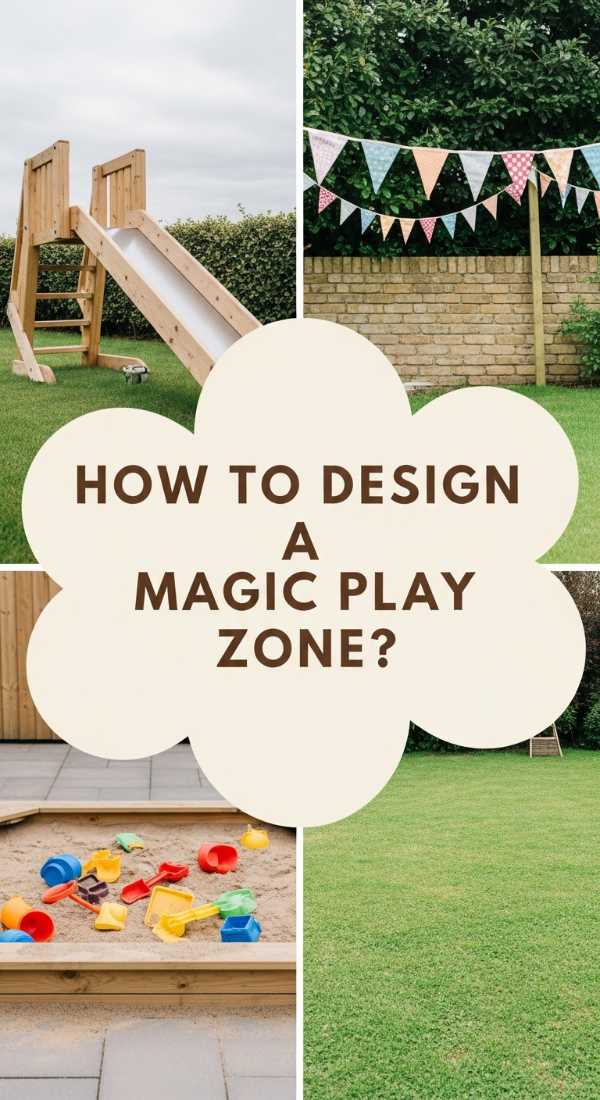
How to Design a Magic Play Zone for Endless Summer Memories
Why we love this
There is a whimsical, nostalgic joy in creating a space where imagination takes center stage. We love the Magic Play Zone for its ability to pull children away from screens and into a world of tactile discovery and sun-drenched laughter. The feeling of soft cedar chips underfoot and the sight of twinkling fairy lights overhead creates an atmosphere of pure enchantment. It’s a dedicated slice of the yard where ‘messy’ is encouraged and every afternoon feels like a grand adventure in a secret forest.
Essential Elements:
- Natural cedar mulch or rubber play tiles
- Weather-resistant canvas teepee or playhouse
- Heavy-duty outdoor string lights (shatterproof)
- Low-profile wooden benches
- Outdoor-rated chalkboard paint and plywood
- Interactive elements like a steering wheel or telescope
How to make it
- Establish the ‘safety zone’ by excavating a 10×10 foot area of grass, digging down about 3 inches to create a recessed bed for your soft landing material.
- Lay down a heavy-duty weed barrier fabric to prevent growth, securing it with landscape staples every 12 inches to ensure a flat, stable surface.
- Fill the area with 3 inches of certified play-grade mulch, raking it until it is perfectly level and firm enough to support the weight of play equipment.
- Build a ‘creativity station’ by painting a large sheet of exterior plywood with three coats of chalkboard paint; allow 24 hours of ‘curing’ time between coats for a smooth, erasable finish.
- Anchor the teepee or playhouse using ground stakes, ensuring it faces the afternoon shade to keep the interior cool during peak ‘play heat.’
- String the lights at a minimum height of 7 feet to keep them out of reach, and add weather-treated benches to the perimeter for ‘parental observation’ in style.
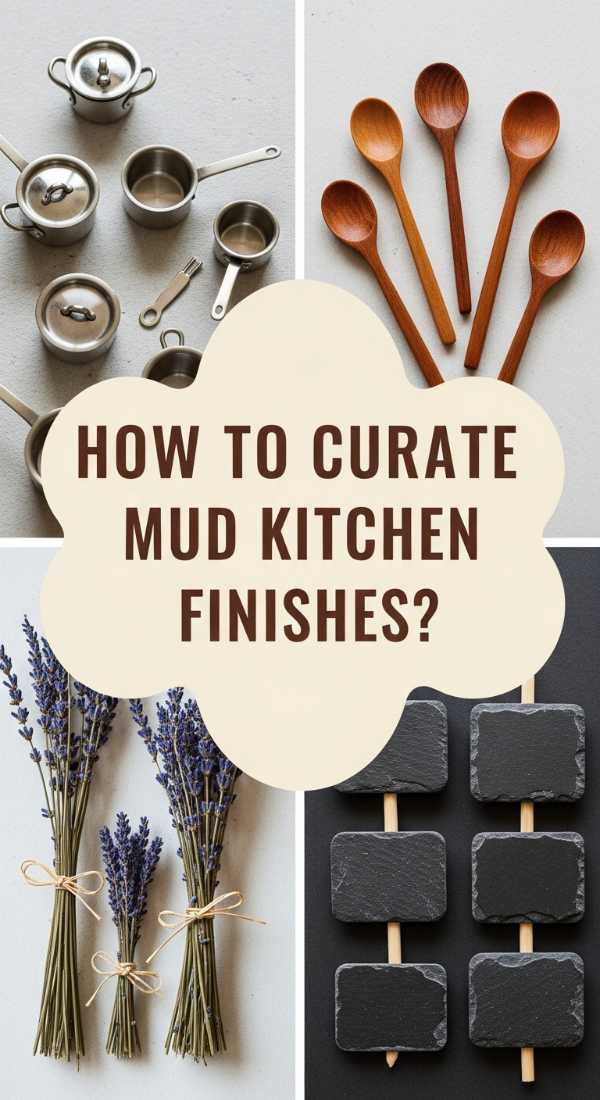
How to Curate Mud Kitchen Finishes for Gourmet Messy Play

Why we love this
The mud kitchen is the ultimate ‘messy play’ upgrade, turning dirt and water into a sensory masterpiece. We love the sophisticated, ‘mini-chef’ vibe created by using real stainless steel sinks and stone-textured finishes. The sound of a metal whisk against a bowl and the cool, squelching feel of mud ‘batter’ between fingers provides hours of tactile engagement. It’s a beautiful way to encourage scientific exploration and role-play, all while keeping the ‘gourmet’ chaos safely tucked away in a stylish corner of the garden.
Essential Elements:
- Repurposed wooden potting bench or pallet frame
- Drop-in stainless steel bar sink
- Functional pump-action faucet (connected to a hose)
- Slate or stone-effect contact paper (outdoor grade)
- Hooks for hanging ladles and spoons
- Assorted ‘ingredients’ (pinecones, pebbles, flower petals)
How to make it
- Begin the ‘structure’ phase by sanding an old potting bench down to raw wood, removing any old splinters or peeling paint to ensure a smooth, safe surface.
- Trace the dimensions of your drop-in sink onto the countertop; use a jigsaw to cut the opening, checking the fit frequently until the ‘visual cue’ of the sink rim sits flush.
- Apply an outdoor-rated slate-texture finish to the ‘backsplash’ area to give it a sophisticated, modern kitchen feel that is also easy to hose down later.
- Install the pump-action faucet by drilling a 1-inch hole and securing the hardware; connect the intake line to a standard garden hose for a ‘real-flow’ water experience.
- Organize the ‘prep station’ by installing a row of stainless steel hooks for utensils and a lower shelf for storing ‘mud-pots’ and pans.
- Fill labeled jars with ‘dry goods’ like pea gravel and dried lavender to encourage the ‘sensory’ aspect of the kitchen, and set the water pressure to a low, manageable flow.
How to Escape to a Private Spa Retreat for Ultimate Evening Relaxation
Why we love this
Imagine the steam rising into the cool night air as you sink into a warm soak, surrounded by the flicker of candlelight and the rustle of bamboo. This spa retreat is about reclaiming your peace after a long day. We love the juxtaposition of the hard, structural privacy screens with the soft, billowing outdoor curtains. The scent of eucalyptus oil diffusing into the air combined with the rhythmic sound of a small water feature creates a profound sense of ‘zen’ that rivals any high-end boutique hotel.
Essential Elements:
- Cedar slat privacy screens
- Stock tank or inflatable hot tub
- Eucalyptus and lavender essential oils
- Waterproof LED candles
- Bamboo floor mats
- Outdoor-rated towel warmer
How to make it
- Create the ‘privacy envelope’ by installing 6-foot tall cedar slat screens in an L-shape around your soaking area, ensuring the slats are spaced 1/2 inch apart for ‘filtered light’ effects.
- Level the ground perfectly using a bed of leveled sand or a reinforced wooden deck to support the significant weight of the water when the tub is full.
- Phase into the ‘installation’ by setting up your stock tank or tub; if using a metal stock tank, ensure you apply a pond liner to prevent rust and provide a smoother texture for skin.
- Arrange the ‘sensory’ elements by placing a bamboo mat at the entry point and setting up a small side table for your essential oil diffuser and waterproof candles.
- Install a simple overhead pergola or ‘sail’ to provide a sense of enclosure and to hang a towel warmer, which should be plugged into a GFCI-protected outlet for safety.
- Fill with water and add a few drops of eucalyptus oil; test the temperature until it reaches a ‘simmering’ warmth (approx 102°F) for the perfect muscle-melting experience.
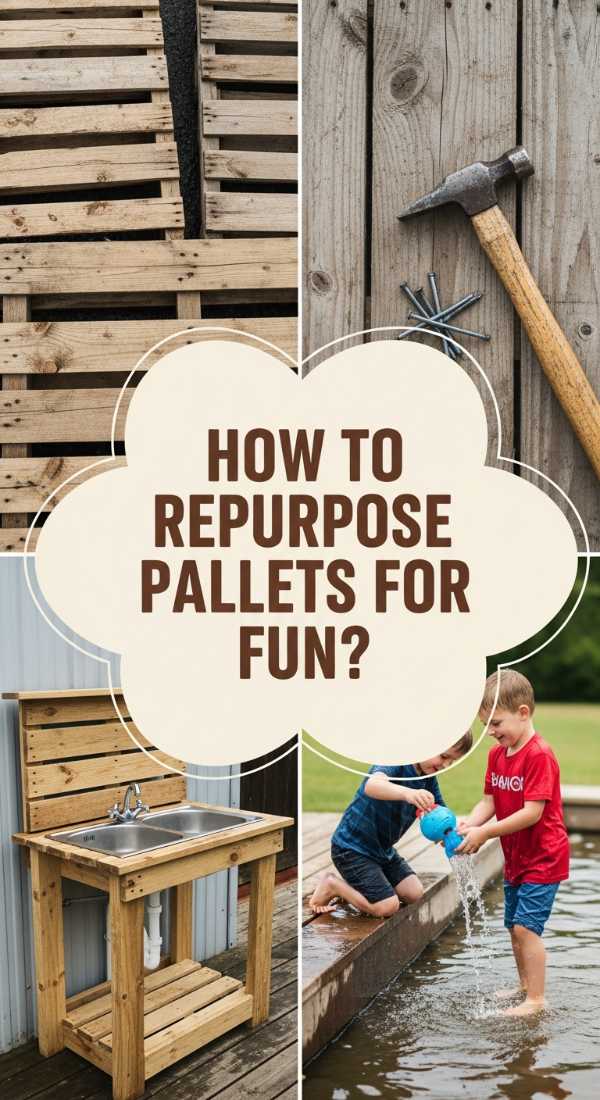
How to Repurpose Pallets for Sustainable Outdoor Chef Play
Why we love this
Sustainability meets childhood wonder in this clever pallet transformation. We love the rustic, weathered charm of the wood and the way it encourages a ‘farm-to-table’ mindset in even the youngest chefs. The grainy texture of the timber and the sound of wooden play-food being ‘chopped’ on a sturdy surface creates a grounding, organic play experience. It’s a project that feels good for the planet and even better for the soul, proving that you don’t need expensive plastic toys to create a world of gourmet fun.
Essential Elements:
- Heat-treated (HT) pallets (safe for kids)
- Crowbar and hammer for disassembly
- Coarse and fine-grit sandpaper
- Non-toxic outdoor wood stain
- Cast iron hardware (handles and knobs)
- Old muffin tins and wooden crates
How to make it
- Source ‘HT’ (Heat Treated) pallets to ensure the wood is free of harmful chemicals; use a crowbar to carefully ‘prep’ the boards by removing all rusty nails and staples.
- Sand every board thoroughly, starting with 60-grit for ‘heavy removal’ and finishing with 120-grit for a ‘silky-smooth’ visual cue that indicates the wood is ready for little hands.
- Build a simple rectangular base frame using the thickest pallet runners, then ‘skin’ the frame with the thinner slats to create a countertop and lower storage shelf.
- For the ‘chef’s stove,’ use a circular saw to lightly etch four circles into the countertop; paint these black to mimic burners, using a high-heat resistant paint for durability.
- Apply two coats of non-toxic stain in a ‘warm walnut’ tone, allowing the first coat to ‘soak in’ for 4 hours before applying the second to achieve a rich, deep hue.
- Attach old cast iron stove knobs to the front panel using long bolts, allowing them to actually ‘click’ and turn, providing a satisfying mechanical ‘pop’ during play.
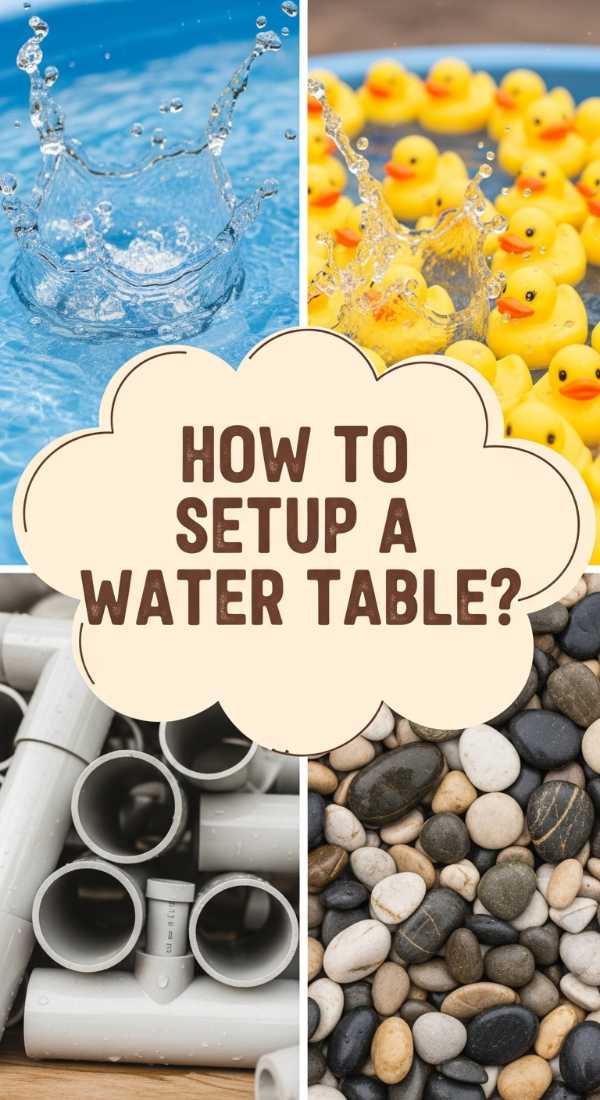
How to Setup a Sensory Water Table for Cool Afternoon Refreshment
Why we love this
When the sun is at its peak, the sensory water table is the ultimate backyard oasis. We love the sparkling visual of sunlight hitting the ripples and the refreshing ‘clink’ of ice cubes against plastic scoops. It provides a cool, tactile escape that engages the senses of sight, touch, and sound all at once. The addition of citrus slices or mint leaves to the water adds a spa-like aroma to the play, making it a refreshing ‘cocktail hour’ for the imagination that keeps everyone cool and calm.
Essential Elements:
- Large, shallow galvanized or plastic tub
- Sturdy wooden stand (DIY or repurposed)
- Assorted scoops, funnels, and silicone molds
- Natural additives (lemon slices, rose petals, mint)
- Blue food-grade dye (optional for ‘ocean’ effect)
- Floating elements like corks or rubber ducks
How to make it
- Construct a ‘stable base’ using pressure-treated 2x4s, building the height to approximately 24 inches so it is ergonomically comfortable for standing toddlers and children.
- Ensure the ‘cradle’ for the tub is a tight friction-fit; test the ‘visual cue’ by placing the empty tub in the frame—it should not wiggle or tilt when pressure is applied.
- Prep the ‘refreshment’ by filling the tub with clean, cool water; if you want a vibrant look, add two drops of blue food-grade dye and stir until the water is a clear ‘tiffany blue.’
- Add the ‘aromatic layer’ by tossing in thinly sliced lemons and sprigs of fresh mint; the heat of the sun will gently ‘steep’ these, releasing a bright, refreshing scent.
- Provide a variety of ‘tools’ like stainless steel measuring cups and silicone whisks to offer different ‘clinking’ sounds and tactile resistances during play.
- Monitor the ‘temperature’ throughout the afternoon; if the water becomes too warm, add a tray of large-format ice cubes to provide a ‘visual and thermal’ change to the experience.
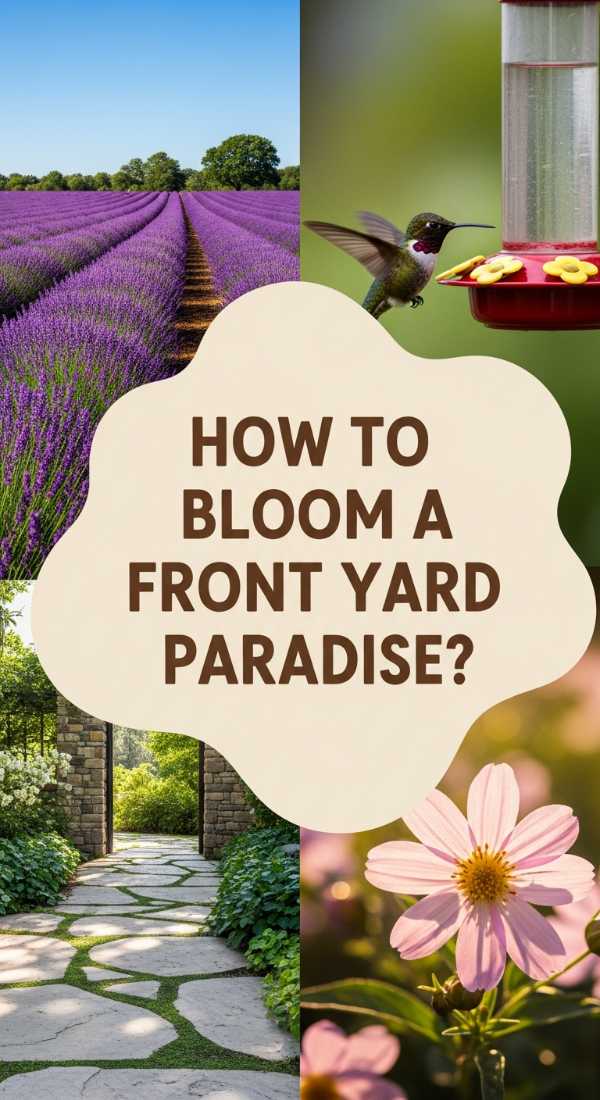
How to Bloom a Front Yard Paradise for Local Wildlife

Why we love this
Turning your front yard into a wildlife paradise is an act of environmental love. We adore the explosion of color from native wildflowers—the fiery oranges of Milkweed and the deep purples of Coneflower. The sight of a Monarch butterfly dancing through the air and the low hum of busy bumblebees creates a living, breathing landscape. It’s a sensory feast of movement and vibrant hues that changes daily, making your home a vital ‘pit stop’ for the creatures that keep our ecosystem thriving.
Essential Elements:
- Native wildflower seed mix (specific to your region)
- A sunny, cleared patch of soil
- Composted leaf mold or organic mulch
- A shallow ‘butterfly puddling’ stone
- Native shrubs for nesting (like Elderberry or Viburnum)
- No-pesticide commitment
How to make it
- Identify a ‘full sun’ location (at least 6 hours of light) and ‘prep’ the area by removing all non-native grass and weeds, ensuring you get the roots to prevent regrowth.
- Rake the soil until it is fine and crumbly, then mix your native seeds with a bucket of damp sand; this acts as a ‘visual cue’ so you can see exactly where you’ve spread the seeds.
- Scatter the seed-sand mix using a ‘cross-hatch’ pattern to ensure even coverage, then lightly ‘tamp’ the soil down with your feet to ensure good seed-to-earth contact.
- Install a ‘puddling stone’—a flat rock with a natural depression—and fill it with a mix of water and a pinch of sea salt to provide butterflies with essential minerals.
- During the ‘germination’ phase, keep the soil consistently moist (like a wrung-out sponge) for the first 3 weeks until the first ‘true leaves’ appear on the seedlings.
- Once established, ‘simmer’ your maintenance routine down to almost zero; avoid all pesticides and allow the plants to go to seed in the fall to provide winter food for birds.
How to Grow a Custom Planter Garden for Sophisticated Outdoor Style
[IMAGE_10]
Why we love this
A custom planter garden allows you to play with height and scale, creating a ‘designer look’ that feels curated rather than cluttered. We love the sophisticated, tiered effect of matching containers in varying sizes, filled with architectural plants like Agave or Japanese Maple. The smooth, cool feel of high-quality stone or composite material and the structured, clean growth patterns provide a sense of ‘ordered nature.’ It is the ultimate way to define ‘outdoor rooms’ and add a touch of high-end luxury to any patio or balcony.
Essential Elements:
- Set of 3-5 planters in the same color but different heights
- Drainage mesh or landscape fabric
- High-quality, lightweight potting soil
- Slow-release organic fertilizer
- Architectural focal plants (Evergreens or Grasses)
- Polished river stones for top-dressing
How to make it
- Select your ‘color story’ by choosing planters in a single palette (like Charcoal or Terracotta) to create a ‘unified visual’ that looks professional and intentional.
- Prep each pot by placing a piece of drainage mesh over the bottom hole; this prevents soil from ‘leaking’ out and staining your patio while allowing water to flow freely.
- Fill the planters with a ‘premium’ soil mix, stopping 2 inches from the rim to allow for watering; mix in a handful of slow-release fertilizer ‘beads’ to provide long-term ‘fuel.’
- Plant your largest ‘anchor’ plant in the tallest pot, ensuring it is perfectly vertical; use a ‘visual cue’ like a spirit level if the plant has a very straight trunk.
- Group the pots in ‘odd numbers’ (3 or 5), overlapping the edges slightly to create a ‘layered’ look that guides the eye upward and through the space.
- Finish the ‘look’ by topping the soil with a 1-inch layer of polished river stones; this hides the dirt, retains moisture, and provides a ‘clean, finished’ texture that screams resort-style living.
Creating Your Personal Sanctuary
Building a resort-worthy outdoor space isn’t about how much money you spend; it’s about the intention you bring to every corner of your yard. By focusing on sensory details—the sound of birds, the scent of herbs, the texture of natural wood—you create an environment that feeds your soul and welcomes your guests. Start with one project this weekend, and watch as your home expands into the great outdoors. Your sanctuary is waiting; all you have to do is step outside.