
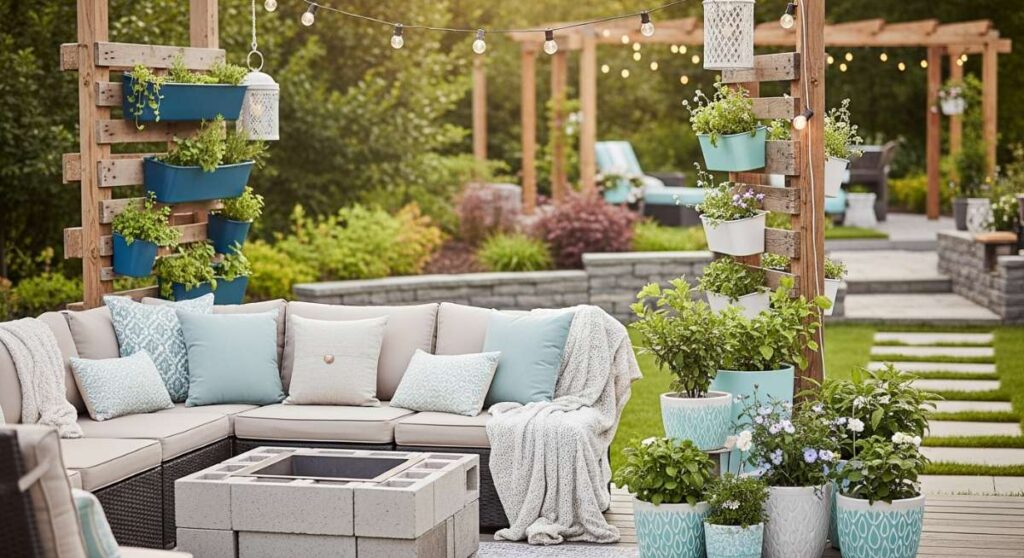
Imagine stepping outside with a steaming cup of coffee, the morning dew still clinging to the grass, and feeling a wave of pure serenity wash over you. Your backyard shouldn’t just be a patch of land; it should be an extension of your soul—a sanctuary where the chaos of the digital world fades into the background. There is something deeply transformative about rolling up your sleeves and crafting a space that reflects your personal aesthetic while inviting nature back into your daily rhythm.
We often think of home renovations as massive, bank-breaking projects, but the magic of a ‘Dreamy Outdoor Oasis’ lies in the DIY details. Whether it is the sound of a trickling bird bath or the rustic charm of a handmade planter, these elements infuse your environment with warmth and character. This guide is designed to help you reclaim your outdoor living space, turning it into a stylish, peaceful, and playful haven for you and your loved ones to enjoy all summer long.
How to Design a Charming Bird Bath for a Peaceful Garden Retreat

Why we love this
There is nothing quite as soul-soothing as the sight of colorful songbirds splashing in a basin of cool, clear water. This DIY bird bath brings a sense of life and movement to your garden, creating a focal point that feels both classic and whimsical. The gentle ripple of the water under the afternoon sun provides a rhythmic visual peace, while the soft chirping of visiting finches and robins adds a natural soundtrack to your outdoor reading nook. It turns a quiet corner into a vibrant wildlife hub that smells of fresh earth and damp stone.
Essential Elements:
- Three graduated terracotta pots (large, medium, small)
- One large terracotta saucer
- Industrial-strength waterproof adhesive (like E6000)
- Outdoor acrylic paint or weather-resistant sealant
- River stones and decorative glass pebbles
- A small solar-powered fountain pump (optional)
How to make it
- Begin by cleaning your terracotta pots thoroughly to remove any dust or debris, which ensures the adhesive bonds perfectly.
- Flip the largest pot upside down on a level surface; this serves as your base. Apply a thick, even ring of adhesive to the bottom rim (which is now the top).
- Center the medium-sized pot upside down on the first pot and press firmly, holding for 60 seconds to set the bond. Repeat this step with the smallest pot to create a tiered pedestal.
- Once the pedestal is dry (allow at least 4-6 hours), adhere the saucer to the very top. Ensure it is perfectly centered to prevent tipping.
- Seal the entire structure with a clear, non-toxic outdoor spray to protect the paint and the porous clay from moisture damage.
- Place river stones inside the saucer to give birds a safe place to land. Fill with fresh water, and if desired, place a solar fountain in the center to keep the water moving and prevent mosquitoes.
How to Create a Vibrant Flower Bed for Instant Curb Appeal

Why we love this
A well-planned flower bed is like a living painting that changes with the seasons, offering a burst of dopamine every time you pull into your driveway. We love the way the velvety textures of flower petals contrast against crisp garden edging, creating a professional look that instantly elevates your home’s value. The fragrance of blooming lavender and marigolds wafting on a breeze is enough to turn a bad day around, providing a sensory experience that is as rewarding to grow as it is to look at.
Essential Elements:
- Hardwood mulch or decorative bark
- High-quality organic topsoil and compost blend
- A mix of perennials (Hostas, Peonies) and annuals (Petunias, Zinnias)
- Garden spade and metal rake
- Eco-friendly landscape fabric
- Plastic or stone edging material
How to make it
- Identify the sun exposure of your chosen area; track the light for a full day to ensure you choose plants that will thrive in that specific microclimate.
- Mark the perimeter of your bed using a garden hose or spray paint to create soft, organic curves rather than rigid straight lines for a more modern look.
- Remove the grass within the perimeter by slicing underneath the roots with a spade. Once cleared, till the soil to a depth of about 6-8 inches to loosen it for root growth.
- Mix in two inches of organic compost to enrich the soil. Smooth the surface with a rake, ensuring there is a slight slope away from your home’s foundation for drainage.
- Lay down landscape fabric to suppress weeds, cutting ‘X’ shapes where each plant will go. Dig holes twice the width of the root ball, place your plants, and backfill with soil.
- Cover the entire area with 2-3 inches of mulch, keeping it away from the direct stems of the plants to prevent rot. Water deeply immediately after planting.
How to Build a Rustic Wood Planter for a Stylish Porch Refresh

Why we love this
There’s a rugged, timeless elegance to raw wood that softens the hard lines of a modern porch or patio. This rustic wood planter brings a touch of the farmhouse aesthetic to your entryway, smelling faintly of cedar and pine as it ages beautifully under the elements. We adore how the vertical height of these planters can frame a doorway, making your home feel grand yet approachable, while providing a sturdy home for cascading ivy or bright geraniums.
Essential Elements:
- Pressure-treated lumber or cedar boards (naturally rot-resistant)
- Galvanized wood screws
- Power drill and miter saw
- Wood stain or exterior wood oil
- Plastic planter liner or landscape plastic
- Drill bit for drainage holes
How to make it
- Measure and cut four side panels of equal height and width. For a classic square planter, 18 inches per side is a versatile size that fits most large nursery pots.
- Assemble the four sides into a box shape using a drill and 2-inch galvanized screws. Pre-drill your holes to prevent the wood from splitting near the edges.
- Cut a square piece of wood to fit the bottom of the box. Drill five half-inch drainage holes into this base piece before securing it to the bottom of the frame with screws.
- Sand all exterior surfaces with 80-grit sandpaper to remove splinters, followed by 120-grit for a smooth, professional finish.
- Apply a coat of exterior wood stain or oil to protect the wood from UV rays and moisture. Let it cure for 24 hours in a dry area.
- Line the interior with landscape plastic, stapling it to the top edge. Poke holes through the plastic where the drainage holes are located. Fill with potting mix and your favorite blooms.
How to Craft a Magical Play Area for Endless Summer Fun

Why we love this
Creating a dedicated space for children to explore their imagination is one of the most rewarding DIY projects a parent can undertake. This magical play area is designed to be a whimsical retreat, filled with soft textures like sand and grass, and the enchanting glow of fairy lights as dusk falls. It encourages kids to disconnect from screens and engage with the physical world, fostering creativity through movement and sensory exploration in a safe, beautiful environment that complements your landscape.
Essential Elements:
- Weatherproof outdoor teepee or play tent
- Interlocking foam tiles or outdoor rugs
- Solar-powered string lights
- Large outdoor floor cushions
- Wooden storage crates for toys
- Natural elements like smooth logs for stepping stones
How to make it
- Select a shaded, flat area of the yard that is easily visible from the house. Clear any rocks, sticks, or prickly weeds from the site.
- Lay down a foundation of interlocking foam tiles or a durable outdoor rug to provide a soft landing zone for little knees and feet.
- Erect your teepee or tent, securing the base with stakes if the area is prone to wind. Ensure the fabric is UV-resistant to prevent fading.
- String solar lights along the top of the tent and surrounding trees. Position the solar panel in a spot that receives at least 6 hours of direct sunlight.
- Organize toys into labeled wooden crates to encourage tidiness. Add oversized, weather-resistant pillows inside the tent to create a cozy reading nook.
- Add a “nature path” leading to the area using flat wooden discs or smooth stones to make the entrance feel like a secret discovery.
How to Style a Creative Mud Kitchen for Sensory Play Mastery

Why we love this
The mud kitchen is the ultimate tribute to messy, tactile joy, allowing children to “cook” with nature’s finest ingredients: dirt, water, and petals. We love the way it encourages sensory development, with the gritty feel of sand and the cool slip of mud providing endless learning opportunities. It’s a space where kids can be themselves, mixing up “flower soup” and “mud pies,” while the rustic wooden aesthetic of the kitchen itself adds a charming, handcrafted vibe to your backyard play zone.
Essential Elements:
- Two upcycled wooden pallets or a small potting bench
- Stainless steel mixing bowls and old kitchen utensils
- Plastic or metal sink basin (an old dish tub works perfectly)
- A chalkboard for the “Daily Menu”
- Utensil hooks and a small shelf
- Outdoor-safe paint or wood sealant
How to make it
- Sand your pallets or bench thoroughly to ensure there are no rough edges or splinters that could harm little hands.
- If using pallets, stack two horizontally to create the base. Secure them together with heavy-duty lag bolts. Attach a vertical pallet to the back to serve as a tool wall.
- Cut a hole in the top surface of your kitchen that is slightly smaller than the lip of your sink basin. Drop the basin in so it sits flush.
- Screw hooks into the back wall of the kitchen to hang whisks, spoons, and measuring cups. Add a narrow shelf to hold jars of “ingredients” like acorns and pebbles.
- Paint the structure in a fun, vibrant color or leave it natural with a clear sealant for a more organic look. Attach a small chalkboard to the side.
- Stock the kitchen with natural materials. Pro tip: Keep a dedicated water source nearby so the “chefs” can refill their pots easily without needing help.
How to Arrange a Cozy Hot Tub Area for the Ultimate Spa Evening
Why we love this
Transforming a standard hot tub into a private spa retreat is all about atmosphere and texture. There is nothing like the contrast of the hot, bubbling water against the cool night air, surrounded by the soft flickering of lanterns and the scent of aromatic plants. This setup turns a simple backyard into a high-end getaway, providing a place to decompress and soothe tired muscles under a canopy of stars. It’s the ultimate luxury that you can enjoy year-round, right in the comfort of your own home.
Essential Elements:
- Privacy screens (lattice panels or tall potted bamboo)
- All-weather outdoor rug
- Towel rack or wooden storage bench
- Waterproof LED lanterns and candles
- Potted plants like Jasmine or Eucalyptus for aroma
- Small side table for drinks
How to make it
- Position your hot tub on a reinforced, level surface. Surround the base with an outdoor rug to prevent grass and dirt from being tracked into the water.
- Install privacy screens or plant tall, dense greenery like bamboo or Thuja trees to create a secluded, intimate feeling.
- Place a wooden bench nearby to act as both a step for entry and a place to store dry towels and robes.
- Incorporate lighting at different levels. Use low-voltage path lights for safety and hanging lanterns for a warm, amber glow that mimics candlelight.
- Add a small, weather-resistant side table within arm’s reach of the tub for refreshments and a Bluetooth speaker.
- Arrange aromatic potted plants near the tub’s edge. When the steam rises, it will carry the scent of the leaves, enhancing the aromatherapy experience.
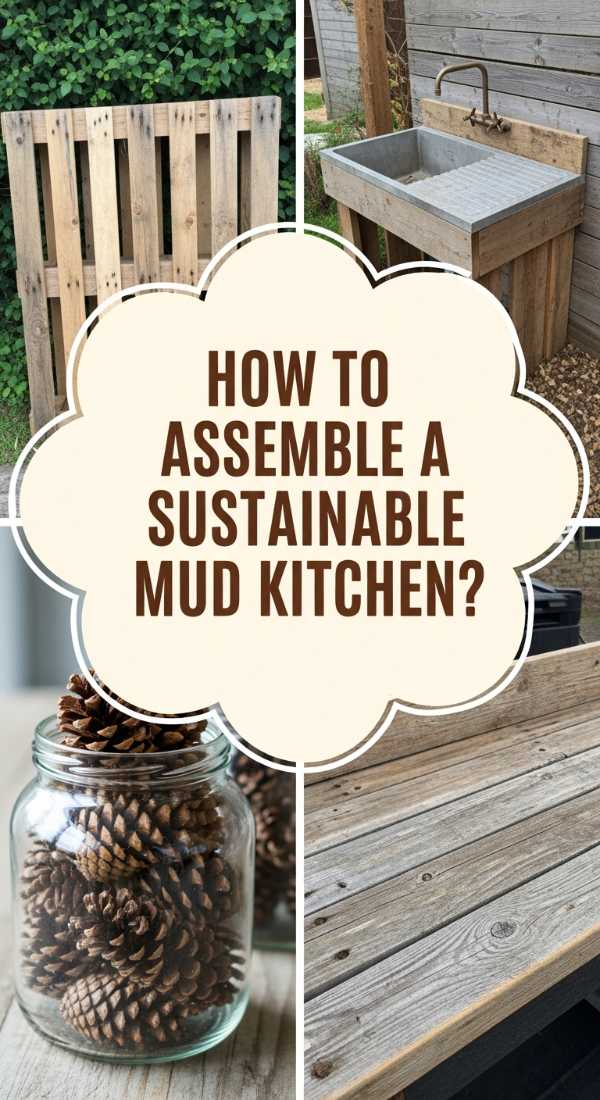
How to Assemble a Sustainable Mud Kitchen for Eco Friendly Fun
Why we love this
Sustainability and play go hand-in-hand with this eco-conscious mud kitchen. By using reclaimed wood and repurposed kitchenware, you’re teaching children the value of upcycling while providing a durable, earth-friendly play space. We love the weathered patina of the recycled timber and the way it blends seamlessly into a natural garden setting. It’s a guilt-free DIY that feels grounded and purposeful, proving that you don’t need shiny new plastic to create a world of wonder for your kids.
Essential Elements:
- Reclaimed cedar or redwood scraps
- Second-hand stainless steel bowls and pots
- Non-toxic, milk-based outdoor paint or linseed oil
- Natural hemp rope for hanging tools
- A rain barrel attachment for water access
- Large smooth stones for “countertops”
How to make it
- Source reclaimed wood from local construction sites or salvage yards. Ensure the wood is heat-treated (marked HT) rather than chemically treated.
- Construct a simple frame consisting of four legs and a rectangular top frame. Use stainless steel screws to prevent rusting over time.
- Apply a non-toxic finish like boiled linseed oil to protect the wood. This is safe for children and the environment, unlike many synthetic varnishes.
- Instead of buying new accessories, visit a thrift store for heavy-duty metal kitchenware. Metal is more durable than plastic and won’t crack in the sun.
- Set up a small rain barrel next to the kitchen with a simple spigot. This allows kids to use harvested rainwater for their play, reducing water waste.
- Fill the “pantry” with pinecones, dried lavender, and seashells rather than plastic toys to keep the play experience entirely organic and biodegradable.
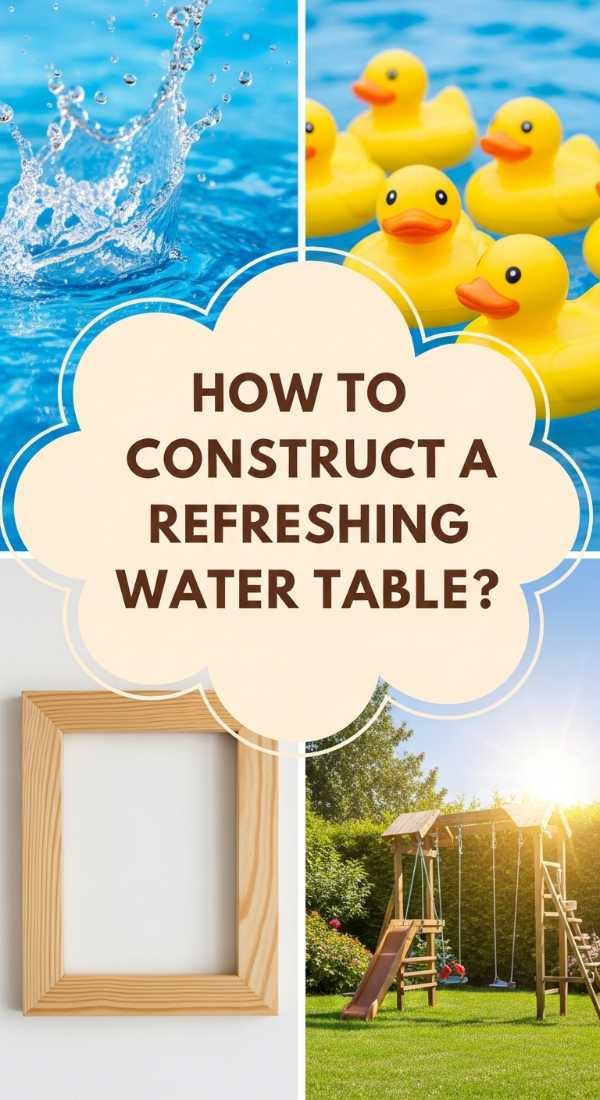
How to Construct a Refreshing Water Table for Cool Backyard Activities

Why we love this
When the summer heat becomes unbearable, a DIY water table is a lifesaver that provides hours of cooling entertainment. We love the sleek, industrial-modern look of a PVC-framed table combined with translucent blue bins that catch the light like a swimming pool. The splashing sound is refreshing to the ears, and the tactile experience of pouring and measuring water is both educational and deeply satisfying. It’s the perfect centerpiece for a summer playdate, keeping kids cool and engaged while the adults relax nearby.
Essential Elements:
- PVC pipes and connectors (1-inch diameter)
- Two large, deep plastic storage bins
- PVC cement and a handsaw
- Assorted water toys: funnels, spray bottles, and water wheels
- Drill with a small bit (for optional drainage)
- Zip ties or industrial adhesive
How to make it
- Measure your child’s height to determine the ideal table height. Cut the PVC pipes to create four legs and a rectangular frame that will support the lip of the plastic bins.
- Dry-fit all pieces first to ensure the frame is level. Once satisfied, apply PVC cement to the joints and press together firmly, allowing it to cure for 30 minutes.
- Set the bins into the frame. If you want a more permanent fixture, secure the lip of the bins to the PVC frame using heavy-duty zip ties through small drilled holes.
- Check for stability; if the table feels top-heavy when filled with water, you can fill the bottom PVC legs with sand before sealing them.
- Add a small battery-operated water pump to one bin to create a “waterfall” effect into the second bin, which keeps the water aerated and exciting.
- Place the table on a deck or patio where splashing won’t create a mud pit, and always empty the bins after use to keep the water fresh.
How to Plan a Serene Garden Oasis for Daily Relaxation
Why we love this
A garden oasis is the physical manifestation of a deep exhale. We love how this design focuses on layering different shades of green—from the silver-blue of eucalyptus to the deep emerald of ferns—to create a visual forest that feels miles away from civilization. The focus here is on comfort and stillness, with soft textures and hidden corners that invite you to sit, meditate, or simply watch the clouds. It’s a living room without walls, where the air is filtered by leaves and the atmosphere is heavy with the scent of damp moss and blooming jasmine.
Essential Elements:
- Comfortable weather-resistant seating (hammock or Adirondack chairs)
- A mix of evergreen shrubs and flowering perennials
- Natural stone or wood chip pathways
- A small water feature (fountain or pond)
- Wind chimes or bells for soft sound
- Outdoor lanterns or solar path lighting
How to make it
- Define the “walls” of your oasis by planting tall shrubs or installing trellis panels covered in climbing vines like Honeysuckle or Clematis.
- Create a winding path using flagstone or mulch. A curved path slows the pace of the walker and creates a sense of journey and discovery.
- Select a focal point for your seating area. A hammock hung between two sturdy trees or a pair of high-quality wooden chairs facing a view is ideal.
- Integrate a water element. Even a small plug-in tabletop fountain can provide the necessary white noise to mask neighborhood traffic.
- Layer your planting. Place taller plants at the back, mid-sized textures in the middle, and low-growing groundcover or herbs like thyme at the front.
- Incorporate soft lighting. Use warm-toned solar bulbs hidden among the foliage to illuminate the space subtly at night without being harsh.
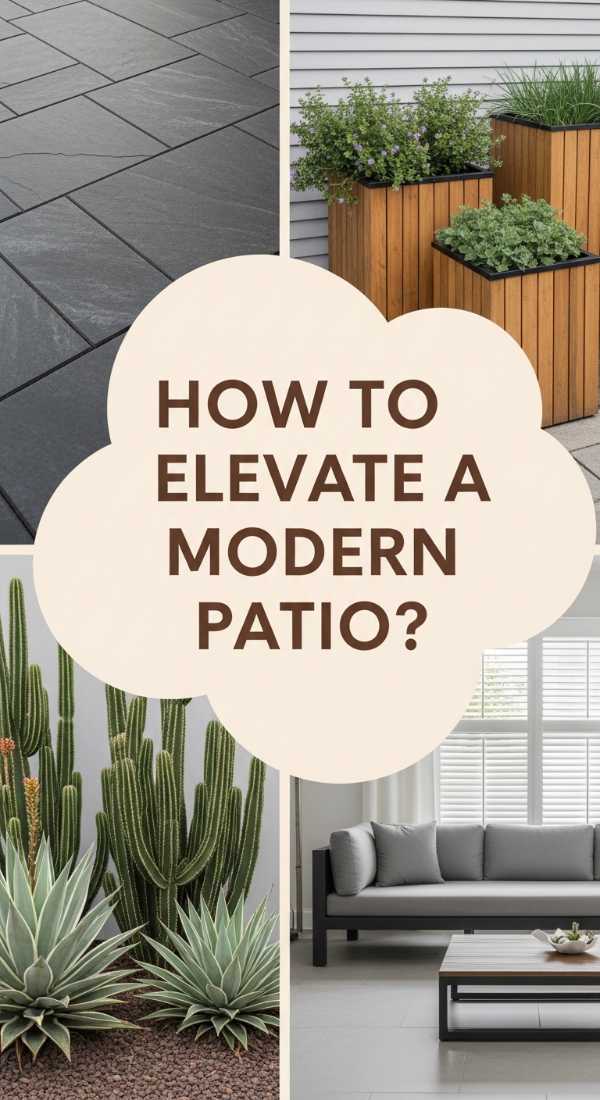
How to Elevate a Modern Patio with Organic Wood Elements
[IMAGE_10]
Why we love this
Modern design can sometimes feel cold, but the addition of organic wood elements brings a much-needed soulfulness and warmth to the space. We love the juxtaposition of sleek, grey concrete or metal furniture against the rich, honeyed tones of a cedar slat wall or a reclaimed wood coffee table. This balance of the man-made and the natural creates a sophisticated, high-end look that feels curated rather than manufactured. It’s about celebrating imperfections in the grain and the tactile, grounding feeling of wood under your fingertips.
Essential Elements:
- Horizontal wood slat panels for fencing or accent walls
- A large wooden trunk or stump for a side table
- Teak or acacia wood furniture
- Natural fiber rug (Jute or Sisal)
- Large concrete planters with architectural plants (Snake plants or Agave)
- Black metal hardware for a modern contrast
How to make it
- Identify a plain wall or fence and install horizontal slats of cedar with a 1/2-inch gap between them. This adds architectural depth and a modern linear aesthetic.
- Swap out plastic or metal side tables for natural wood stumps. Sand the top smooth and apply a clear matte polycrylic to preserve the bark and grain.
- Mix materials. If you have a metal dining table, pair it with wooden chairs. This breaks up the visual monotony and makes the space feel warmer.
- Add a natural jute rug under your seating area to define the space and provide an organic texture that complements the wood.
- Use black metal planters or light fixtures to ground the design. The black-on-wood color palette is a hallmark of modern organic style.
- Finish the look with architectural greenery. Choose plants with strong shapes that won’t compete with the clean lines of the wood slats.
Creating Your Forever Sanctuary
Building your own outdoor oasis is a journey of patience, creativity, and a little bit of dirt under the fingernails. As you’ve seen, it doesn’t take a professional landscaping crew to transform a backyard; it just takes a vision and the willingness to try. Whether you start with a simple bird bath or go all-in on a modern patio refresh, each project adds a layer of personality and peace to your home. So, pick one project this weekend, gather your materials, and start building the retreat you deserve. Your future self—relaxing in that garden oasis—will thank you.