
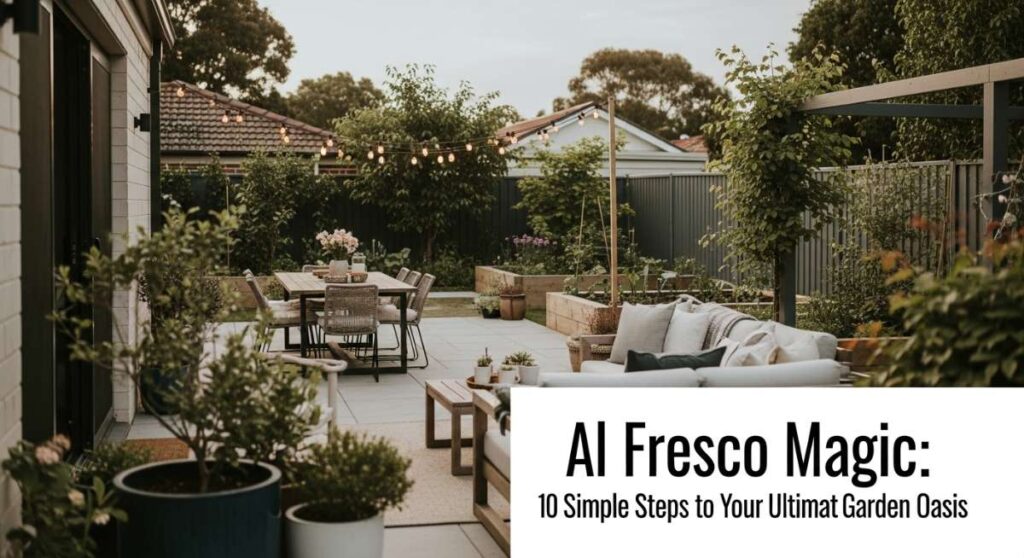
Al Fresco Magic: 10 Simple Steps to Your Ultimate Garden Oasis
There is a specific kind of magic that happens when the sun begins to dip below the horizon, casting a warm, honey-hued glow over your backyard. It’s that moment when the air cools just enough to make the scent of blooming jasmine and damp earth rise up to greet you. For me, the garden isn’t just a patch of grass; it’s a living, breathing extension of our home where memories are etched into the landscape through slow morning coffees and boisterous sunset dinners.
Creating an outdoor sanctuary doesn’t require a massive budget or a professional landscaping crew. It’s about the tactile joy of getting your hands in the dirt, the rhythmic sound of a bird splashing in water, and the sight of vibrant petals dancing in the breeze. Whether you have a sprawling lawn or a cozy balcony, you can transform your space into a dreamy retreat that feeds your soul and provides a haven for your family to grow and play together.
In this guide, I’m sharing my favorite ways to infuse your outdoor space with personality and purpose. From functional DIYs that engage the kids to serene corners designed for pure relaxation, these ten projects will help you cultivate an oasis that feels uniquely yours. Let’s roll up our sleeves and bring that al fresco magic to life!
How to Build a Budget Bird Bath for a Serene Garden Sanctuary
Why we love this
There is something profoundly peaceful about watching a robin or a goldfinch discover a fresh pool of water in the heat of the afternoon. This budget-friendly bird bath adds a sculptural element to your garden while inviting the soothing sounds of nature right to your doorstep. The cool, smooth texture of the terracotta combined with the gentle ripple of water creates a focal point that feels both grounded and ethereal, especially when the light hits the surface just right. It’s a simple addition that turns a quiet corner into a bustling sanctuary for our feathered friends.
Essential Elements:
- Three terracotta pots of graduating sizes (Large, Medium, Small)
- One large terracotta saucer
- Exterior grade construction adhesive
- Outdoor sealant (clear)
- River stones or marbles
- Fresh water
How to make it
- Clean your pots thoroughly to ensure the adhesive bonds correctly. Flip the largest pot upside down on a level surface in your garden where you want the bird bath to live.
- Apply a generous bead of construction adhesive to the bottom rim of the largest pot. Center the medium pot (also upside down) on top and press firmly.
- Repeat this process with the smallest pot, stacking it upside down on top of the medium one. This creates a stable, tiered pedestal. Allow the adhesive to cure for at least 24 hours.
- Apply the clear outdoor sealant to the inside of the large saucer to prevent water from leaching through the porous clay. Let it dry completely according to the package directions.
- Place the sealed saucer on top of the stack. You can choose to glue it for stability or leave it loose for easier cleaning.
- Fill the saucer with fresh water and add a few river stones. These stones are crucial as they provide a safe landing spot for smaller birds to perch while they drink or bathe.
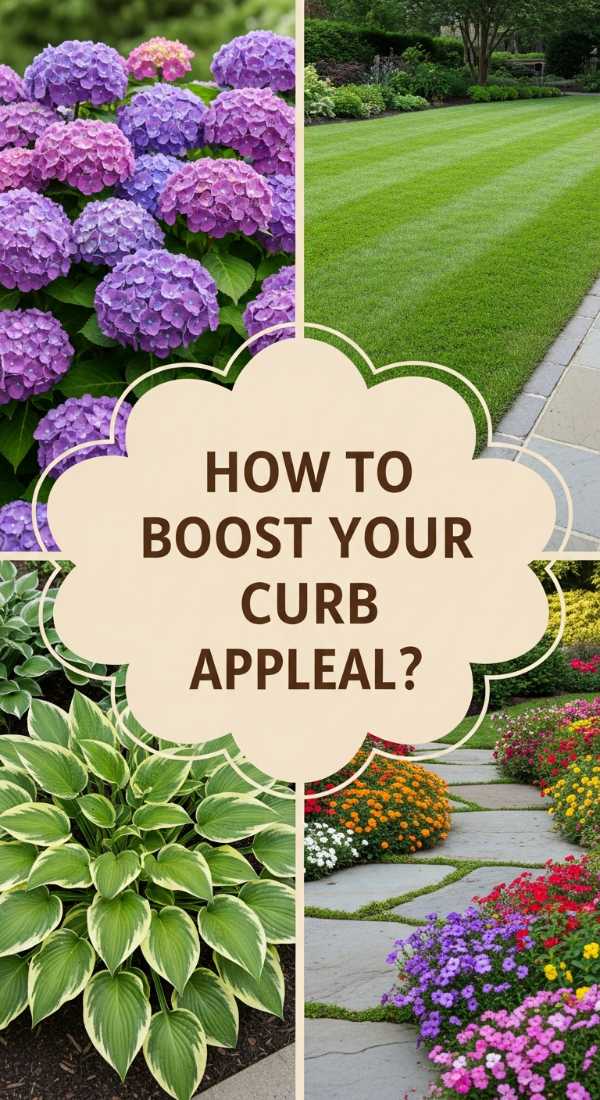
How to Design Front Yard Flower Beds for Instant Curb Appeal
Why we love this
First impressions are everything, and a well-designed flower bed is like a warm hug for your home’s exterior. We love how a thoughtful mix of heights and textures can transform a flat, uninspiring lawn into a lush, multi-dimensional tapestry of color. The scent of lavender or sweet alyssum wafting toward the sidewalk creates an inviting atmosphere that makes every homecoming feel special. It’s about more than just aesthetics; it’s about creating a sense of pride and joy that radiates from the curb to the front door.
Essential Elements:
- Hardwood mulch (dark brown or black)
- Edging material (stone, brick, or plastic)
- A mix of perennials (hostas, cone flowers)
- Annuals for seasonal pop (petunias, marigolds)
- Garden soil and organic compost
- Landscape fabric (optional)
How to make it
- Mark out your bed shape using a garden hose or spray paint. Aim for soft, flowing curves rather than rigid straight lines to create a more natural, professional look.
- Remove the grass within the marked area using a spade. Dig down about 3-4 inches to ensure all roots are gone, then turn over the existing soil to loosen it.
- Incorporate a 2-inch layer of organic compost and garden soil. Mix it thoroughly into the existing ground to provide a nutrient-rich foundation for your plants.
- Arrange your plants while they are still in their nursery pots. Place taller varieties at the back (near the house) and shorter, spreading varieties at the front. Space them according to their mature width to avoid overcrowding later.
- Dig holes twice as wide as the root balls. Gently tease the roots of each plant before placing it in the hole, ensuring the top of the root ball is level with the soil surface. Tamp down firmly to remove air pockets.
- Install your edging material along the perimeter to keep grass out. Finish with a 2-3 inch layer of mulch to retain moisture and suppress weeds, taking care not to pile mulch directly against plant stems.
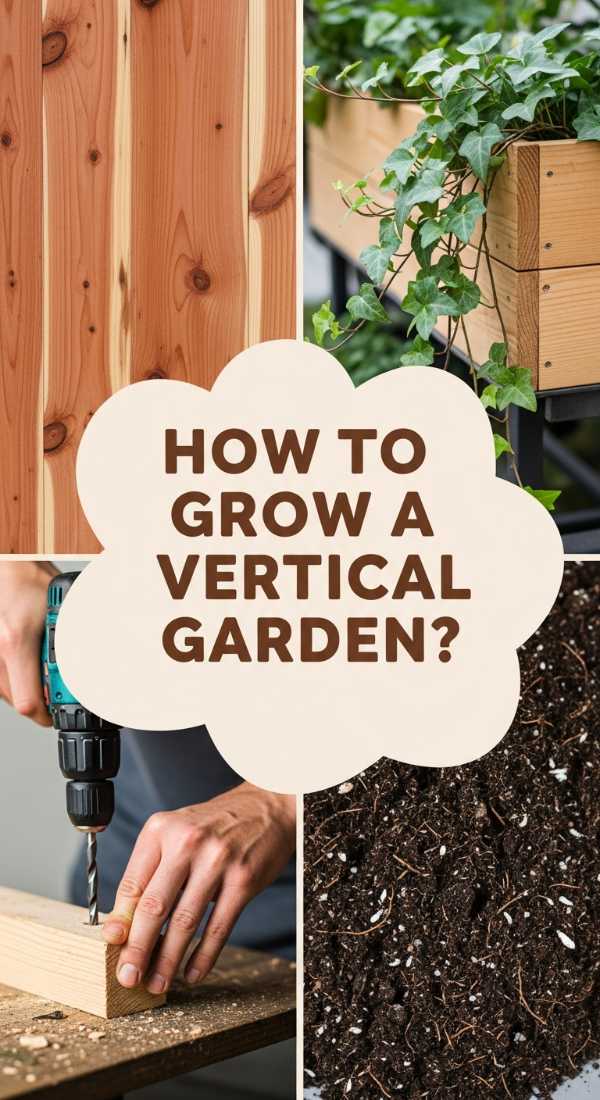
How to Craft a Wood Planter Box for a Lush Vertical Garden
Why we love this
Vertical gardening is a game-changer for small spaces, and these cedar planter boxes offer a rustic, artisanal charm that elevates any bare wall or fence. The warm, woody aroma of the cedar contrasts beautifully with the vibrant greens of cascading vines or the silvery leaves of eucalyptus. There is a tactile satisfaction in seeing plants spill over the edges of a hand-crafted box, creating a living wall that feels lush and abundant. It’s a brilliant way to bring greenery up to eye level, surrounding yourself with nature in a way that feels intimate and cozy.
Essential Elements:
- Cedar or Redwood boards (naturally rot-resistant)
- Galvanized wood screws
- Wood glue (exterior grade)
- Power drill and bits
- Landscape liner or plastic sheeting
- Potting mix and climbing plants
How to make it
- Cut your wood into four side pieces and one bottom piece. For a standard box, aim for 24 inches long and 8 inches deep. Cedar is the best choice here because it withstands moisture without chemical treatments.
- Apply exterior wood glue to the edges of the side panels. Butt the short ends against the long ends and secure them with galvanized screws, pre-drilling holes first to prevent the wood from splitting.
- Attach the bottom panel. Drill at least five 1/2-inch drainage holes in the bottom board. Proper drainage is the secret to preventing root rot in wooden containers.
- Line the inside of the box with landscape fabric or thick plastic sheeting (if using plastic, make sure to poke holes through the drainage spots). This protects the wood and keeps the soil in place.
- Mount the box to your wall or fence using heavy-duty brackets. Ensure you are drilling into studs or using appropriate anchors for the weight of wet soil.
- Fill with a high-quality potting mix. Plant trailing species like Creeping Jenny at the front and climbing plants like Star Jasmine at the back to encourage a full, vertical look.
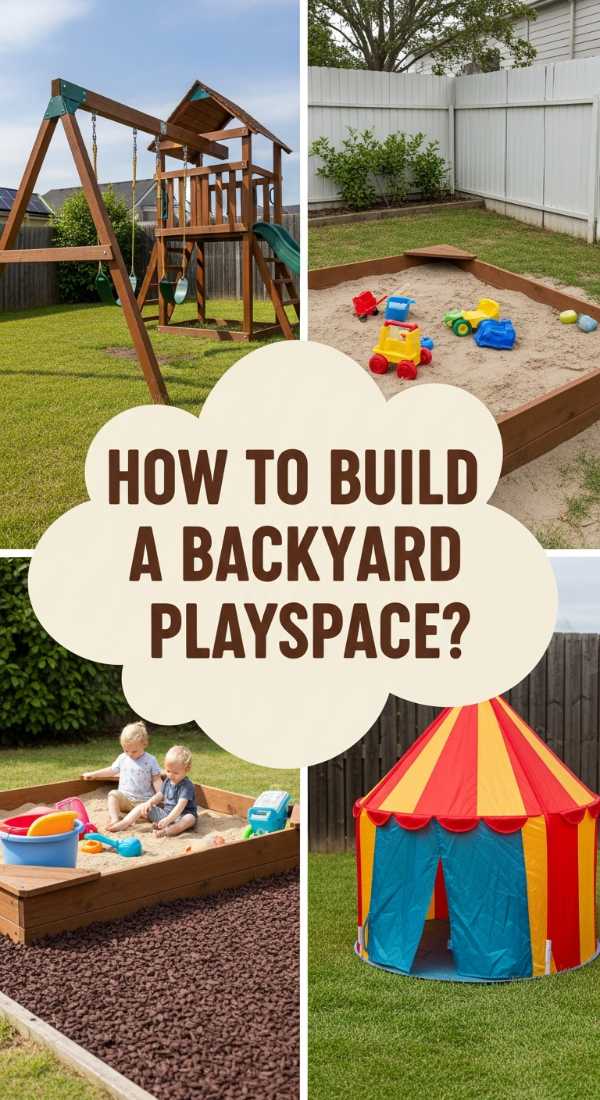
How to Create an Outdoor Play Area for Endless Summer Fun

Why we love this
An outdoor play area is the heartbeat of a family garden, a place where imagination takes flight and the mess of childhood is celebrated. We love the way a dedicated zone can keep the little ones engaged for hours, allowing them to feel the grass between their toes and the sun on their backs. By using natural materials like wood and sand, the play area blends seamlessly into the landscape rather than looking like a plastic eyesore. It’s a space designed for discovery, where every fallen leaf is a treasure and every afternoon is an adventure.
Essential Elements:
- Play-grade wood chips or rubber mulch
- Pressure-treated timber for a border
- Sandpit or wooden swing set
- Outdoor chalkboard or easel
- Weatherproof storage bins
- Solar-powered fairy lights
How to make it
- Select a level spot in the yard that offers a mix of sun and shade. Ensure it is within clear line of sight from your primary outdoor seating area or kitchen window.
- Excavate the area to a depth of 4 inches. This allows you to install a safety surface that will cushion falls. Install a weed barrier fabric across the bottom to keep the area low-maintenance.
- Create a sturdy perimeter using 4×4 pressure-treated timbers. Secure them together with long landscape spikes to ensure the border doesn’t shift over time.
- Fill the bordered area with 3-4 inches of play-grade wood chips or rubber mulch. Spread it evenly with a rake to create a consistent, soft landing zone.
- Position your large play elements, like a sandbox or climbing frame. Make sure everything is anchored securely according to the manufacturer’s instructions to prevent tipping.
- Add the finishing touches: a weatherproof chalkboard mounted to a fence, a basket of outdoor balls, and a string of solar lights so the fun can continue as the sun goes down.
How to Style Mud Kitchen Accessories for Creative Sensory Play
Why we love this
The mud kitchen is the ultimate sensory playground, and styling it with the right accessories is where the real fun begins. We love the juxtaposition of rustic, weathered wood against shiny stainless steel pots and colorful vintage finds. It’s a place where “mud pies” are seasoned with dried lavender and decorated with river stones, encouraging children to explore textures from gritty sand to silky flower petals. This isn’t just play; it’s a rich, aromatic experience that fosters creativity and a deep connection to the natural world around them.
Essential Elements:
- Old pots, pans, and muffin tins
- Wooden spoons and whisks
- Glass jars filled with “ingredients” (pinecones, acorns)
- Small chalkboard for the “menu”
- A working pump or water dispenser
- Hooks for hanging utensils
How to make it
- Start with a base mud kitchen (like the pallet version mentioned later). Scour thrift stores for old metal kitchenware; stainless steel is perfect because it won’t rust and makes a satisfying “clink” during play.
- Install a row of shaker pegs or simple metal hooks along the backboard. This gives children a place to organize their tools, teaching them to tidy up while keeping the space looking charming.
- Create an “Ingredient Station.” Fill clear plastic or glass jars with natural treasures like dried beans, colorful gravel, bark pieces, and dried flower heads. This encourages complex “recipe” making.
- Add a water element. A simple beverage dispenser filled with water allows kids to control the consistency of their mud, which is vital for the sensory experience.
- Incorporate a small chalkboard. Write a daily “Special” like “Marigold Stew” or “Dandelion Cupcakes” to spark their imagination and give the play area a professional “cafe” feel.
- Keep a basket of natural sponges and scrub brushes nearby. This makes the inevitable cleanup part of the play process rather than a chore at the end of the day.
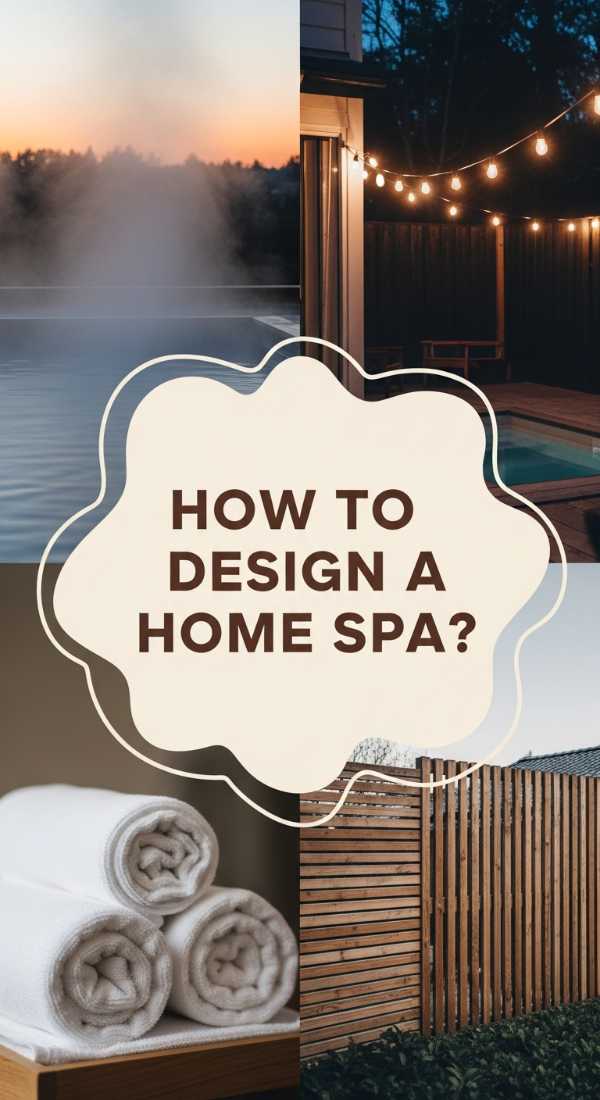
How to Setup a Hot Tub Area for the Ultimate Home Spa Experience
Why we love this
Imagine stepping into a steaming pool of swirling water as the cool night air hits your shoulders—it’s the height of backyard luxury. We love how a hot tub area can be styled to feel like a high-end spa, using soft lighting and lush greenery to create an intimate sanctuary. The sound of the bubbling water acts as a natural white noise machine, drowning out the world and allowing you to truly decompress. It’s the perfect spot for stargazing, deep conversation, or simply letting the stress of the day melt away in the heat.
Essential Elements:
- A level concrete pad or reinforced deck
- Privacy screens (wood slats or tall plants)
- Outdoor rug (water-resistant)
- Towel rack or hooks
- Subtle LED or string lighting
- All-weather side table for drinks
How to make it
- Ensure your foundation is rock solid. A filled hot tub can weigh several thousand pounds, so a level concrete slab at least 4 inches thick is the gold standard for safety and longevity.
- Consult with a certified electrician to install the necessary 240V hookup or a dedicated 120V outlet, depending on your tub’s requirements. Never use standard extension cords for a hot tub.
- Install privacy barriers. Use cedar slat screens or large potted evergreens like Arborvitae to create a “room” feeling that shields you from neighbors’ views and blocks the wind.
- Place a high-quality outdoor rug at the entry point of the tub. This provides a soft, non-slip surface for wet feet and helps keep grass and debris out of the water.
- Add functional decor. A sturdy towel rack within arm’s reach is essential, as is a side table for a glass of water or a book. Choose materials like teak or resin that handle humidity well.
- Layer your lighting. Avoid bright overhead lights. Instead, use dimmable string lights or solar-powered lanterns placed at ground level to create a soft, glowing ambiance that won’t ruin your night vision.
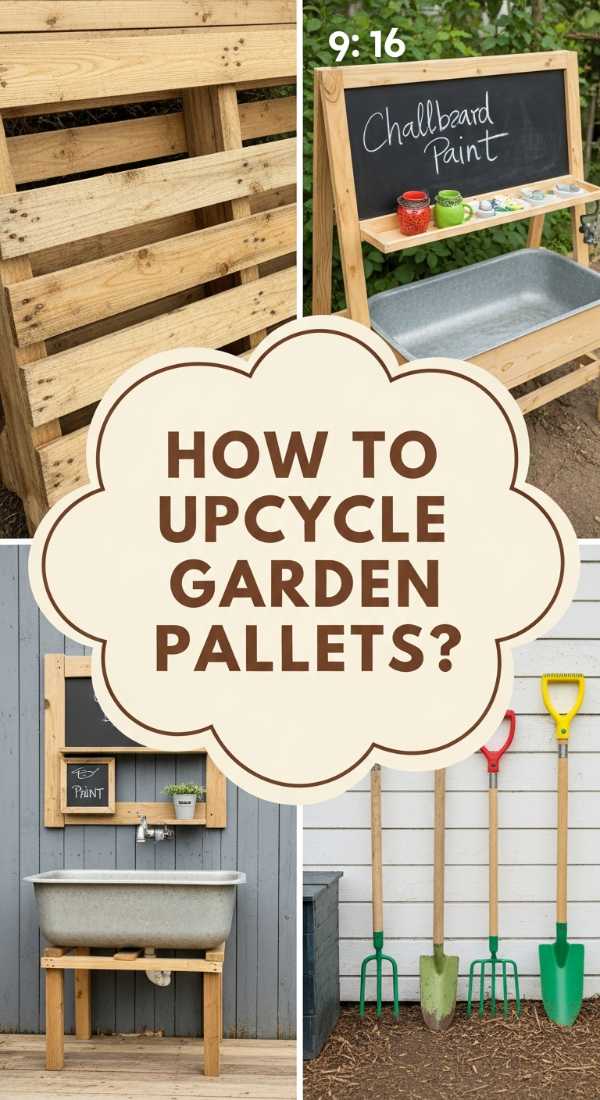
How to Build a Pallet Mud Kitchen for Sustainable Outdoor Discovery
Why we love this
There is a rugged, sustainable beauty in repurposing wooden pallets into something as joyful as a mud kitchen. We love the sturdy, industrial feel of the reclaimed wood and how it provides a blank canvas for years of messy, outdoor play. The scent of pine and the slightly rough-hewn texture of the pallets give the kitchen an authentic, “earthy” vibe that fits perfectly in a garden setting. It’s a wonderful way to teach children about recycling while giving them a durable, weather-resistant station for their most creative culinary experiments.
Essential Elements:
- 2-3 heat-treated (HT) wooden pallets
- Hand saw or circular saw
- Screws and a power drill
- A plastic bin or old sink for the “basin”
- Sandpaper (various grits)
- Outdoor wood stain or paint
How to make it
- Source pallets that are marked “HT” (Heat Treated). Avoid those marked “MB” (Methyl Bromide), as they contain harmful chemicals. Scrub the pallets with soapy water and let them dry completely.
- Use one pallet as the backboard and another as the main base. You’ll need to cut the base pallet to your desired counter height (usually around 20-24 inches for toddlers).
- Construct a simple frame to support the countertop. Use wood from a third pallet to create legs and cross-braces, securing everything with heavy-duty outdoor screws.
- Cut a hole in your countertop pallet that is slightly smaller than the lip of your plastic bin or old sink. Drop the basin in to ensure a snug fit.
- Sand every inch of the wood. This is the most important step for safety—start with a coarse 60-grit sandpaper and finish with a smooth 120-grit to eliminate any potential splinters.
- Apply a coat of exterior-grade stain or a fun pop of outdoor paint. This not only makes the kitchen look beautiful but protects the wood from the elements and the inevitable mud splatters.
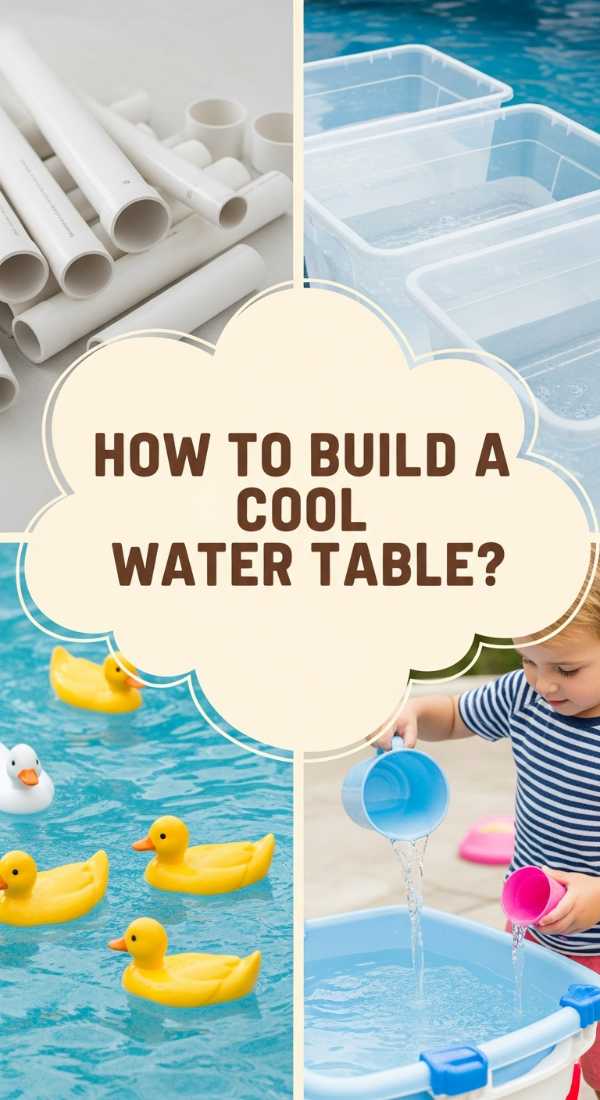
How to Make a DIY Water Table for Keeping Cool and Happy
Why we love this
When the summer heat peaks, a water table becomes the most popular spot in the yard. We love the simplicity of this DIY—it’s clean, refreshing, and endlessly engaging for little hands. The sight of clear water shimmering in the sun and the rhythmic “plink-plonk” of toys being dropped in creates an atmosphere of pure, simple joy. It’s a sensory delight that keeps the kids cool without the commitment of a full pool, and it’s incredibly easy to customize with different floating toys, cups, and funnels for hours of aquatic exploration.
Essential Elements:
- A large, shallow plastic storage bin
- A sturdy wooden or PVC frame
- Waterproof toys (boats, cups, funnels)
- Aquarium tubing or a small hand pump
- Food coloring (optional for sensory fun)
- A drain plug (optional but helpful)
How to make it
- Build a base frame that holds your plastic bin at waist height for your children. A simple H-frame made from pressure-treated 2x4s works perfectly for stability and durability.
- Place the bin into the frame. For a more permanent solution, you can drill a hole in the bottom of the bin and install a standard PVC drain plug with silicone sealant to make emptying the water a breeze.
- Add a vertical element. Attach a piece of pegboard or a wooden trellis to the back of the frame. Use zip ties to secure funnels and aquarium tubing in a cascading pattern so water can flow from the top down.
- Fill the bin with fresh water. If you want to spice things up, add a few drops of blue food coloring or some floating faux flowers for a “pond” aesthetic.
- Introduce various “tools.” Provide measuring cups, sponges, and even a clean dish soap bottle for squirting. These tools help develop fine motor skills while they play.
- Place the water table in a shaded spot. This keeps the water temperature comfortable and protects the children’s skin from the midday sun.
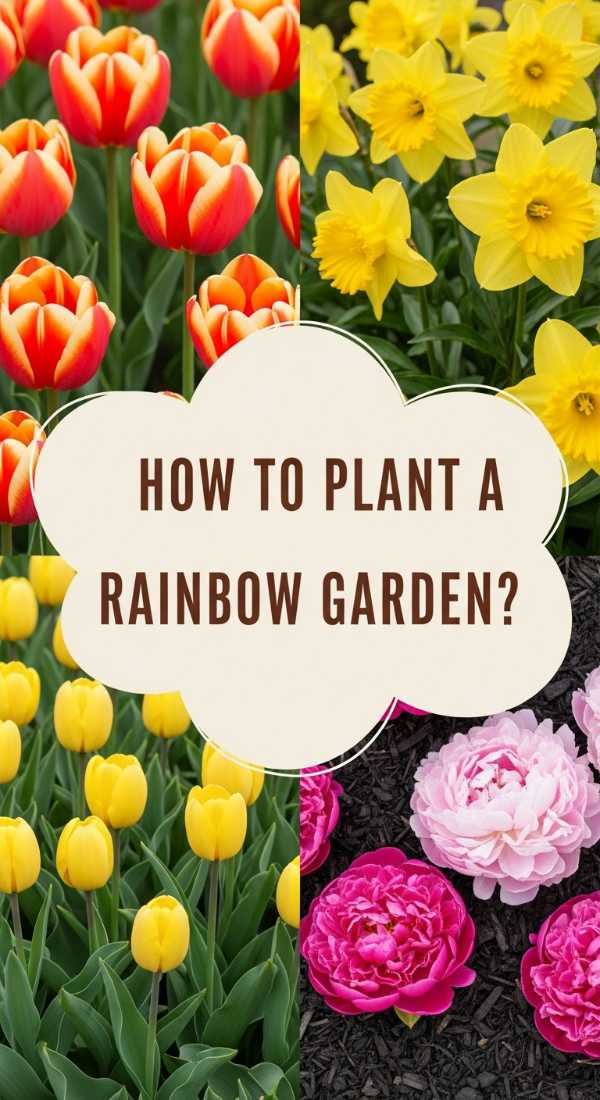
How to Plant Colorful Flower Beds for a Vibrant Spring Entrance
Why we love this
There is nothing quite like the visual explosion of a spring flower bed to shake off the winter blues. We love the saturation of color—from the deep velvety purples of pansies to the electric yellow of daffodils—that greets you every time you walk through the gate. The air is filled with the delicate, fresh fragrance of new growth, and the soft petals feel like silk between your fingers. It’s a celebration of renewal and a vibrant way to signal to the world that your garden is waking up and ready to shine.
Essential Elements:
- Spring-blooming bulbs (Tulips, Daffodils, Hyacinths)
- Cool-season annuals (Pansies, Violas, Snapdragons)
- Bone meal or bulb fertilizer
- Hand trowel and gardening gloves
- A layer of fresh compost
- Fine-textured mulch
How to make it
- Plan for the seasons. Spring beds are often planted in the previous fall (for bulbs) and topped off in early spring (for annuals). Clear away any dead winter debris first.
- Dig individual holes or a large trench for your bulbs. A good rule of thumb is to plant bulbs three times as deep as the bulb is tall. Pointy side should always face up!
- Sprinkle a small amount of bone meal or bulb-specific fertilizer into the bottom of the holes. This provides the phosphorus needed for strong root development and vibrant blooms.
- Backfill the holes with soil and a 1-inch layer of compost. In early spring, once the green tips of bulbs emerge, interplant your annuals like pansies in the gaps for immediate color.
- Water deeply right after planting. This settles the soil around the bulbs and roots and eliminates air pockets that could cause the bulbs to dry out or rot.
- Apply a thin layer of mulch. Spring plants are delicate, so use a finer mulch that won’t weigh down the emerging shoots but will still help maintain consistent soil temperature.
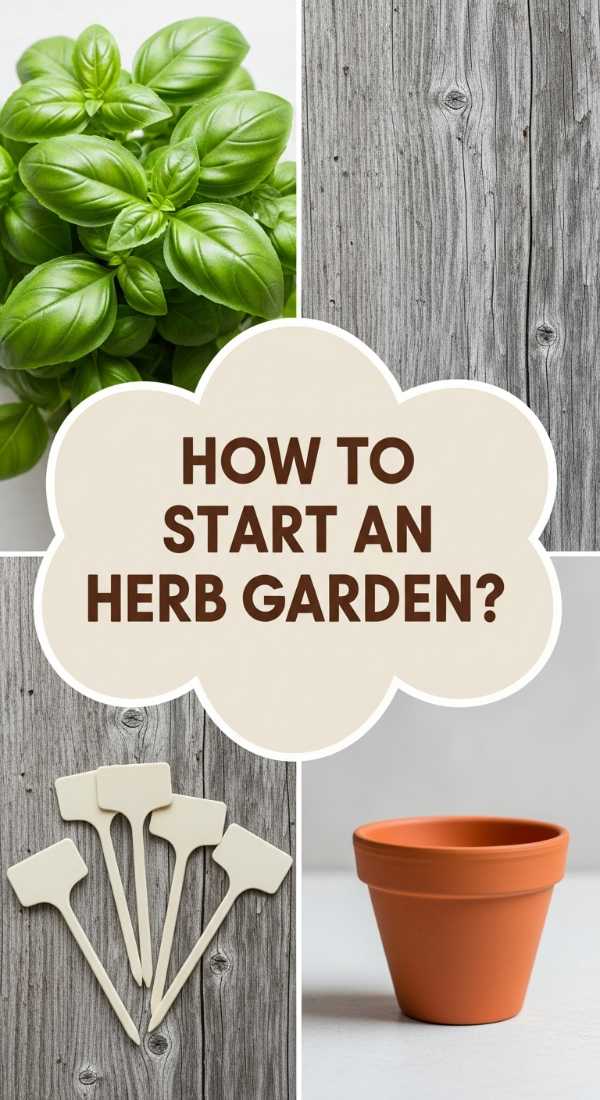
How to Construct Rustic Planter Boxes for Growing Your Own Herbs
[IMAGE_10]
Why we love this
The culinary joy of stepping onto your patio to snip fresh basil or rosemary for dinner is unmatched. We love these rustic planter boxes because they bring the herb garden closer to the kitchen, filling the air with an incredible aromatic bouquet every time you brush past them. The rough, weathered look of the wood provides a beautiful backdrop for the varied textures of herb leaves—the fuzzy sage, the glossy mint, and the feathery dill. It’s a functional piece of garden art that nourishes both your eyes and your appetite.
Essential Elements:
- Reclaimed wood or pine boards
- Wood screws and waterproof glue
- A small saw (miter or hand saw)
- Organic potting soil (herb-specific)
- A selection of herb starts (Basil, Thyme, Mint)
- Copper tape (to deter snails)
How to make it
- Cut your boards into sections. For a kitchen-counter or windowsill-sized box, 12-18 inches long is ideal. Using reclaimed wood adds instant character and a rustic, aged patina.
- Assemble the box by gluing and screwing the sides to the base. If using pine, you may want to lightly char the wood with a torch (Shou Sugi Ban style) to naturally preserve it and add a dark, rustic finish.
- Drill several 1/2-inch drainage holes in the bottom. Herbs hate “wet feet,” so drainage is the most critical factor for a successful herb box.
- If you plan to grow mint, give it its own dedicated box. Mint is incredibly invasive and will quickly choke out other herbs like thyme or oregano if shared in the same container.
- Fill with a well-draining organic potting mix. Avoid heavy garden soil, which can compact and prevent the delicate herb roots from breathing.
- Apply a strip of copper tape around the top perimeter of the box. This creates a natural barrier that prevents snails and slugs from reaching your precious greens. Place the box in a spot that gets at least 6 hours of sun daily.
Conclusion
Building your ultimate garden oasis is a journey, not a destination. It’s found in the small victories, like the first sprout of a tulip or the sound of your children’s laughter as they play in their mud kitchen. By taking these ten steps, you aren’t just decorating a yard; you are creating a sanctuary that reflects your heart and provides a backdrop for the most beautiful moments of your life. So go ahead, get a little dirt under your fingernails and let the al fresco magic begin!