
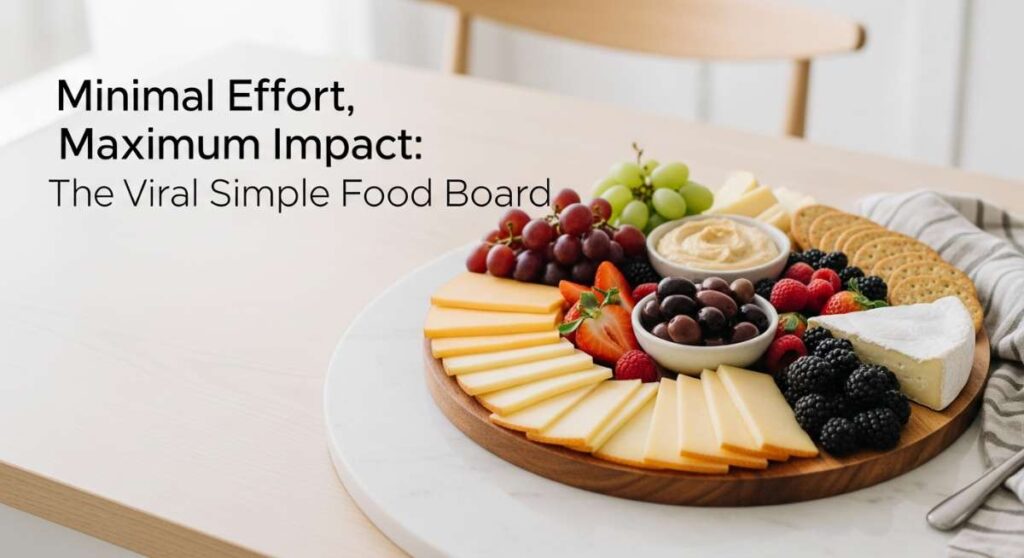
There is something undeniably magical about the way food brings us together, especially when it doesn’t require hours of stressful preparation in a hot kitchen. I remember one golden Saturday afternoon when friends started dropping by unannounced, and instead of panicking, I realized that the best memories aren’t made over five-course meals, but over shared boards and simple, vibrant flavors that invite everyone to dig in. That is the heart of the ‘Simple Food Board’—it’s about maximal impact with minimal effort, creating a visual and culinary feast that feels both curated and effortless.
This viral approach to hosting is all about accessibility and the sensory joy of fresh ingredients. Whether you are prepping for a backyard BBQ, a quiet sun-drenched lunch, or a whimsical garden tea party, these recipes are designed to be the stars of your spread. From the nostalgia of sun tea to the foraging fun of dandelion jelly, we are diving into the ultimate collection of crowd-pleasers that will make your home the most talked-about spot on the block. Let’s reclaim the joy of hosting with food that tastes like summer and feels like a warm hug.
How to make cheesy rotel dip?

Why we love this
This dip is the ultimate comfort food, offering a decadent, velvety texture that coats every single chip with a rich, molten warmth. As it melts, the aroma of savory browned meat mixes with the bright, acidic tang of diced tomatoes and the subtle, smoky heat of green chilies. There is a specific kind of joy in that first scoop, where the cheese pulls away in a gooey, golden string, promising a bite that is perfectly balanced between creamy indulgence and a spicy kick that lingers just long enough to make you reach for more.
Ingredients
- 1 lb lean ground beef or bulk sausage
- 16 oz processed cheese (like Velveeta), cubed
- 2 cans (10 oz each) Ro-Tel Diced Tomatoes and Green Chilies, undrained
- 1/2 teaspoon garlic powder
- 1/4 teaspoon onion powder
- Fresh cilantro for garnish
- Tortilla chips for serving
How to make it
- Place a large skillet over medium-high heat and add the ground beef or sausage, breaking it up with a wooden spoon into small crumbles. Cook until the meat is thoroughly browned and no pink remains, which usually takes 7-9 minutes.
- Carefully drain the excess fat from the skillet to ensure the dip stays smooth and doesn’t become oily.
- Reduce the heat to low and add the cubed processed cheese to the skillet along with both cans of Ro-Tel (including the juice). Stir in the garlic and onion powder.
- Continue to stir the mixture constantly as the cheese begins to melt. The goal is a completely homogenous, silky sauce. Keep the heat low to avoid scorching the bottom of the cheese.
- Once the dip is fully melted and bubbling slightly, transfer it to a pre-warmed serving bowl or a small slow cooker set to ‘warm’ to maintain that perfect liquid consistency. Garnish with fresh cilantro and serve immediately with sturdy chips.
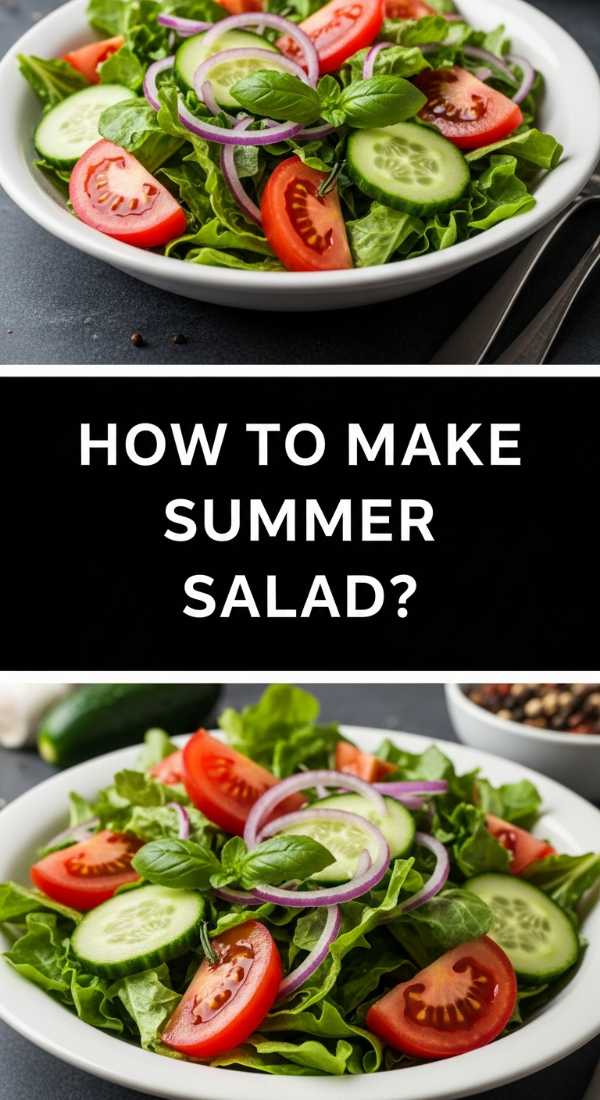
How to make summer salad?
Why we love this
A true summer salad is a celebration of the season’s bounty, featuring a crisp, refreshing crunch that feels like a cooling breeze on a humid afternoon. The combination of leafy greens, sweet seasonal berries, and a sharp vinaigrette creates a symphony of textures—from the soft give of a ripe strawberry to the satisfying snap of toasted nuts. Every forkful offers a burst of garden-fresh fragrance, making it a light yet deeply satisfying dish that cleanses the palate and highlights the natural sweetness of sun-ripened produce.
Ingredients
- 5 oz mixed baby greens or spinach
- 1 cup fresh strawberries, sliced
- 1/2 cup fresh blueberries
- 1/4 cup red onion, very thinly sliced
- 1/2 cup crumbled goat cheese or feta
- 1/2 cup candied pecans or walnuts
- Balsamic vinaigrette dressing
How to make it
- Begin by washing your greens in cold water and using a salad spinner to dry them thoroughly; moisture on the leaves prevents the dressing from adhering properly.
- In a large, shallow wooden bowl (perfect for the food board aesthetic), layer the greens as a fluffy base.
- Evenly scatter the sliced strawberries and blueberries over the top, followed by the paper-thin red onion slices. The onion provides a sharp contrast to the sweet berries, so ensure they are sliced thin enough to be translucent.
- Just before serving, sprinkle the crumbled cheese and candied nuts over the salad. This preserves the crunch of the nuts and prevents the cheese from becoming too soft.
- Drizzle the balsamic vinaigrette over the salad in a light zig-zag motion, or serve the dressing on the side. Toss gently with large wooden spoons only at the moment of consumption to keep the greens from wilting.
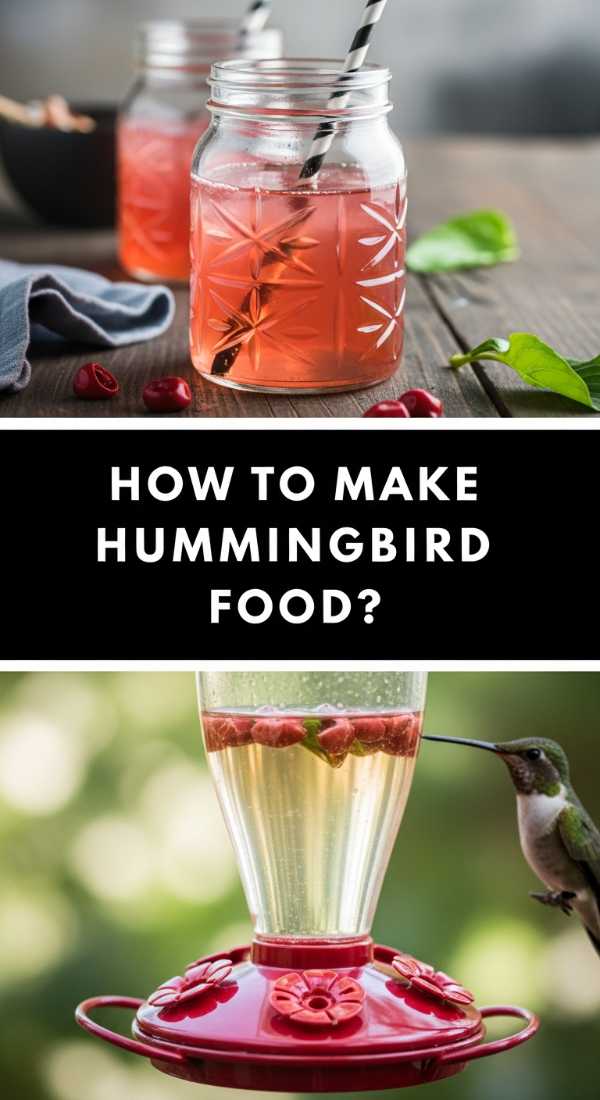
How to make hummingbird food?
Why we love this
Creating your own hummingbird nectar is a simple act of stewardship that brings vibrant, buzzing life right to your window. There is something deeply peaceful about watching these tiny, iridescent creatures hovering with impossible speed as they drink the clear, sweet fuel you’ve prepared for them. Unlike store-bought versions, this homemade nectar is free from unnecessary dyes, ensuring it is as healthy as possible for their delicate systems while offering the pure energy they need to sustain their high-speed lifestyle.
Ingredients
- 1 cup white granulated sugar
- 4 cups filtered water
How to make it
- Measure out your water and pour it into a medium saucepan. It is important to use filtered water if your tap water has a high mineral or chlorine content.
- Bring the water to a rolling boil over high heat. This helps to neutralize any impurities and ensures the sugar dissolves completely and quickly.
- Add the 1 cup of white granulated sugar to the boiling water. Do not use honey, brown sugar, or artificial sweeteners, as these can be fatal to hummingbirds.
- Stir the mixture continuously for about 1-2 minutes until the liquid is perfectly clear and no sugar crystals are visible at the bottom of the pan.
- Remove from heat and allow the nectar to cool completely to room temperature. This is a critical step; never put hot nectar into a feeder as it can warp the plastic or harm the birds. Fill your feeders and store any leftovers in the refrigerator for up to a week.
How to make chicken wraps?

Why we love this
Chicken wraps are the ultimate versatile handheld, offering a delightful contrast between a soft, warm tortilla and a cool, crunchy interior filling. The savory, seasoned chicken provides a hearty base that carries whatever flavors you choose—from zesty ranch to spicy buffalo—while the fresh vegetables add a clean, crisp finish. They are perfect for on-the-go snacking or as a featured item on a food board because they hold their shape beautifully and provide a satisfying, well-rounded bite that is both filling and light.
Ingredients
- 2 cups cooked chicken breast, shredded or cubed
- 4 large flour tortillas
- 1 cup shredded romaine lettuce
- 1/2 cup diced tomatoes
- 1/4 cup shredded cheddar cheese
- 1/4 cup ranch or honey mustard dressing
- Salt and black pepper to taste
How to make it
- Warm the flour tortillas slightly in a dry pan or microwave for 10 seconds. This makes them more pliable and prevents them from tearing during the folding process.
- In a medium bowl, toss the cooked chicken with your chosen dressing until every piece is lightly coated. Season with a pinch of salt and pepper to enhance the savory notes.
- Lay a tortilla flat and place a portion of the lettuce and tomatoes in a line just below the center.
- Top the vegetables with the seasoned chicken and a sprinkle of cheddar cheese. Be careful not to overfill, as this will make the wrap difficult to seal.
- Fold the sides of the tortilla inward toward the center, then grab the bottom edge and roll it tightly over the filling, tucking the edges as you go. Slice diagonally with a sharp serrated knife to show off the colorful interior and serve.
How to bake strawberry pie?

Why we love this
Baking a strawberry pie is like capturing the essence of a summer garden in a flaky, buttery crust. As it bakes, the kitchen fills with the intoxicating scent of caramelizing sugar and cooked berries, a sweet and floral aroma that signals pure indulgence. The filling becomes a thick, ruby-red jam that spills out gently when sliced, contrasting beautifully with the golden-brown, crisp edges of the pastry. It’s a dessert that feels nostalgic and grand all at once, especially when served with a cold scoop of vanilla bean ice cream.
Ingredients
- 2 refrigerated pie crusts (top and bottom)
- 6 cups fresh strawberries, hulled and halved
- 3/4 cup granulated sugar
- 1/4 cup cornstarch
- 1 tablespoon lemon juice
- 1 teaspoon vanilla extract
- 1 egg (for egg wash)
How to make it
- Preheat your oven to 400°F (200°C). Fit one pie crust into a 9-inch pie plate, pressing it gently against the bottom and sides.
- In a large mixing bowl, gently toss the halved strawberries with the sugar, cornstarch, lemon juice, and vanilla. The cornstarch is vital here; it will react with the heat to thicken the natural juices of the berries so the pie isn’t runny.
- Pour the strawberry mixture into the prepared bottom crust, mounding them slightly in the center.
- Place the second crust over the top. You can leave it whole (with slits for steam) or cut it into strips for a lattice design. Crimp the edges of the top and bottom crusts together to seal them.
- Brush the top crust with a beaten egg wash for a glossy finish. Bake for 45-50 minutes, or until the crust is a deep golden brown and the filling is bubbling through the vents. Allow it to cool for at least 3 hours before slicing to let the filling set.
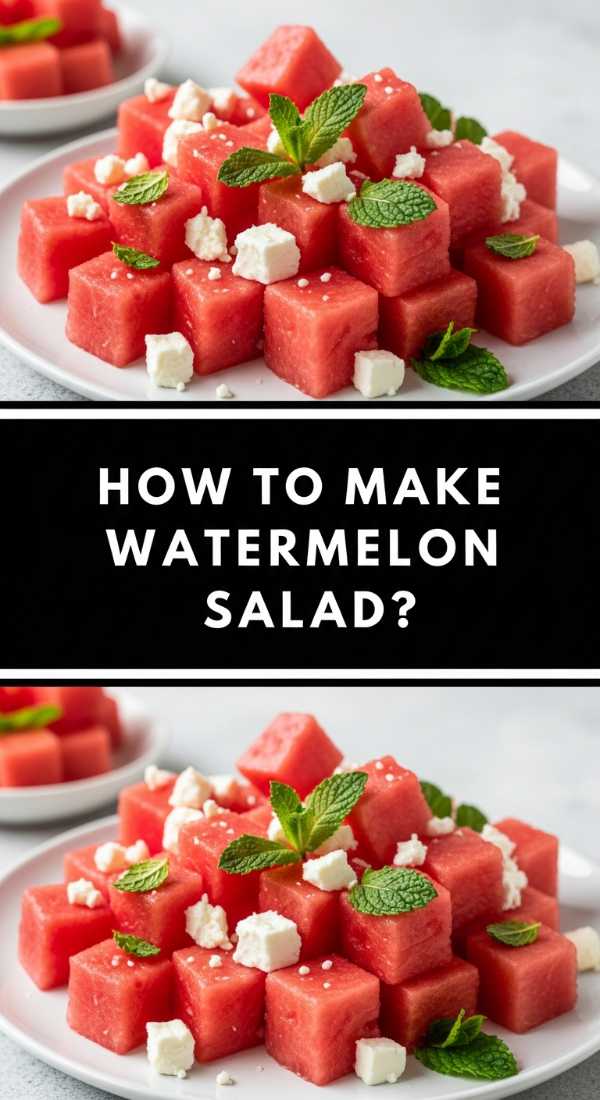
How to make watermelon salad?
Why we love this
This watermelon salad is the definition of refreshing, providing a shocking but sophisticated contrast between the icy sweetness of the melon and the salty, creamy tang of feta cheese. The addition of fresh mint leaves brings a cool, herbal finish that tickles the nose and brightens the entire dish. It’s visually stunning on any food board—the bright pink of the watermelon against the snow-white cheese and emerald green mint creates an instant summer vibe that tastes just as vibrant as it looks.
Ingredients
- 6 cups seedless watermelon, cubed
- 1/2 cup feta cheese, crumbled
- 1/4 cup fresh mint leaves, chiffonade
- 1/2 red onion, very thinly sliced (optional)
- 1 tablespoon extra virgin olive oil
- 1 tablespoon lime juice
- A pinch of sea salt
How to make it
- Begin by cubing a cold watermelon into uniform 1-inch squares. Using chilled fruit is essential as this salad is best enjoyed at its coldest.
- In a large, wide serving platter, spread out the watermelon cubes in a single or double layer.
- Scatter the thinly sliced red onions over the melon, if using. The onions provide a savory bite that balances the sugar of the fruit.
- Sprinkle the crumbled feta and the fresh mint over the top. To chiffonade the mint, stack the leaves, roll them tightly, and slice into thin ribbons.
- In a small jar, whisk together the olive oil and lime juice. Drizzle this dressing lightly over the salad and finish with a tiny pinch of sea salt to make the flavors pop. Serve immediately to prevent the watermelon from releasing too much water.
How to make dandelion jelly?

Why we love this
Dandelion jelly is often called ‘sunshine in a jar,’ and for good reason—it possesses a delicate, honey-like flavor with subtle floral notes that feel like a secret from a Victorian garden. The process of foraging for the bright yellow blossoms adds an element of slow-living and connection to nature that makes the final product even sweeter. When spread on a warm biscuit, the translucent, golden jelly glows, offering a unique, earthy sweetness that surprises and delights anyone lucky enough to try a spoonful of this viral DIY delicacy.
Ingredients
- 2 cups dandelion petals (yellow parts only, no green)
- 4 cups boiling water
- 1/4 cup lemon juice
- 1 box (1.75 oz) powdered pectin
- 4 cups granulated sugar
How to make it
- Harvest fresh dandelions from a source free of pesticides. Pull the yellow petals away from the green base (the sepals). It is vital to remove all green parts, as they will make the jelly bitter.
- Place the 2 cups of petals in a heat-proof jar and pour 4 cups of boiling water over them. Let this ‘tea’ steep for at least 2 hours, or overnight in the fridge for a deeper flavor.
- Strain the mixture through a coffee filter or fine-mesh sieve, squeezing the petals to get all the liquid out. You should have about 3 to 3.5 cups of dandelion liquid.
- Pour the liquid into a large pot and stir in the lemon juice and the powdered pectin. Bring the mixture to a full rolling boil over high heat, stirring constantly.
- Add the sugar all at once. Return to a rolling boil and boil hard for exactly one minute. Remove from heat, skim off any foam, and pour into sterilized jars. Let the jelly sit undisturbed for 24 hours to set completely.
How to grill chicken marinade?

Why we love this
A great marinade is the secret to transforming humble chicken into a succulent, flavor-packed masterpiece with a perfectly charred exterior. This specific blend uses acidity to tenderize the meat and oils to carry aromatics deep into the fibers, resulting in a juicy bite that explodes with citrus and herb notes. As the chicken hits the hot grates, the sugars in the marinade caramelize, creating those beautiful, dark grill marks and a smoky-sweet aroma that is the quintessential scent of a summer evening cookout.
Ingredients
- 1/2 cup extra virgin olive oil
- 1/4 cup soy sauce
- 1/4 cup fresh lemon juice
- 3 cloves garlic, minced
- 1 tablespoon honey
- 1 teaspoon dried oregano
- 1/2 teaspoon black pepper
How to make it
- In a medium glass bowl or a large zip-top bag, combine the olive oil, soy sauce, and lemon juice. The soy sauce provides salt and umami, while the lemon juice acts as the tenderizer.
- Whisk in the minced garlic, honey, oregano, and pepper until the honey is fully incorporated and the oil has emulsified slightly.
- Place your chicken pieces (thighs or breasts) into the marinade. Ensure every surface of the meat is coated.
- Seal the container and refrigerate for at least 30 minutes, though 2 to 4 hours is ideal for the deepest flavor penetration. Do not exceed 24 hours, or the lemon juice may start to break down the meat texture too much.
- When ready to cook, preheat your grill to medium-high heat (about 400°F). Remove the chicken from the marinade, letting the excess drip off, and grill until the internal temperature reaches 165°F. Let the meat rest for 5 minutes before serving to keep the juices locked in.
How to brew sun tea?

Why we love this
Sun tea is the ultimate expression of patience and the gentle power of nature, utilizing the slow, steady warmth of the sun to extract a smooth, mellow flavor from tea leaves. Unlike tea brewed with boiling water, sun tea lacks any bitterness or astringency, resulting in a clean, crisp beverage that tastes like liquid sunshine. Watching the clear water slowly transform into a deep amber hue over several hours is a meditative summer ritual that rewards you with a refreshing drink perfectly suited for sipping on a porch swing.
Ingredients
- 8 standard black tea bags (or 4 large family-sized bags)
- 1 gallon cold filtered water
- Fresh lemon slices and mint sprigs for garnish
- Honey or simple syrup (optional sweetener)
How to make it
- Find a large, crystal-clear glass gallon jar. Cleanliness is paramount for sun tea to prevent bacterial growth, so ensure the jar is thoroughly sanitized.
- Fill the jar with one gallon of cold, filtered water. Place the tea bags into the water, allowing the strings to hang over the edge of the jar for easy removal later.
- Secure the lid tightly and place the jar in a spot that receives direct, intense sunlight for several hours, such as a patio table or a sunny windowsill.
- Let the tea steep in the sun for 3 to 5 hours. You will see the tea concentrate at the bottom and slowly swirl upward. Avoid leaving it out for more than 5 hours to ensure the highest quality.
- Once the tea has reached a rich amber color, bring the jar inside and remove the tea bags immediately. Refrigerate the tea until chilled. Serve over ice with fresh lemon and mint, and sweeten to taste.
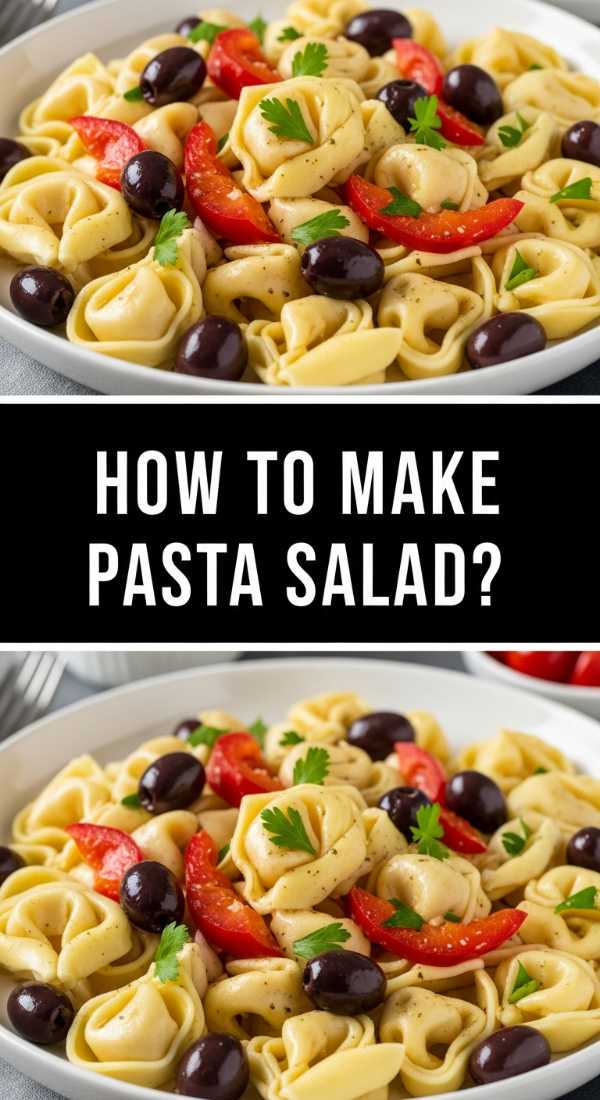
How to make pasta salad?
Why we love this
A classic pasta salad is the dependable workhorse of any food board, providing a satisfying, carb-rich base that is bursting with zesty Italian flavors. The various shapes of the pasta—ideally rotini or bowties—are expertly designed to trap pockets of tangy dressing and bits of salty meat and cheese, ensuring every bite is a complex mix of textures. It is a dish that actually improves with time as the pasta absorbs the marinade, making it a stress-free make-ahead option that brings a colorful, savory energy to your table.
Ingredients
- 1 lb rotini or tri-color pasta
- 1 cup Italian dressing (homemade or high-quality store-bought)
- 1/2 cup mini pepperoni or chopped salami
- 1/2 cup mozzarella pearls
- 1 cup cherry tomatoes, halved
- 1/2 cup black olives, sliced
- 1/4 cup fresh parsley, chopped
How to make it
- Bring a large pot of salted water to a rolling boil. Cook the pasta according to the package directions, but aim for ‘al dente’—it should have a slight bite to it so it doesn’t get mushy after sitting in the dressing.
- Drain the pasta and immediately rinse it under cold running water. This stops the cooking process and removes excess starch, which prevents the pasta from sticking together.
- In a very large mixing bowl, combine the cooled pasta with half of the Italian dressing. Tossing it while it’s still slightly damp helps the pasta absorb the flavors.
- Add the pepperoni, mozzarella pearls, tomatoes, and olives. Fold everything together gently using a large spatula so you don’t break the pasta or squash the tomatoes.
- Cover and refrigerate for at least 2 hours. Just before serving on your food board, add the remaining dressing and the fresh parsley to revive the colors and moisture. Give it one final toss and serve chilled.
Conclusion
Creating a viral food board isn’t about perfection; it’s about the abundance of simple, well-loved flavors that invite everyone to gather and share. From the sweet glow of sun tea to the savory depth of a perfectly marinated grilled chicken, these recipes prove that you don’t need a professional kitchen to create something extraordinary. So, lay out your favorite platter, fill it with these summer staples, and enjoy the effortless impact of a meal made with heart.