
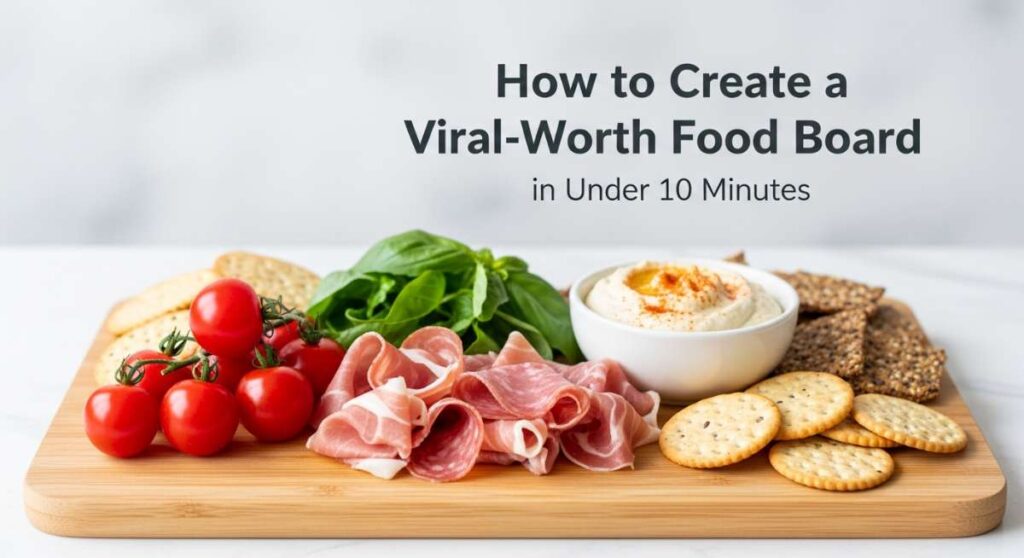
There is a specific kind of magic that happens when you set a beautiful, overflowing board in the center of a table. It’s that collective intake of breath from your friends, the immediate reach for phones to snap a photo, and the relaxed sigh as everyone realizes they can just graze and enjoy. I used to spend hours stressing over individual plates, but I’ve learned that the secret to a viral-worthy gathering isn’t about perfection—it’s about abundance, color, and a few key recipes that look like a million bucks but take almost no effort.
Creating a viral simple food board is all about the ‘wow’ factor without the kitchen burnout. Whether you are hosting a backyard sunset dinner or a casual Sunday brunch, these components are designed to be mixed and matched. We’re talking about textures that crunch, flavors that zing, and dishes that stay fresh even when the summer heat is peaking. Let’s dive into how you can build a masterpiece that will have your followers asking for the recipe before you’ve even finished your first drink.
How to make summer crockpot chicken
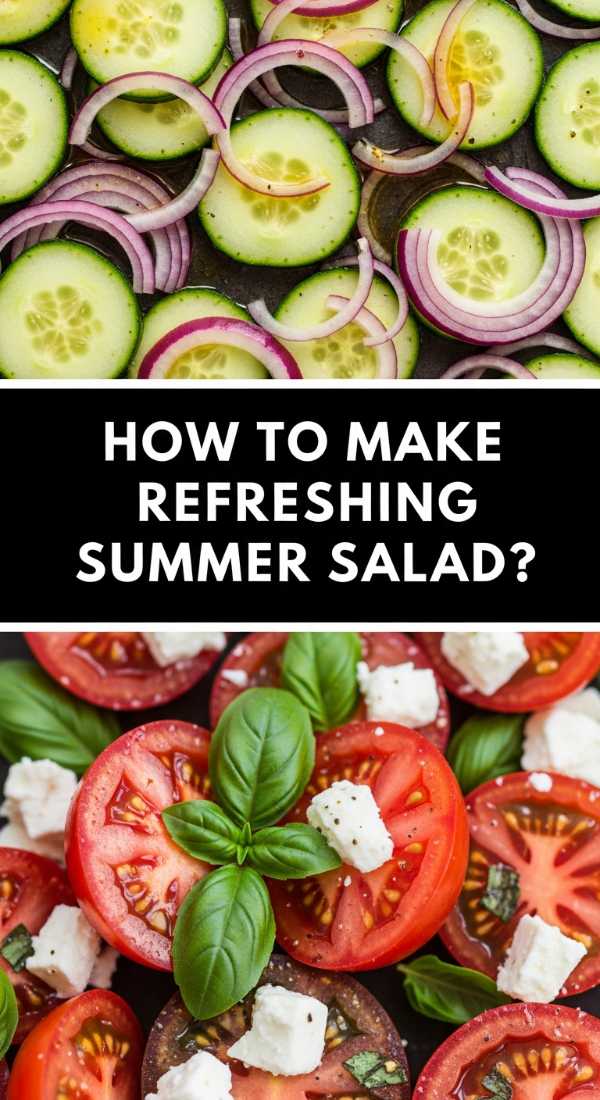
Why we love this
This chicken is the ultimate summer life hack because it allows you to keep the house cool while achieving that deep, slow-roasted flavor usually reserved for winter comfort foods. Imagine tender, succulent shreds of chicken that have been bathing in a bright, citrusy marinade all afternoon, absorbing every drop of zest and spice until they practically melt on your tongue. The aroma that fills your kitchen is a heady mix of sweet honey and savory garlic, promising a meal that feels both hearty and incredibly light. It’s the perfect protein base for any board, offering a rich, velvety texture that contrasts beautifully with crisp vegetables.
Ingredients
- 2 lbs boneless skinless chicken thighs
- 1/2 cup honey
- 1/4 cup soy sauce
- 2 limes, juiced
- 4 cloves garlic, minced
- 1 tablespoon fresh ginger, grated
- 1 teaspoon red pepper flakes
- Fresh cilantro for garnish
How to make it
- Start by patting your chicken thighs dry with a paper towel; this ensures the marinade adheres perfectly to the meat rather than sliding off.
- In a medium mixing bowl, whisk together the honey, soy sauce, lime juice, minced garlic, grated ginger, and red pepper flakes until the honey is fully dissolved and the mixture is emulsified.
- Place the chicken thighs into the bottom of your crockpot in a single layer to ensure even cooking and maximum surface area contact with the sauce.
- Pour the marinade over the chicken, using a spatula to make sure every piece is thoroughly coated; flip the chicken once or twice within the pot to be certain.
- Set your crockpot to the “Low” heat setting and cook for 4 to 5 hours—avoid using the “High” setting if possible, as the slower temperature allows the connective tissues to break down properly for that signature melt-in-your-mouth texture.
- Once the time is up, use two forks to gently shred the chicken directly in the pot, allowing the meat to soak up the residual juices for at least 15 minutes before serving.
- Transfer to a serving bowl for your board and garnish with a generous handful of chopped fresh cilantro for a pop of color and brightness.
How to make refreshing summer salad

Why we love this
Nothing says summer like a salad that tastes like it was plucked straight from a sun-drenched garden and served on a silver platter. This dish is a symphony of textures, from the peppery bite of fresh arugula to the creamy, soft tang of goat cheese and the explosive sweetness of vine-ripened berries. Every forkful offers a cooling sensation that cuts through the humidity of a July afternoon, leaving your palate refreshed and revitalized. The visual appeal is undeniable, with deep greens, vibrant reds, and snowy whites creating a focal point on your food board that looks as sophisticated as it is simple.
Ingredients
- 5 oz fresh baby arugula
- 2 cups strawberries, sliced
- 1/2 cup blueberries
- 4 oz goat cheese, crumbled
- 1/2 cup candied pecans
- Balsamic glaze for drizzling
- Extra virgin olive oil
- Flaky sea salt
How to make it
- Begin by washing your greens in very cold water and using a salad spinner to get them bone-dry; moisture is the enemy of a crisp salad and will prevent the oil from coating the leaves.
- Place the arugula in a large, shallow wooden bowl, which adds a rustic aesthetic to your board, and toss gently with just a tablespoon of high-quality olive oil and a pinch of flaky sea salt.
- Layer the sliced strawberries and whole blueberries across the top of the greens, distributing them evenly so every guest gets a bit of fruit in every bite.
- Crumble the goat cheese over the fruit using your fingers; if the cheese is too soft, pop it in the freezer for 5 minutes beforehand to make it easier to handle.
- Sprinkle the candied pecans over the top to add a much-needed crunch and a hint of caramelized sweetness.
- Just seconds before serving—to prevent wilting—drizzle the balsamic glaze in a zigzag pattern across the entire salad for a professional, restaurant-quality finish.
How to make zesty pasta salad

Why we love this
This isn’t your grandmother’s heavy, mayo-laden pasta salad; it is a bright, herbaceous, and incredibly zesty version that feels light enough for a poolside snack. The rotini pasta spirals are the perfect vessel for trapping the tangy vinaigrette, while the sharp feta and briny olives provide bursts of intense flavor that keep you coming back for more. It smells of dried oregano and fresh lemon, a scent that immediately transports you to a seaside cafe in the Mediterranean. It’s a sturdy dish that actually tastes better as it sits, making it the perfect stress-free addition to a viral board that guests can graze on for hours.
Ingredients
- 1 lb rotini pasta
- 1 red bell pepper, finely diced
- 1 cucumber, diced
- 1/2 red onion, minced
- 1/2 cup kalamata olives, halved
- 1/2 cup feta cheese, crumbled
- 1 cup Italian vinaigrette dressing
- 1 teaspoon dried oregano
How to make it
- Bring a large pot of heavily salted water to a rolling boil—it should taste like the ocean to properly season the pasta from the inside out.
- Add the rotini and cook until it is just ‘al dente’; usually about 1-2 minutes less than the package instructions, as the pasta will soften further once it absorbs the dressing.
- Immediately drain the pasta and rinse it under cold running water to stop the cooking process and remove excess starch, which prevents the pasta from becoming gummy.
- In a massive mixing bowl, combine the cooled pasta with the diced peppers, cucumbers, red onion, and olives.
- Pour the Italian vinaigrette and dried oregano over the mixture and toss thoroughly with large spoons until every crevice of the pasta is coated.
- Gently fold in the feta cheese last to ensure it stays in distinct crumbles rather than melting into the dressing.
- Cover and refrigerate for at least one hour before adding to your board, giving the flavors time to marry and the pasta time to fully chill.
How to make creamy rotel dip

Why we love this
There is something undeniably nostalgic and comforting about a warm, velvety cheese dip that sits alongside crisp tortilla chips on a food board. This creamy rotel dip is the ultimate crowd-pleaser, offering a smooth, buttery texture punctuated by the spicy, acidic kick of canned tomatoes and green chilies. As it stays warm, it releases an aroma of toasted spices and savory sausage that acts like a siren song for your guests. It provides that essential “dip” element that every board needs, offering a rich, savory counterpoint to the lighter fruits and salads surrounding it.
Ingredients
- 1 lb Velveeta or high-quality melting cheese, cubed
- 1 can (10 oz) Rotel tomatoes with green chilies, undrained
- 1 lb ground breakfast sausage or chorizo
- 1/4 cup whole milk (optional, for thinning)
- Fresh jalapeños, sliced (for garnish)
How to make it
- In a large skillet over medium-high heat, brown the ground sausage, breaking it into very small crumbles with a wooden spoon until no pink remains and it is slightly crispy.
- Drain the excess grease from the skillet thoroughly; this is a critical step to prevent your dip from becoming oily.
- Lower the heat to low and add the cubed cheese and the entire can of Rotel (including the liquid) to the skillet.
- Stir constantly with a heat-resistant spatula, allowing the cheese to melt slowly and evenly; rushing this on high heat can cause the cheese to grain or separate.
- If the dip feels too thick, stir in a splash of milk one tablespoon at a time until you reach a silky, dippable consistency.
- Transfer the dip to a small ceramic bowl that has been pre-warmed in the oven to help retain heat while on the board.
- Top with fresh jalapeño slices and serve immediately with sturdy corn chips.
How to make grilled steak kabobs

Why we love this
Steak kabobs bring a sense of rustic elegance and fire-kissed flavor to your board that is hard to beat. The contrast between the charred, smoky exterior of the beef and the tender, juicy medium-rare center is a culinary delight that appeals to the senses. Paired with caramelized red onions and snap-fresh zucchini, these skewers offer a rainbow of colors and a variety of textures in a single, easy-to-grab format. The scent of seared steak and charred vegetables is the quintessential smell of summer entertaining, making these the undeniable star of any viral-worthy spread.
Ingredients
- 1.5 lbs top sirloin steak, cut into 1-inch cubes
- 2 zucchinis, sliced into thick half-moons
- 1 red onion, cut into chunks
- 1/4 cup soy sauce
- 2 tablespoons olive oil
- 1 tablespoon Worcestershire sauce
- 2 cloves garlic, crushed
How to make it
- In a gallon-sized zip-top bag, combine the soy sauce, olive oil, Worcestershire, and crushed garlic to create a savory marinade.
- Add the steak cubes to the bag, seal tightly while removing excess air, and massage the liquid into the meat; let this marinate in the fridge for at least 30 minutes, or up to 4 hours.
- If using wooden skewers, soak them in water for at least 20 minutes prior to use to prevent them from catching fire on the grill.
- Thread the steak, zucchini, and red onion onto the skewers, alternating colors and ensuring the pieces are touching but not packed too tightly—this allows the heat to circulate.
- Preheat your grill to medium-high (about 400°F) and lightly oil the grates to prevent sticking.
- Place the kabobs on the grill and cook for 3-4 minutes per side, turning only once or twice, until the steak reaches an internal temperature of 135°F for medium-rare.
- Remove from the grill and let the meat rest for 5 minutes before placing them on the board; this allows the juices to redistribute so the steak stays moist.
How to make summer fruit desserts

Why we love this
A viral board isn’t complete without a sweet finish that celebrates the peak of the season’s harvest. These grilled peaches with honeyed mascarpone are the epitome of summer indulgence, offering a warm, soft texture that contrasts beautifully with a chilled, velvety cream. The heat from the grill intensifies the natural sugars in the fruit, creating a deep, honey-like syrup that pools in the center of each slice. It is a light, elegant dessert that smells of caramelized fruit and fresh mint, providing a sophisticated end to the meal that won’t leave your guests feeling weighed down.
Ingredients
- 4 ripe peaches, halved and pitted
- 8 oz mascarpone cheese
- 2 tablespoons honey, plus extra for drizzling
- 1 teaspoon vanilla extract
- Fresh mint leaves
- 1/2 cup crushed pistachios
How to make it
- In a small bowl, whisk together the mascarpone, 2 tablespoons of honey, and vanilla extract until the mixture is smooth and light.
- Lightly brush the cut side of the peach halves with a tiny bit of neutral oil (like grapeseed) to prevent sticking.
- Place the peaches cut-side down on a medium-heat grill for about 3-4 minutes, or until distinct char marks appear and the fruit begins to soften.
- Flip the peaches and cook for another 2 minutes on the skin side to warm them through completely.
- Arrange the warm peaches on the dessert section of your board and place a generous dollop of the mascarpone mixture in the center of each pit cavity.
- Drizzle additional honey over the top and sprinkle with crushed pistachios for a salty, nutty crunch.
- Finish with a sprig of fresh mint for an aromatic touch that cuts through the richness of the cheese.
How to make refreshing summer drinks

Why we love this
The perfect summer drink should be as beautiful as it is thirst-quenching, acting as a functional decoration for your board setup. This cucumber and mint sparkler is crisp, bubbly, and incredibly sophisticated, offering a clean flavor profile that resets the palate between bites of savory steak or cheesy dip. The translucent green of the cucumber slices floating in sparkling water creates a spa-like aesthetic that feels instantly cooling. It smells like a fresh rain shower in a herb garden, providing a sensory experience that makes your guests feel truly pampered and refreshed.
Ingredients
- 1 large English cucumber, thinly sliced
- 1 bunch fresh mint leaves
- 2 limes, sliced into rounds
- 1 liter sparkling mineral water
- 1/2 cup simple syrup (optional)
- Plenty of ice
How to make it
- In the bottom of a large glass pitcher, add a handful of mint leaves and half of the lime slices.
- Use a muddler or the back of a wooden spoon to gently bruise the mint and lime; you want to release the oils and juice without shredding the leaves into tiny pieces.
- Fill the pitcher halfway with ice cubes, then tuck the thin cucumber slices down the sides of the glass so they are visible from the outside.
- Add the remaining lime slices and fill the pitcher with chilled sparkling mineral water.
- If you prefer a sweeter drink, stir in the simple syrup slowly, tasting as you go to ensure it doesn’t overpower the freshness of the cucumber.
- Give the drink a long, gentle stir with a bar spoon to distribute the flavors without losing the carbonation.
- Serve in tall glasses with extra ice, ensuring each glass gets a slice of cucumber and a sprig of mint.
How to make chilled summer soup

Why we love this
Chilled gazpacho is a revelation for summer entertaining, offering all the depth of a slow-simmered soup without any of the heat. This vibrant red puree is silky smooth, cold as ice, and packed with the zing of sherry vinegar and the earthiness of garden-fresh vegetables. It feels incredibly luxurious as it coats the tongue, delivering a concentrated blast of garden flavors that are both sharp and refreshing. Served in small shot glasses or ramekins on your board, it provides a sophisticated, no-mess way for guests to enjoy a complex dish while mingling.
Ingredients
- 2 lbs ripe Roma tomatoes, cored
- 1 English cucumber, peeled and chopped
- 1 red bell pepper, seeded and chopped
- 1 small red onion
- 2 cloves garlic
- 3 tablespoons sherry vinegar
- 1/2 cup extra virgin olive oil
- Salt and pepper to taste
How to make it
- Roughly chop all the vegetables and place them into a high-powered blender; the smaller the pieces, the smoother the final result will be.
- Add the garlic, sherry vinegar, and a generous pinch of salt and pepper to the blender.
- Blend on high speed for at least 2 minutes until the mixture is completely liquified and looks like a bright orange-red broth.
- With the blender running on low, slowly stream in the olive oil; this creates an emulsion that gives the soup a creamy, rich mouthfeel without any dairy.
- For a truly professional, viral-worthy texture, pour the soup through a fine-mesh sieve into a bowl, using a spatula to push the liquid through and discarding the pulp.
- Cover and chill in the absolute coldest part of your refrigerator for at least 4 hours, or ideally overnight; the flavors need this time to develop.
- Serve in small glasses with a tiny drizzle of olive oil and a single crouton on top for texture.
How to make summer snack boxes
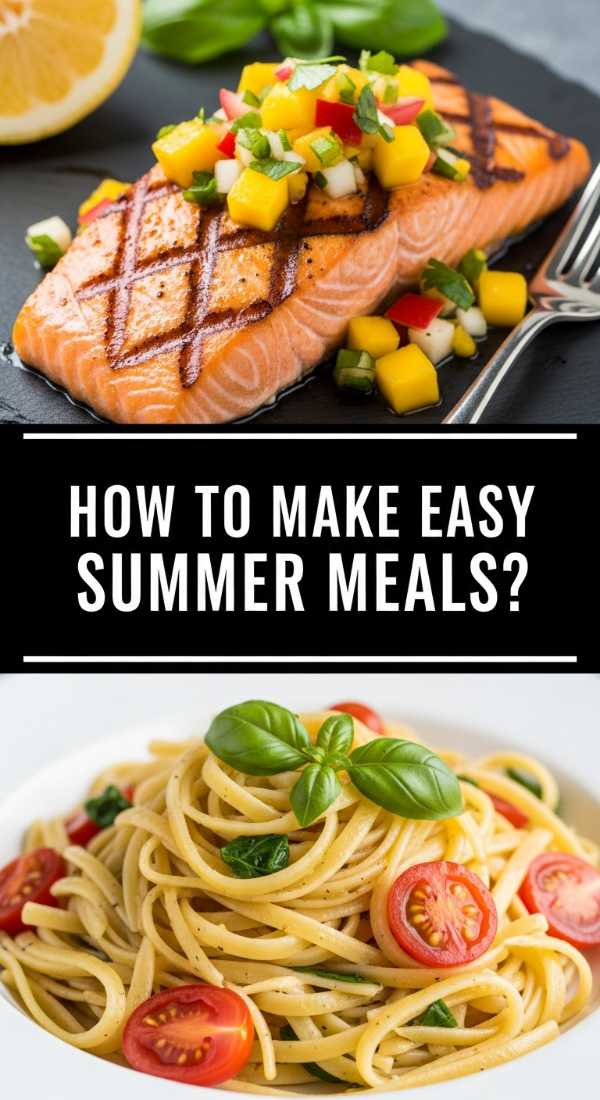
Why we love this
Snack boxes are the modular building blocks of a great food board, providing variety and organization in one beautiful package. They allow you to play with colors and shapes, pairing crunchy crackers with soft brie, salty prosciutto with sweet grapes, and earthy nuts with sharp cheddar. There is a primal joy in having so many small, delicious options to choose from, ensuring that even the pickiest eaters find something to love. These boxes look like edible art, making them the most photographed part of any viral board while being incredibly practical for outdoor or “on-the-go” grazing.
Ingredients
- Assorted crackers (multigrain, pita chips, breadsticks)
- 3 types of cheese (Brie, Sharp Cheddar, Manchego)
- Cured meats (Prosciutto, Salami)
- Fresh fruits (Grapes, Blueberries)
- Nuts (Marcona almonds, Walnuts)
- Dried apricots or figs
How to make it
- Start with a clean, divided tray or use small parchment paper liners to create zones on your main board for different types of snacks.
- Place your cheeses first as they are the “anchors”; slice the cheddar into uniform cubes, leave the brie whole for guests to cut, and slice the Manchego into thin triangles.
- Fold the salami into “fans” or roses and ribbon the prosciutto to add height and visual interest to the meat section.
- Fill the largest remaining gaps with your cracker assortment, ensuring you have at least one gluten-free option for inclusivity.
- Use small piles of nuts and dried fruits to fill the tiny “nooks and crannies” between the larger items; this creates that “overflowing” viral look.
- Add small bunches of grapes on the vine for a classic, luxurious aesthetic that drapes over the edge of the box or board.
- Ensure that any “wet” items like pickles or olives are kept in separate small ramekins to prevent the crackers from becoming soggy.
How to make easy summer meals
[IMAGE_10]
Why we love this
Fish tacos are the ultimate easy summer meal that feels like a celebration of the coast, no matter where you live. The flaky, white fish is seasoned with smoky spices and seared to perfection, providing a light but satisfying protein that won’t make you feel sluggish in the heat. When topped with a crunchy, lime-drenched slaw and a dollop of cool crema, each taco becomes a perfect balance of temperatures and textures. They are inherently social, allowing guests to build their own tacos right from the board, which creates an interactive and fun dining experience that everyone loves to share on social media.
Ingredients
- 1 lb firm white fish (Cod or Mahi Mahi)
- 1 tablespoon taco seasoning (chili powder, cumin, garlic powder)
- 12 small corn tortillas
- 2 cups shredded cabbage mix
- 1/4 cup sour cream mixed with lime juice (crema)
- Fresh cilantro and lime wedges
How to make it
- Pat the fish fillets completely dry and season both sides generously with the taco seasoning, pressing it in with your fingers so it sticks.
- Heat a non-stick skillet over medium-high heat with a tablespoon of oil until the oil shimmers.
- Place the fish in the pan and cook for about 3-4 minutes per side; the fish is done when it is opaque and flakes easily with a fork—do not overcook or it will become dry.
- While the fish rests, quickly warm the corn tortillas in a dry pan or over an open flame for 30 seconds per side until they are soft and slightly charred.
- Break the fish into large, bite-sized chunks and place them in a serving dish on your board.
- Toss the cabbage mix with a squeeze of lime and a pinch of salt to make a quick, bright slaw.
- Arrange the tortillas, fish, slaw, and lime-crema in a cluster on your board so guests can easily assemble their own tacos with a squeeze of fresh lime.
The Secret to Your Best Summer Ever
Creating a viral-worthy food board isn’t about being a professional chef; it’s about the joy of sharing simple, beautiful food with the people you love. By focusing on fresh ingredients, vibrant colors, and these easy-to-follow recipes, you’ve created more than just a meal—you’ve created a core memory. Now, grab a drink, put your phone away, and dig in!