
The Ultimate Guide to the Simple Food Board Trend Taking Over Your Feed
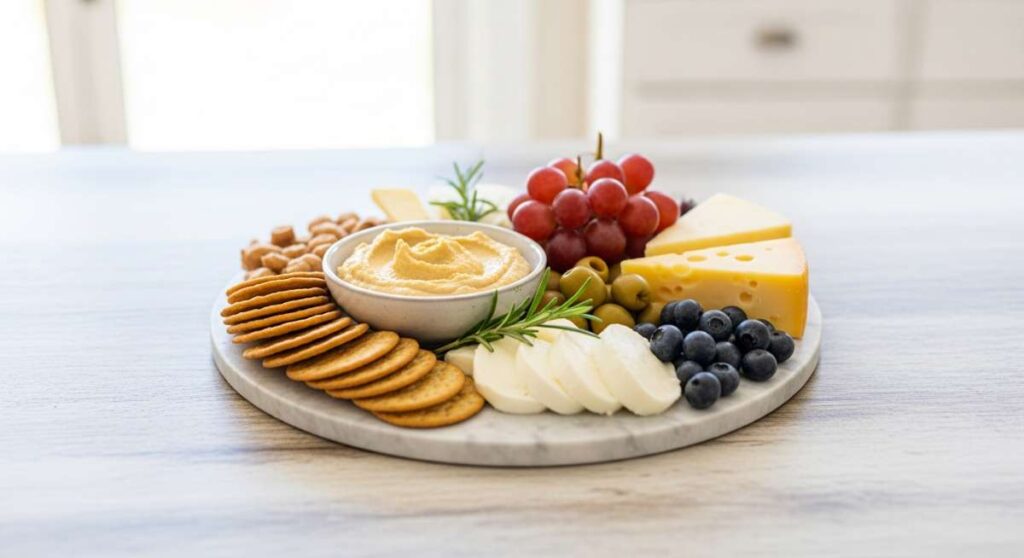
There is something inherently magical about a gathering that revolves around a beautifully curated spread of food. We’ve all seen them—those stunning, vibrant ‘simple food boards’ that seem to have taken over Instagram and Pinterest overnight. It’s more than just a trend; it’s a lifestyle shift toward intentional hosting where the food is the centerpiece and the conversation flows as easily as the wine. I remember the first time I traded a formal sit-down dinner for a massive, colorful board laid out across my kitchen island; the atmosphere immediately shifted from stiff to soulful.
The beauty of the simple food board lies in its versatility. It doesn’t matter if you are hosting a high-energy summer bash or a quiet Sunday afternoon with your inner circle; these boards invite guests to graze, explore flavors, and customize their own plates. It removes the pressure of plating individual meals and replaces it with a communal experience that celebrates fresh ingredients and creative pairings. It’s about the crunch of a fresh cucumber, the creamy melt of a warm dip, and the sweet burst of a seasonal berry all living harmoniously on one wooden canvas.
In this guide, I’m breaking down the essential components to build the ultimate viral-worthy food board. From slow-cooked comforts to refreshing sips, we are covering every corner of the culinary map to ensure your next gathering is as delicious as it is photogenic. Grab your largest platter and let’s dive into the recipes that will make your feed—and your guests—absolutely swoon.
How to make crockpot meals?
Why we love this
There is nothing quite like the comforting aroma of a slow-cooked meal wafting through the house on a busy afternoon. When added to a food board, a crockpot component like pulled sliders provides a warm, savory anchor that contrasts beautifully with cold sides. The meat becomes so incredibly tender that it practically melts on the tongue, infused with a deep, smoky sweetness that only hours of low-temperature simmering can achieve. It’s the ultimate ‘set it and forget it’ luxury that brings a sense of homey heartiness to your elegant spread.
Ingredients
- 3 lbs pork shoulder or beef chuck roast
- 1 cup barbecue sauce (honey or hickory smoked)
- 1/4 cup apple cider vinegar
- 1 tablespoon smoked paprika
- 1 teaspoon garlic powder
- 1 large yellow onion, sliced
- Salt and cracked black pepper to taste
How to make it
- Begin by patting your meat dry with paper towels to ensure a better sear; season generously on all sides with salt, pepper, garlic powder, and smoked paprika.
- Place the sliced onions at the bottom of the slow cooker to create a flavor base and prevent the meat from sticking to the bottom.
- Position the seasoned meat on top of the onions and pour the apple cider vinegar over it; the acidity helps break down the connective tissues for a more tender result.
- Cover and set the crockpot to ‘Low’ for 8 to 10 hours or ‘High’ for 5 to 6 hours; for the most ‘viral’ fall-apart texture, the low and slow method is highly recommended.
- Once the time is up, use two forks to shred the meat directly in the pot, removing any large pieces of fat as you go.
- Add the barbecue sauce to the shredded meat and stir well, letting it sit on the ‘Warm’ setting for another 20 minutes so the flavors can fully marry before serving.
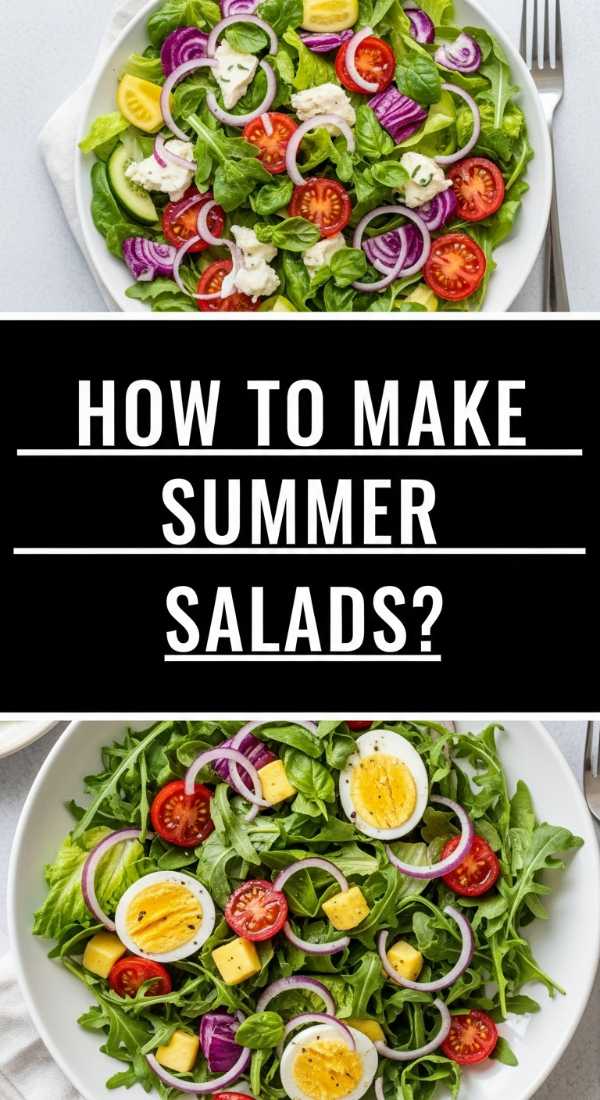
How to make summer salads?
Why we love this
A summer salad is the breath of fresh air every food board needs, offering a vibrant pop of color and a crisp, hydrating crunch. We love the juxtaposition of sweet, juicy fruit like watermelon or strawberries against the salty, creamy tang of feta cheese and the earthy aroma of fresh mint. Every bite feels like a celebration of the sun, with textures that range from the snap of a cucumber to the delicate softness of baby greens. It’s a sensory delight that cleanses the palate and keeps the board feeling light and energetic.
Ingredients
- 4 cups cubed seedless watermelon
- 1 cup fresh blueberries
- 1/2 cup crumbled feta cheese
- 1/4 cup fresh mint leaves, torn
- 2 tablespoons extra virgin olive oil
- 1 tablespoon balsamic glaze
- A pinch of flaky sea salt
How to make it
- Start with a chilled watermelon; cutting it into uniform 1-inch cubes ensures a professional, clean look on your food board.
- In a large, shallow bowl, gently toss the watermelon cubes with the fresh blueberries, being careful not to crush the fruit.
- Sprinkle the crumbled feta evenly over the top; the white cheese against the red and blue fruit provides a stunning visual contrast.
- Scatter the torn mint leaves over the salad; tearing them by hand rather than chopping prevents bruising and releases more essential oils.
- Just before serving, drizzle the olive oil and balsamic glaze in a zigzag pattern across the fruit to add a rich, acidic finish.
- Finish with a light sprinkle of flaky sea salt to enhance the natural sweetness of the fruit and the savory notes of the cheese.
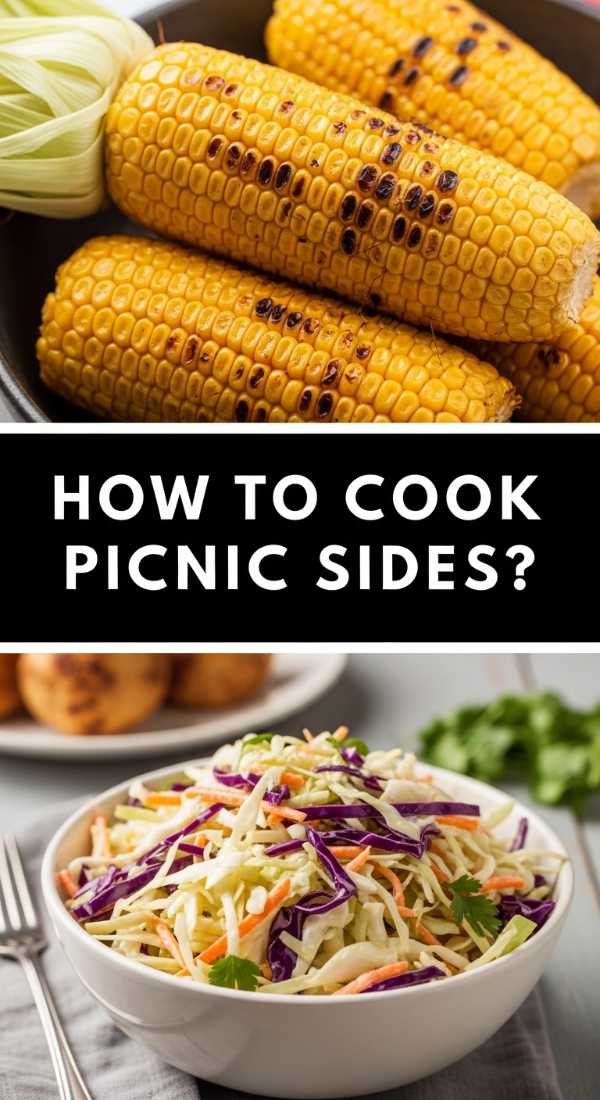
How to cook picnic sides?
Why we love this
Picnic sides like classic deviled eggs or honey-glazed carrots bring a nostalgic, comforting element to your board that guests naturally gravitate toward. There’s a certain creamy, whipped perfection in a well-made deviled egg that feels both sophisticated and rustic at the same time. The smooth yellow filling against the firm, cool egg white creates a satisfying mouthfeel, while a dusting of paprika adds a tiny hint of spice. These bite-sized treats are the quintessential finger food, making them the perfect ‘grab and go’ addition to a communal platter.
Ingredients
- 6 large eggs
- 3 tablespoons mayonnaise
- 1 teaspoon Dijon mustard
- 1/2 teaspoon apple cider vinegar
- Salt and pepper to taste
- Smoked paprika and fresh chives for garnish
How to make it
- Place your eggs in a single layer in a saucepan and cover with an inch of cold water; bring to a rolling boil over high heat.
- Once boiling, turn off the heat, cover the pan, and let the eggs sit for exactly 12 minutes to achieve a perfectly set yolk without the gray ring.
- Immediately transfer the eggs to an ice bath for 5 minutes; the thermal shock makes them much easier to peel smoothly.
- Peel and halve the eggs lengthwise, gently scooping the yolks into a small mixing bowl.
- Mash the yolks with a fork until fine and crumbly, then whisk in the mayonnaise, mustard, and vinegar until the mixture is silky and aerated.
- Pipe the yolk mixture back into the egg white shells using a star-tipped pastry bag for an elevated look, then garnish with a sprinkle of paprika and finely snipped chives.
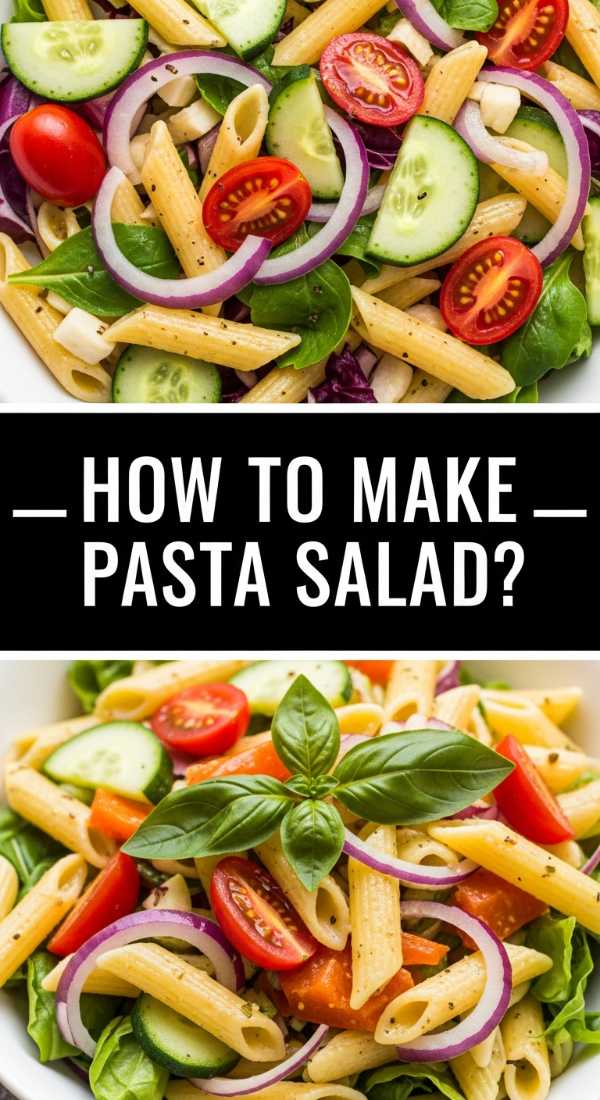
How to make pasta salad?

Why we love this
Pasta salad is the versatile workhorse of the food board, offering a satisfying heartiness that keeps guests full while carrying an explosion of Mediterranean flavors. We love the way the rotini spirals capture the zesty vinaigrette in every nook and cranny, ensuring no bite is ever dry. The texture is a playful mix of al dente pasta, crunchy bell peppers, and succulent olives, all tied together by the sharp punch of red onion. It’s a dish that actually tastes better as it sits, making it the ultimate stress-free preparation for a long afternoon of hosting.
Ingredients
- 1 lb rotini or fusilli pasta
- 1 cup cherry tomatoes, halved
- 1/2 cup English cucumber, diced
- 1/4 cup red onion, finely minced
- 1/2 cup kalamata olives, sliced
- 1/2 cup Italian vinaigrette dressing
- 1/4 cup grated parmesan cheese
How to make it
- Boil a large pot of heavily salted water; the water should taste like the sea to properly season the pasta from the inside out.
- Cook the pasta until it is just slightly past al dente; for cold salads, a slightly softer pasta holds the dressing better once chilled.
- Drain the pasta and immediately rinse it under cold running water to stop the cooking process and remove excess starch, which prevents clumping.
- In a large bowl, combine the cooled pasta with the halved tomatoes, cucumbers, onions, and olives.
- Pour the Italian dressing over the mixture and toss thoroughly with large spoons until every piece of pasta is glistening.
- Cover and refrigerate for at least two hours; just before adding to your board, give it another toss and sprinkle with parmesan cheese for a salty finish.
How to make rotel dip?

Why we love this
Rotel dip is the undisputed king of party appetizers, a warm and gooey masterpiece that brings a spicy, cheesy soul to your food board. There is something incredibly addictive about the velvety texture of melted cheese combined with the zesty kick of diced tomatoes and green chilies. It’s the ultimate dip that invites people to linger around the board, scooping up thick helpings with crunchy tortilla chips. The heat is subtle but persistent, creating a cozy, savory experience that balances out the fresher, colder elements on the platter.
Ingredients
- 1 lb ground pork sausage or lean ground beef
- 1 block (16 oz) Velveeta or processed melting cheese, cubed
- 1 can (10 oz) Ro-Tel Diced Tomatoes and Green Chilies (undrained)
- 1/2 teaspoon chili powder
- Tortilla chips for serving
How to make it
- In a large skillet over medium-high heat, brown the ground meat until it is fully cooked and no pink remains, breaking it into small crumbles with a wooden spoon.
- Drain the excess grease thoroughly from the skillet; this is a crucial step to ensure your dip isn’t oily.
- Lower the heat to medium-low and add the cubed cheese to the skillet with the meat.
- Pour in the entire can of Ro-Tel, including the juices, which provide the essential moisture and spice for the dip.
- Stir constantly but gently as the cheese melts to prevent it from scorching on the bottom of the pan; the goal is a uniform, creamy consistency.
- Once fully melted and smooth, transfer the dip to a small crockpot or a thick ceramic bowl to retain heat, and place it in the center of your food board.
How to grill perfect kabobs?

Why we love this
Kabobs are the visual superstars of any board, offering charred, smoky edges and bright, alternating colors that look like edible art. We love the ritual of sliding tender pieces of marinated chicken and charred vegetables off the skewer; it’s an interactive eating experience that feels both rustic and refined. The high-heat sear locks in the juices of the meat while caramelizing the natural sugars in peppers and onions, creating a complex flavor profile that is both savory and sweet. They add a vertical element and a sense of bounty to the spread.
Ingredients
- 1.5 lbs chicken breast or top sirloin, cut into 1-inch cubes
- 2 large bell peppers (red and green), cut into chunks
- 1 red onion, cut into wedges
- 1/4 cup olive oil
- 3 tablespoons soy sauce
- 2 cloves garlic, minced
- Wooden or metal skewers
How to make it
- If using wooden skewers, soak them in water for at least 30 minutes prior to grilling to prevent them from catching fire over the flames.
- In a bowl, whisk together the olive oil, soy sauce, and minced garlic; toss the meat cubes in the marinade and let sit for at least 20 minutes in the fridge.
- Thread the skewers, alternating between meat, pepper, and onion; don’t pack them too tightly, as the air needs to circulate to cook the meat evenly.
- Preheat your grill to medium-high (about 400°F) and lightly oil the grates to prevent sticking.
- Place the kabobs on the grill and cook for 10-12 minutes, turning them a quarter-turn every 3 minutes to ensure an even char on all sides.
- Use a meat thermometer to ensure the chicken reaches an internal temperature of 165°F; once done, let them rest for 5 minutes before placing them on your board to keep the juices locked in.
How to make summer desserts?

Why we love this
No simple food board is complete without a sweet finish, and summer desserts like mini fruit trifles or lemon bars bring a bright, zesty conclusion to the meal. We adore the light-as-air texture of whipped cream paired with the tart snap of seasonal berries or the buttery crumble of a shortbread crust. These treats are designed to be light, ensuring that even after a full grazing session, there’s always room for a little indulgence. They act as the ‘jewelry’ of the board, offering sparkling colors and delicate shapes that draw the eye.
Ingredients
- 1 cup heavy whipping cream
- 2 tablespoons powdered sugar
- 1 teaspoon vanilla extract
- 2 cups assorted berries (raspberries, blueberries, blackberries)
- 1 pre-made pound cake, cut into small cubes
How to make it
- In a chilled glass bowl, beat the heavy cream with a hand mixer until it begins to thicken.
- Slowly add the powdered sugar and vanilla extract, continuing to beat until stiff peaks form; be careful not to over-beat or it will turn into butter.
- In small clear shot glasses or mini jars, place a cube of pound cake at the very bottom as the base.
- Add a layer of assorted berries on top of the cake, pressing them slightly to release just a hint of juice.
- Dollop or pipe a generous swirl of the homemade whipped cream over the berries.
- Repeat the layers if space allows, finishing with a single beautiful raspberry on top for a professional, ‘viral’ aesthetic.
How to make healthy dinners?

Why we love this
Incorporating healthy, nutrient-dense components like roasted chickpeas or quinoa-stuffed peppers ensures your food board feels balanced and energizing rather than heavy. We love the earthy, nutty crunch of a perfectly roasted chickpea, seasoned with cumin and lime for a Mediterranean flair. These elements provide a wonderful textural contrast to the softer cheeses and meats on the board. It’s food that makes you feel good from the inside out, proving that ‘simple food’ can be both incredibly delicious and intensely nourishing for your body.
Ingredients
- 2 cans (15 oz) chickpeas, rinsed and patted very dry
- 2 tablespoons avocado oil
- 1 teaspoon ground cumin
- 1/2 teaspoon smoked paprika
- 1/2 teaspoon sea salt
- Zest of one lime
How to make it
- Preheat your oven to 400°F (200°C) and line a large baking sheet with parchment paper for easy cleanup.
- The secret to crispiness is dryness; roll the chickpeas between two kitchen towels to remove as much moisture as possible and discard any loose skins.
- In a bowl, toss the chickpeas with avocado oil, cumin, paprika, and salt until they are evenly coated in the spice mixture.
- Spread them in a single layer on the baking sheet; if they are crowded, they will steam instead of crisping up.
- Roast for 20-30 minutes, shaking the pan halfway through, until they are golden brown and make a ‘clinking’ sound when moved.
- Remove from the oven and immediately toss with the fresh lime zest while they are still hot to lock in the citrus aroma.
How to make refreshing drinks?
Why we love this
A refreshing drink is the essential companion to a food board, acting as a palate cleanser that ties all the diverse flavors together. We love the effervescent bubble of a sparkling mocktail or tea, infused with the cooling essence of cucumber and the sharp, clean bite of lemon. It’s all about that ‘first sip’ feeling—the way the cold glass feels in your hand and the botanical aroma that hits you before the liquid even touches your lips. It transforms a simple meal into a full sensory event, making the hosting experience feel complete and thoughtful.
Ingredients
- 1 liter sparkling mineral water
- 1 English cucumber, thinly sliced into ribbons
- 2 lemons, sliced into rounds
- 1 bunch fresh mint leaves
- Ice cubes (extra points if they have frozen berries inside)
How to make it
- Use a vegetable peeler to create long, elegant ribbons of cucumber; these look stunning pressed against the inside of a glass pitcher.
- Place the cucumber ribbons, lemon rounds, and a handful of mint leaves at the bottom of a large glass carafe.
- Use a long spoon to gently muddle the mint and lemon just enough to release the oils without shredding the leaves.
- Fill the pitcher 3/4 of the way with ice cubes to keep the infusion as cold as possible from the start.
- Pour the sparkling mineral water over the ice and fruit, watching the bubbles interact with the botanicals.
- Stir gently and let the flavors infuse for at least 10 minutes before pouring into individual glasses garnished with an extra sprig of mint.
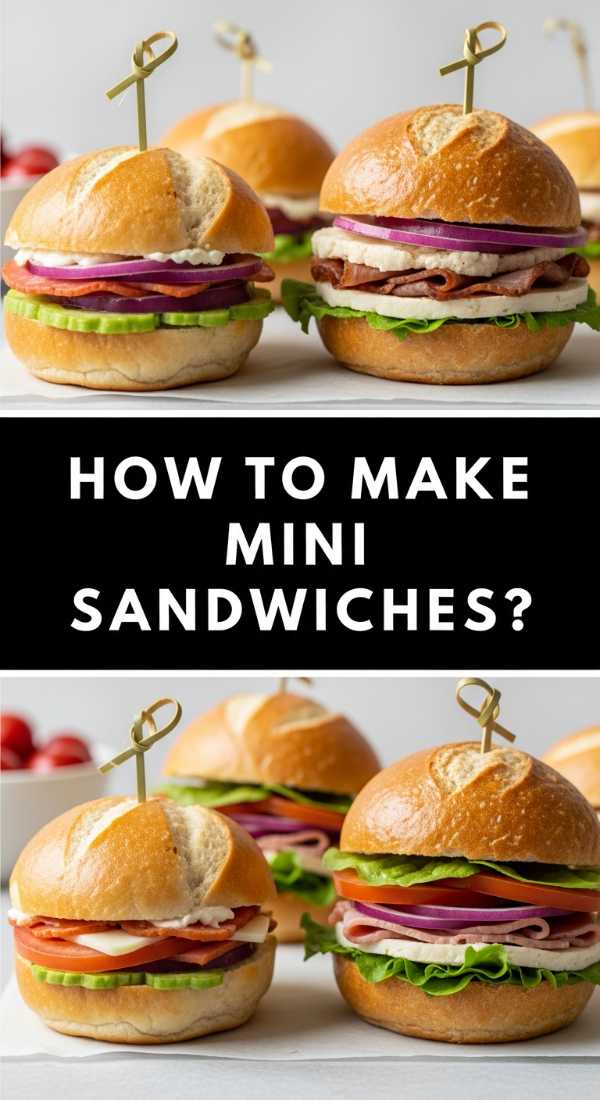
How to make mini sandwiches?
[IMAGE_10]
Why we love this
Mini sandwiches, or sliders, are the ultimate ‘approachable’ food that brings a playful, finger-food energy to your board. We love the soft, pillowy texture of a brioche bun paired with the crisp snap of fresh greens and the creamy richness of a garlic aioli. They are perfectly portioned for grazing, allowing guests to sample multiple flavors without committing to a full meal. There is something so satisfying about the architecture of a well-built mini sandwich—the layers of color and texture visible from the side make them an absolute magnet for the eyes (and the appetite).
Ingredients
- 1 pack mini brioche buns or slider rolls
- 1/2 lb deli-sliced turkey or roast beef
- 1/2 lb provolone or swiss cheese
- 1 cup arugula or microgreens
- 2 tablespoons mayonnaise mixed with 1 clove minced garlic (garlic aioli)
How to make it
- Slice the entire pack of slider rolls in half horizontally without separating the individual buns; this allows you to build them all at once for efficiency.
- Spread a thin, even layer of your homemade garlic aioli across the bottom half of the bread to act as a moisture barrier.
- Layer the deli meat in a wavy, ribbon-like fashion rather than flat; this creates more volume and a better ‘bite’ feel.
- Top the meat with a layer of cheese slices, ensuring they overlap slightly so every bite gets a cheesy hit.
- Place the top half of the buns back on and, if you prefer them warm, bake at 350°F for 10 minutes until the cheese is gooey; if serving cold, skip to the next step.
- Use a serrated knife to cut the individual sliders apart and tuck a small bunch of fresh arugula or microgreens into each one just before placing them on the board.
Conclusion
Building a simple food board is an art form that prioritizes connection over perfection. Whether you are piling up smoky kabobs, chilling a zesty pasta salad, or arranging delicate mini sandwiches, the goal is to create an environment where everyone feels welcome to dig in. These boards are a testament to the fact that you don’t need a five-course menu to host an unforgettable gathering. By focusing on fresh ingredients, varied textures, and beautiful presentation, you can turn any ordinary afternoon into a viral-worthy celebration of food and friendship. Now, go forth, get creative, and let your food board be the star of the season!