
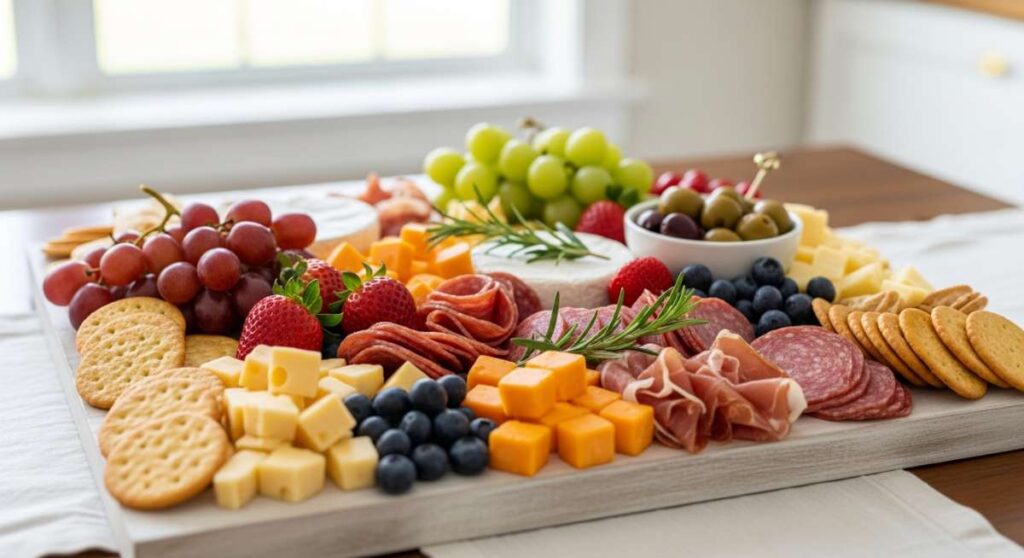
Effortless Hosting: The Simple Food Board Everyone is Obsessed With
There is a certain kind of magic that happens when friends gather around a table filled with vibrant colors and enticing aromas, isn’t there? I used to spend hours stressing over complex multi-course meals, only to find myself stuck in the kitchen while the laughter echoed from the patio. That all changed when I embraced the ‘Simple Food Board’—a curated, relaxed way of eating that prioritizes connection over perfection. It’s about creating a tapestry of flavors that invites guests to linger, graze, and truly enjoy the moment.
This viral approach to hosting isn’t just about aesthetics; it’s about the ease of prep and the joy of variety. Imagine a sprawling spread where savory pulled pork meets the coolness of a watermelon salad, and spicy dips sit alongside crisp cucumber bites. It’s a feast for the eyes and the soul, designed to make you the hero of your own gathering without the burnout. Let’s dive into the components that make this board the ultimate crowd-pleaser.
How to make tender pulled pork

Why we love this
Nothing says comfort like the deep, smoky aroma of pork that has been slow-cooked until it practically melts at the touch of a fork. The texture is a beautiful contradiction of crispy, caramelized edges and succulent, tender interior that holds onto every drop of tangy barbecue sauce. As you pull the meat apart, the steam rises, carrying hints of brown sugar, paprika, and garlic that make your mouth water instantly. It’s the hearty, soulful anchor of any food board, providing a rich, savory foundation that pairs perfectly with lighter sides.
Ingredients
- 4-5 lb pork shoulder (Boston butt)
- 1/4 cup brown sugar
- 2 tbsp smoked paprika
- 1 tbsp garlic powder
- 1 tbsp onion powder
- 1 tsp cayenne pepper
- Salt and black pepper to taste
- 1 cup apple juice or chicken broth
- Your favorite BBQ sauce
How to make it
- Begin by patting the pork shoulder completely dry with paper towels to ensure the spice rub sticks and helps create a better crust.
- In a small bowl, whisk together the brown sugar, paprika, garlic powder, onion powder, cayenne, salt, and pepper until well combined.
- Massage the dry rub generously over the entire surface of the pork, pressing it into the crevices to ensure every inch is flavored.
- Place the seasoned pork into a slow cooker and pour the apple juice or broth around the base, being careful not to wash off the rub.
- Set the slow cooker to ‘Low’ and cook for 8 to 10 hours. The low and slow method is crucial for breaking down the tough connective tissues into buttery tenderness.
- Once the pork reaches an internal temperature of about 205°F and feels like it’s falling apart, remove it to a large tray.
- Use two forks to shred the meat into bite-sized pieces, discarding any large bits of fat.
- Return the shredded meat to the slow cooker for 20 minutes to soak up the juices, then toss with BBQ sauce before serving warm on your board.
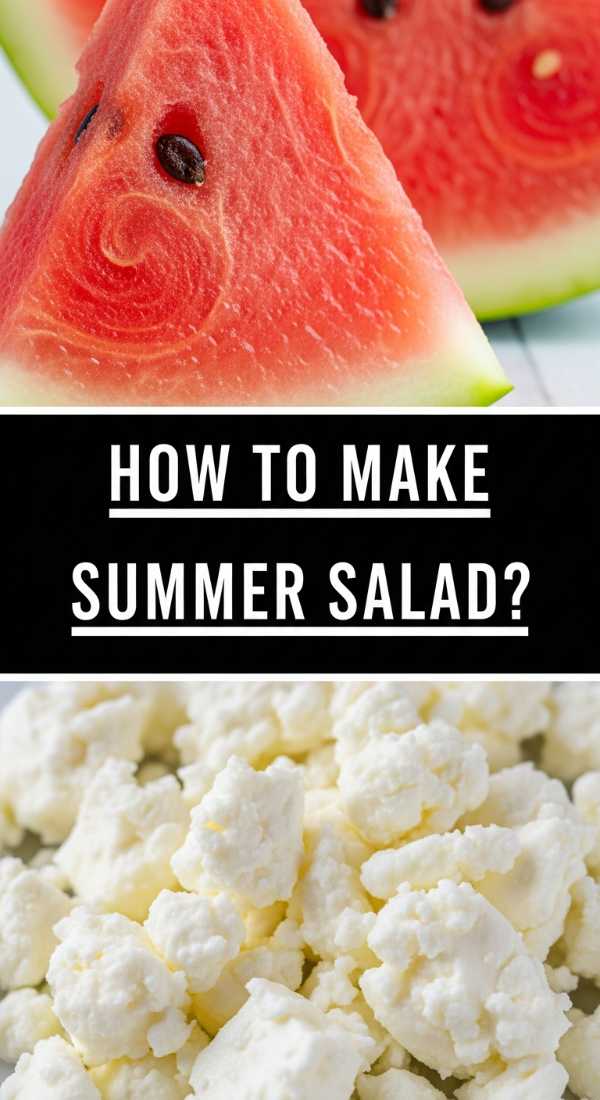
How to make watermelon salad
Why we love this
This salad is the ultimate sensory refresh, offering a bright burst of hydration that cuts through richer flavors with ease. The crunch of cold, sweet watermelon combined with the creamy, salty tang of crumbled feta creates a flavor profile that is both sophisticated and incredibly simple. Topped with fresh mint, the aroma is instantly cooling, reminiscent of a summer breeze. Each bite is a play of textures—the snap of the fruit, the softness of the cheese, and the slight bite of red onion—making it the quintessential palate cleanser for a sunny afternoon.
Ingredients
- 1 medium seedless watermelon, cubed
- 1 cup crumbled feta cheese
- 1/2 small red onion, very thinly sliced
- 1/2 cup fresh mint leaves, torn
- 2 tbsp extra virgin olive oil
- 1 tbsp lime juice
- A pinch of flaky sea salt
How to make it
- Start by cubing your watermelon into uniform 1-inch squares; keeping them cold in the fridge until the very last moment ensures the best texture.
- Thinly slice your red onion; if you want a milder flavor, soak the slices in ice water for 10 minutes then pat dry before adding to the salad.
- In a large, shallow bowl, gently toss the watermelon cubes with the red onion slices.
- Drizzle the extra virgin olive oil and fresh lime juice over the fruit, ensuring a light coating that will help the salt and mint adhere.
- Sprinkle the crumbled feta cheese over the top, being careful not to over-mix so the cheese doesn’t turn the watermelon pink.
- Scatter the torn mint leaves across the bowl for a pop of green and a fresh scent.
- Finish with a light sprinkle of flaky sea salt to enhance the natural sweetness of the melon and serve immediately.
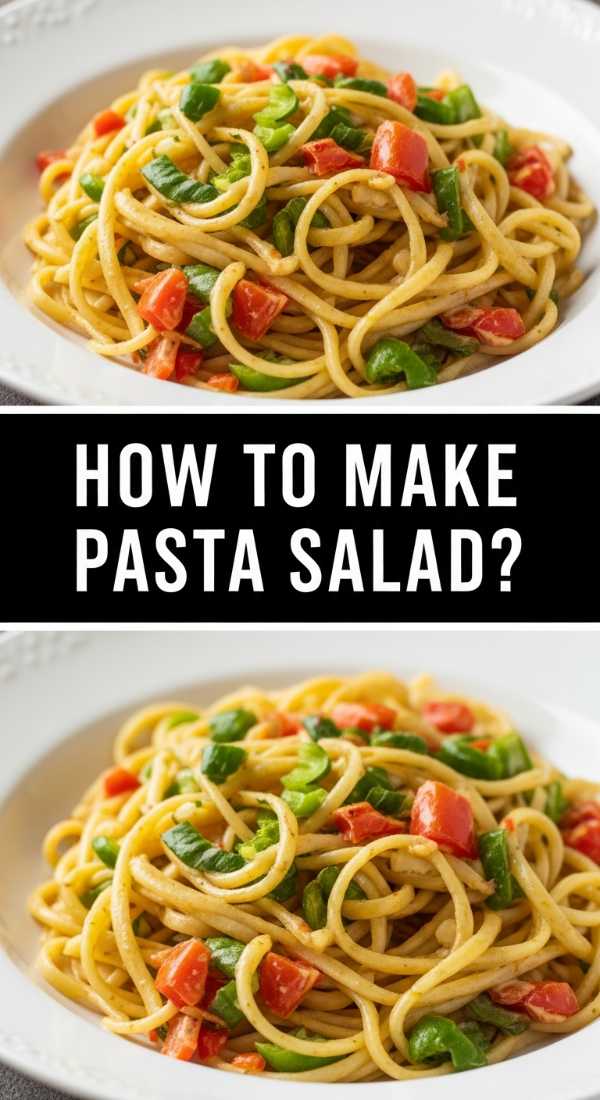
How to make creamy pasta salad
Why we love this
There’s a nostalgic, silky charm to a well-made creamy pasta salad that brings a sense of abundance to any spread. The ridges of the pasta hold onto a velvety dressing that is perfectly balanced with tang and herb-infused brightness. As you dig in, you encounter the crunch of bell peppers and the snap of peas, creating a delightful rhythmic texture in every mouthful. It smells of fresh dill and vinegar, a scent that signals a classic outdoor feast, providing a cool and filling side that bridges the gap between the heavy meats and light fruits.
Ingredients
- 1 lb rotini or fusilli pasta
- 1 cup mayonnaise
- 1/4 cup sour cream
- 2 tbsp apple cider vinegar
- 1 tbsp Dijon mustard
- 1 tbsp sugar
- 1 cup diced bell peppers
- 1/2 cup frozen peas, thawed
- 1/4 cup fresh dill, chopped
- Salt and pepper to taste
How to make it
- Boil a large pot of heavily salted water and cook the pasta according to the package instructions until ‘al dente’—it should have a slight bite to it.
- Drain the pasta and immediately rinse it under cold running water to stop the cooking process and remove excess starch, which prevents clumping.
- In a large mixing bowl, whisk together the mayonnaise, sour cream, apple cider vinegar, Dijon mustard, and sugar until the dressing is smooth and creamy.
- Taste the dressing and season with salt and pepper; remember the flavors will mellow once chilled, so don’t be afraid of a little extra seasoning.
- Add the cooled pasta to the dressing bowl along with the diced bell peppers and thawed peas.
- Fold the ingredients together gently using a spatula until every spiral of pasta is thoroughly coated in the dressing.
- Stir in the fresh chopped dill for a burst of herbal flavor.
- Cover and refrigerate for at least 2 hours before serving; this allows the pasta to absorb the flavors and the dressing to thicken slightly.
How to make spicy rotel dip

Why we love this
This dip is the undisputed life of the party, a warm and gooey masterpiece that draws everyone to the center of the table. The sight of bubbling, melted cheese mixed with zesty tomatoes and green chilies is enough to make any guest reach for a chip. It carries a subtle, smoky heat that lingers pleasantly on the tongue, balanced by the richness of the dairy. The aroma is bold and inviting, filled with the scent of melted cheddar and spiced beef, creating an irresistible urge to dip just one more time.
Ingredients
- 1 lb ground beef or spicy sausage
- 1 block (16 oz) Velveeta or high-melt American cheese, cubed
- 2 cans (10 oz each) Rotel (diced tomatoes and green chilies)
- 1/2 cup pickled jalapeños, chopped (optional)
- 1 tsp taco seasoning
- Tortilla chips for serving
How to make it
- In a large skillet over medium-high heat, brown the ground beef or sausage until it is fully cooked and no longer pink.
- Drain the excess grease from the skillet thoroughly to ensure your dip isn’t oily.
- If using a slow cooker, transfer the cooked meat to the pot; if using the stove, turn the heat down to low.
- Add the cubed cheese to the meat. Using cubes instead of a whole block helps the cheese melt evenly and quickly without scorching.
- Pour in both cans of Rotel, including the liquid, which provides the necessary moisture to create a dip-able consistency.
- Stir in the taco seasoning and chopped jalapeños if you prefer an extra kick of heat.
- Continue to stir over low heat (or set the slow cooker to high) until the cheese is completely melted and the mixture is smooth and bubbling.
- Transfer to a serving bowl on your food board and serve warm with sturdy corn tortilla chips.
How to make grilled kabobs

Why we love this
Kabobs are a visual and flavorful triumph, offering charred, caramelized edges on succulent meat and vibrant, blistered vegetables. The smell of woodsmoke and searing protein as they hit the grill is quintessentially summer, promising a meal that is as fun to eat as it is to look at. Each skewer is a curated bite of smoky, juicy, and crisp textures, drizzled with a savory marinade that glazes everything in a glossy, delicious coat. They add a wonderful vertical element to your food board, making it look professional and abundant.
Ingredients
- 1.5 lbs top sirloin beef or chicken breast, cut into 1-inch cubes
- 2 large bell peppers, cut into chunks
- 1 red onion, cut into wedges
- 1 cup whole mushrooms
- 1/2 cup olive oil
- 1/4 cup soy sauce
- 3 cloves garlic, minced
- 1 tsp dried oregano
How to make it
- If using wooden skewers, soak them in water for at least 30 minutes to prevent them from burning on the grill.
- In a large bowl or zip-top bag, combine the olive oil, soy sauce, minced garlic, and oregano to create the marinade.
- Add the cubed meat to the marinade and refrigerate for at least 1 hour (up to 4 hours) to tenderize and infuse the protein with flavor.
- Preheat your grill to medium-high heat (about 400°F) and lightly oil the grates.
- Thread the meat and vegetables onto the skewers in an alternating pattern; don’t pack them too tightly, or they won’t cook evenly.
- Place the kabobs on the grill and cook for 8 to 12 minutes, turning them every 3 minutes.
- Look for deep sear marks on the meat and softened, slightly charred edges on the vegetables as your visual cue for doneness.
- Remove from the grill and let them rest for 5 minutes before placing them on the board to allow the juices to redistribute.
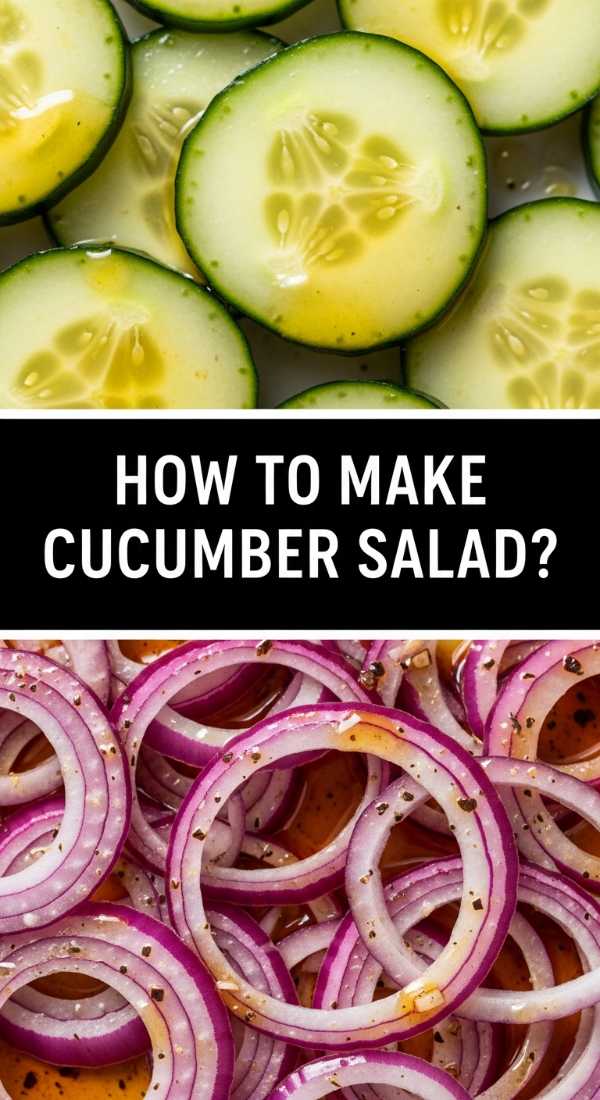
How to make cucumber salad
Why we love this
Crisp, cool, and incredibly sharp, this cucumber salad provides the perfect acidic counterpoint to the richer elements of your food board. The translucent slices of cucumber are drenched in a tangy vinegar dressing that sparkles with the addition of red onion and fresh herbs. It’s a clean, light scent that clears the sinuses and excites the palate, offering a satisfying ‘snap’ with every bite. This dish is the embodiment of garden-fresh simplicity, ensuring that your spread never feels too heavy or overwhelming.
Ingredients
- 2 large English cucumbers, thinly sliced
- 1/2 red onion, thinly sliced into half-moons
- 1/2 cup white wine vinegar
- 1/4 cup water
- 2 tbsp sugar
- 1 tsp salt
- 1/2 tsp black pepper
- 2 tbsp fresh dill or parsley, chopped
How to make it
- Slice the cucumbers as thinly as possible; using a mandoline slicer will give you perfectly uniform, paper-thin rounds that soak up the dressing beautifully.
- Place the sliced cucumbers and red onions in a large glass bowl.
- In a separate small jar or bowl, whisk together the white wine vinegar, water, sugar, salt, and pepper until the sugar and salt have completely dissolved.
- Pour the liquid mixture over the cucumbers and onions, ensuring everything is submerged.
- Gently toss the salad to distribute the onions and the dressing.
- Cover the bowl and let it marinate in the refrigerator for at least 30 minutes; this ‘quick pickle’ process is what gives the salad its signature tang.
- Just before serving, sprinkle with fresh dill or parsley for a final touch of color and earthy aroma.
- Drain excess liquid if desired before placing it in a small bowl on your board to keep the other foods dry.
How to make fruit desserts

Why we love this
Concluding a meal with fruit desserts is like capturing the essence of sunshine on a plate. The natural sugars of ripe berries, peaches, and grapes offer a delicate sweetness that feels indulgent yet light. When drizzled with a touch of honey or paired with a dollop of whipped cream, the aromas of floral nectar and fresh cream take over. It’s a gorgeous, colorful finale that looks like a jewel box on your food board, providing a soft, juicy texture that satisfies the sweet tooth without the heaviness of a baked cake.
Ingredients
- 2 cups strawberries, hulled and halved
- 1 cup blueberries
- 2 peaches, sliced
- 1 bunch green or red grapes
- 2 tbsp honey or agave nectar
- Fresh mint leaves for garnish
- Optional: Whipped cream or Greek yogurt for dipping
How to make it
- Select the freshest, most seasonal fruit available; ripeness is key as the fruit is the star of the show.
- Wash all fruit thoroughly and pat dry with a clean towel; excess water will dilute the flavors and make the fruit soft.
- Slice larger fruits like peaches and strawberries into uniform wedges or halves to make them easy to grab with fingers or toothpicks.
- Arrange the fruit on a section of the board, grouping colors together for a high-impact, ombre visual effect.
- Drizzle the honey or agave nectar lightly over the peaches and berries to add a glossy sheen and a touch of extra sweetness.
- Scatter fresh mint leaves over the fruit to provide a fragrant contrast.
- If serving with cream or yogurt, place a small decorative bowl in the center of the fruit pile.
- Serve chilled to keep the fruit firm and refreshing throughout the evening.
How to make cold sandwiches

Why we love this
The cold sandwich is a classic for a reason—it is a masterclass in layered textures and reliable flavors. Imagine crusty artisan bread giving way to layers of thinly sliced, savory deli meats, crisp lettuce, and a smear of zesty aioli. The scent of fresh yeast from the bread and the saltiness of the meats create a comforting, familiar aroma that appeals to everyone. These are the perfect ‘grab-and-go’ items for a board, allowing guests to enjoy a complete, handheld meal while they mingle and move around.
Ingredients
- 1 baguette or loaf of sourdough bread
- 1/2 lb sliced turkey or roast beef
- 1/4 lb provolone or swiss cheese
- 1 cup arugula or shredded lettuce
- 4 tbsp pesto or garlic aioli
- 1 tomato, thinly sliced
How to make it
- Choose a high-quality bread with a sturdy crust that won’t get soggy; sourdough or a fresh baguette works best for food boards.
- Slice the bread lengthwise and spread a generous, even layer of pesto or garlic aioli on both the top and bottom pieces.
- Layer the sliced cheese first; this acts as a moisture barrier between the bread and the wetter ingredients like tomatoes.
- Fold the deli meat loosely rather than laying it flat; this adds volume and creates a better ‘mouthfeel’ with pockets of air between the slices.
- Add the thinly sliced tomatoes and a handful of arugula for a peppery crunch.
- Close the sandwich and press down firmly to set the layers.
- Use a serrated knife to cut the sandwich into small, 2-inch ‘sliders’ or diagonal portions that are easy for guests to handle.
- Secure each sandwich with a decorative toothpick to keep the layers intact while they sit on the board.
How to make summer soup

Why we love this
Summer soup, like a chilled gazpacho or a light corn chowder, is a sophisticated addition that brings a velvety, cooling elegance to the board. It’s a concentrated burst of garden flavors, smelling of sun-ripened tomatoes, cucumbers, and fresh bell peppers. The texture is smooth and refreshing, providing a liquid contrast to the crunchy and chewy elements elsewhere. Served in small shooters or espresso cups, it feels like a gourmet treat that surprises the senses and keeps the meal feeling light and airy even in the heat.
Ingredients
- 4 large tomatoes, cored and chopped
- 1 cucumber, peeled and chopped
- 1 red bell pepper, seeded and chopped
- 1 small red onion, chopped
- 2 tbsp red wine vinegar
- 1/4 cup extra virgin olive oil
- Salt and pepper to taste
- Croutons or microgreens for garnish
How to make it
- For a classic Gazpacho, place the chopped tomatoes, cucumber, bell pepper, and red onion into a high-speed blender.
- Add the red wine vinegar and a generous pinch of salt and pepper.
- Pulse the blender until you reach your desired consistency; some prefer a chunky texture, while others like a completely smooth purée.
- With the blender running on low, slowly drizzle in the extra virgin olive oil to emulsify the soup, giving it a rich, silky finish.
- Taste and adjust the acidity with more vinegar or salt if needed; the flavors will intensify as the soup chills.
- Pour the soup into a glass container and refrigerate for at least 4 hours—this soup must be served ice-cold to be truly effective.
- Pour into small individual glasses or a chilled tureen to place on the board.
- Garnish each serving with a single crouton or a pinch of microgreens for a professional look.
How to make hummingbird food

Why we love this
While not for the human guests, adding a hummingbird feeder near your outdoor hosting space creates a living, breathing backdrop that guests will find absolutely enchanting. The sight of these iridescent creatures darting through the air provides a sense of wonder and connection to nature. The ‘food’ itself is a simple, clear nectar that mimics the natural sweetness of flowers. It’s a small, thoughtful detail that transforms a simple meal into a full sensory experience, making your garden feel like a vibrant, welcoming sanctuary for all.
Ingredients
- 1 cup granulated white sugar
- 4 cups water
- A small saucepan
- A hummingbird feeder
How to make it
- In a small saucepan, combine the white sugar and the water. Do not use honey, brown sugar, or artificial sweeteners, as these can be harmful to birds.
- Heat the mixture over medium heat, stirring constantly until the sugar is completely dissolved.
- Bring the solution to a light boil for 1 to 2 minutes; this helps to slow down the fermentation process and removes impurities from the water.
- Remove from heat and allow the nectar to cool completely to room temperature. This is vital, as hot liquid can warp feeders or harm the birds.
- Do not add red food coloring; most feeders have red parts to attract the birds, and the dye is unnecessary and potentially toxic.
- Fill your clean hummingbird feeder with the cooled nectar and store any leftovers in the refrigerator for up to a week.
- Hang the feeder in a shaded area near your food board where guests can observe the birds without startling them.
- Clean and refill the feeder every 3-5 days to ensure the nectar stays fresh and safe.
The Art of the Effortless Board
Creating a viral food board is less about following a strict set of rules and more about embracing the spirit of generosity and ease. By combining these diverse elements—from the heartiness of pulled pork to the delicate sweetness of fruit—you create a dining experience that feels curated yet approachable. The beauty lies in the variety, ensuring there is something for every palate and every dietary preference. So, next time you host, skip the stress, lay out your board, and enjoy the effortless magic of a meal shared with love.