
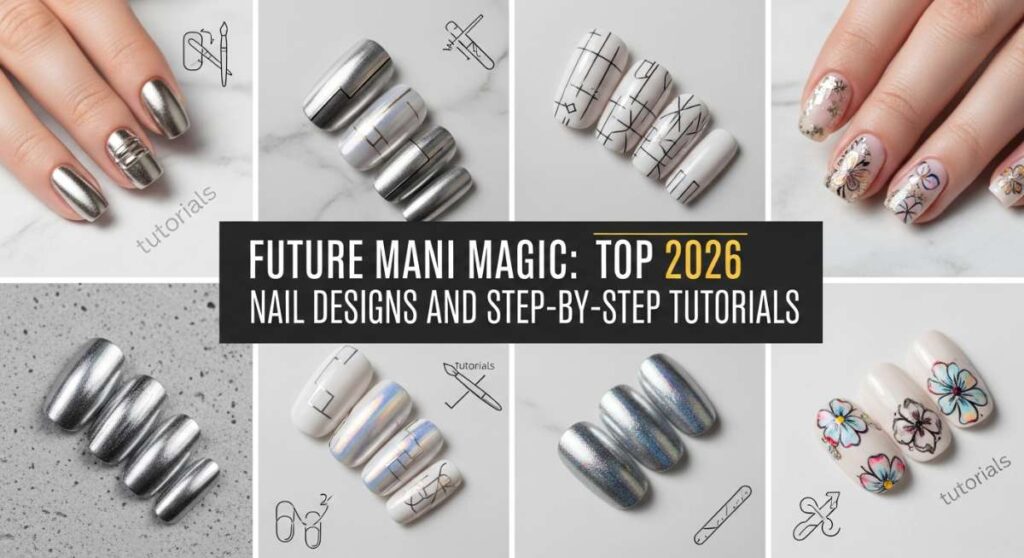
Future Mani Magic: Top 2026 Nail Designs and Step-by-Step Tutorials
Hello my loves, and welcome back to our little corner of the universe. As we look toward 2026, I want you to take a deep breath and imagine your hands—not just as tools for the daily grind, but as canvases for your soul’s softest whispers. There is something so healing about the ritual of painting our nails, isn’t there? It’s a moment of stillness in a noisy world, a cloud-soft embrace we give ourselves every time we see that shimmer on our fingertips.
This year, we are moving beyond just ‘trends.’ We are stepping into a future where your manicure is a manifestation of your joy, your growth, and your wildest dreams. Whether you’re graduating, celebrating a birthday, or simply welcoming a new season, I’ve gathered the most enchanting designs that are set to go viral in 2026. Let’s dive into these tutorials together, sweetheart, and find the look that makes your heart hum.
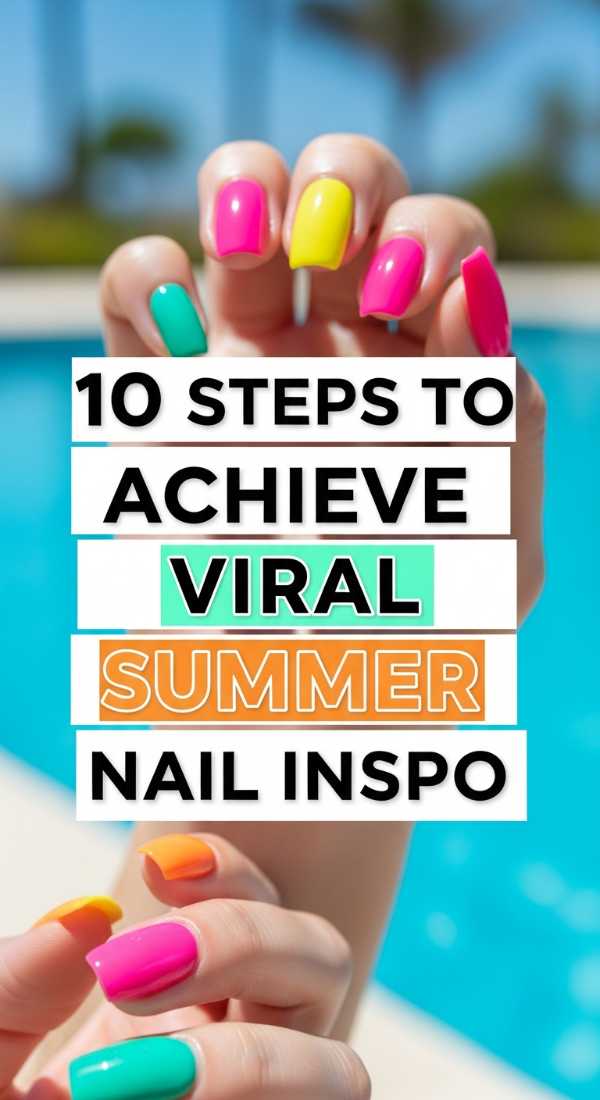
10 Steps to Achieve Viral Summer Nail Inspo
Why to love this Design:
This look is all about that effortless ‘main character’ energy that radiates under the July sun. It’s a mix of milky glazed finishes and micro-charms that feel like a soft summer breeze on your skin. You’ll love how the light catches the holographic depth, making every movement feel like a dance.
Essential Elements:
- Milky white base coat
- Holographic chrome powder
- 3D butterfly or heart charms
- High-gloss top coat
- Tiny gold flakes
How to Prepare:
- Sanitize and shape nails into a soft almond.
- Apply a hydrating base coat.
- Layer two coats of sheer milky white.
- Cure under UV light for 60 seconds.
- Rub in a pearl-finish chrome powder.
- Add a thin layer of builder gel where you want charms.
- Place your 3D charms carefully.
- Scatter tiny gold flakes for a sun-kissed look.
- Apply a thick, non-wipe top coat over everything.
- Finish with a nourishing lavender cuticle oil.
Budget Range
- Essie Marshmallow Polish ($10)
- Artdone Chrome Powder Set ($12)
- Generic Nail Charms Bulk Pack ($8)
7 Ways to Design Your College Graduation Nails

Why to love this Design:
Oh, my darling, you’ve worked so hard for this moment! Graduation nails should feel like a soft victory. These designs blend classic elegance with a futuristic edge, celebrating your transition from student to the visionary leader you are becoming.
Essential Elements:
- Soft ivory polish
- Champagne glitter accents
- Your school colors in micro-lines
- Matte and gloss contrast
- Graduation year decals
How to Prepare:
- Cleanse the nail bed thoroughly for longevity.
- Apply a strengthening base.
- Choose a ‘Ways’ approach: Method 1 involves a classic French tip with a glitter smile line.
- Method 2: Use a matte ivory base with a high-gloss ‘Class of 2026’ stamp.
- Method 3: Create a marble effect using your school’s primary colors.
- Method 4: Inlay a dried flower for a vintage scholarly feel.
- Method 5: Apply a minimalist metallic stripe down the center.
Budget Range
- OPI Funny Bunny ($11)
- Holo Taco Gold Flake ($13)
- Nail Art Brushes Set ($7)
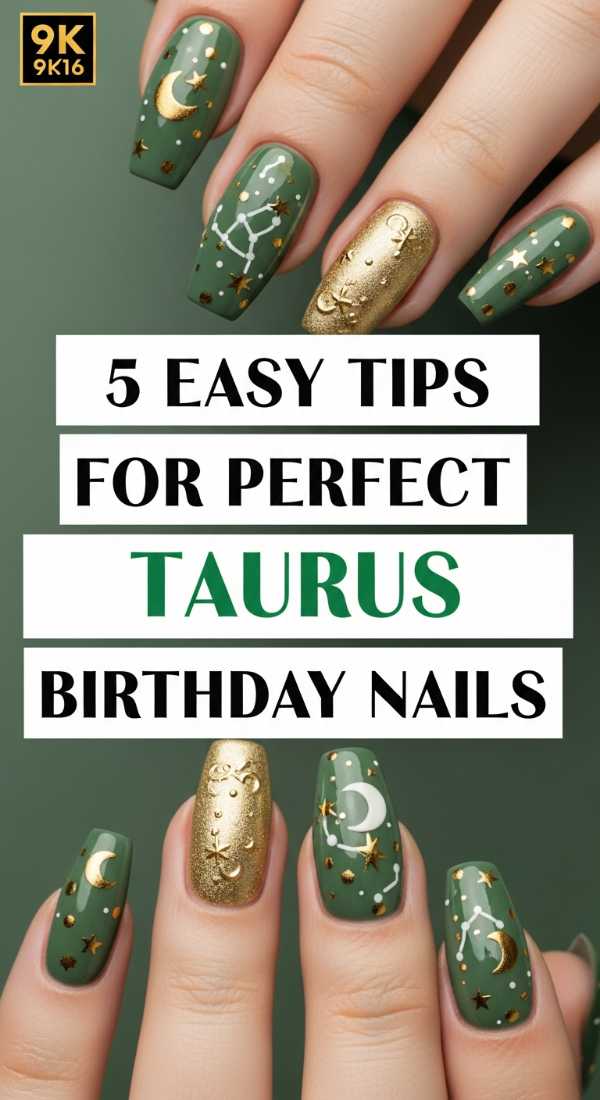
5 Easy Tips for Perfect Taurus Birthday Nails
Why to love this Design:
Taurus season is all about luxury, groundedness, and the beauty of the earth. These nails are a warm hug for our favorite earth sign—think mossy greens, rich gold textures, and a feeling of absolute abundance. It’s pure earthy elegance that feels grounded yet glamorous.
Essential Elements:
- Forest green velvet polish
- Gold leaf foil
- Stone-texture decals
- Creamy beige accents
- Crystal rhinestones
How to Prepare:
- Buff the nails to create a smooth canvas for the velvet polish.
- Apply a dark green base coat.
- Use a magnet to pull the velvet shimmer to the center.
- Dab gold leaf onto the edges for a ‘raw ore’ look.
- Seal with a long-wearing gel top coat for that Taurus-approved durability.
Budget Range
- ILNP Magnet Polish ($12)
- Makkart Gold Leaf Kit ($9)
- Nail Glue ($5)
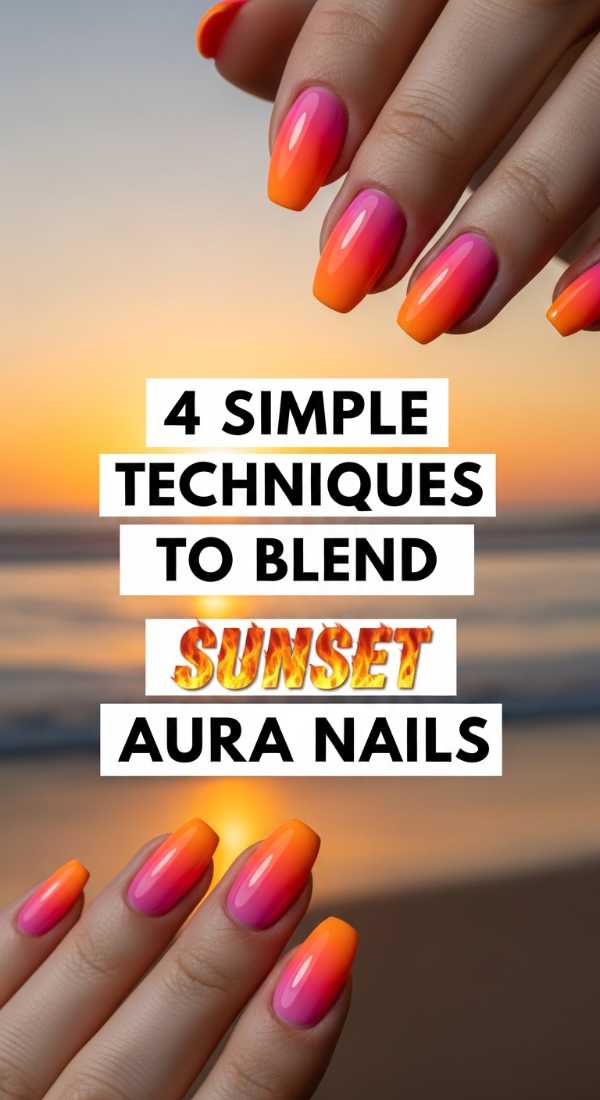
4 Simple Techniques to Blend Sunset Aura Nails
Why to love this Design:
Imagine the sky at 8:00 PM on a warm August night—this is that feeling captured on your nails. The aura trend is evolving in 2026 to include ‘blurred boundaries’ that mimic the soft transition of light during the golden hour. It’s incredibly soothing to look at.
Essential Elements:
- Orange, pink, and purple polishes
- Small makeup sponge or airbrush tool
- Blooming gel
- White liner gel
How to Prepare:
- Apply a neutral nude base to make the colors pop.
- Technique 1: The Sponge Drip—dabbing concentrated color in the center and fading outward.
- Technique 2: Blooming Gel—letting the colors bleed into each other naturally.
- Technique 3: The Radial Fade using a circular motion with a blending brush.
Budget Range
- Modelones Blooming Gel ($8)
- Beetles Pastel Gel Set ($15)
- Wedge Makeup Sponges ($3)
6 Quick Methods for Neon Cheetah Print Nails
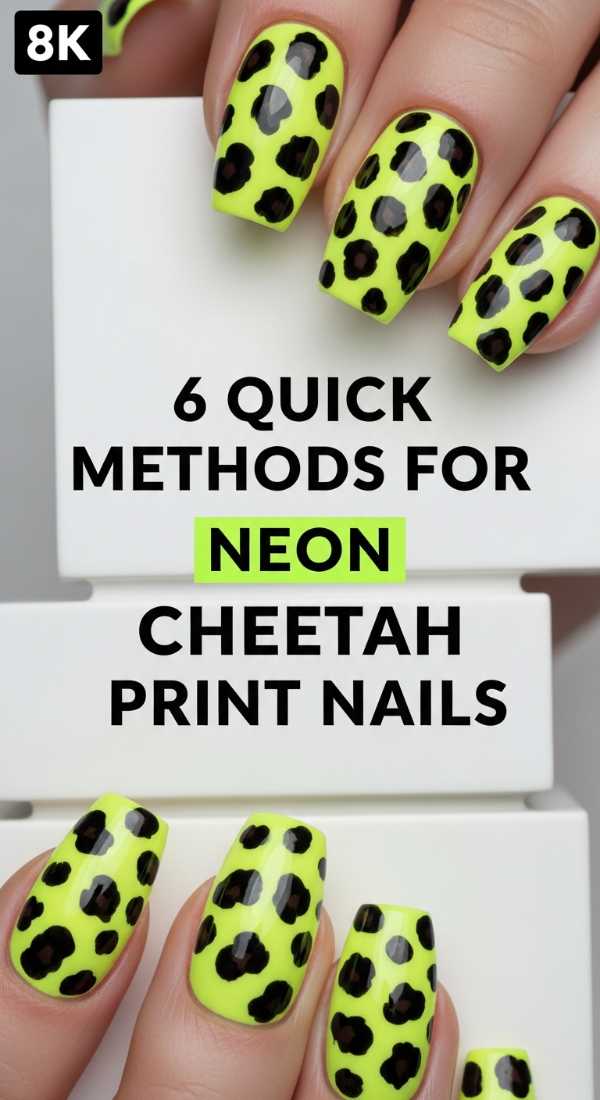
Why to love this Design:
Who says animal print can’t be soft and futuristic? In 2026, we’re taking the classic cheetah print and drenching it in neon translucence. It’s playful, energetic, and a little bit wild—just like your weekend plans. It’s the perfect ‘cool girl’ aesthetic.
Essential Elements:
- Neon lime or pink base
- Black stamping gel
- Silver metallic liner
- Dotting tool
How to Prepare:
- Start with a bright neon base.
- Method 1: Use a dotting tool to create irregular ‘C’ shapes.
- Method 2: Layer a silver shimmer under the spots for a 3D effect.
- Method 3: Use a stamping plate for uniform wildness.
- Cure and finish with a high-shine top coat.
- Add a matte top coat only to the black spots for texture contrast.
Budget Range
- Kiara Sky Neon Collection ($14)
- Dotting Tool Set ($6)
- Born Pretty Stamping Gel ($7)
8 Vibrant Styles for Yellow Spring Nails
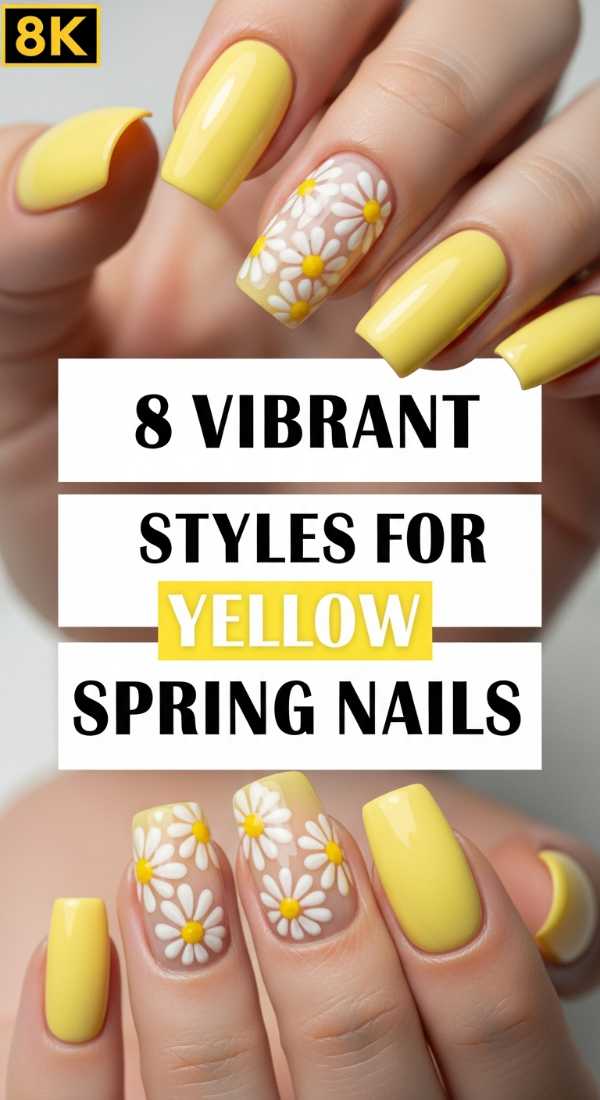
Why to love this Design:
Yellow is the color of optimism, and for Spring 2026, we are embracing ‘Butter Yellow’ and ‘Solar Flare’ shades. These styles are like a warm cup of lemon tea for your soul. They brighten your mood and match the blooming daffodils outside your window.
Essential Elements:
- Butter yellow cream polish
- Daisy decals
- Yellow iridescent glitter
- Lemon slice fimo slices
How to Prepare:
- Prep with a bright white base to ensure the yellow isn’t streaky.
- Style 1: The ‘Butter French’ with a soft yellow tip.
- Style 2: 3D gel flower petals on the ring finger.
- Style 3: A yellow-to-clear ombré.
- Apply the chosen style with care and cure.
Budget Range
- Sally Hansen Insta-Dri Yellow ($6)
- Nail Stickers ($5)
- Gelish Top Coat ($12)
9 Steps to Paint Hot Pink Nails with Flowers
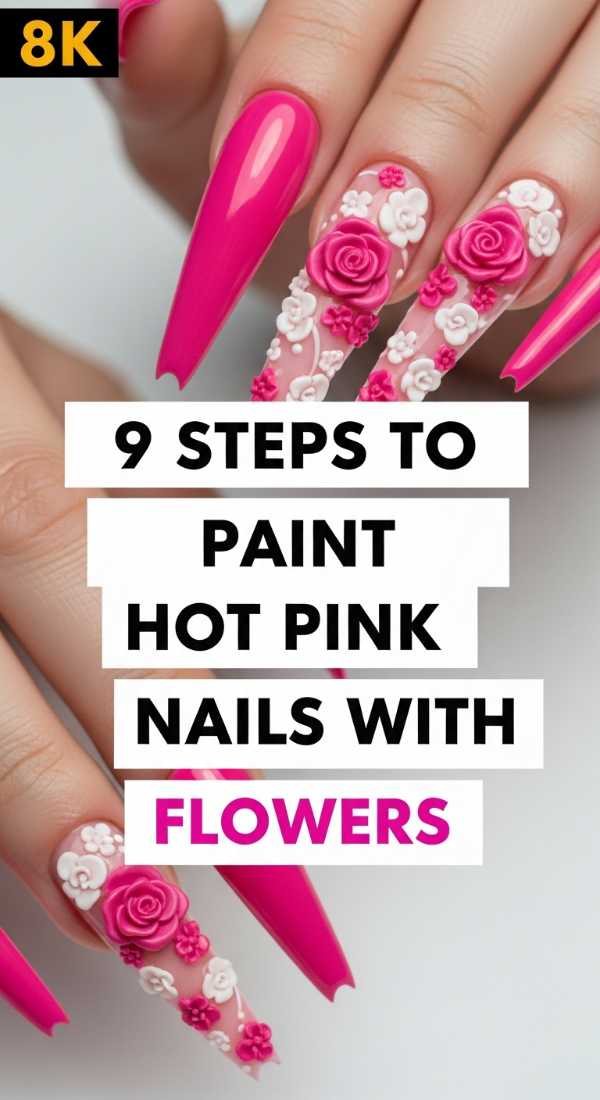
Why to love this Design:
This isn’t your average floral mani; it’s ‘Hyper-Flora.’ We’re talking vibrant, saturated hot pinks paired with intricate, futuristic flower designs. It feels feminine, powerful, and deeply romantic all at once. It’s for the woman who isn’t afraid to take up space.
Essential Elements:
- Magenta gel polish
- White and green acrylic paint
- Ultra-fine detail brush
- Pearl centers for flowers
How to Prepare:
- Apply two coats of hot pink.
- Sketch the flower outline with a light pencil or thin white gel.
- Fill in the petals using a ‘dragging’ motion for depth.
- Add green leaf accents using a flicking motion.
- Dot the center with gold or a pearl.
- Add tiny white dots for ‘pollen’ detail.
- Outline petals for a pop-art look.
- Check symmetry and cure.
- Apply a double layer of top coat for a glass-like finish.
Budget Range
- Gelish Hot Pink ($13)
- Acrylic Paint Set ($10)
- Fine Liner Brushes ($8)
3 Secrets to Master Trendy Pucci Nails
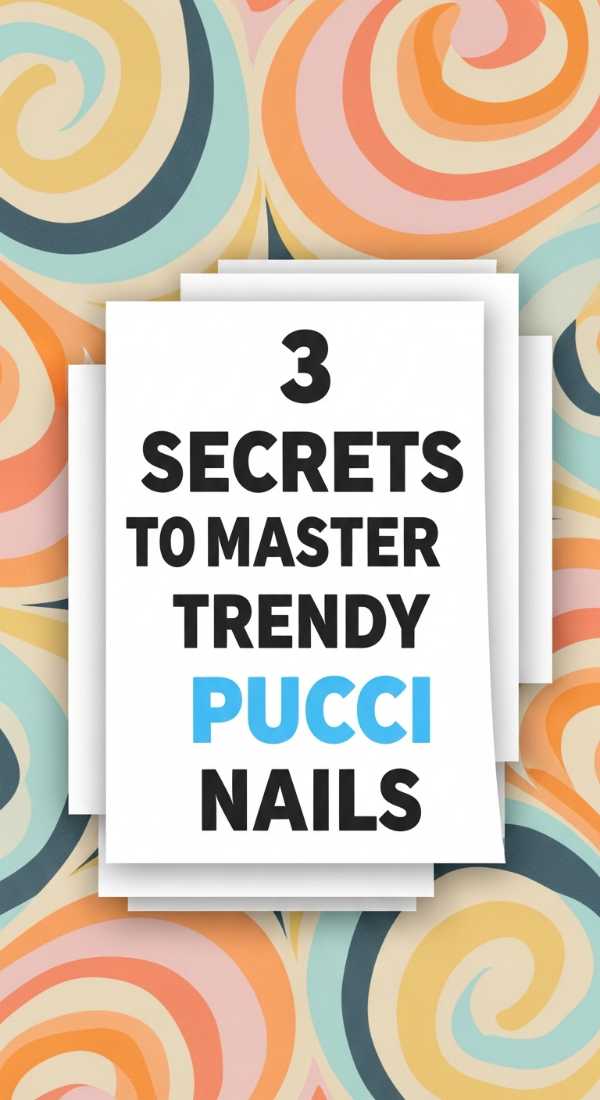
Why to love this Design:
Inspired by the iconic Italian fashion house, Pucci-style nails are a swirl of retro-future sophistication. These geometric waves and bold color blocks look incredibly expensive and high-fashion. It’s like wearing a silk scarf on your fingertips.
Essential Elements:
- Contrasting jewel tones (Teal, Orange, Cream)
- Long striper brush
- Steady hand!
How to Prepare:
- Secret 1: Use ‘thick’ gel paint that doesn’t run so your lines stay crisp.
- Secret 2: Map out your swirls with a nude liner first.
- Secret 3: Flash cure (10 seconds) after every single color to prevent bleeding.
Budget Range
- Saviland Spider Gel/Liner Gel ($15)
- DND Gel Polish ($9 per bottle)
- Cleanup Brush ($5)
12 Bold Looks for Dark Blue Summer Nails
Why to love this Design:
While everyone else goes bright, we go deep. Dark blue summer nails evoke the midnight ocean or a starlit beach bonfire. It’s a sophisticated alternative that feels cool against tanned skin and stands out in a sea of neons. It’s mysterious and soulful.
Essential Elements:
- Midnight blue cream
- Cobalt jelly polish
- Silver star decals
- Seashell studs
How to Prepare:
- Select one of 12 looks (e.g., Look 1: Deep Sea Marble, Look 2: Starry Night).
- Apply a dark base.
- Layer a jelly blue for ‘depth’.
- Add silver accents to mimic the moon on water.
- Seal with a UV top coat for maximum shine.
Budget Range
- Zoya Indigo ($12)
- Cirque Colors Jelly ($14)
- Silver Star Sequins ($4)
5 Unique Ways to Style Gothic Spring Nails

Why to love this Design:
Who says spring has to be all pastels? Gothic Spring is a mood—think ‘Whimsigoth.’ It’s the marriage of dark, moody tones with the rebirth of nature. Think black lace over lavender, or dark vines growing over a pale pink base. It’s romantic, edgy, and totally unique.
Essential Elements:
- Sheer black ‘veil’ polish
- Matte black liner
- Tiny dried black flowers
- Silver chain accents
How to Prepare:
- Prep a soft pastel base (lavender or mint).
- Way 1: The Lace Overlay using a stamping plate.
- Way 2: ‘Thorny’ French tips in matte black.
- Way 3: Encapsulated black petals in clear gel.
- Way 4: Dark moon phases on a light background.
Budget Range
- Esmaltes da Kelly Soap Polish ($12)
- Maniology Goth Plates ($10)
- Dried Flowers Bulk ($7)
Embrace Your Inner Glow
My loves, as we navigate the beautiful trends of 2026, remember that the most important element of any manicure is the person wearing it. These designs are just a way to highlight the magic that is already inside you. Whether you choose a bold neon or a soft gothic vine, wear it with the confidence of someone who knows they are worthy of beauty and care. I can’t wait to see your creations—tag me in your photos and let’s keep shining together!