
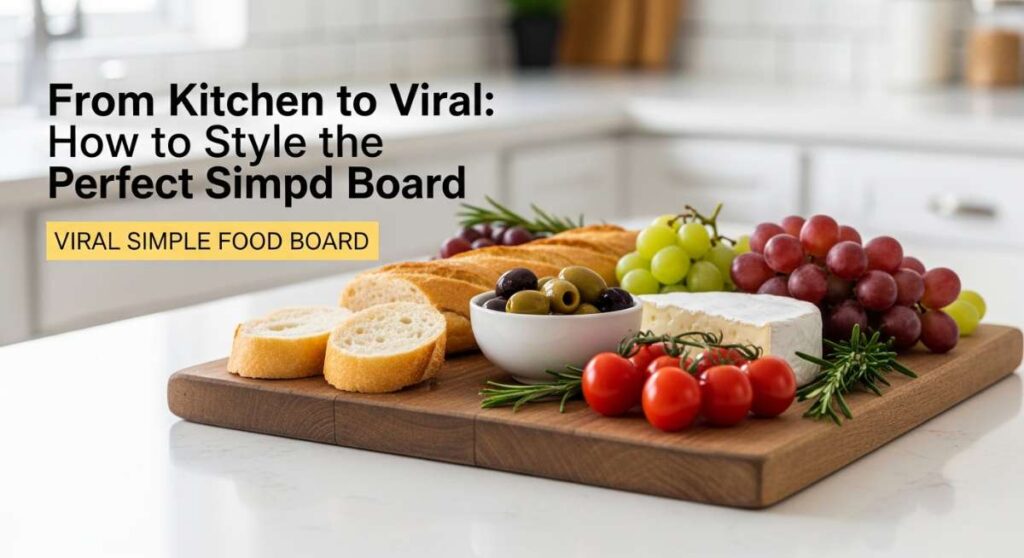
From Kitchen to Viral: How to Style the Perfect Simple Food Board
There is something inherently magical about a shared meal that looks as good as it tastes. We live in an era where the aesthetic of our table is just as important as the ingredients we use, and nothing captures the heart of a gathering quite like a beautifully styled food board. It’s about more than just eating; it’s about the gasps of delight when your guests see a platter of bunny-shaped treats or the cozy, smokey aroma of a camping skillet being passed around a fire.
Creating these viral-worthy moments doesn’t require a culinary degree—it just takes a little bit of heart and a focus on texture, color, and playfulness. Whether you are hosting a bright Easter brunch or gathering under the stars for a rustic camping trip, these boards bridge the gap between simple home cooking and high-end lifestyle art. Let’s dive into the ten ways you can transform your kitchen into a viral content studio with these delicious, eye-catching ideas.
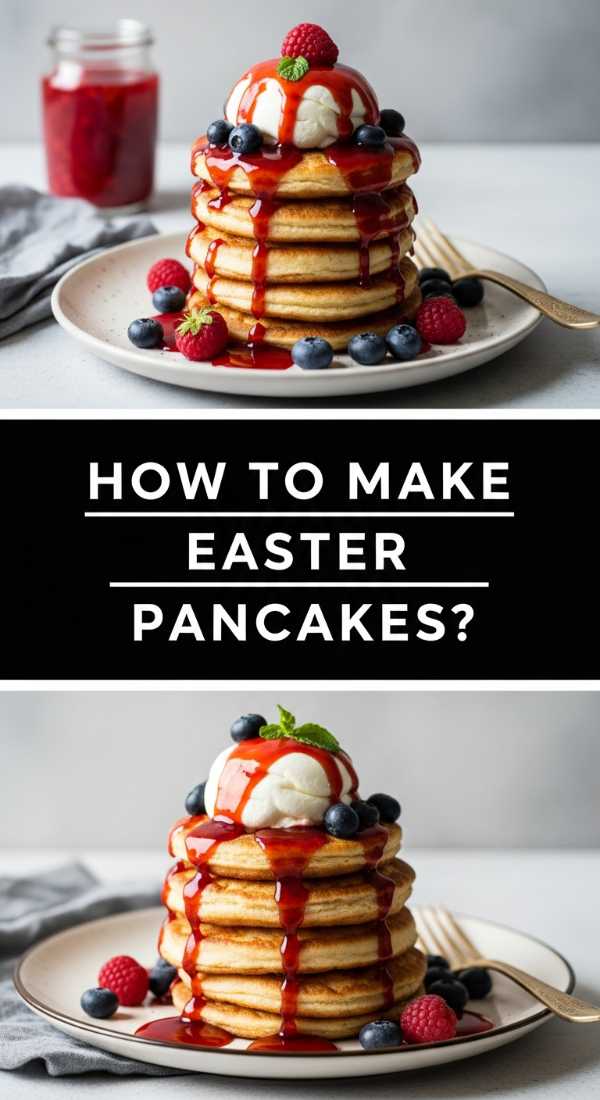
How to Make Easter Pancakes?
Why we love this
There is nothing that says ‘spring morning’ quite like a stack of fluffy pancakes transformed into adorable bunny shapes. The aroma of sweet vanilla and sizzling butter fills the kitchen, evoking memories of slow Sunday mornings and the excitement of a holiday. We love the contrast between the golden-brown, slightly crisp edges of the pancake and the soft, pillowy center that melts in your mouth with a drizzle of maple syrup. It is a whimsical, joyful dish that turns breakfast into a creative celebration for the whole family.
Ingredients
- 2 cups all-purpose flour
- 2 tablespoons sugar
- 1 tablespoon baking powder
- 1/2 teaspoon salt
- 1 1/2 cups milk
- 1 large egg
- 2 tablespoons melted butter
- 1 teaspoon vanilla extract
- Chocolate chips and sliced bananas for decoration
- Whipped cream for the ‘tail’
How to make it
- Whisk your dry ingredients (flour, sugar, baking powder, and salt) in a large bowl until well-combined, then create a well in the center for the wet ingredients.
- In a separate jug, beat the egg, milk, vanilla, and melted butter together until smooth, then pour this mixture into the well of your dry ingredients.
- Whisk gently—do not overmix! You want a few lumps to remain to ensure the pancakes stay airy and light; overworking the gluten will make them tough.
- Heat a non-stick griddle or large skillet over medium-low heat and lightly coat with butter or oil; wait until a drop of water flicked onto the surface dances and sizzles.
- To make the bunny, pour a large circular scoop of batter for the body, a slightly smaller circle for the head, and two long ovals for the ears.
- Wait for bubbles to form and burst on the surface of the batter (usually about 2-3 minutes) before carefully flipping each piece with a wide spatula.
- Cook for another 1-2 minutes until golden brown, then assemble on a board: place the body, then the head and ears, using banana slices and chocolate chips for feet and eyes, and a dollop of whipped cream for the tail.
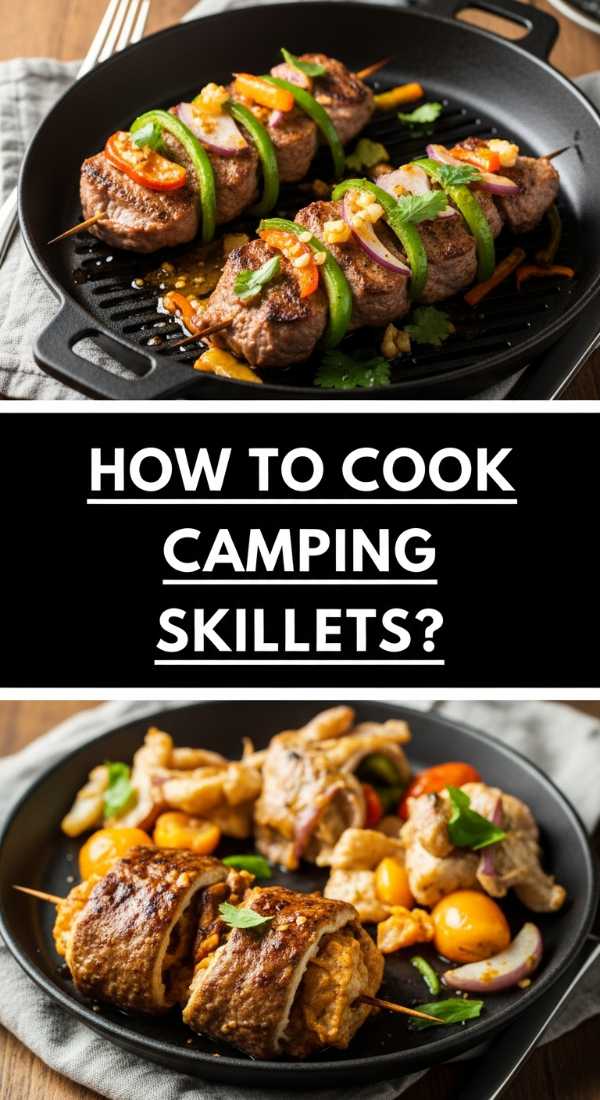
How to Cook Camping Skillets?
Why we love this
Cooking in a heavy cast-iron skillet over an open flame creates a depth of flavor that a regular stove simply cannot replicate. The scent of hickory smoke mingling with sizzling bacon and earthy potatoes is the ultimate comfort for any outdoor enthusiast. Every bite offers a satisfying crunch of charred edges and the rich, runny yolk of an egg perfectly nestled among seasoned vegetables. It feels rugged, authentic, and deeply nourishing, capturing the very essence of campfire camaraderie and the great outdoors.
Ingredients
- 4 large russet potatoes, cubed
- 1 onion, diced
- 1 bell pepper, chopped
- 6 strips of thick-cut bacon, chopped
- 4 large eggs
- 1 teaspoon smoked paprika
- Salt and cracked black pepper to taste
- Fresh chives for garnish
How to make it
- Place your cast-iron skillet directly onto the grill grate over a well-established campfire or a portable camping stove set to medium-high heat.
- Add the chopped bacon to the cold skillet first, allowing it to render its fat as the pan heats up until the pieces are crisp and golden.
- Remove the bacon with a slotted spoon, leaving the hot fat in the pan, and toss in your cubed potatoes.
- Spread the potatoes in a single layer and let them sear undisturbed for 5-7 minutes to develop a deep, dark crust before flipping.
- Add the onions and peppers, sprinkling with salt, pepper, and smoked paprika, and stir occasionally until the vegetables are tender and the potatoes are fork-soft.
- Use the back of a spoon to create four small wells in the mixture and crack an egg into each indentation.
- Cover the skillet with a lid or heavy-duty foil and cook for 3-5 minutes, or until the egg whites are set but the yolks are still gloriously runny, then top with the bacon bits and chives.
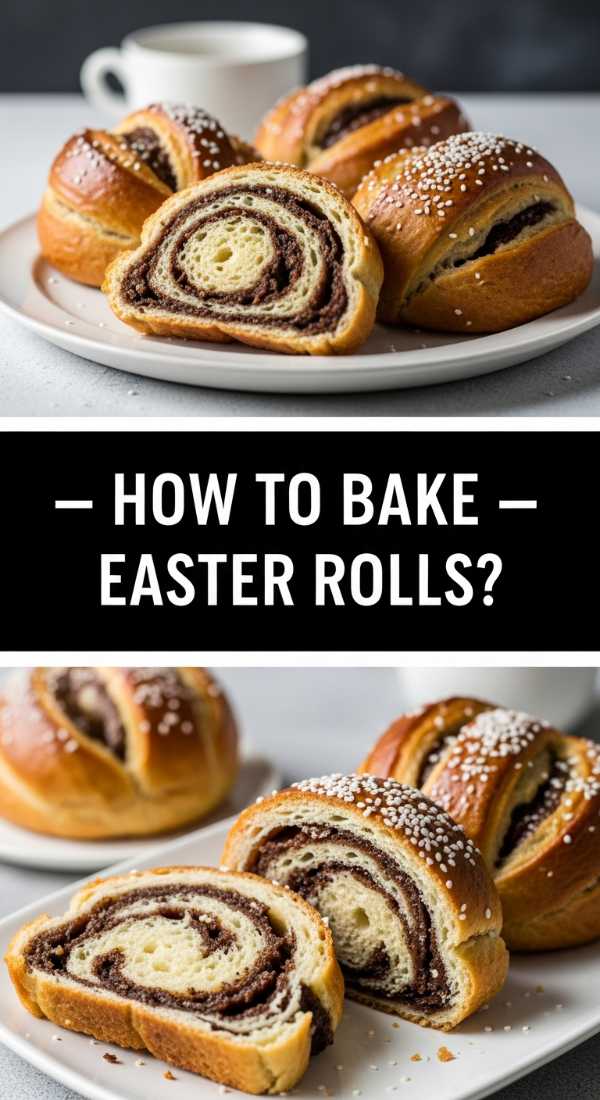
How to Bake Easter Rolls?
Why we love this
The smell of yeasty dough rising in a warm kitchen is one of life’s simplest pleasures, and these Easter rolls take that comfort to a new level. We adore how the outer crust turns a beautiful honey-gold while the inside remains incredibly soft and buttery, pulling apart in delicate, steamy layers. Shaped like little bunnies or nests, they bring a sense of artisanal craftsmanship to your holiday table. They are the perfect vessel for a smear of salted butter, providing a savory counterpoint to the sweetness of the day.
Ingredients
- 3 1/2 cups bread flour
- 1 packet instant yeast (2 1/4 tsp)
- 1/4 cup sugar
- 1 teaspoon salt
- 1 cup warm milk (110°F)
- 1/4 cup softened butter
- 1 large egg
- Egg wash (1 egg beaten with 1 tbsp water)
- Black peppercorns for bunny eyes
How to make it
- In the bowl of a stand mixer, combine the warm milk, sugar, and yeast; let it sit for about 5 minutes until it becomes foamy and fragrant.
- Add the softened butter, egg, salt, and half the flour, mixing with the dough hook on low speed until a shaggy mass forms.
- Gradually add the remaining flour and knead on medium speed for 6-8 minutes until the dough is smooth, elastic, and pulls away cleanly from the sides of the bowl.
- Place the dough in a greased bowl, cover with a damp cloth, and let it rise in a warm, draft-free spot for about 1 hour or until doubled in size.
- Punch the dough down and divide it into 12 equal pieces; to make bunnies, roll each piece into a long rope, twist it into a ‘U’ shape, and cross the ends over to form ears.
- Place the shaped rolls on a parchment-lined baking sheet, cover, and let them rise for another 30 minutes while preheating your oven to 375°F (190°C).
- Brush each roll with egg wash for a glossy finish, press peppercorns in for eyes, and bake for 12-15 minutes until they sound hollow when tapped on the bottom.
How to Serve Bunny Fruit?
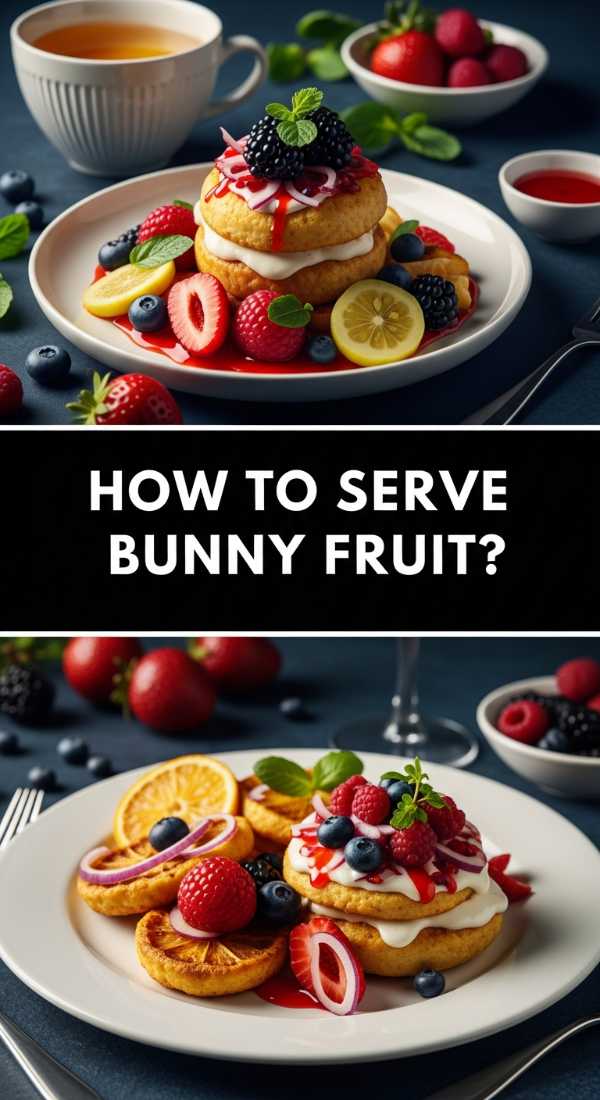
Why we love this
Refreshing, vibrant, and naturally sweet, a bunny fruit board is the ultimate centerpiece for a healthy spring brunch. We love the explosion of colors—from the deep rubies of strawberries to the bright oranges of cantaloupe—arranged in a way that sparks instant joy. The crisp, cool texture of freshly cut fruit is incredibly revitalizing, especially when paired with a creamy yogurt dip. It turns a simple healthy snack into a viral work of art that guests of all ages will find impossible to resist.
Ingredients
- 1 large pineapple (for the body)
- 2 bananas (for ears/paws)
- 1 pint strawberries, halved
- 1 cup blueberries
- 1 cantaloupe, balled or sliced
- 2 large marshmallows (for the tail)
- Handful of grapes
- Mint leaves for garnish
How to make it
- Select a large wooden circular board or a flat platter to act as your canvas for the fruit arrangement.
- Cut the pineapple into thick rings or chunks and stack them in the center of the board to create a large circular ‘bunny body’ shape.
- Slice a banana lengthwise and place the two halves at the top of the pineapple circle to mimic long, floppy bunny ears.
- Use strawberry halves or cantaloupe slices to outline the shape of the bunny, creating a border that defines the head and body.
- Fill the remaining space on the board with clusters of blueberries and grapes, ensuring there are no large gaps to give the board a lush, abundant look.
- Place two marshmallows at the bottom of the pineapple stack to serve as a fluffy tail and use small fruit pieces to create a face if desired.
- Garnish with fresh mint leaves tucked between the fruit to add a pop of green and a refreshing aroma before serving immediately.
How to Grill Camping Sandwiches?
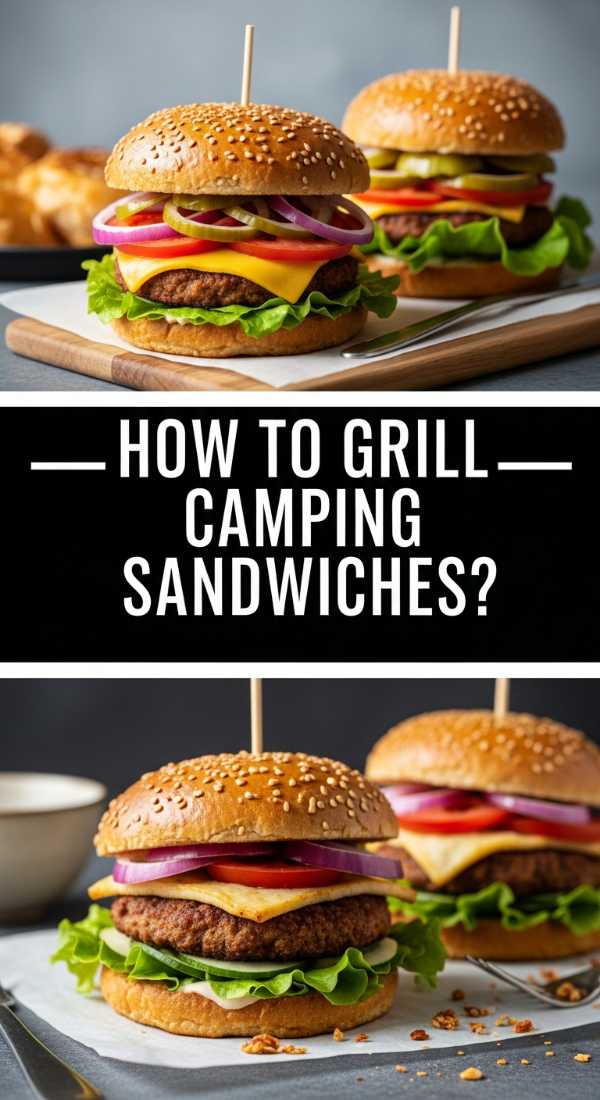
Why we love this
There is nothing quite like a sandwich toasted over a campfire; the bread gets an incredible smoky char while the cheese inside turns into a molten, gooey masterpiece. The sound of the sandwich iron clicking shut and the sizzle of butter hitting the hot metal is pure nostalgia. Each bite is a perfect harmony of crunch and warmth, making it the ultimate rewarding meal after a long day of hiking. It’s rustic, messy in the best way possible, and tastes like pure adventure.
Ingredients
- 8 slices of sourdough or thick white bread
- 1/2 lb deli ham or turkey
- 8 slices of sharp cheddar or gruyère cheese
- 1/2 cup butter, softened
- Dijon mustard
- Pickle slices
How to make it
- Prepare your campfire until you have a bed of glowing red coals rather than high, leaping flames, as coals provide more even heat for grilling.
- Generously butter one side of every slice of bread—this is the side that will touch the hot metal to ensure a golden, crispy crust.
- Spread a thin layer of Dijon mustard on the non-buttered side of the bread and layer on the cheese, meat, and pickles, topping with the second slice of bread (butter side out).
- Place the sandwich inside a dual-sided pie iron or a camping grill basket, locking the handles securely to compress the sandwich.
- Hold the iron directly over the coals for about 2-3 minutes per side, frequently checking the color to prevent burning.
- Look for a deep golden-brown color and listen for the cheese to start sizzling and oozing out the sides.
- Carefully open the iron and slide the sandwich onto a plate, allowing it to cool for one minute so the cheese sets slightly before slicing.
How to Decorate Easter Waffles?
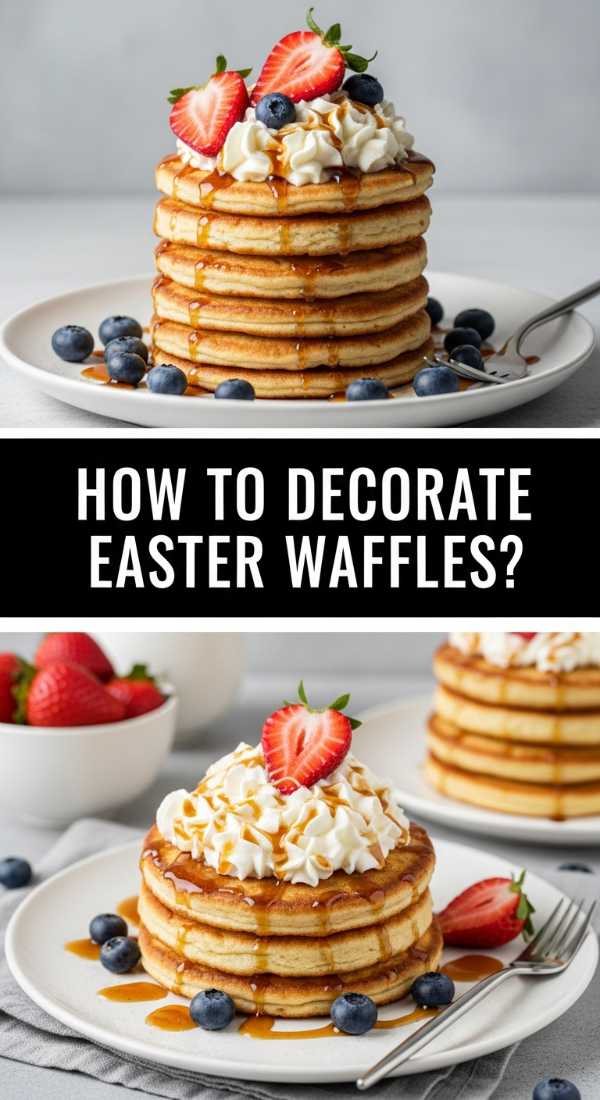
Why we love this
Easter waffles are a canvas for pure imagination, combining the deep, honeycombed crunch of a toasted waffle with a kaleidoscope of festive toppings. We love the way the syrup pools in the little squares, while splashes of pastel-colored fruits and whipped cream create a visual feast. The contrast of the warm, slightly salty waffle with the cold, sweet toppings creates a sensory experience that feels like a party on a plate. It’s a whimsical way to bring high-energy fun to the breakfast table.
Ingredients
- Prepared Belgian waffles (homemade or high-quality frozen)
- Whipped cream in a piping bag
- Pastel-colored chocolate eggs
- Fresh raspberries and blackberries
- Maple syrup or honey
- Edible flowers (optional)
- Shredded coconut
How to make it
- Toast your waffles until they are extra crispy; a firm base is essential to hold the weight of the decorations without getting soggy.
- Place a waffle in the center of the plate and pipe a large, fluffy swirl of whipped cream in the center to represent a bunny’s tail.
- Sprinkle a handful of shredded coconut over the whipped cream to give it a ‘furry’ texture and a hint of tropical sweetness.
- Arrange two slices of banana or two long strawberries at the top of the waffle to serve as ears, tilting them slightly for a playful look.
- Scatter the pastel chocolate eggs around the base of the waffle as if they are hidden in a ‘nest’ of fruit and edible flowers.
- Drizzle the maple syrup carefully around the edges so it doesn’t disturb the whipped cream art.
- Finish with a light dusting of powdered sugar over the entire plate to mimic a light spring frosting.
How to Prepare Bunny Toast?
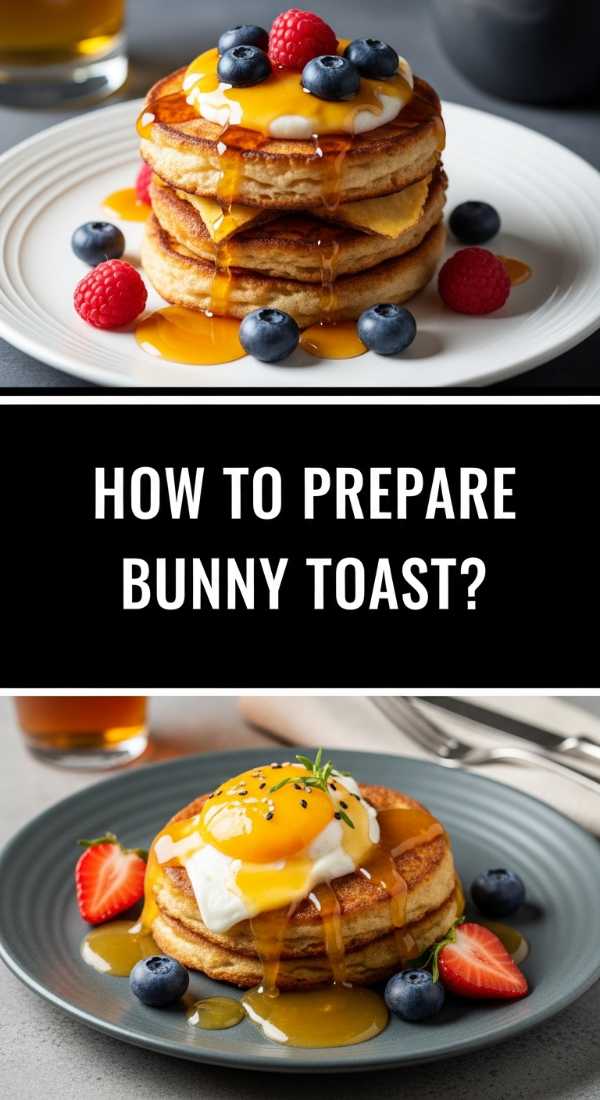
Why we love this
Bunny toast is the ultimate ‘low-effort, high-reward’ dish that brings a smile to everyone’s face instantly. The aroma of toasted artisanal bread topped with creamy nut butter provides a grounded, earthy base for the bright, acidic pop of fresh fruit. We love the tactile experience of spreading the toppings and carefully placing each ‘feature’ to give the bunny a personality. It’s a crunchy, creamy, and sweet bite that proves you don’t need a stove to make something truly viral and delicious.
Ingredients
- 4 slices of thick brioche or whole-grain bread
- 1/2 cup almond butter or peanut butter
- 1 banana, sliced into rounds
- 8 whole blueberries
- 4 strawberries, sliced into triangles
- Honey for drizzling
How to make it
- Toast the bread to a medium-dark setting so that it is sturdy enough to hold the heavy toppings without bending.
- Apply a generous, even layer of your chosen nut butter across the entire surface of the warm toast, smoothing it out to the very edges.
- Place two banana rounds near the top of the toast for the base of the eyes and two more at the very top, sticking out like ears.
- Position a blueberry in the center of each of the lower banana rounds to complete the ‘eyes.’
- Place a strawberry triangle in the center of the toast, pointing downwards, to serve as a cute pink nose.
- Use a toothpick or a small knife to ‘draw’ whiskers into the nut butter, or use thin apple slivers if you want more texture.
- Finish with a light drizzle of honey over the ‘ears’ for a glistening effect and serve immediately while the toast is still warm.
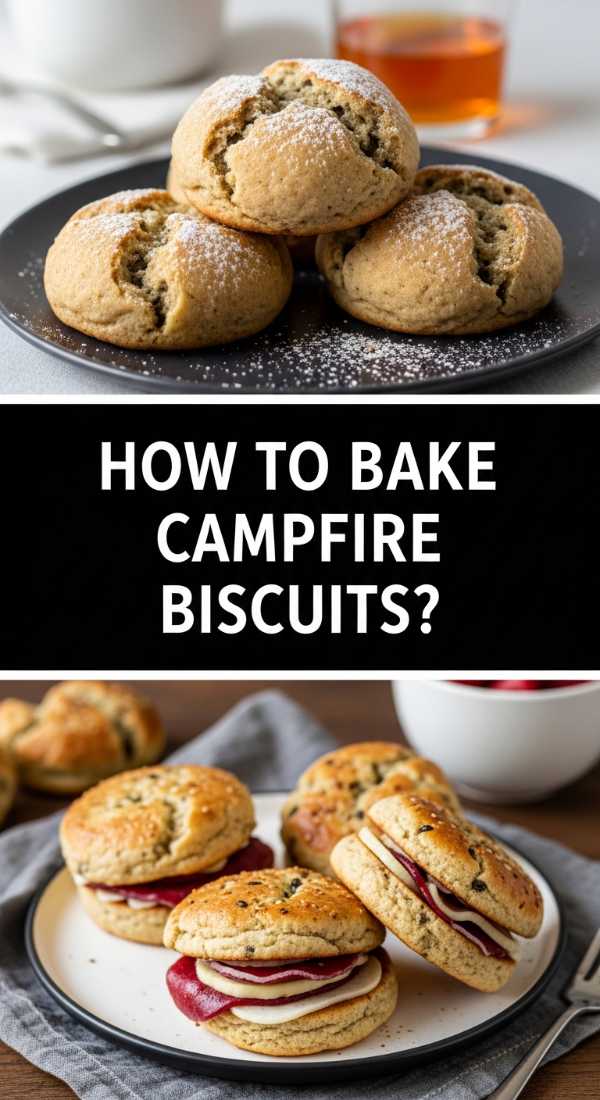
How to Bake Campfire Biscuits?
Why we love this
There is a primitive satisfaction in baking bread over an open fire, and campfire biscuits are the epitome of rustic charm. We love the way the outside develops a thick, floury crust with a hint of woodsmoke, while the inside remains steaming, soft, and slightly salty. Tearing into a hot biscuit while sitting on a log is a grounding experience that connects you to the environment. They are the perfect vessel for soaking up stew or being slathered in jam, making them a versatile staple of outdoor living.
Ingredients
- 2 cups self-rising flour
- 1/4 cup cold butter, cubed
- 3/4 cup buttermilk or whole milk
- 1/2 teaspoon garlic powder (optional)
- Pinch of coarse sea salt
How to make it
- Prepare a Dutch oven by lining it with parchment paper or heavily greasing the bottom with butter to prevent the biscuits from sticking.
- In a bowl, cut the cold butter into the flour using a fork or your fingers until the mixture resembles coarse crumbs with pea-sized bits of butter remaining.
- Gently stir in the buttermilk until a soft dough forms; be careful not to overwork it, as you want those butter pockets to create steam and layers.
- Turn the dough onto a floured surface, pat it down to 1-inch thickness, and cut into circles using a tin can or biscuit cutter.
- Place the biscuits inside the Dutch oven, making sure they are just touching so they help each other rise upward.
- Place the lid on the Dutch oven and set it over a small bed of coals, then place about 10-12 hot coals on top of the lid to create an ‘oven’ effect.
- Bake for 15-20 minutes, checking halfway through, until the tops are a beautiful pale gold and the biscuits have doubled in height.
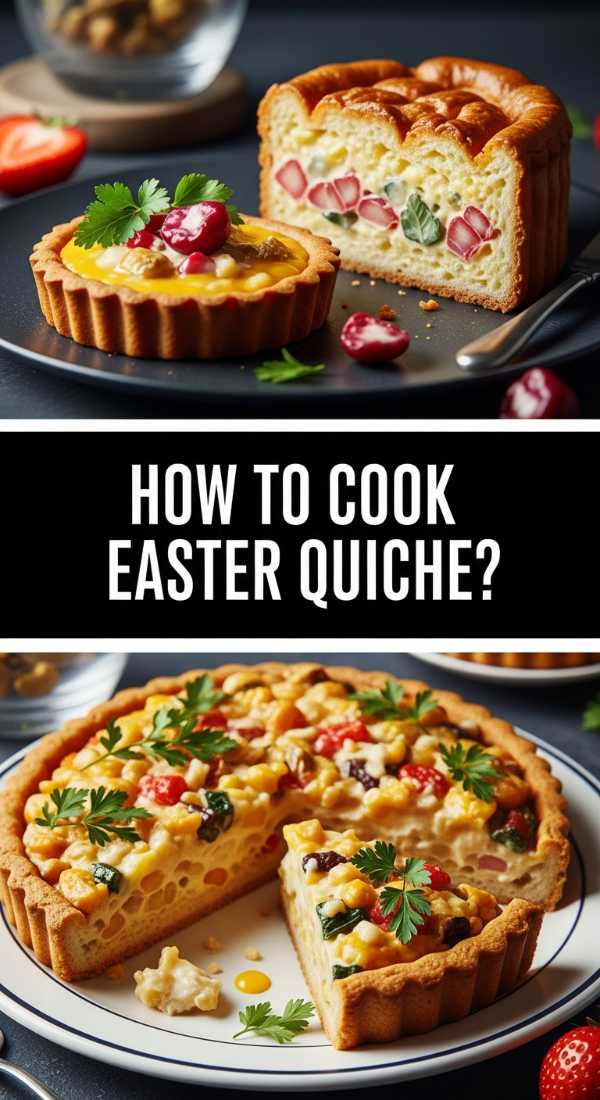
How to Cook Easter Quiche?
Why we love this
A well-made quiche is the height of brunch sophistication, offering a silky, custard-like texture that feels incredibly indulgent. We love how the buttery, flaky crust shatters upon the first bite, revealing a rich filling packed with the vibrant flavors of spring—think tender asparagus, sharp gruyère, and fresh herbs. It’s a dish that looks stunning as a centerpiece on a board, with its golden-brown top and colorful cross-section. It is savory, elegant, and deeply satisfying, making it a perennial favorite for holiday hosting.
Ingredients
- 1 pre-baked 9-inch pie crust
- 4 large eggs
- 1 cup heavy cream
- 1 cup shredded Gruyère cheese
- 1/2 cup steamed asparagus tips
- 1/4 cup diced ham or cooked bacon
- 1/2 teaspoon nutmeg
- Salt and white pepper to taste
How to make it
- Preheat your oven to 375°F (190°C) and ensure your pre-baked crust is free of any cracks that might allow the custard to leak.
- In a large bowl, whisk the eggs and heavy cream together vigorously until the mixture is uniform and slightly frothy.
- Season the liquid with salt, white pepper, and a pinch of nutmeg; the nutmeg is a secret professional tip that enhances the richness of the cream.
- Scatter the shredded cheese, ham, and asparagus tips evenly across the bottom of the pie crust.
- Carefully pour the egg mixture over the fillings, filling it to just below the rim of the crust to avoid overflow during baking.
- Place the quiche on a baking sheet to catch any drips and bake for 30-35 minutes, or until the edges are set but the center still has a slight, jello-like jiggle.
- Allow the quiche to cool for at least 15 minutes before slicing; this ‘resting’ period is crucial for the custard to set properly for clean, viral-worthy slices.
How to Make Carrot Pancakes?

Why we love this
Carrot pancakes are a clever and delicious nod to the Easter Bunny, offering a warm, spiced flavor profile that sits somewhere between a classic flapjack and a moist carrot cake. We love the vibrant orange hue of the batter and the earthy sweetness that the freshly grated carrots provide. The aroma of cinnamon and nutmeg wafting through the house creates an instant cozy atmosphere. Topped with a dollop of cream cheese glaze, they feel like a decadent dessert masquerading as a wholesome breakfast.
Ingredients
- 1 1/2 cups all-purpose flour
- 1 teaspoon cinnamon
- 1/4 teaspoon nutmeg
- 2 tablespoons brown sugar
- 1 cup finely grated fresh carrots
- 1 1/4 cups buttermilk
- 1 egg
- 2 tablespoons melted butter
- Optional: Chopped pecans for crunch
How to make it
- Whisk the flour, cinnamon, nutmeg, and brown sugar together in a bowl, ensuring there are no clumps of sugar.
- In another bowl, combine the buttermilk, egg, and melted butter, then fold in the finely grated carrots until they are evenly distributed.
- Merge the wet and dry ingredients, stirring just until combined; if the batter is too thick due to the moisture in the carrots, add a tablespoon of buttermilk.
- Heat your griddle to medium-low—carrot pancakes need a slightly lower temperature than regular ones because the sugar in the carrots can burn more easily.
- Ladle the batter onto the griddle, forming circles, and sprinkle a few chopped pecans onto the wet side if you desire extra texture.
- Flip when the edges look dry and bubbles have formed on top, then cook for another 2 minutes until the center is springy to the touch.
- Serve in a stack with a drizzle of maple syrup or a quick glaze made of powdered sugar and a splash of milk for that ‘carrot cake’ effect.
Conclusion
Stepping into the world of food styling is a journey of creativity and connection. By taking these simple concepts—from the ruggedness of a camping skillet to the playful charm of bunny-shaped toast—and presenting them on a curated board, you’re doing more than just serving food. You’re creating an experience that resonates with people, sparks conversation, and builds lasting memories. Remember, the ‘viral’ secret isn’t just in the perfection of the dish, but in the love and detail you put into the presentation. So grab your board, pick your favorite recipe, and start styling!