
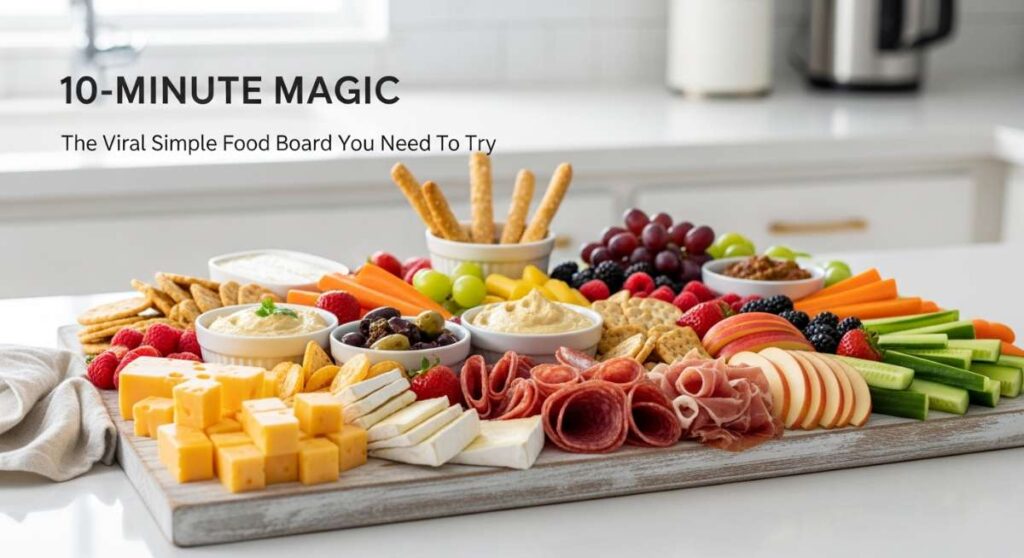
We’ve all been there—that frantic 4:00 PM moment when friends text saying they’re “stopping by” and your fridge looks like a minimalist art installation. But what if I told you that you could transform a few humble staples into a viral-worthy, soul-soothing food board in just ten minutes? This isn’t just about eating; it’s about that magical hum of conversation, the clink of ice cubes against glass, and the sun dipping low while everyone reaches for one more bite.
The secret to the viral ‘Simple Food Board’ isn’t expensive ingredients; it’s the art of the assembly. It’s about creating a tapestry of textures and flavors that feel intentional, even if you just threw them together in your favorite linen apron. Today, I’m sharing my favorite summer-inspired components that make any gathering feel like a curated retreat, from the sizzle of the grill to the sweet, sticky finish of a seasonal dessert.
How to make the best rotel dip?
Why we love this
There is something undeniably nostalgic and comforting about a warm bowl of Rotel dip sitting at the center of a board. The way the velvet-smooth cheese clings to a salty tortilla chip, punctuated by the bright, acidic burst of diced tomatoes and the subtle heat of green chiles, is pure alchemy. It’s the ultimate crowd-pleaser that evokes memories of tailgates and late-night kitchen chats, filling the room with a savory, spicy aroma that practically begs people to gather ’round and dig in immediately.
Ingredients
- 1 lb Velveeta cheese, cubed
- 1 can (10 oz) Ro*Tel Original Diced Tomatoes and Green Chilies
- 1 lb ground breakfast sausage or lean ground beef
- 1/2 teaspoon smoked paprika
- Fresh cilantro and sliced jalapeños for garnish
How to make it
- Begin by browning your choice of protein—either breakfast sausage for a savory kick or ground beef for a classic flavor—in a large skillet over medium-high heat. Use a wooden spoon to break the meat into small, uniform crumbles, ensuring it cooks evenly until no pink remains.
- Once fully cooked, drain the excess fat thoroughly to ensure your dip remains smooth and not oily. This is a crucial step for that professional, silky texture.
- Turn your heat down to low and add the cubed Velveeta cheese. By cubing the cheese into 1-inch pieces first, you ensure a much faster and more even melt without scorching the bottom of the pan.
- Pour in the entire can of Ro*Tel tomatoes, including the liquid. The juices from the tomatoes are essential for thinning the cheese to the perfect dipping consistency.
- Stir constantly with a heat-resistant spatula until the cheese is completely melted and the mixture is homogenous. If the dip feels too thick, add a splash of whole milk or heavy cream.
- Transfer to a warmed serving bowl and garnish with fresh cilantro and jalapeños to add a pop of color and a fresh bite before placing it on your food board.
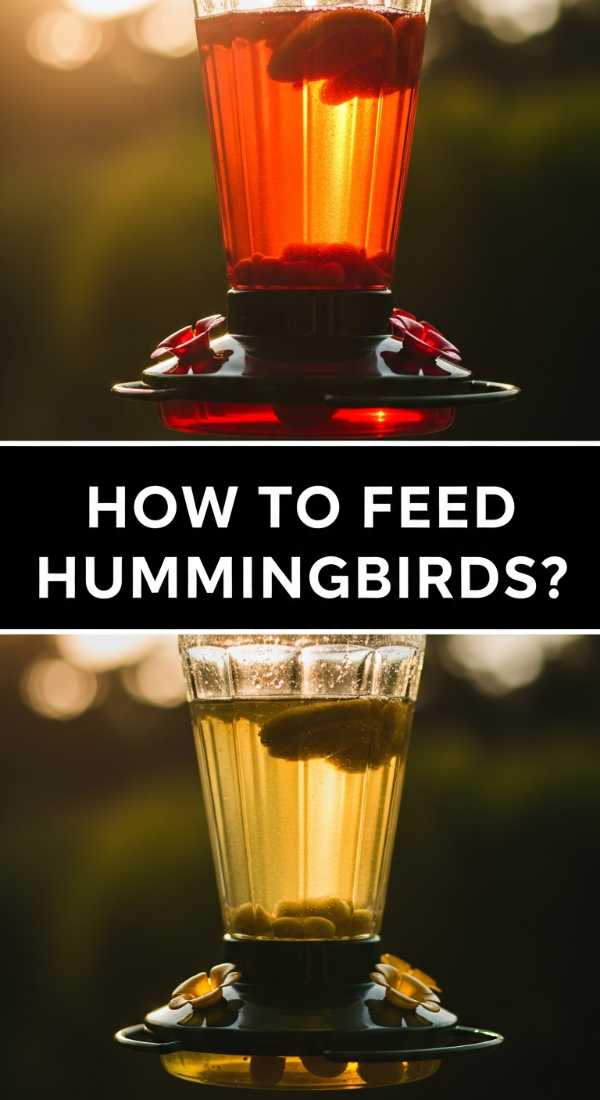
How to feed hummingbirds properly?
Why we love this
Creating a sanctuary for hummingbirds is like adding living jewels to your outdoor dining space. Watching these tiny, iridescent creatures dart and hover near your table adds a layer of natural wonder that no store-bought decor can match. The gentle hum of their wings and their frantic, energetic movements bring a sense of life and serenity to your backyard, making your summer food board experience feel like an immersive garden party where nature is the guest of honor.
Ingredients
- 1 cup granulated white sugar
- 4 cups filtered water
- High-quality hummingbird feeder (preferably red, but without dye)
How to make it
- Measure out one cup of plain white granulated sugar. Avoid using honey, brown sugar, or artificial sweeteners, as these can be fatal to hummingbirds or promote dangerous fungal growth.
- Combine the sugar with four cups of water in a small saucepan. The 1:4 ratio perfectly mimics the sucrose content of natural flower nectar, providing the high energy these birds need.
- Heat the mixture on the stove over medium heat, stirring constantly until the sugar is completely dissolved. You do not need to bring it to a rolling boil; just a light simmer for two minutes is enough to neutralize any impurities in the water.
- Let the nectar cool completely to room temperature. This is vital; pouring hot liquid into a plastic feeder can warp the material and potentially harm the birds’ delicate beaks.
- Fill your clean feeder and hang it in a shaded area. To keep the birds healthy, clean the feeder with hot water and white vinegar every 3-5 days (more often in extreme heat) to prevent fermentation and mold.
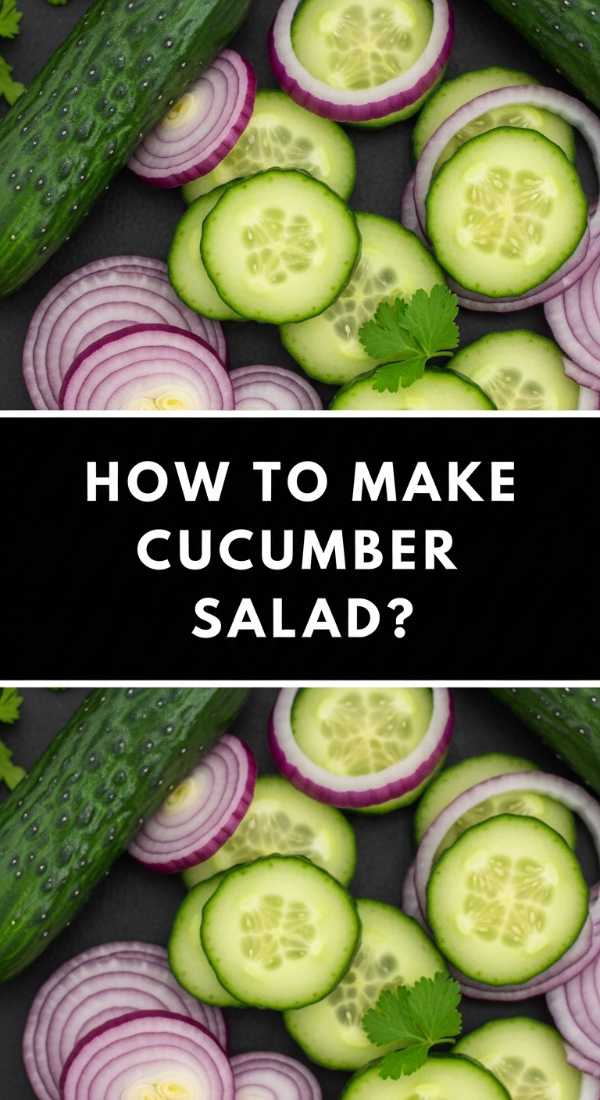
How to make cucumber salad?
Why we love this
Nothing cuts through the richness of a summer spread like a crisp, chilled cucumber salad. The cooling crunch of the cucumber paired with the sharp, herbaceous scent of fresh dill and the tang of rice vinegar creates a sensory reset for the palate. It feels like a breath of fresh air on a humid afternoon—light, hydrating, and visually stunning with its translucent green slices and specks of purple red onion, making it a mandatory addition to any viral food board.
Ingredients
- 2 large English cucumbers, thinly sliced
- 1/2 red onion, sliced into paper-thin half-moons
- 1/2 cup rice vinegar or apple cider vinegar
- 2 tablespoons fresh dill, chopped
- 1 tablespoon honey or sugar
- Salt and cracked black pepper to taste
How to make it
- Start by slicing your English cucumbers into very thin rounds. Using a mandoline on a thin setting will give you that professional, uniform look that allows the dressing to penetrate every slice.
- Place the sliced cucumbers in a colander and sprinkle with a pinch of salt. Let them sit for about 10 minutes to draw out excess moisture; this ensures your salad stays crunchy and doesn’t become watery.
- In a separate small bowl, whisk together the vinegar, honey, salt, and pepper until the honey is fully dissolved. Taste the dressing—it should be a perfect balance of sweet and sharp.
- Pat the cucumbers dry with a paper towel and transfer them to a mixing bowl along with the thinly sliced red onions.
- Pour the dressing over the vegetables and toss gently with the fresh dill. For the best flavor, let the salad marinate in the refrigerator for at least 30 minutes before serving.
- Serve in a shallow bowl on your board, finishing with an extra sprig of dill for that “just-picked” garden aesthetic.
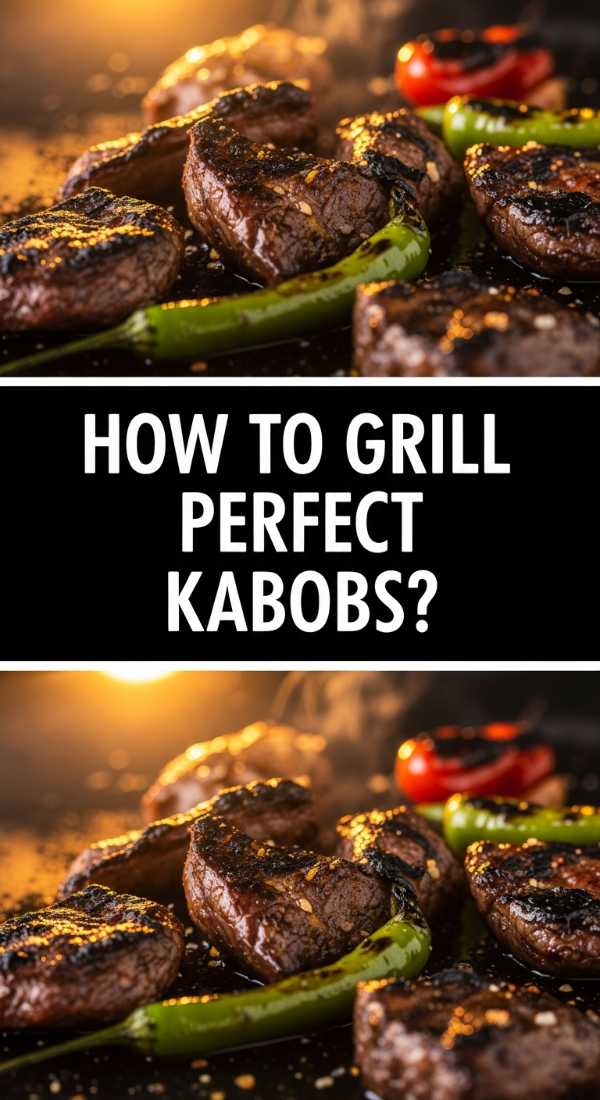
How to grill perfect kabobs?
Why we love this
Kabobs are the architecture of a great food board, providing height, color, and that irresistible charred aroma that signals a true summer feast. The combination of juicy, marinated meat and vegetables that have been softened by the flame creates a smoky, savory experience that is as fun to eat as it is to look at. There’s something primitive and satisfying about eating food off a skewer, especially when the edges of the peppers are slightly blackened and the meat is bursting with flavor.
Ingredients
- 1.5 lbs top sirloin or chicken breast, cut into 1.5-inch cubes
- 2 bell peppers (different colors), cut into chunks
- 1 red onion, cut into wedges
- 8 oz whole mushrooms
- Marinade: Olive oil, soy sauce, lemon juice, garlic, and dried oregano
How to make it
- If using wooden skewers, soak them in water for at least 30 minutes to prevent them from catching fire on the grill. If using metal skewers, ensure they are clean and lightly oiled.
- Whisk your marinade ingredients together and toss with the meat cubes in a bowl. Let the meat marinate for at least 2 hours in the fridge to break down the fibers and infuse deep flavor.
- Thread the skewers, alternating between meat and vegetables. Don’t pack them too tightly; leaving a tiny bit of space between items allows the heat to circulate and cook everything evenly.
- Preheat your grill to medium-high (about 400°F). Clean the grates and brush them with oil to prevent sticking.
- Place the kabobs on the grill. Cook for about 10-12 minutes total, turning them every 3-4 minutes. You are looking for clear sear marks and an internal temperature of 145°F for beef or 165°F for chicken.
- Remove from the grill and let the meat rest for 5 minutes before placing them on your food board; this allows the juices to redistribute, ensuring every bite is succulent.
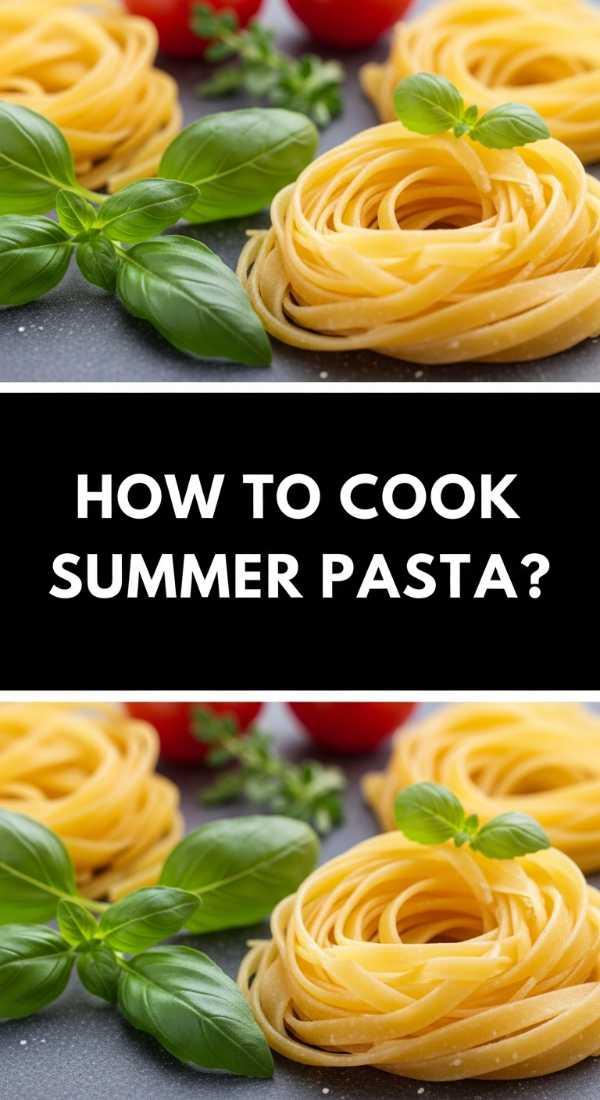
How to cook summer pasta?

Why we love this
Summer pasta is all about simplicity and the celebration of the season’s bounty. Imagine al dente strands coated in a light, shimmering sauce of garlic-infused oil, tossed with tomatoes that have just begun to burst and release their sweet nectar. The aroma of torn basil leaves hitting the warm pasta is intoxicating, and the taste is a bright, clean symphony of Mediterranean flavors that feels sophisticated yet effortless, making it the perfect warm addition to a shared platter.
Ingredients
- 1 lb spaghetti or linguine
- 1 pint cherry tomatoes, halved
- 4 cloves garlic, thinly sliced
- 1/4 cup extra virgin olive oil
- 1/2 cup fresh basil leaves, torn
- Red pepper flakes and Pecorino Romano cheese
How to make it
- Bring a large pot of heavily salted water to a boil. Cook your pasta according to the package instructions, but stop 1-2 minutes early to ensure it is truly ‘al dente.’
- While the pasta cooks, heat the olive oil in a large skillet over medium-low heat. Add the sliced garlic and a pinch of red pepper flakes. Cook slowly until the garlic is fragrant and golden—do not let it brown, or it will turn bitter.
- Add the halved cherry tomatoes to the skillet. Increase the heat to medium and cook for 5-7 minutes until the tomatoes soften and start to create a light sauce.
- Before draining the pasta, reserve 1 cup of the starchy pasta water. This is the secret to a silky, restaurant-quality sauce.
- Add the pasta directly into the skillet with the tomatoes. Pour in half of the reserved pasta water and toss vigorously over medium heat. The starch will emulsify with the oil to coat every strand.
- Turn off the heat, toss in the fresh basil and a generous handful of grated Pecorino Romano, and serve immediately in a large, shallow bowl in the center of your board.
How to make summer soup?
Why we love this
A chilled summer soup, like a vibrant Gazpacho, is the ultimate sophisticated surprise for a food board. It’s refreshing, zesty, and visually arresting with its deep ruby hue. The taste is a complex blend of garden-fresh vegetables, high-quality olive oil, and a hint of vinegar that wakes up the senses. Serving it in small shooters or glass cups makes it an interactive part of the board, offering a cool, liquid contrast to the warm and crunchy elements surrounding it.
Ingredients
- 2 lbs ripe Roma tomatoes
- 1 cucumber, peeled and seeded
- 1 green bell pepper
- 1 small red onion
- 2 tablespoons sherry vinegar
- 1/3 cup extra virgin olive oil
- Salt, pepper, and a dash of cumin
How to make it
- Roughly chop the tomatoes, cucumber, bell pepper, and red onion. Don’t worry about perfect cuts, as everything will be blended.
- Place the vegetables in a high-speed blender. Add the sherry vinegar, cumin, salt, and pepper.
- Start the blender on low and gradually increase to high. While the blender is running, slowly stream in the extra virgin olive oil. This emulsification process creates a creamy, luxurious texture without using any dairy.
- Once the soup is completely smooth, taste and adjust the seasoning. Often, a little more vinegar or salt is needed to make the flavors truly pop.
- Pass the mixture through a fine-mesh sieve if you prefer a perfectly silky consistency, though many enjoy the rustic texture of an unfiltered soup.
- Chill the soup in the refrigerator for at least 4 hours. Serving it ice-cold is essential for the refreshing experience. Pour into small glasses and garnish with a tiny dice of cucumber or a drizzle of oil before placing on the board.
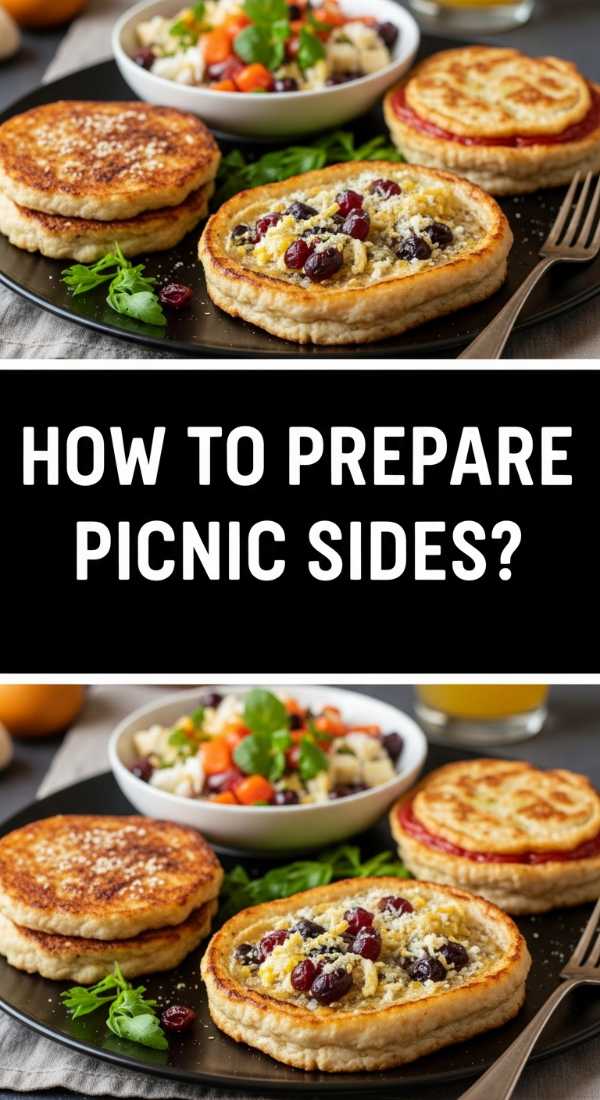
How to prepare picnic sides?

Why we love this
Picnic sides like a herby potato salad or a zesty slaw provide the backbone of a great board. They offer a creamy, tangy, and textural counterpoint that ties the proteins and vegetables together. A well-prepared side dish feels hearty and rustic, bringing a sense of abundance to the table. We love how they hold up well over time, meaning you can set the board out and enjoy the company without worrying about anything wilting or losing its charm as the afternoon fades into evening.
Ingredients
- 1.5 lbs baby gold potatoes
- 1/4 cup Greek yogurt or mayo
- 1 tablespoon Dijon mustard
- 3 scallions, sliced
- 1/4 cup chopped fresh parsley and dill
- 2 tablespoons capers (optional)
How to make it
- Place the baby gold potatoes in a pot of cold salted water. Bring to a boil and cook until they are fork-tender but not falling apart (usually 10-15 minutes).
- Drain the potatoes and let them cool for just a few minutes. Slicing them while they are still warm allows them to absorb the dressing much better than cold potatoes.
- In a large bowl, whisk together the Greek yogurt (for a lighter twist), Dijon mustard, salt, and pepper.
- Fold the warm potatoes into the dressing gently to avoid mashing them. The warmth will slightly thin the dressing, allowing it to coat every nook and cranny.
- Add the scallions, fresh herbs, and capers. The capers add a wonderful salty pop that cuts through the creaminess of the dressing.
- Let the salad sit for at least an hour in the fridge to allow the flavors to marry, then serve in a rustic wooden bowl on your board.
How to bake summer desserts?
Why we love this
The sweet finale of a food board should feel like a celebration of the sun. A rustic berry galette or a tray of lemon-glazed shortbread brings a golden, buttery aroma to the table that is impossible to resist. The contrast of warm, flaky pastry with the tart, jammy sweetness of summer fruit creates a sensory high point. It’s the kind of dessert that looks effortlessly beautiful with its imperfect edges, inviting everyone to break off a piece and savor the literal fruits of the season.
Ingredients
- 1 store-bought or homemade pie crust
- 3 cups fresh berries (blueberries, raspberries, blackberries)
- 1/4 cup sugar
- 1 tablespoon cornstarch
- 1 tablespoon lemon juice
- 1 egg (for egg wash)
How to make it
- Preheat your oven to 400°F (200°C). Line a large baking sheet with parchment paper to ensure easy removal and clean-up.
- In a medium bowl, gently toss the fresh berries with the sugar, cornstarch, and lemon juice. The cornstarch is vital as it thickens the juices as they bake, preventing a soggy crust.
- Roll out your pie dough on the parchment paper until it’s about 12 inches in diameter. Don’t worry about perfectly straight edges—a galette is meant to be rustic.
- Pile the berry mixture into the center of the dough, leaving a 2-inch border all the way around.
- Fold the edges of the dough over the fruit, pleating it as you go. The center should still be open, showing off the vibrant colors of the berries.
- Brush the crust with a beaten egg and sprinkle with a little extra sugar for a professional, golden-brown crunch. Bake for 25-30 minutes until the crust is deeply golden and the fruit is bubbling. Let it cool slightly before sliding it onto your board.
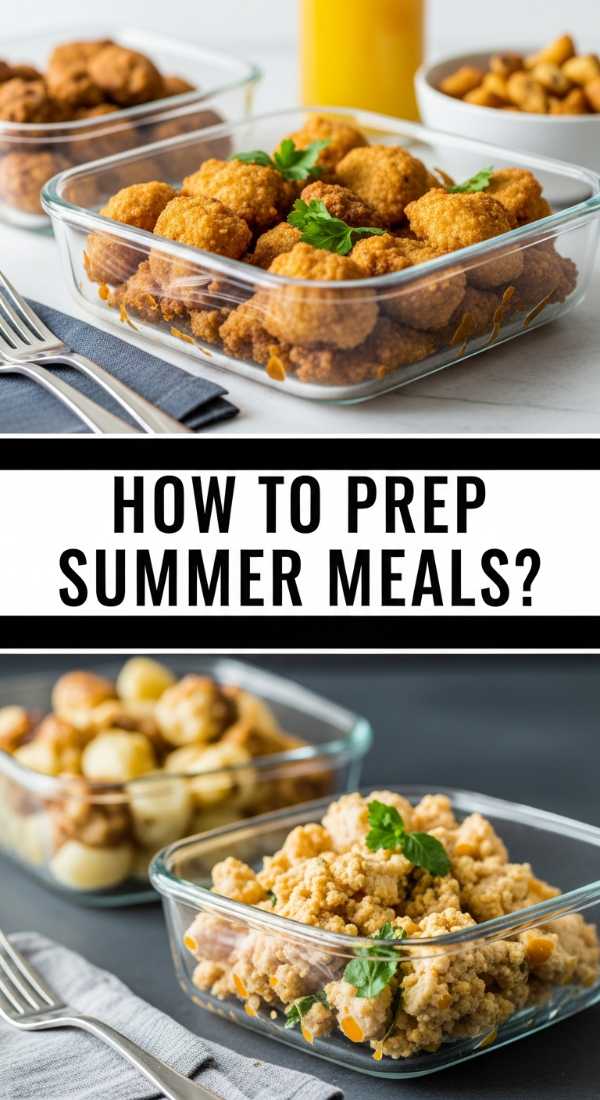
How to prep summer meals?

Why we love this
Summer meal prep is the ultimate gift to your future self. It’s the practice of gathering the week’s freshest produce—vibrant peppers, snap peas, and leafy greens—and organizing them into a kaleidoscope of ready-to-use ingredients. There is a profound sense of peace that comes from opening a fridge filled with pre-washed, pre-chopped treasures. It makes assembling a viral food board on a random Tuesday feel like a breeze rather than a chore, keeping your kitchen cool and your stress levels low.
Ingredients
- Variety of seasonal vegetables (radishes, carrots, snap peas)
- Grains (quinoa or farro)
- Proteins (grilled chicken or chickpeas)
- Glass storage containers
How to make it
- Dedicate one morning to washing and prepping all your produce. For a food board, cut vegetables into dipping-friendly shapes like batons or rounds and store them in containers with a damp paper towel to keep them crisp.
- Cook a large batch of a hearty grain like quinoa or farro. Spread it out on a baking sheet to cool quickly before refrigerating; this prevents the grain from becoming gummy.
- Prepare a “universal” vinaigrette—lemon, olive oil, garlic, and Dijon—that can work as a marinade, a salad dressing, or a drizzle for your board components.
- Portion out proteins. If you’re grilling kabobs, cube the meat and keep it in its marinade so it’s ready to hit the grill at a moment’s notice.
- Use clear glass containers so you can see the colors of your prep. Not only does this look beautiful in the fridge, but it also reminds you to use the fresh ingredients you’ve prepared.
- When guests arrive, your “10-minute magic” is possible because the heavy lifting was done during your prep session. Simply assemble and enjoy!
How to mix summer drinks?
[IMAGE_10]
Why we love this
A signature summer drink is the crowning jewel of your board. Whether it’s a sparkling elderflower spritz or a muddled berry lemonade, the sound of ice clinking and the sight of condensation on a chilled glass are the ultimate symbols of hospitality. These drinks are light, effervescent, and infused with the scents of fresh mint and citrus. They provide a refreshing lift that cleanses the palate between bites of savory dip and charred kabobs, making the entire dining experience feel cohesive and celebratory.
Ingredients
- 1 cup fresh berries or cucumber slices
- Fresh mint or basil leaves
- Sparkling water or Prosecco
- Simple syrup or agave
- Fresh lime or lemon juice
How to make it
- Start by muddling your aromatics. Place your fruit and herbs in the bottom of a pitcher or individual glasses. Use a muddler or the back of a spoon to gently bruise the leaves and crush the fruit, releasing their essential oils and juices.
- Add your acid—freshly squeezed lime or lemon juice—and a touch of sweetener. Agave works beautifully in cold drinks because it dissolves instantly.
- Fill your glasses to the brim with ice. Large cubes melt slower, preventing your drink from becoming diluted too quickly in the summer heat.
- Pour in your base liquid. Use high-quality sparkling water for a non-alcoholic refresher, or a crisp Prosecco for a celebratory spritz.
- Stir gently from the bottom up to integrate the muddled fruit without losing all the carbonation.
- Garnish with a fresh herb sprig and a slice of citrus. Place these drinks around your food board to encourage guests to stay hydrated and happy throughout the gathering.
Conclusion
Creating a viral-worthy food board isn’t about perfection; it’s about the joy of sharing. When you combine the warmth of a homemade Rotel dip, the freshness of a cucumber salad, and the sweet charm of a berry galette, you’re not just serving food—you’re creating a moment. So, clear off your biggest wooden board, pour some chilled drinks, and let the 10-minute magic happen. Your guests will remember the laughter and the flavors long after the last crumb is gone.