
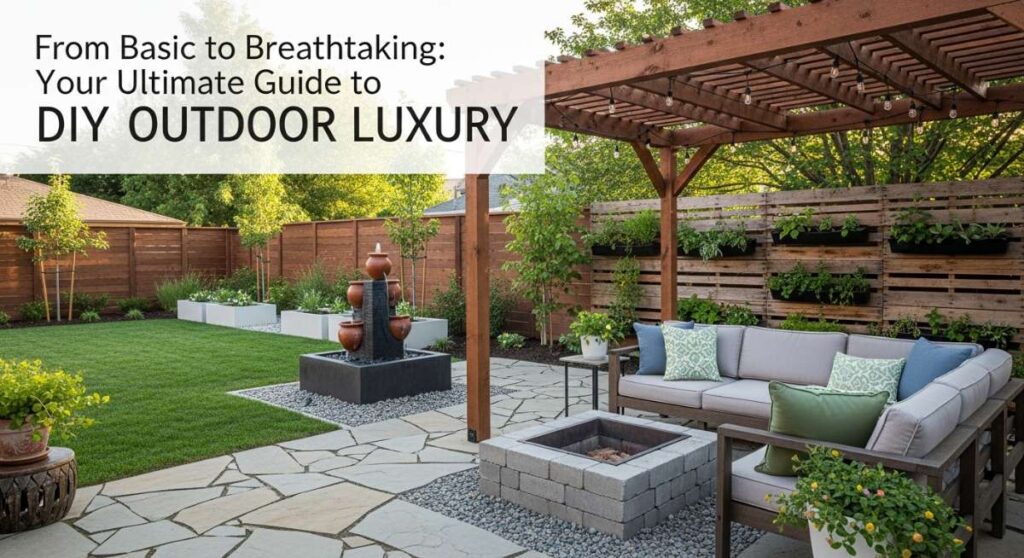
Have you ever looked out your back window and felt a little pinch of ‘what if?’ We’ve all been there—staring at a patch of patchy grass or a concrete slab that feels more like a parking lot than a sanctuary. For years, I treated my outdoor space as an afterthought, a place to store the mower and not much else. But I’ve learned that our homes don’t end at the back door; they breathe through the garden, the patio, and even that quiet corner where the birds gather. Transforming your yard isn’t just about property value; it’s about creating a soul-soothing retreat where the air smells like jasmine and the stress of the day simply melts into the evening breeze.
In this guide, I’m sharing my favorite ways to take your outdoor living from ‘basic’ to ‘breathtaking.’ Whether you have a tiny balcony or an acre of land, these DIY projects are designed to infuse luxury into every square inch of your property. We’re talking about textures that feel expensive, scents that evoke a five-star resort, and the kind of curb appeal that makes the neighbors slow down their cars just to take a second look. Grab your gardening gloves and a cold glass of lemonade—it’s time to build the oasis you’ve always dreamed of.
How to Design a Lush Front Yard Flower Bed for Instant Curb Appeal
Why we love this
There is nothing quite like the sensory explosion of a well-designed flower bed greeting you as you pull into the driveway after a long day. Imagine the delicate, honeyed scent of lavender mingling with the earthy aroma of fresh cedar mulch, creating a fragrant welcoming committee. The visual layers of deep emerald greens, soft pastel petals, and structural ornamental grasses provide a sophisticated texture that feels both intentional and wild. It’s the ultimate way to express your home’s personality while providing a vital sanctuary for local pollinators like hummingbirds and butterflies.
Essential Elements:
- Assorted perennials (Coneflowers, Salvia, Hostas)
- Annuals for seasonal color (Petunias, Marigolds)
- Premium organic topsoil and compost
- Hardwood mulch (dark brown or black for contrast)
- Stone or brick edging material
- Landscaping fabric (optional)
How to make it
- Begin by outlining the shape of your bed using a garden hose to create natural, fluid curves that soften the lines of your home. Avoid harsh right angles for a more professional, high-end look.
- Remove any existing grass or weeds within the outline using a spade or a sod cutter, ensuring you get the roots to prevent regrowth. Turn the soil to a depth of about 12 inches to aerate the ground.
- Amend the soil by mixing in a generous 3-inch layer of organic compost. This provides the nutrient-dense foundation your plants need to thrive and improves drainage in heavy clay or sandy soils.
- Arrange your plants while they are still in their nursery pots. Place taller specimens in the back, mid-height plants in the center, and low-growing groundcovers or ‘spillers’ along the front edge. Space them according to their mature size to avoid overcrowding.
- Dig holes twice as wide as the root ball and just as deep. Gently tease the roots before placing the plant in the hole, backfilling with soil, and pressing down firmly to remove air pockets.
- Apply a 2-to-3-inch layer of mulch across the entire bed, keeping it an inch away from the base of plant stems to prevent rot. Finish by installing your stone edging for a clean, defined boundary.
How to Build a Custom Wood Planter Box for a Modern Garden Aesthetic
Why we love this
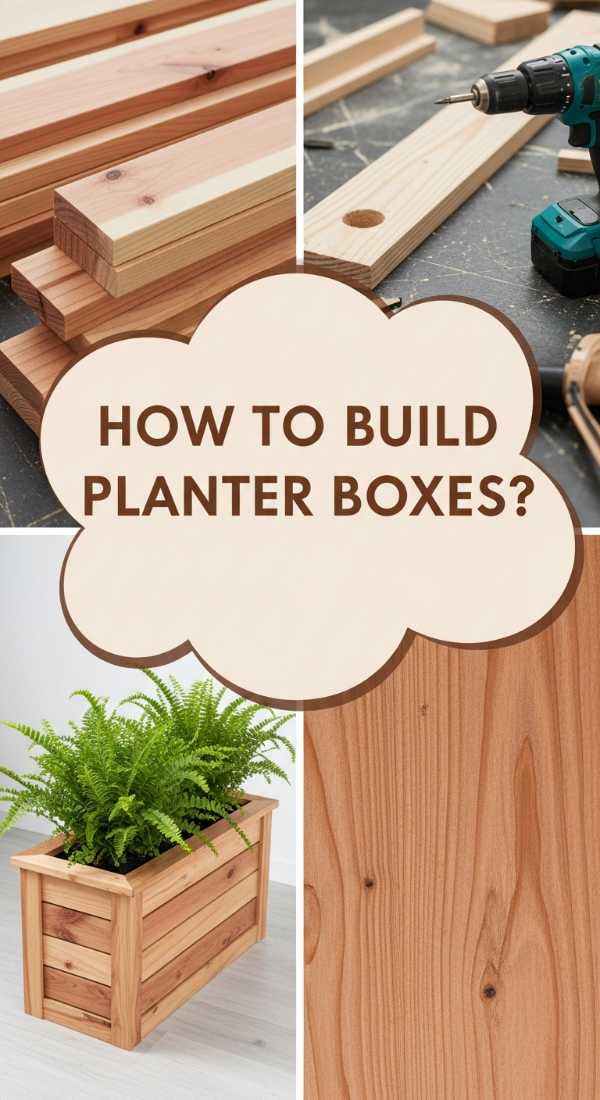
The warmth of natural wood grain brings an organic elegance to any outdoor space, especially when crafted into the clean, geometric lines of a modern planter. We love the tactile experience of cedar—its rough-hewn texture against the soft, velvet leaves of a silver sage plant is pure magic. As the wood weathers over time to a chic silvery-gray, it adds a sense of timelessness to your garden. These boxes allow you to control soil quality perfectly, making them the ideal home for a vibrant kitchen herb garden or a sculptural Japanese Maple.
Essential Elements:
- Cedar or Redwood 2x4s and 1×6 boards
- Exterior-grade deck screws (stainless steel or coated)
- Waterproof wood glue
- Landscape fabric liner
- Electric drill and miter saw
- Fine-grit sandpaper
How to make it
- Measure and cut your 2x4s into four equal lengths for the corner posts, and cut your 1×6 boards for the sides and ends based on your desired dimensions. A standard ‘luxury’ size is often 2 feet wide by 4 feet long.
- Build the two short end panels first. Lay two corner posts flat and screw the 1×6 boards across them, leaving a tiny gap (the thickness of a nickel) between boards for wood expansion. Use wood glue at the joints for extra durability.
- Connect the two end panels using the longer 1×6 side boards. Use a speed square to ensure every corner is perfectly 90 degrees; this precision is what separates a DIY look from a custom designer piece.
- Install support cleats along the inside bottom of the frame using scrap 2×4 pieces. Cut floorboards to fit across these cleats, leaving half-inch gaps between the bottom boards to ensure excellent drainage.
- Sand all exterior surfaces with 120-grit sandpaper to remove any stamps or splinters, then apply a clear UV-resistant sealer to preserve the wood’s natural color if desired.
- Staple landscape fabric to the inside walls of the box. This prevents soil from leaching through the gaps while allowing water to pass through freely, protecting your wood from premature rot.
How to Style a Relaxing Hot Tub Area for the Ultimate Home Spa Experience
Why we love this
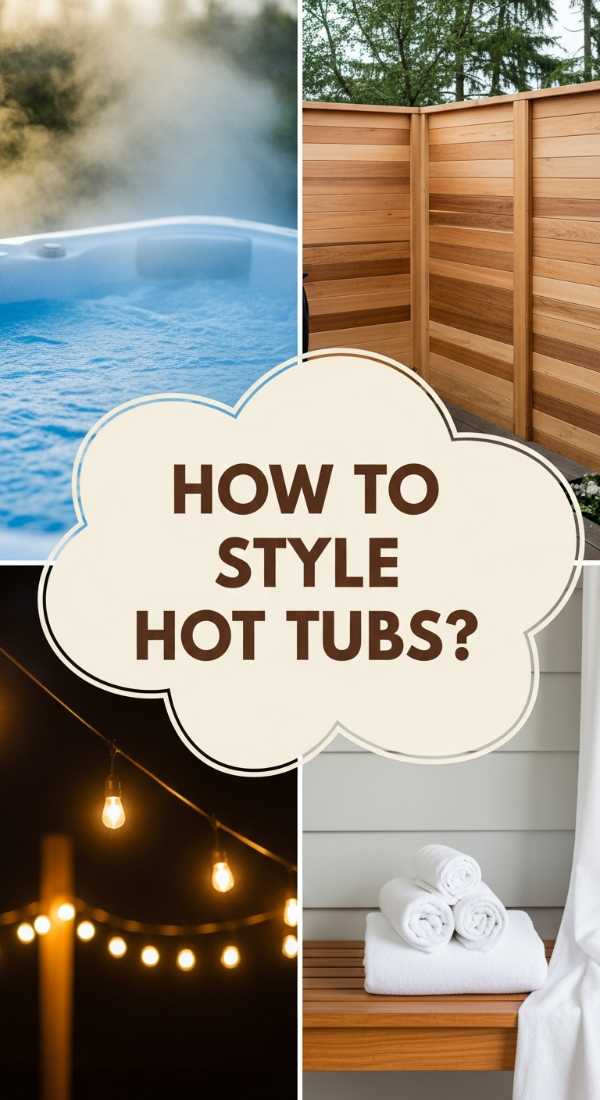
Transforming a hot tub from a plastic tub in the yard into a private grotto is all about the atmosphere. We love the contrast of the steam rising into the cool night air against the soft glow of amber string lights draped overhead. The scent of eucalyptus oil and the rhythmic sound of bubbling water create an immersive sensory escape that rivals any luxury hotel. By surrounding the tub with lush greenery and plush textures, you turn a functional item into a focal point of relaxation and romance.
Essential Elements:
- Wood or composite privacy screens
- Outdoor-rated string lights (Edison bulbs)
- Weather-resistant rug
- Large potted palms or bamboo
- Padded outdoor bench and side table
- Aromatherapy diffusers designed for spas
How to make it
- Start by defining the perimeter with privacy screens. Place them on the sides most exposed to neighbors to create an intimate ‘room’ feel. Choose slatted designs that provide privacy while still letting the breeze flow through.
- Roll out an outdoor rug in a neutral, earthy tone. This provides a soft, slip-resistant surface for bare feet and visually anchors the hot tub within the space.
- Install overhead lighting by stringing Edison-style bulbs from the house to the privacy screens or nearby trees. Ensure they are on a dimmer switch so you can dial back the brightness for a true spa ambiance.
- Position large-scale planters filled with tall, leafy plants like Areca palms or bamboo around the tub. This ‘living wall’ adds a splash of vibrant green and reinforces the feeling of being in a tropical sanctuary.
- Set up a designated ‘towel station’ with a weather-proof bench and a small table for drinks and books. Having high-quality, oversized white cotton towels within arm’s reach adds that final touch of luxury hotel hospitality.
How to Master Natural Rock Landscaping for a Sustainable Garden Look
Why we love this
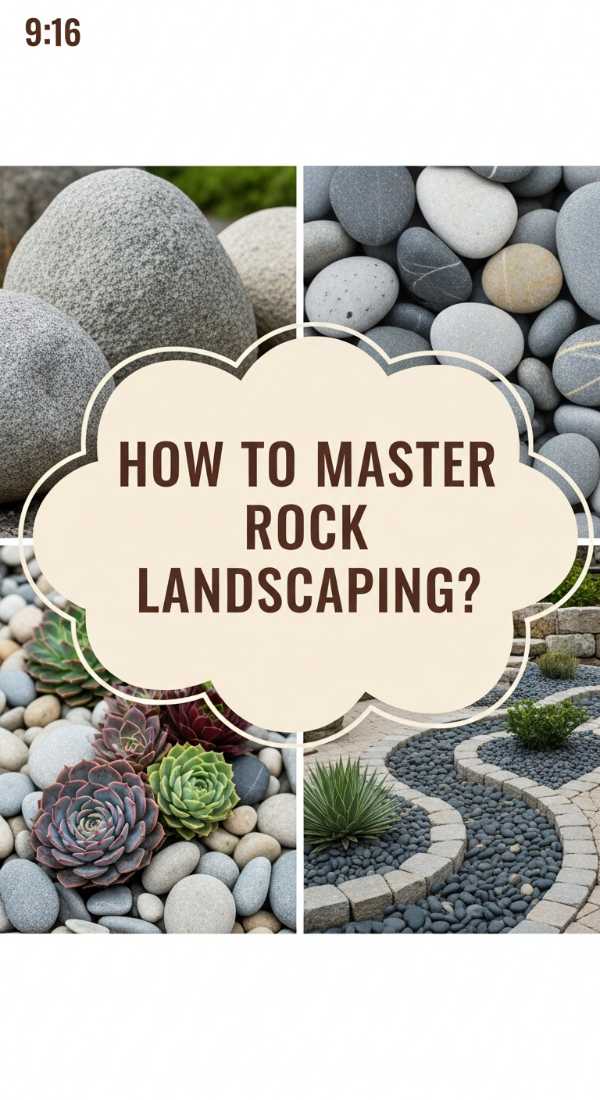
Natural rock landscaping is the epitome of rugged, sustainable beauty. We love the way the cool, smooth surface of river rocks contrasts with the jagged, lichen-covered edges of large boulders, creating a miniature mountain landscape in your own backyard. There’s a grounding, permanent feeling to stone that plants alone can’t provide. Plus, it’s an eco-friendly choice that reduces water consumption and eliminates the need for mowing, allowing the natural textures of the earth to take center stage in a low-maintenance yet high-impact design.
Essential Elements:
- Large feature boulders (limestone, granite, or basalt)
- Medium-sized river rocks or cobbles
- Pea gravel or crushed stone for filler
- Heavy-duty weed barrier fabric
- Drought-tolerant plants (Sedum, Blue Fescue, Yucca)
How to make it
- Excavate the area to a depth of about 3-4 inches. This allows your rocks to sit slightly recessed, which looks much more natural than if they were simply sitting on top of the grass.
- Lay down a heavy-duty, professional-grade weed barrier. Secure it with landscape staples every 12 inches to ensure no pesky weeds disrupt your clean stone aesthetic.
- Place your largest boulders first. For the most realistic look, bury the bottom third of the boulder in the ground. This makes it look like a natural outcrop rather than something just dropped there. Rotate them until their ‘best face’ is pointing toward your main viewing area.
- Layer in your medium-sized river rocks around the base of the boulders, creating ‘rivers’ or clusters. Avoid uniform coverage; think about how rocks naturally settle in a dry creek bed or on a hillside.
- Plant your succulents or ornamental grasses in the gaps between rocks. Cut an ‘X’ in the fabric, dig your hole, plant, and then tuck the fabric back around the base of the plant.
- Fill the remaining open spaces with pea gravel or crushed stone. Use a rake to level the smaller stones, ensuring they cover the edges of the fabric and blend seamlessly with the larger rock features.
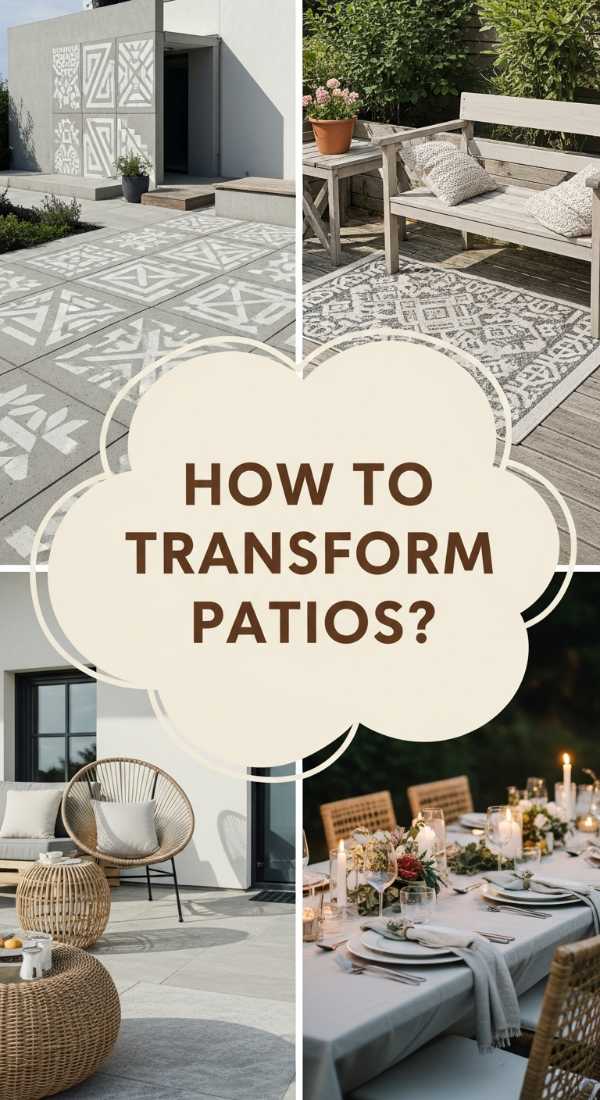
How to Transform a Plain Patio for Chic Outdoor Entertaining

Why we love this
A plain patio is a blank canvas just waiting for a touch of glamour. We love the transition from a cold, hard surface to a cozy, layered living room under the stars. The mix of woven rattan furniture, crisp linen pillows, and the flickering light of a tabletop fire pit creates an environment that practically begs for long conversations and chilled wine. It’s all about creating a ‘flow’ that feels as comfortable and curated as your indoor living room, turning every weekend into a boutique vacation experience.
Essential Elements:
- High-quality outdoor sectional or lounge chairs
- Outdoor area rug with a bold pattern
- Tabletop fire pit or propane heater
- Assorted weather-resistant throw pillows and blankets
- Solar-powered floor lanterns
- Large cantilever umbrella
How to make it
- Deep clean your patio surface. Use a pressure washer to remove years of grime, moss, and dirt. If the concrete is stained, consider applying a decorative concrete stain in a slate or sand tone for a fresh, high-end base.
- Anchor the space with a large outdoor rug. Choose a size that allows at least the front legs of all furniture pieces to sit on the rug; this creates a cohesive ‘zone’ for conversation.
- Arrange your seating to face a focal point, such as a fireplace or a beautiful view. Opt for deep-seated furniture with thick, high-density foam cushions for maximum comfort during long dinner parties.
- Layer in your textiles. Use pillows in varying sizes and textures—think fringe, canvas, and knit. Keep a basket of rolled-up Turkish towels or fleece throws nearby for when the temperature drops in the evening.
- Add vertical interest with a cantilever umbrella. This provides necessary shade during the day and creates a ‘ceiling’ effect at night, making the space feel more enclosed and intimate.
- Incorporate ambient lighting at multiple levels. Use solar lanterns on the floor, string lights overhead, and a flickering fire pit on the table to create a warm, multi-dimensional glow.
How to Achieve Realistic Pantry Organization for a Stress Free Kitchen Flow
Why we love this
While technically indoors, a perfectly organized pantry is the secret engine of a luxury lifestyle. We love the visual serenity of uniform glass jars filled with colorful grains, pastas, and spices. The crisp click of a sealed lid and the ease of finding exactly what you need at a glance eliminates the ‘mental load’ of cooking. It’s about more than just aesthetics; it’s about a functional ritual that turns meal prep from a chore into a seamless, tactile experience of abundance and order.
Essential Elements:
- Airtight glass or BPA-free plastic canisters
- Woven or wire baskets for bulk items
- Tiered shelf risers for canned goods
- Custom labels (minimalist or handwritten)
- Lazy Susans for oils and vinegars
How to make it
- Empty the entire pantry. This is the ‘reset’ phase. Discard expired items and donate things you know you won’t use. Wipe down every shelf with a mild cleaner to create a fresh, hygienic starting point.
- Group your items by category: baking, snacks, breakfast, dinner staples, and cans. This ‘zoning’ method ensures that everything has a logical home based on how you actually use your kitchen.
- Decant dry goods like flour, sugar, pasta, and cereal into airtight clear containers. Not only does this look beautiful, but it also keeps food fresh longer and allows you to see exactly when you’re running low on essentials.
- Place smaller items or snacks into baskets. This prevents ‘visual clutter’ and makes it easy for family members to grab what they need without rummaging through the back of the shelves.
- Use tiered risers for cans so you can see labels in the back row, and place a Lazy Susan in the corner for tall bottles of oils, vinegars, and sauces to prevent them from getting ‘lost’ in the shadows.
- Apply uniform labels to all containers. Position the labels at the same height on every jar for a professional, high-end look that brings a sense of calm every time you open the pantry door.
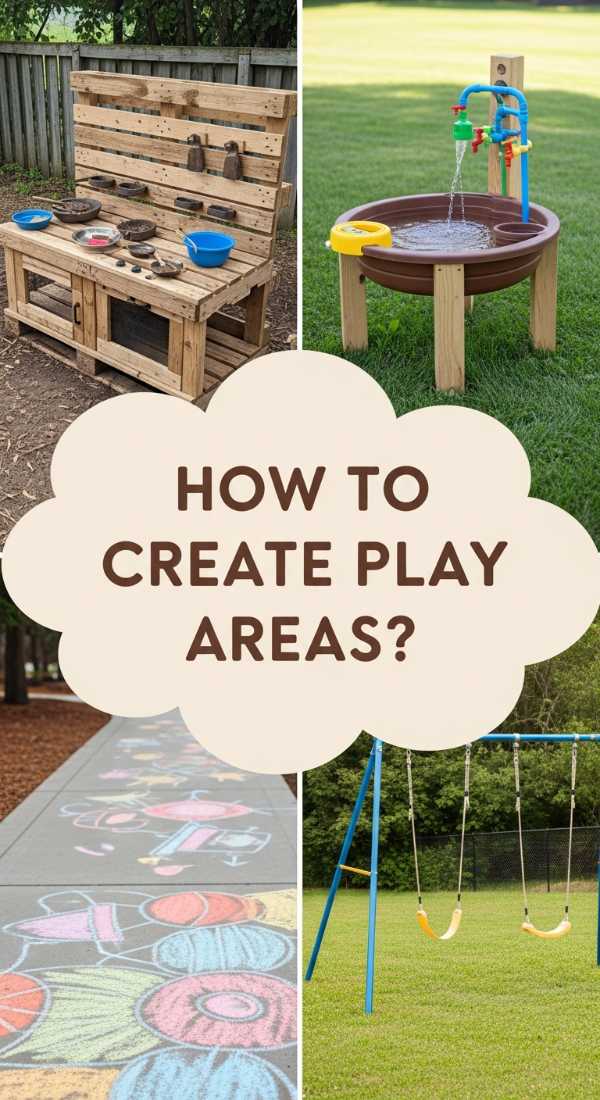
How to Create a Safe Outdoor Play Area for Happy Childhood Memories

Why we love this
Creating a space dedicated to play is about fostering imagination and joy in a safe, beautiful environment. We love the sound of children’s laughter echoing against the backdrop of a well-maintained yard. By using soft, aromatic cedar chips and vibrant, safe equipment, you create a zone that feels like a boutique park. It’s a place where textures—from the smooth wood of a swing set to the squish of a rubber mat—contribute to a child’s sensory development while giving parents peace of mind.
Essential Elements:
- High-quality wooden swing set or playhouse
- Rubber mulch or engineered wood fiber (EWF)
- Landscape timber for borders
- Sun shade sail (UV-protected)
- Outdoor chalkboard or sensory table
How to make it
- Select a level spot in the yard that is easily visible from the house. Ensure there is a ‘fall zone’ of at least 6 feet in all directions around the equipment to maximize safety.
- Mark the area and excavate 4-6 inches of soil. Install a sturdy border using pressure-treated landscape timbers or heavy-duty plastic edging to keep the surfacing material contained.
- Assemble your play equipment according to the manufacturer’s instructions, ensuring all anchors are deeply buried and bolts are tightened. Check for any sharp edges or splinters and sand them down immediately.
- Install a heavy-duty weed barrier over the soil before adding your mulch. This prevents grass from growing up through the play area and keeps the fill material clean.
- Fill the bordered area with 9-12 inches of rubber mulch or EWF. This depth is critical for providing adequate cushioning for falls. Level it out using a garden rake.
- Mount a UV-resistant shade sail over the main play area. Use heavy-duty posts or attach it to the house/trees to ensure the equipment stays cool to the touch even in the height of summer.
How to Craft Whimsical Rustic Birdhouses for a Charming Wildlife Sanctuary

Why we love this
There is a quiet, rustic magic in crafting homes for our feathered friends. We love the smell of cedar shavings and the rugged texture of reclaimed wood under our fingertips. A cluster of whimsical birdhouses adds a layer of ‘story’ to your garden, making it feel like a lived-in, enchanted sanctuary. The reward of watching a bluebird pair move in and hearing the faint chirping of hatchlings brings a profound sense of connection to the natural world right to your doorstep.
Essential Elements:
- Reclaimed wood or cedar fence pickets
- Exterior wood glue and galvanized finish nails
- Copper sheeting or old license plates for roofs
- 1.5-inch spade bit for the entry hole
- Decorative twigs or antique knobs for perches
How to make it
- Cut your wood into six pieces: a base, two sides, a front, a back, and two roof pieces. For a ‘whimsical’ look, cut the front and back pieces into asymmetrical triangles to create a slanted, quirky roofline.
- Drill the entry hole using a spade bit. Research the specific bird species in your area to determine the perfect hole size (e.g., 1.5 inches for Bluebirds) to ensure they feel safe from predators.
- Glue and nail the sides to the front and back panels. Ensure the base has a few small holes drilled into it for drainage and the sides have a small gap at the top for ventilation; a healthy birdhouse needs airflow!
- Attach the roof pieces. For an extra touch of luxury, overlay the wood roof with a piece of copper sheeting or reclaimed metal. This not only looks stunning but protects the wood from heavy rain.
- Add a ‘perch’ using a sturdy twig or a vintage metal drawer pull. Secure it just below the entry hole. Keep it small so larger predatory birds can’t use it to access the nest.
- Mount the birdhouse on a 4×4 post or hang it from a sturdy branch using a heavy-duty hook. Place it in a quiet area of the yard, ideally facing east to catch the gentle morning sun.
How to Paint Vibrant Shed Murals for a Unique Backyard Artistic Statement
Why we love this
Why should a garden shed be boring? We love the bold, transformative power of a mural—it’s like giving your backyard its own personal art gallery. The vibrant pop of turquoise, coral, and leafy green against a wooden background can turn a utility building into a stunning focal point. Painting a mural is a deeply meditative process, feeling the drag of the brush and seeing a flat wall come to life with color. it’s the ultimate expression of creativity that makes your outdoor space feel completely one-of-a-kind.
Essential Elements:
- High-quality exterior house paint or mural acrylics
- Exterior primer (Zinsser or Kilz)
- Assorted synthetic brushes and rollers
- Chalk or a projector for sketching
- Clear UV-resistant exterior topcoat
How to make it
- Prep the surface by power washing the shed to remove dirt and loose paint. Sand any rough spots and apply a high-quality exterior primer to ensure your colors stay vibrant and don’t soak into the wood.
- Sketch your design using chalk. Chalk is perfect because you can easily wipe it away with a damp cloth if you make a mistake. Think big, organic shapes like giant tropical leaves or a simplified sunset.
- Start with the background colors first. Use a roller for large areas to get an even, smooth coat. Work from top to bottom to prevent drips from ruining your finished work.
- Layer in your foreground details using smaller brushes. Don’t be afraid of high-contrast colors; outdoor light is very bright, so bold choices often look better than subtle ones from a distance.
- Let the paint dry completely (usually 24-48 hours). Once dry, apply two coats of a clear, UV-resistant exterior sealer. This is the ‘secret sauce’ that prevents the sun from fading your masterpiece over time.
- Clean up the edges by painting the trim of the shed in a solid, coordinating color. This frames your mural and makes it look like a deliberate, professional installation.
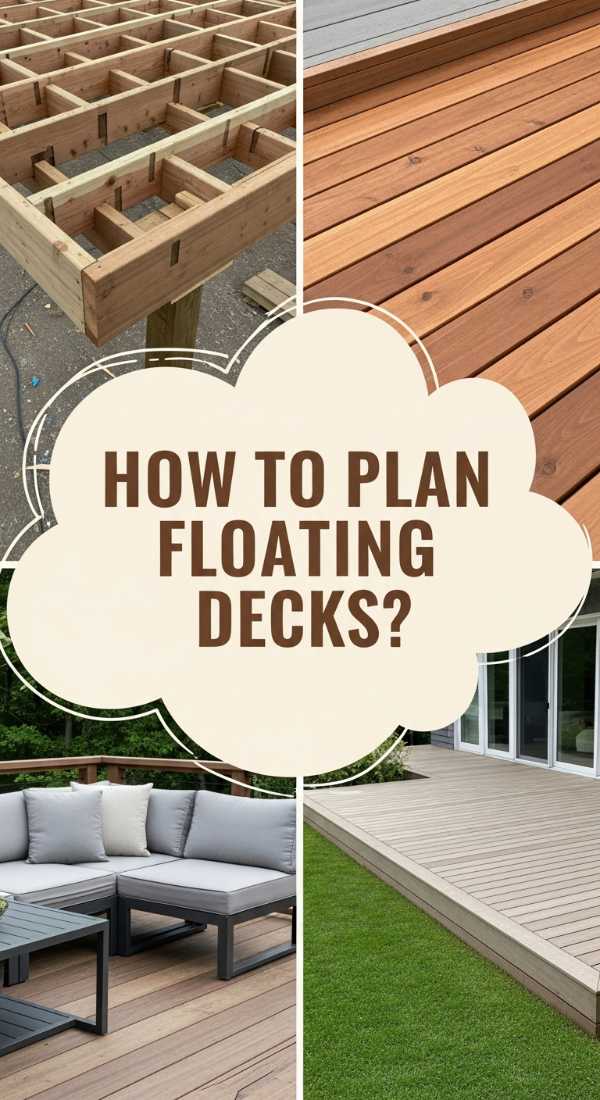
How to Plan a Stylish Floating Deck for a Cozy Summer Lounge Spot
[IMAGE_10]
Why we love this
The floating deck is the crown jewel of DIY outdoor luxury. We love the low-profile, modern feel of a deck that seems to hover just above the grass. The scent of sun-warmed wood and the steady, solid feel of the boards underfoot create an instant sense of permanence and quality. It’s the perfect stage for a summer lounge, offering a clean, level surface that feels much more sophisticated than a simple patio. It’s your own private island in a sea of green.
Essential Elements:
- Pressure-treated 2x6s for the frame
- Composite or cedar deck boards for the top
- Concrete deck blocks (Tuflok or similar)
- Joist hangers and structural screws
- Spirit level and landscape fabric
How to make it
- Clear the area and lay down landscape fabric topped with a thin layer of gravel. This prevents weeds from growing under your deck where you can’t reach them.
- Position your concrete deck blocks. For a standard 8×10 deck, place blocks at the corners and every 4 feet along the perimeter. Use a long 2×4 and a spirit level to ensure every block is perfectly level with its neighbors.
- Build the outer frame using 2×6 pressure-treated lumber. Use structural screws to join the corners, checking for squareness frequently. Place the frame into the slots of the deck blocks.
- Install your interior joists every 16 inches on center. This spacing is crucial to prevent the deck boards from sagging or feeling ‘bouncy’ when you walk on them. Use joist hangers for a rock-solid connection.
- Lay your deck boards across the joists. Use spacers (or a large nail) to maintain a consistent 1/8-inch gap between boards for drainage and expansion. Screw the boards into every joist using two screws per board.
- Trim the overhanging edges of the deck boards with a circular saw for a perfectly straight, professional line. Sand the edges smooth and apply a high-quality deck stain or sealer to protect your investment.
Designing Your Dream Sanctuary
Building an outdoor oasis isn’t about having a massive budget or being a professional contractor; it’s about the intentionality you bring to your space. By layering textures, focusing on sensory details, and tackling one project at a time, you can transform even the most basic backyard into a breathtaking retreat. Remember, the best part of DIY luxury is the story behind every stone, board, and bloom. Now, go outside, breathe in the fresh air, and start creating the sanctuary you deserve!