
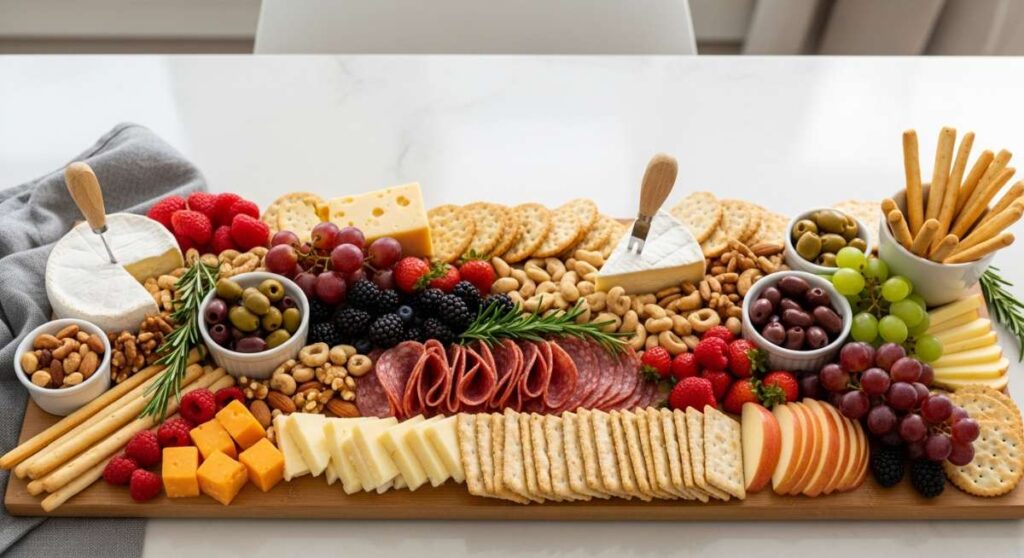
There is something truly magical about the way a simple food board brings people together, especially when it’s overflowing with sweet, homemade delights. I remember the first time I set out a dessert-themed board for a weekend gathering; the room instantly filled with gasps of delight and the comforting aroma of sugar and spice. It’s not just about the food; it’s about the laughter shared over a slice of tart or the way a beautifully arranged spread makes everyone feel instantly at home.
Creating a viral-worthy food board doesn’t require a culinary degree—it just requires a little bit of heart and a focus on texture and color. Whether you’re a seasoned pro or just starting your journey into the world of baking and business, these components will help you build a spread that is as visually stunning as it is delicious. Let’s dive into the elements that make a party win every single time.
How to bake peach cobbler?
Why we love this
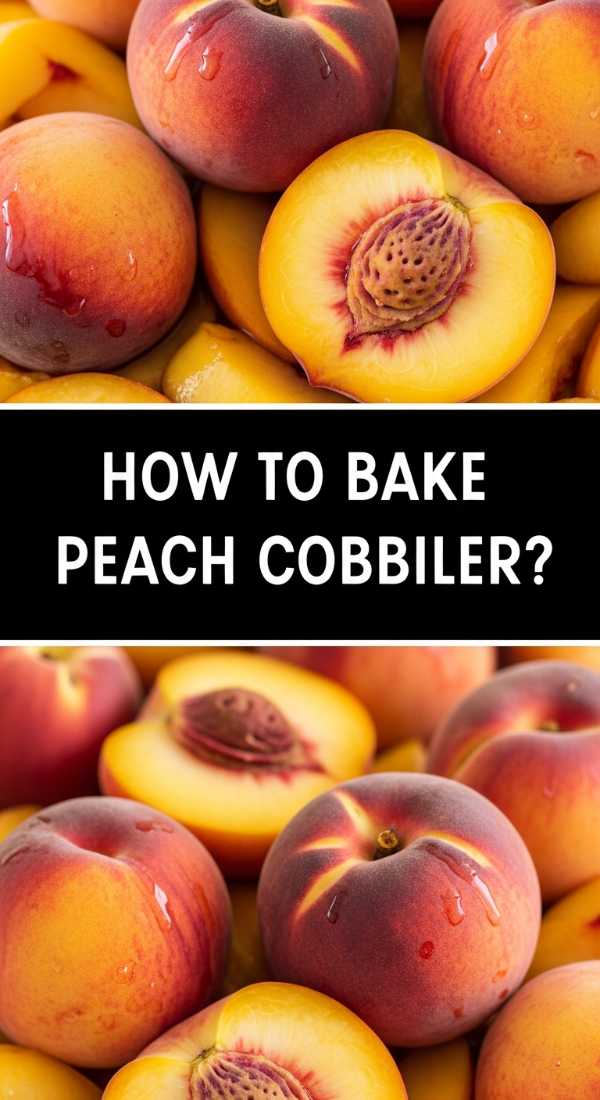
Peach cobbler is the ultimate comfort food, offering a warm hug in every spoonful. Imagine the sight of bubbling, golden-orange juices peeking through a craggy, biscuit-like crust that crackles slightly under your fork. The aroma is a heavenly blend of caramelized sugar, warm cinnamon, and the floral sweetness of sun-ripened peaches. When served warm, the contrast between the tender, slightly tart fruit and the buttery, sweet topping creates a sensory experience that feels like a sunset on a plate.
Ingredients
- 6-8 large fresh peaches, peeled and sliced
- 1 cup granulated sugar (plus 2 tablespoons for topping)
- 1/2 cup brown sugar
- 1 teaspoon ground cinnamon
- 1/4 teaspoon ground nutmeg
- 1 tablespoon lemon juice
- 2 teaspoons cornstarch
- 1.5 cups all-purpose flour
- 1 tablespoon baking powder
- 1/2 teaspoon salt
- 1/2 cup cold unsalted butter, cubed
- 1/2 cup boiling water
How to make it
- Preheat your oven to 425°F (220°C). This high initial heat is crucial for getting that signature golden crust.
- In a large saucepan, combine the sliced peaches, 1/2 cup granulated sugar, brown sugar, cinnamon, nutmeg, lemon juice, and cornstarch. Cook over medium heat, stirring gently, for about 5 minutes or until the sugars dissolve and the peaches begin to release their juices.
- Transfer the peach mixture into a 9×13 inch baking dish. Place it in the oven for 10 minutes while you prepare the topping. This pre-baking ensures the fruit is tender.
- In a medium bowl, whisk together the flour, 1/2 cup granulated sugar, baking powder, and salt. Use a pastry cutter or your fingers to work the cold butter into the flour mixture until it resembles coarse crumbs.
- Pour the boiling water over the flour mixture and stir just until combined. Do not overmix; the batter should be thick and slightly lumpy.
- Remove the hot peaches from the oven and drop spoonfuls of the dough over the top. The dough will spread slightly as it bakes.
- Sprinkle the remaining 2 tablespoons of sugar over the dough. Bake for 25-30 minutes, or until the topping is a deep golden brown and the fruit juices are thick and bubbling.
How to start baking business?
Why we love this
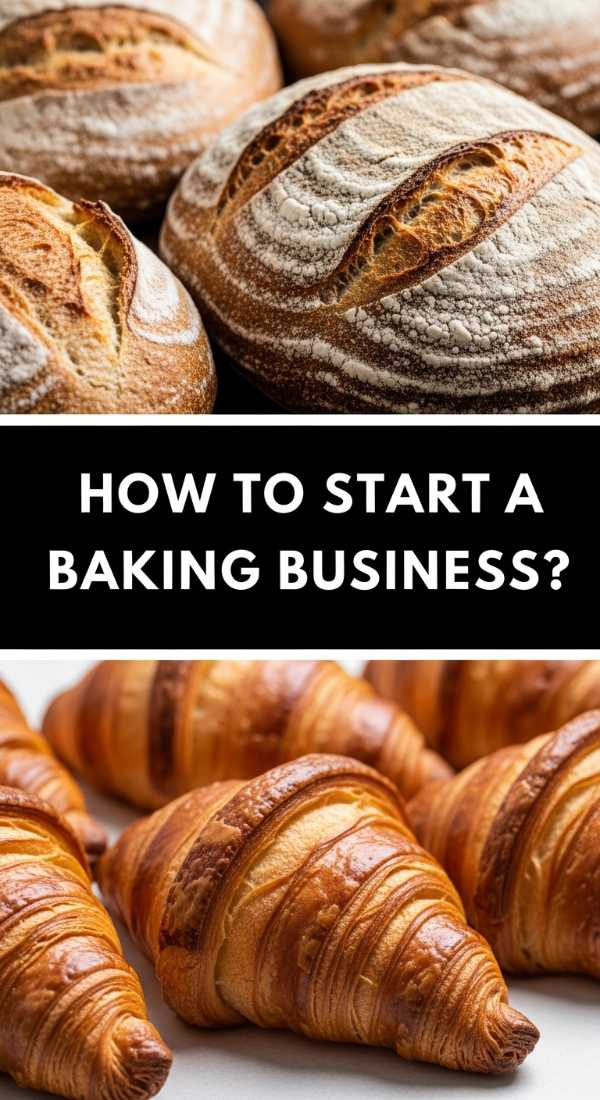
Starting a baking business is about turning a passion into a legacy. There is a profound sense of pride in seeing your logo on a box of cookies or hearing a customer rave about a cake you spent hours perfecting. The tactile thrill of flour on your hands and the rhythmic hum of a mixer become the soundtrack to your professional life. It’s a journey of growth, where every batch is a lesson and every sale is a confirmation that your creative vision has a place in the market.
Ingredients
- A solid, tested business plan
- Required local permits and licenses
- A dedicated workspace (home kitchen or commercial lease)
- High-quality baking equipment (mixers, ovens, scales)
- Reliable ingredient suppliers
- Professional branding (logo, colors)
- A business bank account
How to make it
- Conduct thorough market research to identify your niche. Are you the go-to person for vegan cupcakes or elaborate wedding cakes? Understanding your audience is the first step to success.
- Draft a business plan that outlines your goals, target market, and financial projections. Be realistic about your startup costs, including ingredients, packaging, and marketing.
- Check your local “Cottage Food Laws.” Many regions allow you to start from home, but you must adhere to specific labeling and income limit regulations. Obtain necessary health department permits.
- Invest in professional-grade equipment. A domestic mixer may not handle the volume of a growing business. Source your ingredients in bulk to maintain a healthy profit margin.
- Develop your brand identity. Choose a name that resonates and have a professional logo designed. Your packaging should reflect the quality of the goods inside.
- Set up a digital presence. Even if you aren’t selling online yet, a professional website and social media profiles are essential for discovery.
How to design baking tattoo?

Why we love this
A baking tattoo is a permanent celebration of one’s craft, a delicate etch of identity that stays with you long after the kitchen has been cleaned. Whether it’s a fine-line whisk or a colorful cupcake, these designs capture the essence of a baker’s soul. We love the way they look against the skin—crisp lines and soft shading that mirror the precision of a recipe and the artistry of decoration. It is a visual testament to the heat of the oven and the sweetness of the results.
Ingredients
- Inspiration board (Pinterest, Instagram)
- List of favorite tools (whisk, rolling pin, stand mixer)
- Specific flora or fauna (wheat stalks, vanilla beans)
- A skilled tattoo artist specializing in your preferred style
- Placement ideas (forearm, wrist, ankle)
How to make it
- Identify the core symbols of your baking journey. Is there a specific tool you always use, or a flower that represents your favorite flavor profile? List these out clearly.
- Choose a style that matches your aesthetic. Minimalist fine-line is great for small tools, while “New School” or traditional styles work well for bold, colorful cakes or donuts.
- Look for a tattoo artist whose portfolio matches your vision. If you want a realistic croissant, find someone who excels at texture and shading.
- Schedule a consultation. Bring your inspiration images but be open to the artist’s suggestions on how to make the design flow with the contours of your body.
- Think about placement. The inner forearm is popular for bakers because the art is visible while you work, but consider how movement might distort the image.
- Review the final sketch carefully. Ensure the proportions are correct—a whisk with too many wires might blur over time. Once satisfied, commit to the ink.
How to make berry tarts?

Why we love this
Berry tarts are the jewels of the food board, offering a vibrant pop of color and a sophisticated blend of textures. There is a satisfying snap when you bite into the buttery shortbread crust, followed by the silky, cool embrace of vanilla pastry cream. The berries provide a fresh, juicy explosion of flavor that cuts through the richness of the custard. Finished with a shiny apricot glaze, these tarts look like they’ve come straight from a Parisian pâtisserie, making them a centerpiece of any viral spread.
Ingredients
- 1.5 cups all-purpose flour
- 1/2 cup powdered sugar
- 3/4 cup cold unsalted butter, cubed
- 1 egg yolk
- 2 cups whole milk
- 1/2 cup granulated sugar
- 1/4 cup cornstarch
- 4 egg yolks
- 1 teaspoon vanilla bean paste
- Assorted fresh berries (strawberries, blueberries, raspberries)
- 1/4 cup apricot preserves
How to make it
- Make the crust by pulsing flour, powdered sugar, and cold butter in a food processor until it looks like fine crumbs. Add the egg yolk and pulse until the dough begins to clump together.
- Press the dough into mini tart pans. Prick the bottoms with a fork and chill in the freezer for 15 minutes. Bake at 375°F (190°C) for 12-15 minutes until light golden. Let cool completely.
- Prepare the pastry cream by whisking granulated sugar, cornstarch, and 4 egg yolks in a bowl. Heat the milk in a saucepan until it just begins to simmer.
- Slowly temper the eggs by pouring a little hot milk into the egg mixture while whisking constantly. Pour the whole mixture back into the saucepan and cook over medium heat, whisking vigorously until thick and bubbling.
- Remove from heat, stir in vanilla bean paste, and cover with plastic wrap touching the surface to prevent a skin. Chill for at least 2 hours.
- To assemble, fill the cooled tart shells with the chilled pastry cream. Arrange the fresh berries on top in a decorative pattern.
- Heat the apricot preserves with a splash of water and brush gently over the berries for a professional, high-shine finish.
How to price baked goods?

Why we love this
Pricing is where the art of baking meets the logic of business, and finding that “sweet spot” is incredibly rewarding. It’s about valuing your time, your ingredients, and your unique talent. There’s a certain confidence that comes with presenting a price list that you know is fair to both you and your customers. When priced correctly, your business thrives, allowing you to invest in better ingredients and more beautiful packaging, creating a cycle of quality and success that feels as balanced as a perfect recipe.
Ingredients
- Detailed list of ingredient costs
- Labor time log (prep, bake, clean)
- Overhead costs (electricity, rent, marketing)
- Packaging cost per unit
- Competitor pricing data
- Desired profit margin percentage
How to make it
- Calculate your Cost of Goods Sold (COGS). This includes every gram of flour and every teaspoon of vanilla used in a single batch. Use a spreadsheet to be precise.
- Determine your labor rate. Decide how much you want to be paid per hour and track exactly how long it takes to make the product from start to finish, including cleaning.
- Factor in overhead. Estimate your monthly costs for utilities, insurance, and marketing, and divide that by the number of units you expect to sell to get an overhead-per-item cost.
- Add packaging costs. Don’t forget the boxes, ribbons, stickers, and liners. These small costs add up quickly.
- Apply a profit margin. Typically, a 10-20% profit margin is added on top of your total costs (COGS + Labor + Overhead + Packaging) to ensure the business can grow.
- Research the market. Compare your total price against competitors. If you are significantly higher, ensure your branding and quality justify the premium. If too low, raise your prices to avoid burnout.
How to choose baker tattoos?

Why we love this
Choosing a baker-themed tattoo is a deeply personal journey of self-expression. It’s about finding that one symbol that encapsulates why you love to create. We love the variety—from the whimsy of a dancing gingerbread man to the elegance of a botanical sprig of rosemary. When you choose the right design, it becomes a conversation starter, a way to connect with other foodies and creators, and a constant reminder of the passion that fuels your early mornings in the kitchen.
Ingredients
- Personal history and memories
- Artistic style preferences (Realism, Blackwork, Watercolor)
- Meaningful quotes or words
- Color palette choice
- Body placement considerations
How to make it
- Reflect on your “why.” Did you learn to bake with your grandmother? Maybe a tattoo of her favorite rolling pin is the right choice. Do you love the science? Perhaps a chemical structure of sugar would work.
- Determine the level of detail you want. Realism requires a larger canvas and a specialized artist, while a simple silhouette can be tucked away discreetly on a wrist.
- Consider the color. Do you want vibrant, “edible” colors that pop, or a timeless black and grey design that will age gracefully and won’t clash with your clothing?
- Test the size. Ask your artist to print several sizes of the design and tape them to your skin to see how the scale feels on your body before the needle ever touches you.
- Think about longevity. Small, intricate details in tattoos can “bleed” over time. Choose a design with enough negative space to ensure it remains legible decades later.
How to bake lemon bars?
Why we love this
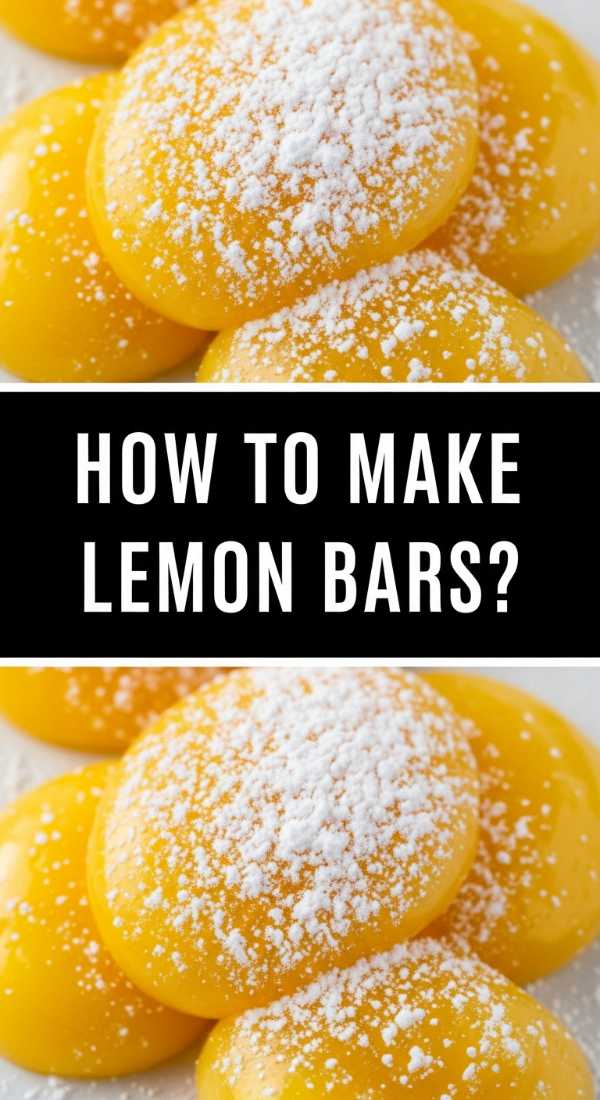
Lemon bars are the bright, zesty stars of any dessert board, providing a sharp, citrusy punch that awakens the palate. We love the contrast between the buttery, shortbread-like crust and the soft, almost custard-like lemon filling. The scent of fresh lemon zest filling the kitchen is incredibly uplifting. Topped with a generous dusting of powdered sugar, they look like little squares of sunshine, offering a perfect balance of tart and sweet that leaves everyone reaching for just one more piece.
Ingredients
- 2 cups all-purpose flour
- 1/2 cup powdered sugar (plus more for dusting)
- 1 cup unsalted butter, softened
- 4 large eggs
- 2 cups granulated sugar
- 1/4 cup all-purpose flour (for filling)
- 2/3 cup fresh lemon juice
- 1 tablespoon lemon zest
How to make it
- Preheat your oven to 350°F (175°C) and grease a 9×13 inch baking pan. Line it with parchment paper, leaving an overhang on the sides for easy removal.
- In a medium bowl, combine 2 cups of flour, 1/2 cup powdered sugar, and the softened butter. Mix until a soft dough forms. Press this evenly into the bottom of your prepared pan.
- Bake the crust for 18-20 minutes or until it is just starting to turn light brown around the edges. This creates a sturdy base for the lemon layer.
- While the crust is baking, whisk together the eggs, granulated sugar, 1/4 cup flour, lemon juice, and lemon zest. Whisk until the mixture is smooth and slightly frothy.
- Pour the lemon mixture over the hot crust as soon as it comes out of the oven. This helps the two layers bond together.
- Return the pan to the oven and bake for another 20-25 minutes. The filling should be set and no longer jiggle in the center when the pan is gently shaken.
- Allow the bars to cool completely in the pan at room temperature, then refrigerate for at least 2 hours before slicing into squares and dusting with powdered sugar.
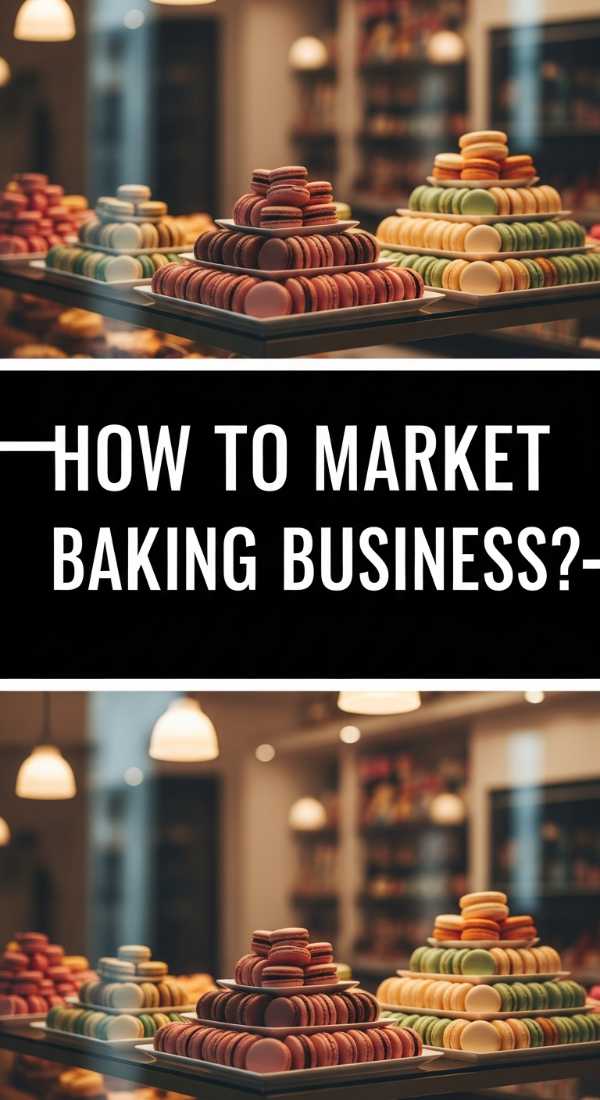
How to market baking business?
Why we love this
Marketing is the bridge that connects your kitchen to the world, and in the digital age, it’s a canvas for storytelling. We love the way a well-curated Instagram feed can make someone crave a cookie they’ve never even smelled. It’s about building a community of food lovers who are invested in your journey. Seeing your engagement grow and your orders increase is a powerful motivator that proves your hard work is being recognized and appreciated by the people who matter most—your customers.
Ingredients
- High-quality food photography
- Consistent social media schedule
- Email marketing list
- Local networking events
- Collaborations with other small businesses
- Customer testimonial strategy
How to make it
- Master the art of food photography. Use natural light and simple backgrounds to make your baked goods the star. Visual appeal is the primary driver of food sales online.
- Create a content calendar for social media. Don’t just post the finished product; show the “behind the scenes” process, the mess in the kitchen, and your personal story.
- Leverage local SEO. Ensure your business is listed on Google My Business so people in your area can find you when they search for “bakery near me.”
- Build an email list from day one. Offer a small discount in exchange for an email address. This allows you to market directly to your most loyal customers without relying on algorithms.
- Collaborate with local coffee shops or florists. A “pop-up” shop or a cross-promotion can introduce your brand to a whole new audience of potential buyers.
- Encourage and showcase user-generated content. When a customer posts a photo of your cake, share it! Social proof is the most effective form of marketing.
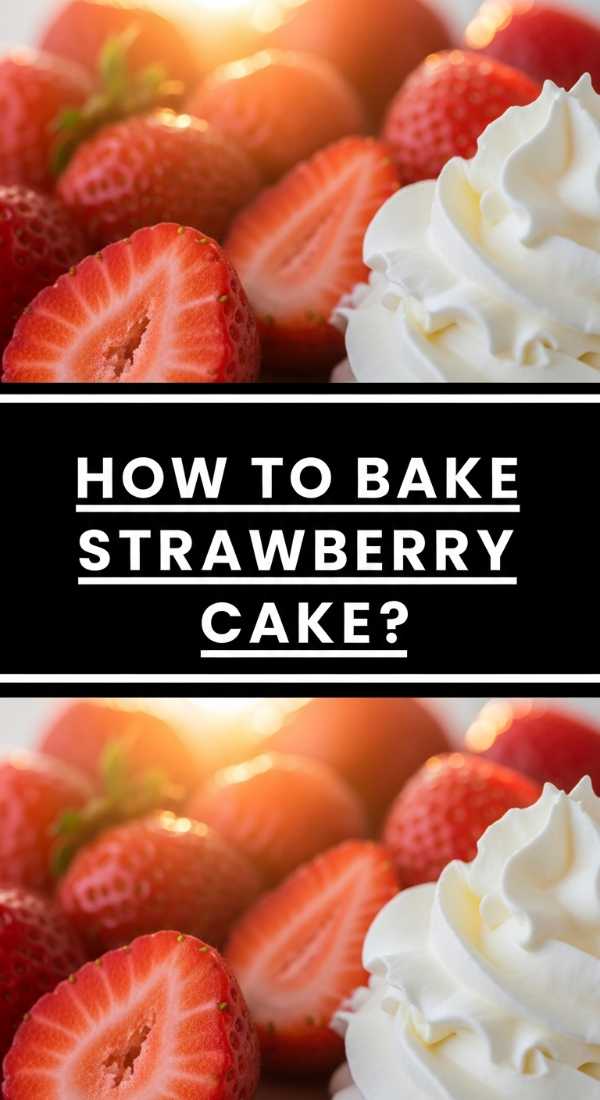
How to bake strawberry cake?
Why we love this
A fresh strawberry cake is the epitome of summer joy, boasting a tender crumb and a naturally vibrant pink hue. We love the way the scent of macerated berries permeates the batter, promising a flavor that is deep, fruity, and authentic. There is something incredibly satisfying about slicing into a layer cake to reveal those flecks of real fruit. Paired with a light cream cheese frosting, it’s a decadent yet refreshing treat that feels celebratory and nostalgic all at once.
Ingredients
- 2.5 cups cake flour
- 1.5 cups granulated sugar
- 1 tablespoon baking powder
- 1/2 teaspoon salt
- 3/4 cup unsalted butter, softened
- 1/2 cup strawberry puree (from fresh berries)
- 1/4 cup whole milk
- 1 teaspoon vanilla extract
- 4 large egg whites
- Fresh strawberries for garnish
How to make it
- Preheat your oven to 350°F (175°C). Grease and flour two 8-inch round cake pans. Reduce 1 cup of fresh strawberry puree in a saucepan over medium heat until it equals 1/2 cup to concentrate the flavor.
- In a large bowl, whisk together the cake flour, sugar, baking powder, and salt. Add the softened butter and mix on low speed until the mixture looks like damp sand.
- In a separate bowl, whisk together the reduced strawberry puree, milk, vanilla, and egg whites.
- Add the liquid mixture to the flour/butter mixture in three batches, beating on medium speed for about 1 minute after each addition to aerate the batter and build structure.
- Divide the batter evenly between the prepared pans. Bake for 28-32 minutes, or until a toothpick inserted in the center comes out clean.
- Let the cakes cool in the pans for 10 minutes, then turn them out onto wire racks to cool completely. Cooling is vital before frosting to prevent melting.
- Frost with a strawberry cream cheese frosting and garnish with fresh sliced berries for a stunning, viral-ready look.
How to style baking tattoo?

Why we love this
Styling a baking tattoo is about integrating your passion into your daily aesthetic, making it a part of your personal fashion statement. We love how a well-placed tattoo can be accessorized with jewelry or highlighted by the roll of a sleeve. It’s an extension of your creative self that looks just as good in the kitchen as it does at a dinner party. It adds an edge of artistry to your look, signaling to the world that you are a creator, a maker, and someone who finds beauty in the details.
Ingredients
- Complementary jewelry (rings, bracelets)
- Clothing with specific sleeve lengths
- Skin care products (sunscreen, moisturizer)
- Confidence and personal flair
How to make it
- Choose clothing that frames the tattoo. If you have a forearm piece, 3/4 length sleeves or rolled-up button-downs act as a natural frame for the artwork.
- Coordinate your jewelry. If your tattoo is fine-line blackwork, delicate gold or silver rings can enhance the elegance. If it’s a bold color piece, choose more minimalist accessories.
- Keep the ink vibrant. The best way to style a tattoo is to keep it looking fresh. Apply high-SPF sunscreen every time you go out to prevent the sun from fading the pigment.
- Use a daily moisturizer to keep the skin hydrated, which makes the lines appear crisper and the colors more saturated.
- Consider the “flow.” If you are adding more tattoos, work with your artist to ensure the new pieces complement the existing baking tattoo in terms of spacing and style.
- Wear it with confidence! The best way to style any permanent art is to own the story behind it and share your passion with anyone who asks.
Conclusion: Your Board, Your Story
Building the perfect simple food board is about more than just the recipes; it’s about the heart you put into every slice of cake and every berry tart. Whether you are baking for friends or building a business that celebrates your craft, remember that the most viral-worthy thing you can share is your authentic passion. So, grab your whisk, preheat that oven, and let your creativity shine through every delicious detail. Your guests—and your future customers—will surely taste the love.