
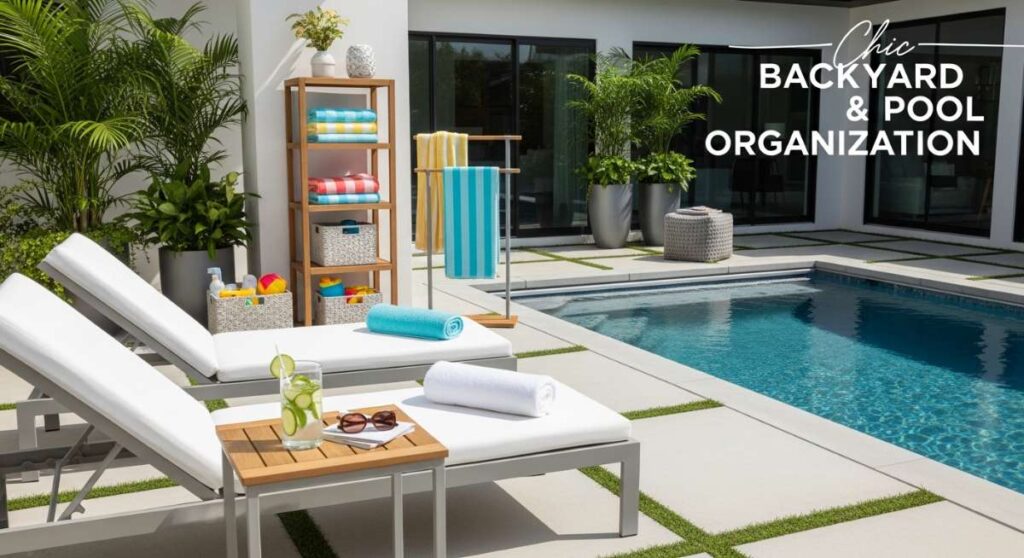
Dive Into Style: The Ultimate Guide to Chic Poolside Organization
There is nothing quite like the feeling of stepping out onto a sun-drenched patio, the smell of chlorine and sunscreen mingling with the scent of blooming jasmine, ready for a day of pure relaxation. We’ve all dreamed of that Pinterest-perfect backyard oasis, where the water is crystal blue and every towel is perfectly rolled. But often, the reality involves tripping over giant flamingo floats and hunting for a dry pair of goggles while the sun slowly sets on our serenity.
Creating a chic, organized poolside isn’t just about aesthetics; it’s about reclaiming your peace of mind. When every item has a dedicated home, the transition from ‘work mode’ to ‘vacation mode’ happens the second you slide open the patio door. Today, I’m sharing my favorite secrets for turning your backyard into a high-end resort experience through the magic of thoughtful organization and stylish storage solutions.
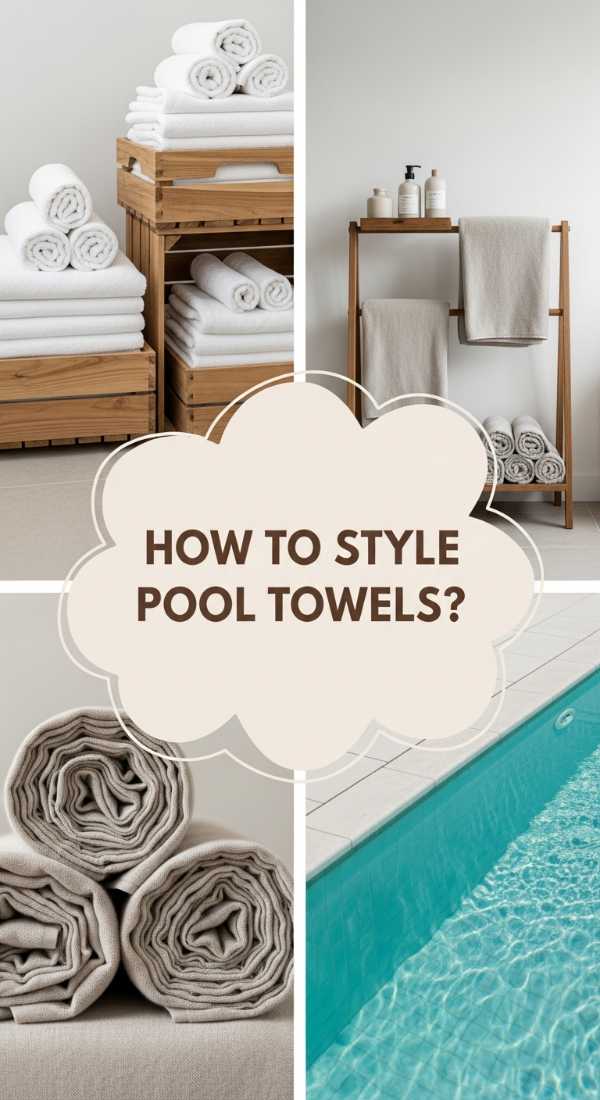
How to Store Pool Floats for a Clutter Free Summer
Why we love this
Nothing kills the vibe of a sophisticated backyard like a pile of neon plastic strewn across the lawn. By giving your floats a dedicated storage system, you preserve the life of the vinyl, preventing those heartbreaking punctures and sun-fading while instantly elevating the look of your pool deck. Imagine walking across a clean, clear stone patio where the only things catching your eye are the sparkling water and the lush greenery, rather than a tangled mess of inflatable unicorns and oversized donuts.
Essential Elements:
- Heavy-duty wall-mounted hooks
- Elastic bungee cords
- All-weather mesh cargo netting
- PVC or stainless steel vertical rack
- UV-resistant storage bins
How to make it
- Select a discrete location behind a pool house or on a side fence that receives partial shade to prevent the vinyl from overheating and sticking.
- Install heavy-duty, rust-proof hooks into your fence or wall studs, spacing them approximately 3 to 4 feet apart depending on the size of your largest floats.
- Thread a durable bungee cord through the hooks to create a ‘retaining wall’ that holds the floats upright against the vertical surface without them blowing away.
- For smaller rings and tubes, install a mesh cargo net low to the ground, allowing water to drain out while keeping items contained and off the grass.
- Check the floats for moisture before storing; wipe them down with a microfiber cloth to prevent mildew growth in the folds of the plastic.
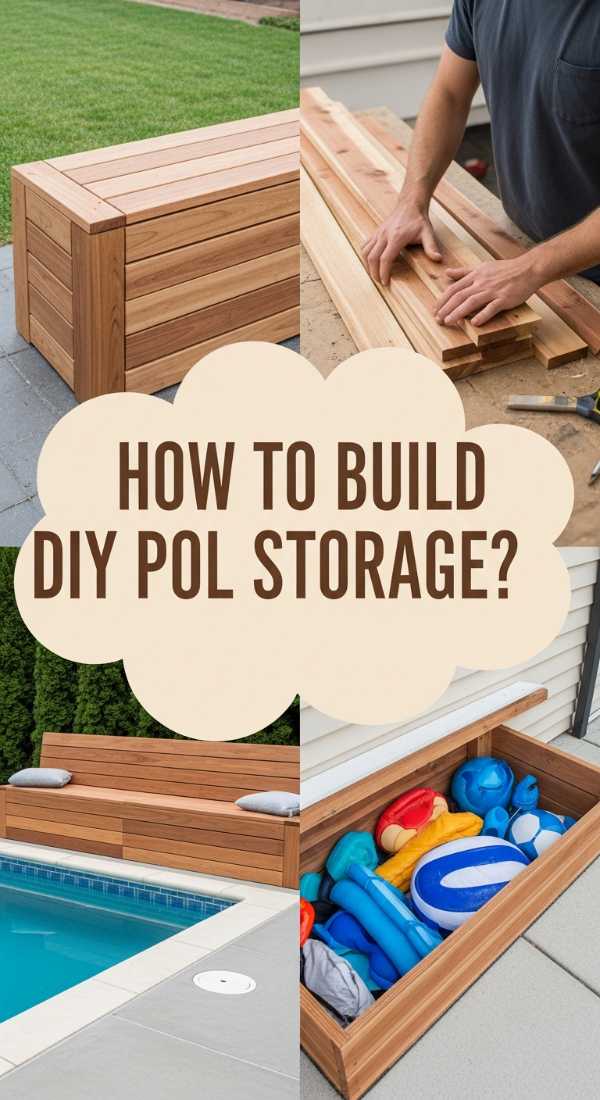
How to Create a Spa Towel Station for Ultimate Relaxation
Why we love this
There is a specific kind of luxury found in grabbing a warm, fluffy, perfectly folded towel the moment you step out of the water. A dedicated towel station mimics the high-end feel of a five-star spa, offering a sensory experience that combines the softness of high-quality cotton with the refreshing scent of lavender or eucalyptus mist. It transforms a functional necessity into a centerpiece of comfort, ensuring your guests feel pampered and cared for from the moment they arrive until they dry off.
Essential Elements:
- Weather-resistant teak or wicker shelving unit
- Large wicker baskets for used linens
- Scented linen spray (lavender or citrus)
- Decorative tray for sunscreen and rolled face towels
- Weighted door stops to prevent wind-blown towels
How to make it
- Choose a sheltered spot near the pool exit that is protected from direct splashes and sudden rain showers to keep the towels bone-dry.
- Fold your towels using the ‘hotel roll’ method: fold the towel in half lengthwise, fold one corner in to create a point, roll tightly from the straight end, and tuck the point into the roll for a secure, aesthetic finish.
- Stack the rolled towels vertically or in a pyramid shape on the shelves, ensuring the edges are aligned for a clean, uniform look.
- Place a small decorative tray on the middle shelf containing a bottle of chilled linen spray and a few small, damp face towels kept in a dedicated mini-cooler for an extra touch of luxury.
- Position a large, breathable wicker basket at the base of the station with a ‘Laundry’ sign so guests know exactly where to place damp towels, preventing them from ending up on chairs or the floor.
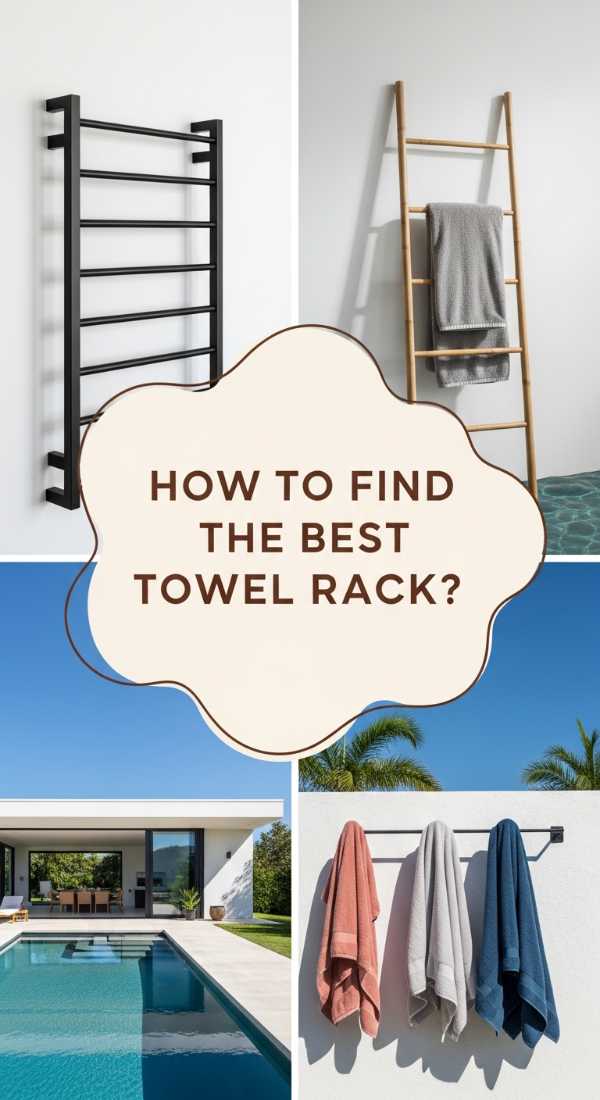
How to Design a DIY Storage Bench for a Seamless Backyard
Why we love this
The beauty of a storage bench lies in its dual-purpose brilliance; it provides a comfortable place to sit and enjoy the view while hiding away the bulky essentials that usually clutter the landscape. There is something incredibly satisfying about a piece of furniture that feels solid and permanent, smelling faintly of cedar and outdoor finish, which snaps shut to hide a multitude of pool toys and chemicals. It blends seamlessly into your architecture, providing a clean line that leads the eye toward your beautiful landscaping.
Essential Elements:
- Pressure-treated 2×4 lumber for the frame
- Cedar or composite decking boards for the exterior
- Exterior-grade wood screws and waterproof wood glue
- Heavy-duty stainless steel hinges
- Weather-stripping or a pond liner for the interior lid
How to make it
- Measure your space and cut your 2×4 frame pieces to create a rectangular box; ensure the height is approximately 18 inches for optimal seating comfort.
- Assemble the frame using wood glue and screws, adding center support beams every 2 feet to ensure the bench can hold the weight of multiple adults.
- Attach the cedar or composite boards to the sides and front, leaving a 1/8-inch gap between boards for ventilation to prevent moisture buildup inside.
- Construct the lid by framing a flat panel of decking boards, then line the underside of the lid with a piece of waterproof pond liner to ensure rain runs off rather than seeping into the storage area.
- Install the hinges and a soft-close hydraulic strut to prevent the heavy lid from slamming, and finish the wood with a high-quality UV-protectant stain to match your deck.
How to Select a Modern Towel Rack for a Sleek Poolside

Why we love this
A modern towel rack acts like a piece of functional sculpture, adding a touch of contemporary elegance to your outdoor space with its clean lines and metallic sheen. We love how a well-placed rack allows towels to air dry in the breeze, capturing the warmth of the sun so they are ready for the next dip without that damp, musty smell. The visual of colorful textiles hanging against a matte black or brushed gold frame creates a vibrant, lived-in feel that still looks organized and intentional.
Essential Elements:
- Freestanding matte black or stainless steel rack
- Non-slip rubber feet for pool deck stability
- UV-resistant powder coating
- Multi-tiered bars for airflow
- Rust-proof hardware
How to make it
- Select a rack made from aluminum or high-grade stainless steel to ensure it won’t rust or stain your expensive pavers when exposed to salt or chlorine water.
- Position the rack in a high-sun area of the deck to maximize drying speed, but ensure it is weighted properly or bolted down if you live in a high-wind area.
- Space the towels out across the different tiers; never overlap more than two towels on a single bar, as this restricts airflow and leads to uneven drying.
- Incorporate a small ‘S’ hook on the side of the rack to hang wet goggles or swim caps, keeping the main bars reserved for the larger linens.
- At the end of the day, wipe down the metal bars with a damp cloth to remove any salt or chemical residue that could eventually pit the metal finish.
How to Achieve Total Poolside Order for Easy Entertaining
Why we love this
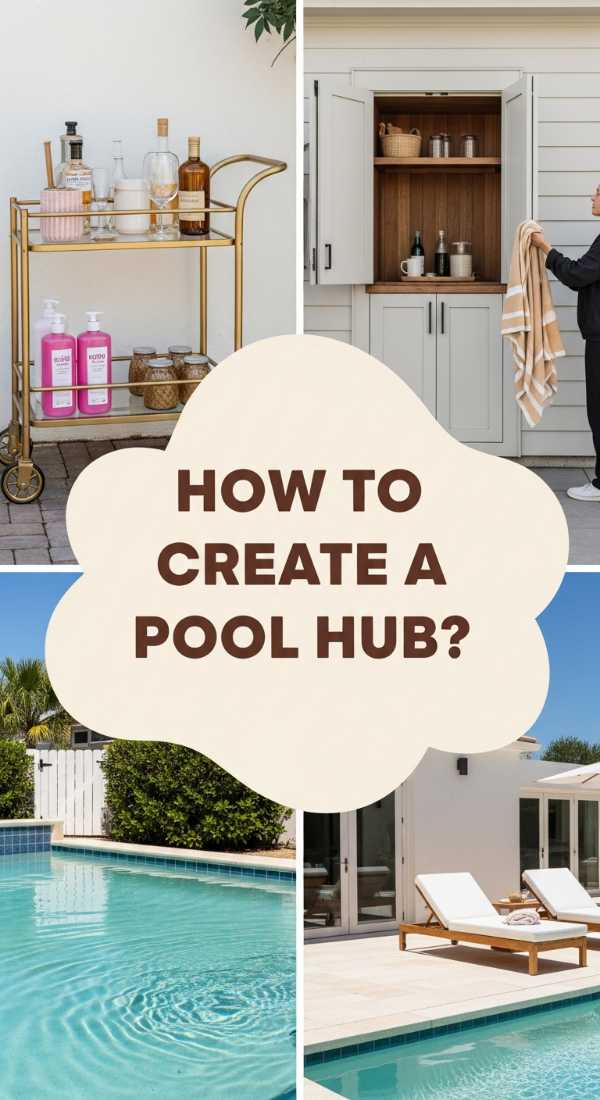
When your poolside is perfectly ordered, entertaining feels effortless rather than exhausting, allowing you to actually enjoy the party you worked so hard to host. There is a palpable sense of ease when guests can find their own snacks, drinks, and sunscreen without having to ask, creating a flow that feels natural and relaxed. The sight of a perfectly staged refreshment zone, with ice clinking in bins and everything in its place, sets a tone of luxury and hospitality that your friends will talk about all summer.
Essential Elements:
- Rolling bar cart with locking wheels
- Clear acrylic bins for snacks and accessories
- Waterproof labels or chalk tags
- Insulated beverage tubs
- Goggles and toy bins with drainage holes
How to make it
- Divide your poolside into ‘zones’: a Refreshment Zone, a Sun Protection Zone, and a Play Zone to prevent foot traffic jams around the water.
- Use a rolling cart to house the Sun Protection Zone, stocking it with various SPF levels, bug spray, and fresh sunglasses in clear, labeled acrylic bins.
- Organize the Refreshment Zone by placing a large insulated tub on a stand, filled with ice and drinks, and a separate lidded container for pre-packaged, non-perishable snacks.
- Implement a ‘one-in, one-out’ rule for toys: provide a large mesh bin for active toys and ensure all others stay in their designated storage area until needed.
- Label every bin clearly using waterproof vinyl stickers so that even younger guests know exactly where to return items when they are finished using them.
How to Hide Pool Equipment for a Flawless Landscape
Why we love this
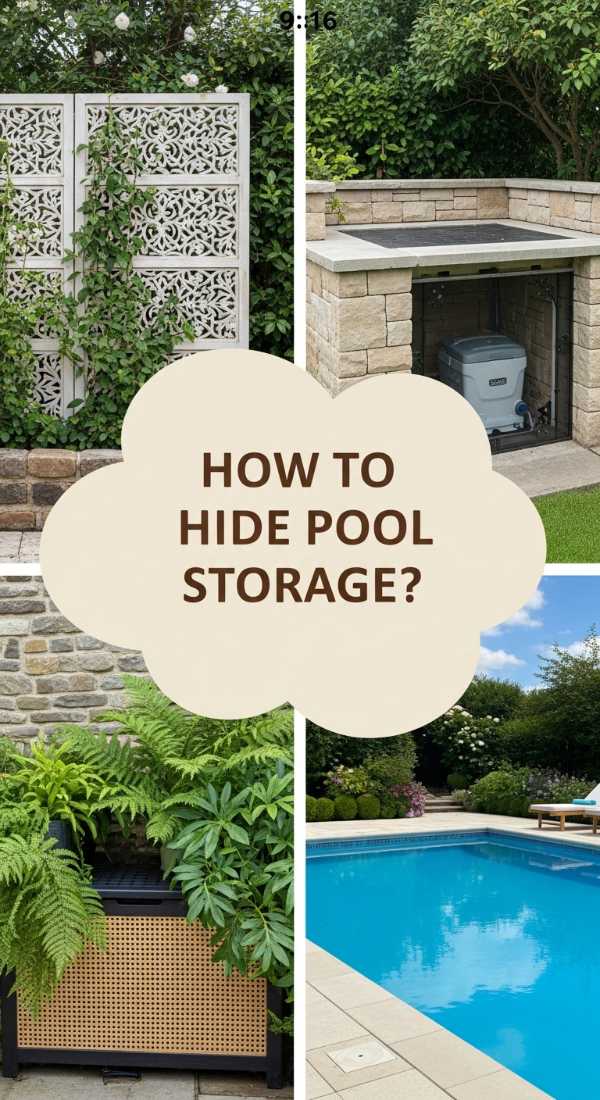
The low hum of a pool pump and the sight of tangled PVC pipes can quickly break the spell of a tropical backyard paradise. Hiding your equipment is like the final touch of a professional makeover; it removes the industrial elements and replaces them with texture, color, and quiet. We love the transformation of a utility corner into a lush garden wall or a stylish cedar screen that softens the overall look of the yard while significantly dampening the mechanical noise, allowing the sound of the water features to take center stage.
Essential Elements:
- Cedar or vinyl lattice panels
- Evergreen shrubs (like Boxwood or Arborvitae)
- Sound-dampening acoustic foam (optional)
- Hidden access gate with latch
- Gravel base for drainage
How to make it
- Build a three-sided screen using weather-resistant materials, ensuring there is at least 2 feet of clearance on all sides of the equipment for airflow and technician access.
- If using wooden slats, space them 1/2 inch apart to allow the pump to breathe; if it gets too hot, the motor life will be significantly shortened.
- Plant a row of tall, dense evergreens about 3 feet in front of the screen to add a second layer of visual and sound insulation that looks natural and soft.
- Ensure the ‘floor’ of the equipment area is covered in 3-4 inches of crushed gravel to prevent mud splashes and to allow water to drain away from the electrical components.
- Install a wide, easy-to-open gate on the side most accessible to the pool operator, using heavy-duty hinges that won’t sag over time.
How to Store Giant Inflatables Without Losing Space
Why we love this
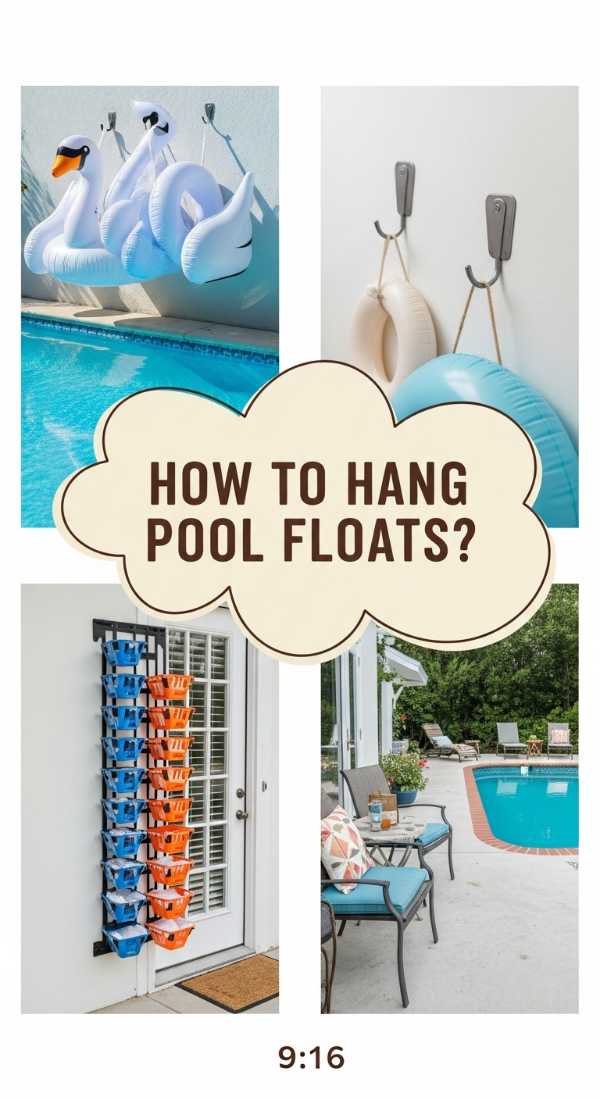
Giant inflatables are the soul of summer fun, but their massive footprint can make a garage or shed feel instantly cramped and chaotic. Finding a way to store these oversized pieces—whether inflated or deflated—is a total game-changer for spatial efficiency. There is a huge sense of relief in seeing your ceiling or walls utilized for storage, leaving the floor clear for walking, and knowing that your giant swan or pizza slice is safely tucked away from sharp objects and dust.
Essential Elements:
- Overhead garage storage racks
- Electric air pump with a ‘deflate’ setting
- Large vacuum-seal storage bags
- Wall-mounted surfboard racks
- Soft microfiber storage sleeves
How to make it
- For items you want to keep inflated, install wide-arm surfboard racks high on a garage wall or use a pulley system to hoist them to the ceiling.
- If space is tight, use the ‘deflate’ setting on your electric pump to remove every last bit of air until the plastic is completely flat and pliable.
- Fold the deflated plastic loosely (avoiding sharp creases which can cause leaks) and place the items into oversized vacuum-sealed bags to compress them even further.
- Store these bags in a temperature-controlled environment, as extreme heat in a shed can cause the vinyl to fuse together or become brittle over time.
- Keep a small repair kit (patches and adhesive) taped directly to the storage bag so you can fix any tiny leaks the moment you reinflate them next season.
How to Keep Pool Linens Fresh and Accessible All Day
Why we love this
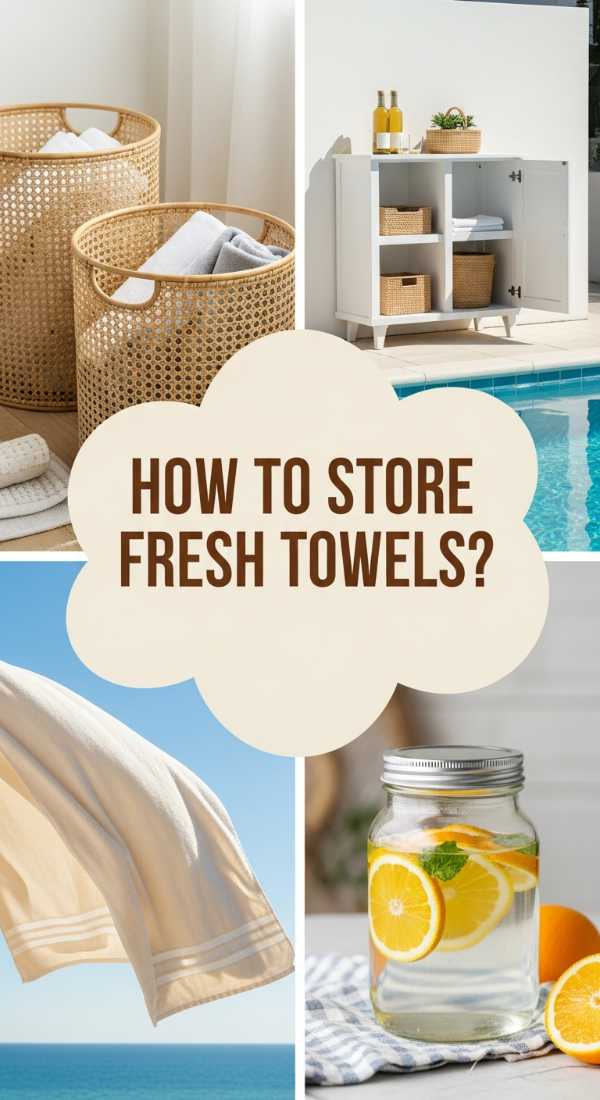
There’s nothing worse than reaching for a towel only to find it damp from the humidity or smelling like the bottom of a gym bag. Keeping your linens fresh is all about creating an environment that breathes while protecting them from the elements. We love the feeling of a crisp, sun-warmed towel that smells like a summer breeze. By maintaining a clean, accessible linen station, you ensure that every guest feels refreshed and that your beautiful textiles last for many seasons to come.
Essential Elements:
- Lidded ventilated bins
- Natural cedar blocks or sachets
- Moisture-absorbing silica packets
- Rotational inventory system
- UV-protective storage covers
How to make it
- Place a few cedar blocks or dried lavender sachets at the bottom of your towel storage bins to naturally repel insects and provide a subtle, fresh aroma.
- Incorporate a moisture-absorbing canister (like DampRid) in the back of the storage unit to pull any excess humidity out of the air, especially in coastal or humid climates.
- Practice a ‘First-In, First-Out’ rotation: when you bring out fresh towels, place them at the bottom of the stack so every towel gets equal use and sun exposure.
- During the hottest part of the day, keep the storage lids slightly cracked to allow for maximum airflow, closing them tightly only when rain is expected.
- Once a week, bring all stored linens inside for a quick ‘refresh’ cycle in the dryer with a wool dryer ball to fluff the fibers and remove any lingering dampness.
How to Build a Custom Pool Station for All Your Needs
Why we love this
A custom pool station is the ultimate ‘command center’ for backyard living, bringing together everything from goggles and sunscreen to cold water and Bluetooth speakers. It’s the piece that ties the whole experience together, looking like a high-end built-in while functioning like a professional gear locker. We love how a station like this eliminates the constant trekking back and forth to the house, allowing you to stay present in the moment, soaking up the sun and the company of your favorite people.
Essential Elements:
- Repurposed potting bench or outdoor buffet
- Weatherproof sealant or outdoor paint
- Stainless steel hooks and baskets
- Built-in bottle opener
- Small chalkboard for ‘Pool Rules’ or the Wi-Fi password
How to make it
- Start with a solid wood potting bench, sand it down thoroughly, and apply three coats of marine-grade spar urethane to protect it from water and sun damage.
- Attach a series of small wire baskets to the hutch area to hold goggles, diving sticks, and small toys, ensuring they are at eye level for children.
- Mount a heavy-duty bottle opener on the side and a small towel ring for a dedicated hand towel, making it a functional hub for refreshments.
- Utilize the lower shelf for heavier items like spare bottles of sunscreen, a first aid kit, and a basket of clean flip-flops for guests who forgot theirs.
- Decorate the top with a few potted succulents or a tray of lemons to give it a finished, lived-in look that feels like part of your home’s decor.
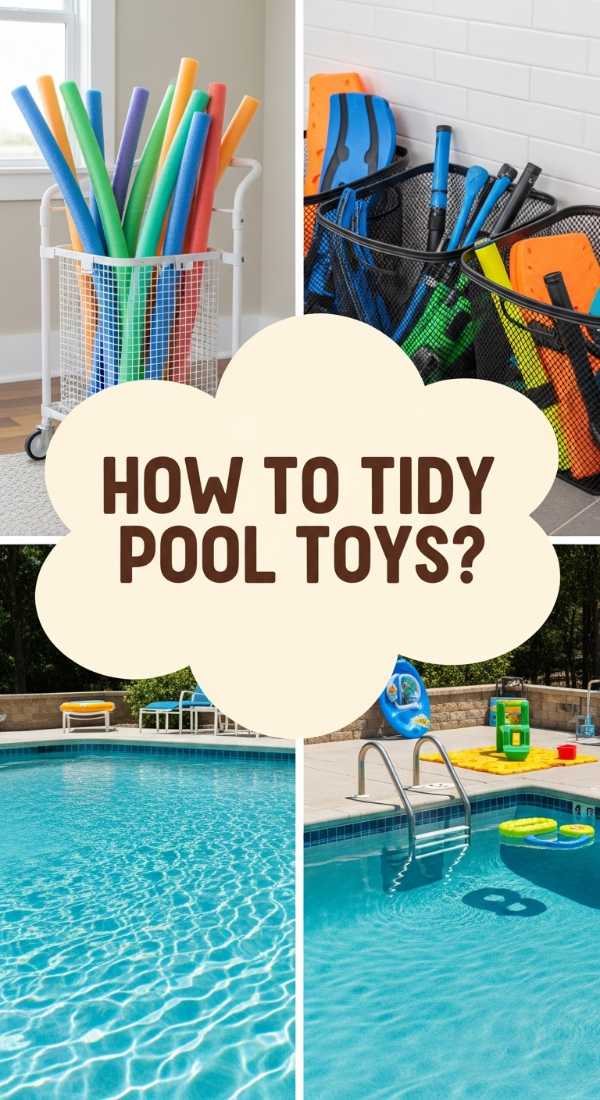
How to Organize Pool Toys for a Stress Free Family Day
[IMAGE_10]
Why we love this
Family days are for making memories, not for digging through a bottomless bin of tangled dive rings and half-inflated beach balls. Organizing your pool toys by category makes clean-up a game rather than a chore, and it teaches kids to respect their playthings. We love the sight of a neatly sorted toy zone where everything is visible and dry, preventing that dreaded ‘slimy toy’ feeling and ensuring that the next spontaneous pool party is ready to go in seconds.
Essential Elements:
- Mesh hanging organizers
- Color-coded plastic crates
- Nylon drawstring bags
- Label maker with waterproof tape
- A ‘drainage’ tray for wet toys
How to make it
- Sort all toys into three categories: Diving/Submersible, Floating/Inflatable, and Games/Balls.
- Use mesh hanging bags for the diving toys so they can drip dry completely, preventing mold and algae growth on the small plastic parts.
- Assign a color-coded crate to each category; for example, blue for diving, yellow for balls, and green for noodles/poodles.
- Store the crates on a slightly angled rack so that any water dripping from the top crate doesn’t soak the items in the crate below it.
- Establish a ‘cleanup timer’ at the end of the day—give the kids five minutes to match the toys to their color-coded crates, making it a quick and rewarding end to the fun.
Transforming Your Oasis: A Final Word on Style
Organizing your poolside is about more than just putting things away; it’s about creating a space that breathes and invites you to slow down. When you invest a little time into these chic storage solutions, you’re not just cleaning up—you’re designing a lifestyle. Now, go grab a cold drink, pick out a perfectly rolled towel, and enjoy the pristine paradise you’ve created!