
Have you ever walked through your front door after a long day, looked around, and felt a little… uninspired? I’ve been there. For years, I scrolled through glossy interior design magazines, sighing at the price tags and feeling like a beautiful home was a luxury I just couldn’t afford. We often think that creating a sanctuary requires a massive renovation budget, but I’ve learned that the most soulful homes aren’t bought—they’re built, one DIY project at a time.
There is a unique kind of magic in rolling up your sleeves and transforming a corner of your world with your own two hands. It’s about the smell of fresh cedar, the satisfying click of a perfectly organized pantry jar, and the way the golden hour light hits a hand-painted mural. This journey into the ultimate DIY lifestyle isn’t just about saving money; it’s about infusing your personality into every square inch of your space until it finally feels like you.
How to Design Front Yard Landscapes for Instant Curb Appeal

Why we love this
There is nothing quite like the feeling of pulling into your driveway and being greeted by a lush, intentional landscape that feels like a warm embrace. We love this because it sets the emotional tone for the entire home, combining the earthy scent of damp mulch with the vibrant, swaying textures of ornamental grasses and perennials. Imagine the soft rustle of lavender as you walk past, the visual rhythm of clean stone borders, and the way a well-placed hydrangea can turn a flat yard into a multi-dimensional garden oasis that invites neighbors to stop and stare.
Essential Elements:
- Native perennial plants (Coneflowers, Black-eyed Susans)
- High-quality dark hardwood mulch
- Natural stone or brick for edging
- Solar-powered warm-glow pathway lights
- A focal point tree or large shrub (like a Japanese Maple)
How to make it
- Begin by defining your bed shapes using a garden hose to map out organic, flowing curves rather than rigid straight lines; this creates a more natural, professional aesthetic.
- Edge the perimeter deeply—about 4 inches down—using a sharp spade to create a distinct barrier between your lawn and the new garden bed, which prevents grass from creeping in.
- Layer the soil with 2 inches of organic compost to provide a nutrient-dense foundation, ensuring you mix it into the existing topsoil until the texture is crumbly and dark.
- Position your plants according to their mature size, placing taller species in the back and shorter groundcovers in the front; check for “thriller, filler, and spiller” heights to ensure visual balance.
- Install stone edging by digging a shallow trench, leveling the earth with a hand tamper, and setting stones tightly together to prevent shifting over time.
- Apply a 3-inch layer of mulch, keeping it away from the direct stems of plants to prevent rot, and finish with a deep watering session until the soil is saturated but not muddy.
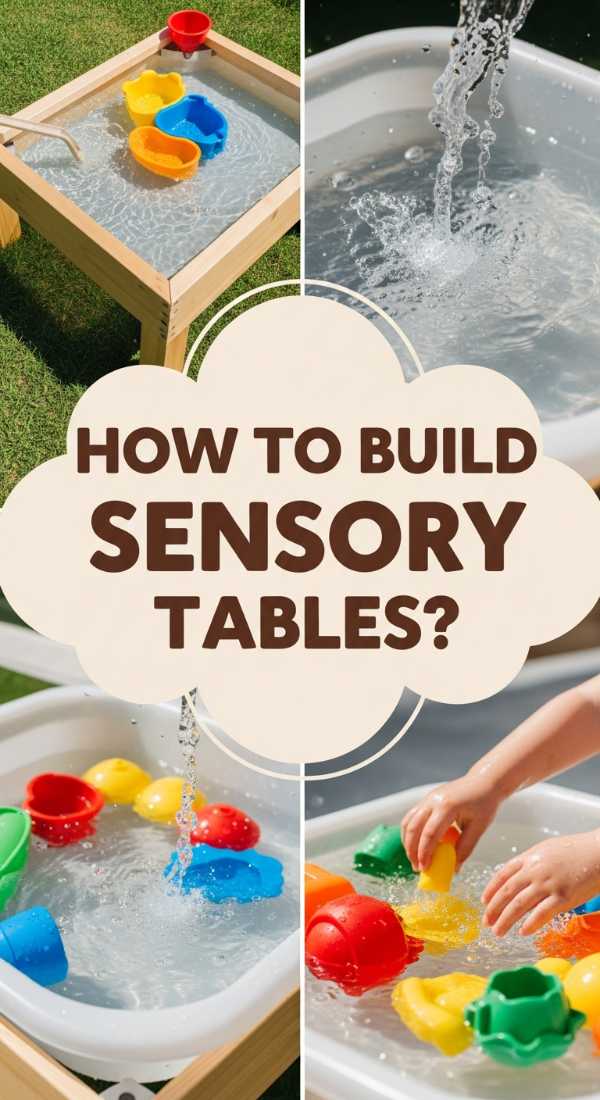
How to Build Custom Water Tables for Toddler Sensory Play
Why we love this
This project is a sensory symphony that brings the calming elements of nature directly to your little ones. We love the tactile contrast between the cool, splashing water and the smooth, sanded grain of the wooden frame. There’s a beautiful sound to water trickling over plastic scoops and the sight of sunlight reflecting off the surface, creating dancing patterns on your patio. It’s more than just a toy; it’s a dedicated space for discovery where children can feel the weight of wet sand and the refreshing chill of ice cubes on a warm afternoon.
Essential Elements:
- Pressure-treated lumber or cedar (naturally rot-resistant)
- Deep plastic storage bins with lids
- Stainless steel wood screws
- Battery-operated water pump for circulation
- Assorted PVC pipes and funnels for the water flow
How to make it
- Measure the height of your toddler from the floor to their mid-waist to determine the most ergonomic height for the table frame, ensuring they won’t have to strain or lean too far.
- Construct the rectangular top frame first, sizing it so the lip of your plastic bins will rest securely on the wood without falling through; use a spirit level to ensure every side is perfectly flat.
- Attach the legs using heavy-duty carriage bolts for maximum stability, as water is heavy (8.34 lbs per gallon), and a wobbly table is a safety hazard.
- Sand every surface with 80-grit followed by 220-grit sandpaper until the wood feels like silk to the touch, eliminating any risk of splinters during play.
- Apply a food-safe outdoor sealant or beeswax finish to protect the wood from constant moisture exposure, allowing it to cure for at least 48 hours in a dry environment.
- Insert the bins and add a DIY “plumbing” system using PVC pipes secured with zip ties to create waterfalls and splash zones that keep the water moving and the engagement high.
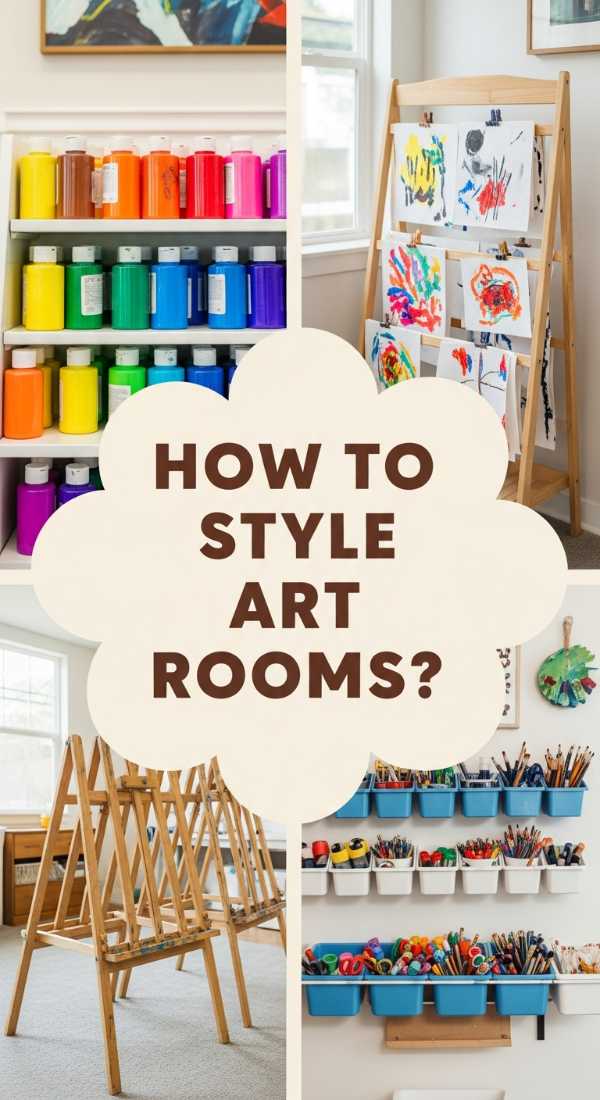
How to Style Creative Art Rooms for Inspired Learning
Why we love this
Walking into a well-styled art room feels like stepping into a burst of pure imagination. We love the organized chaos of rainbow-colored jars, the crisp smell of fresh paper, and the smooth, cool touch of ceramic palettes. It’s a space where the walls themselves become a canvas, featuring heights of inspiration that encourage both children and adults to get their hands messy. The visual harmony of sorted ribbons, paints, and brushes creates a serene environment that lowers the barrier to creativity, making every project feel possible.
Essential Elements:
- Pegboards with adjustable hooks and baskets
- Clear acrylic bins for color-coded storage
- Large, flat-surface wooden craft table
- Adjustable task lighting with daylight-balanced bulbs
- A dedicated “gallery wall” for displaying finished work
How to make it
- Start by zoning the room based on activity: a “wet zone” for painting and clay near the sink, and a “dry zone” for paper and drawing to prevent accidental damage to finished pieces.
- Mount heavy-duty pegboards to the wall using spacers, ensuring they are anchored into studs to support the weight of multiple heavy supply baskets.
- Organize supplies by color (ROYGBIV) to provide a visually soothing environment that naturally guides the eye and makes finding specific shades an intuitive process.
- Install a long floating shelf at eye level for current projects, allowing them to dry safely while remaining part of the room’s aesthetic decor.
- Choose a table surface that is either easily scrubbable (like laminate) or one you don’t mind staining (like raw pine) to remove the fear of making a mess, which is vital for true creativity.
- Set up a lighting grid using LED strips under shelves and a bright overhead pendant to eliminate shadows that can distort colors during detailed artistic work.
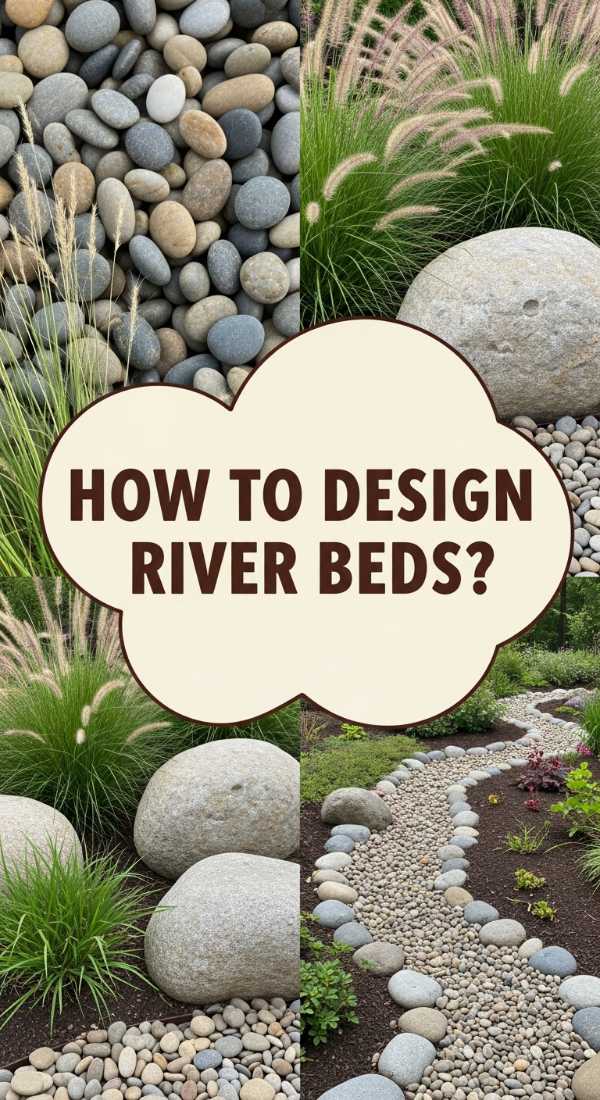
How to Install River Bed Features for Natural Drainage
Why we love this
A dry river bed is the perfect marriage of utility and breathtaking natural beauty. We love how it transforms a problematic, soggy area of the yard into a striking landscape feature that mimics the rugged elegance of a mountain stream. The smooth, rounded textures of river rocks in varied shades of grey, tan, and blue look stunning even when dry, but they truly come alive during rain, glistening as water flows gracefully over them. It adds a grounding, earthy element to your outdoor space while solving drainage issues with sophisticated style.
Essential Elements:
- Heavy-duty landscape fabric (weed barrier)
- Mixed-size river rocks (1 inch to 6 inches)
- Large anchor boulders for realism
- Perforated drainage pipe (if hidden drainage is needed)
- Drought-tolerant grasses (like Blue Oat Grass)
How to make it
- Identify the natural path water takes through your yard during a heavy storm and mark this path with landscape spray paint, following the curve of the land for a realistic look.
- Excavate a trench along the marked path, making it roughly 12-18 inches wide and 6-8 inches deep, ensuring a consistent downward slope of at least 1 inch for every 10 feet of length.
- Line the entire trench with professional-grade landscape fabric, overlapping edges by 6 inches and pinning them down securely to prevent soil erosion and weed growth.
- Place your largest “anchor” boulders first at the bends of the river bed to mimic how stones naturally accumulate in a real stream; these should look partially buried, not just sitting on top.
- Fill the remaining space with a mixture of medium and small river rocks, varying the sizes to avoid a uniform, artificial look; the smaller pebbles should fill the gaps between larger stones.
- Plant ornamental grasses and ferns along the edges to soften the stone borders and tuck them into the landscape, using the rocks to hide the edges of the landscape fabric.
How to Recreate Retro Teen Rooms for Nostalgic Vibes

Why we love this
There is something undeniably cozy about the neon-soaked, texture-rich aesthetic of a retro-inspired bedroom. We love the mix of high-energy colors like electric lime and sunset orange against the soft, velvet textures of floor pillows and shag rugs. It’s a sensory journey back to a time of analog music and polaroid photos, where the air feels thick with the nostalgia of vinyl records and the glow of lava lamps. It’s a space that prioritizes personality over perfection, offering a sanctuary that feels both playful and deeply personal.
Essential Elements:
- Neon LED wall signs or lava lamps
- Checkerboard patterns (rugs or bedding)
- Vintage vinyl record player and wall displays
- Wicker or rattan “egg” chairs
- Polaroid photo strings with fairy lights
How to make it
- Select a “hero” color palette—think 70s earthy tones or 90s neon—and apply it to the largest surfaces first, such as an accent wall or a large area rug.
- Create a focal point using a record display shelf; use clear acrylic wall mounts to let the cover art serve as the primary visual decor.
- Layer textures by placing a high-pile shag rug over a hard floor and adding velvet or corduroy throw pillows to the bed to create that signature “sunken lounge” feel.
- Install smart LED strips behind the headboard or along the ceiling line, setting them to a warm amber or soft purple to achieve that moody, retro glow.
- Incorporate “found objects” like old film cameras, vintage magazines, or thrifted trophies to add layers of history and authenticity that can’t be bought at a big-box store.
- Balance the bold patterns (like checkerboard or florals) with solid-colored curtains to prevent the room from feeling visually overwhelming while maintaining the eclectic vibe.
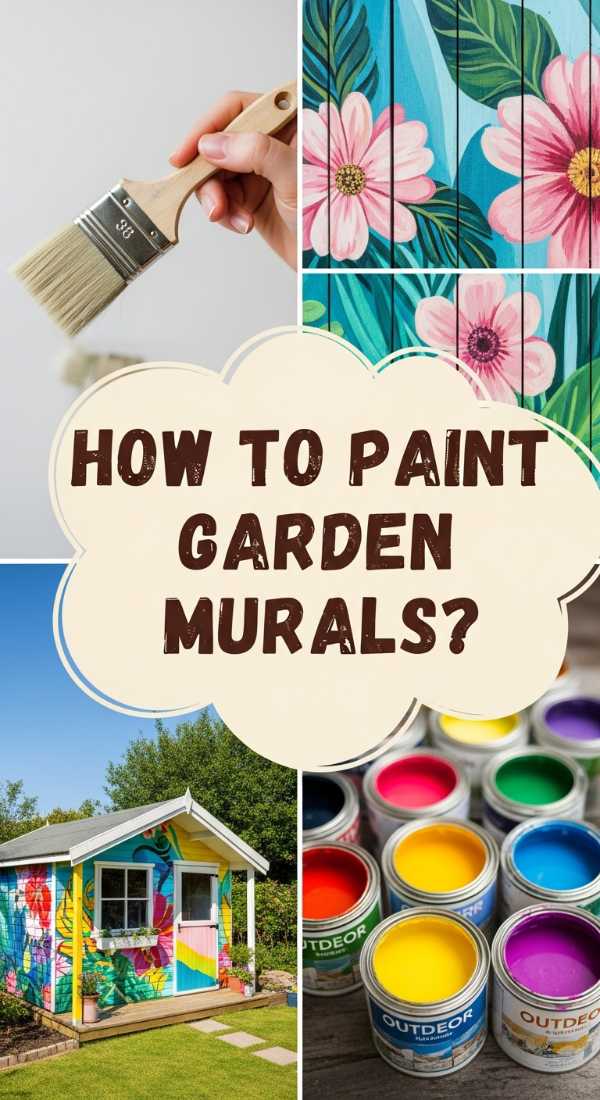
How to Paint Garden Shed Murals for Artistic Charm
Why we love this
Turning a humble garden shed into a literal work of art is one of the most rewarding transformations you can undertake. We love the way a mural can make a utilitarian structure disappear into the foliage or stand out as a bold, whimsical statement. The process of sweeping a brush across rough wood, the smell of exterior paint in the fresh air, and the sight of oversized botanical illustrations or geometric patterns coming to life is pure joy. It adds a layer of curated charm that makes your backyard feel like a secret, high-end gallery.
Essential Elements:
- High-quality exterior primer and latex paints
- Assorted brushes (broad rollers to fine detail brushes)
- Painter’s tape for crisp geometric lines
- A clear UV-resistant topcoat
- A projector (optional, for tracing complex designs)
How to make it
- Clean the shed surface thoroughly with a power washer or scrub brush to remove dirt, cobwebs, and loose paint; the surface must be bone-dry before you begin.
- Apply a high-adhesion exterior primer—this is the most critical step to ensure your mural doesn’t peel under the sun’s intense heat or winter’s moisture.
- Sketch your design lightly with chalk, which is easy to wipe away if you make a mistake, or use a projector at night to trace your outlines directly onto the shed.
- Start with the large background shapes using a roller for efficiency, working from the top of the shed down to the bottom to catch any drips as you go.
- Add details and fine lines once the background is tacky to the touch (usually 2-4 hours depending on humidity); use angled brushes for precision around doors and windows.
- Once the paint has cured for 24 hours, apply two thin coats of a clear, non-yellowing exterior sealer to protect the colors from fading and to make the mural easy to wipe clean.
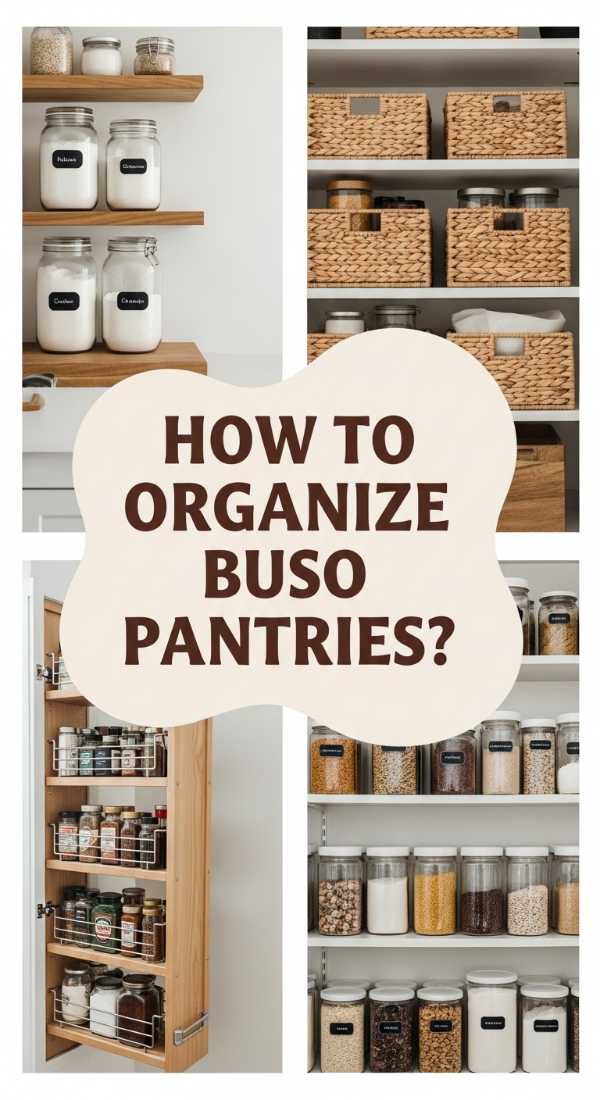
How to Organize Realistic Pantries for Home Efficiency
Why we love this
There is a profound sense of peace that comes from opening a pantry and seeing exactly what you have at a glance. We love the rhythmic visual of uniform glass jars, the aromatic scent of dried herbs and spices, and the tactile satisfaction of a smoothly gliding basket. A realistic pantry isn’t about being “Pinterest-perfect”—it’s about creating a system that works for your lifestyle. The combination of clear labels and grouped categories reduces cooking stress and turns the mundane chore of meal prep into a streamlined, high-efficiency experience.
Essential Elements:
- Airtight glass or BPA-free plastic canisters
- Woven or wire baskets for bulkier items
- Tiered shelf risers for canned goods
- A label maker or custom vinyl decals
- Over-the-door organizers for snacks and small packets
- Lazy Susans for oils and vinegars
How to make it
- Empty the entire pantry completely and check expiration dates; a clean slate is necessary to see the true potential of the space and the volume of items you need to house.
- Group like-items together—baking, snacks, grains, canned goods—and measure the height of these groups to determine where to place your adjustable shelving.
- Decant dry goods (flour, sugar, pasta) into airtight containers; this not only looks better but keeps food fresh significantly longer and prevents pests.
- Install tiered risers for cans so that you can see the labels on the back row without having to move the front row, saving time during quick meal prep.
- Label every single bin and jar with a clear, readable font; this ensures that everyone in the household knows exactly where items go, maintaining the system long-term.
- Place a Lazy Susan in the corners of the shelves to utilize otherwise wasted space, ensuring that heavy bottles of oil or tall spice jars are easily accessible with a quick spin.
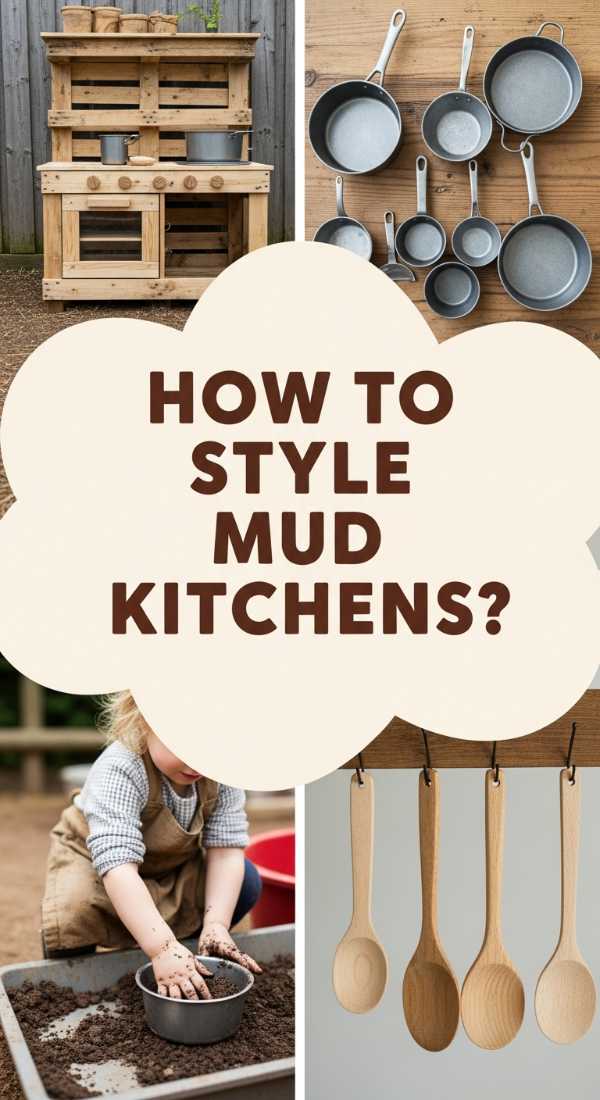
How to Style Mud Kitchen Stations for Outdoor Discovery
Why we love this
Mud kitchens are the ultimate invitation to messy, imaginative outdoor play. We love the earthy scent of damp garden soil being “cooked” into pies and the clatter of old stainless steel pots against a rustic wooden frame. It’s a sensory-rich environment where kids can explore the textures of pinecones, flower petals, and water without the restrictions of being indoors. The aesthetic of a mud kitchen—weathered wood, vintage kitchen tools, and hanging herbs—adds a charming, cottage-core vibe to any backyard play area.
Essential Elements:
- Reclaimed wooden pallet or old potting bench
- A stainless steel drop-in sink (or a large plastic bowl)
- Old pots, pans, whisks, and wooden spoons
- A working water source (hose attachment or gravity jug)
- Hooks for hanging utensils
- Small chalkboard for the “Daily Menu”
How to make it
- Source a sturdy, untreated wooden base like an old dresser or a pallet, ensuring it is at a comfortable “countertop” height for your children (usually 20-24 inches).
- Cut a hole in the countertop surface slightly smaller than the lip of your sink or bowl using a jigsaw, then drop the basin in and secure it with waterproof construction adhesive.
- Add a vertical backboard to the station and screw in hooks to organize utensils; this teaches children to “clean up” their station after a play session.
- Build a small shelf above the sink to hold jars of natural “ingredients” like acorns, pebbles, and dried lavender to stimulate creative play.
- Sand all edges aggressively with 60-grit paper to round off sharp corners, then follow with a 120-grit finish to ensure the wood is safe for small hands.
- Oil the wood with a child-safe mineral oil or linseed oil to protect it from the elements while maintaining a natural, non-toxic finish that is safe for skin contact.
How to Construct Affordable Grill Stations for Summer Hosting

Why we love this
A dedicated grill station is the heart of summer entertaining. We love the sizzle of food hitting a hot grate, the rich aroma of woodsmoke, and the way a custom-built station creates a central hub for friends to gather with a cold drink. It transforms the solitary act of grilling into a social event. By using affordable materials like cedar and concrete, you get the high-end look of a professional outdoor kitchen without the five-figure price tag. It’s rugged, functional, and instantly elevates your backyard hosting game.
Essential Elements:
- Cedar 4×4 posts for the structural frame
- Stone veneer or horizontal wood slats for the siding
- A heat-resistant countertop (concrete, granite remnant, or tile)
- Built-in bottle opener and towel rack
- Under-counter storage for charcoal or propane
How to make it
- Design the frame to be slightly wider than your grill, allowing for at least 18 inches of “landing space” on either side for plates and seasoning trays.
- Construct the base using pressure-treated lumber for the skeleton, ensuring you use galvanized screws to prevent rusting from the heat and outdoor humidity.
- Level the ground perfectly with crushed stone or a concrete pad before placing the frame; a heavy grill station that isn’t level will cause uneven cooking and door alignment issues.
- Install the countertop; if using concrete, pour it into a custom mold with wire mesh reinforcement and let it cure for a full 7 days to reach maximum heat resistance.
- Clad the sides with cedar slats, leaving a small gap (about 1/8 inch) between each to allow for wood expansion during humid summer days.
- Add finishing touches like a heavy-duty weather-proof cover and magnetic tool strips to keep your spatulas and tongs organized and within arm’s reach of the heat.
How to Grow Planter Privacy Walls for Secluded Patios

Why we love this
There is nothing more luxurious than a living, breathing wall that shields you from the outside world. We love the way a privacy wall made of plants softens the hard lines of a patio, offering the gentle rustle of leaves and the sweet perfume of climbing jasmine or honeysuckle. It’s a sensory barrier that feels organic rather than restrictive, turning a suburban backyard into a private, emerald sanctuary. It provides moving shadows, cooler air through transpiration, and a sense of deep seclusion that a standard fence simply can’t match.
Essential Elements:
- Extra-large, deep-well planters (cedar or resin)
- Tall, fast-growing plants (Bamboo, Arborvitae, or Sky Pencil Holly)
- A trellis or wire system for climbing vines
- High-quality potting mix with moisture-retaining crystals
- Automatic drip irrigation system (highly recommended)
How to make it
- Select planters that are at least 18 inches deep and wide; large root systems need space to grow tall enough to provide actual privacy, and small pots will dry out too fast in the heat.
- Line the bottom of the planters with 2 inches of large gravel to ensure proper drainage, preventing the roots from sitting in stagnant water which leads to root rot.
- Mix your potting soil with slow-release fertilizer granules to ensure the plants have a steady supply of nutrients throughout the intense growing season.
- Space your privacy plants (like ‘Green Giant’ arborvitae) so their branches just touch when planted; this allows them to fill in quickly into a solid green wall within one season.
- If using vines, install a sturdy cedar trellis or stainless steel cable system anchored to the planters to guide the growth upward rather than outward.
- Set up a simple battery-operated hose timer and drip lines to each planter; consistent watering is the visual cue for health—if the leaves droop, the “wall” loses its structural beauty.
Wrapping Up Your Home Transformation
Transforming your home isn’t about chasing a trend or having the most expensive furniture; it’s about the quiet satisfaction of looking at a corner and knowing you made it better. Whether you’re planting a river bed or organizing a pantry, each project adds a layer of comfort and personality to your life. Your home is a living, breathing reflection of your journey—so take your time, enjoy the process, and remember that chic style is always achievable on a budget when you lead with creativity.