
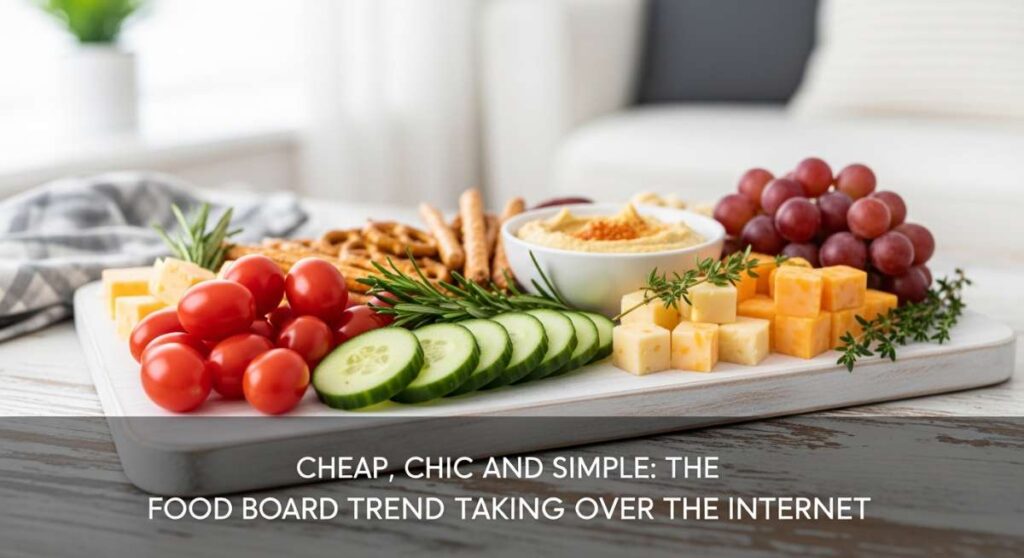
There is something inherently magical about gathering around a table filled with colors, textures, and the hum of happy conversation. I remember the first time I set out a massive board for my friends; it wasn’t about the cost of the ingredients, but the way a simple spread made everyone feel instantly at home. This ‘food board’ trend isn’t just about aesthetics; it’s about reclaiming the joy of hosting without the stress of a five-course meal. It’s about creating a vibe that says, ‘help yourself,’ while looking like a million bucks on a shoestring budget.
The beauty of these viral boards lies in their accessibility. You don’t need fancy silver or rare truffles; you just need a few fresh ingredients and a little bit of heart. Today, we are diving deep into the components that make a food board truly sing. From the crisp snap of a cucumber salad to the golden, buttery crust of a homemade pound cake, these recipes are designed to be simple, chic, and absolutely irresistible. Let’s transform your next gathering into an internet-worthy celebration of flavor and simplicity.
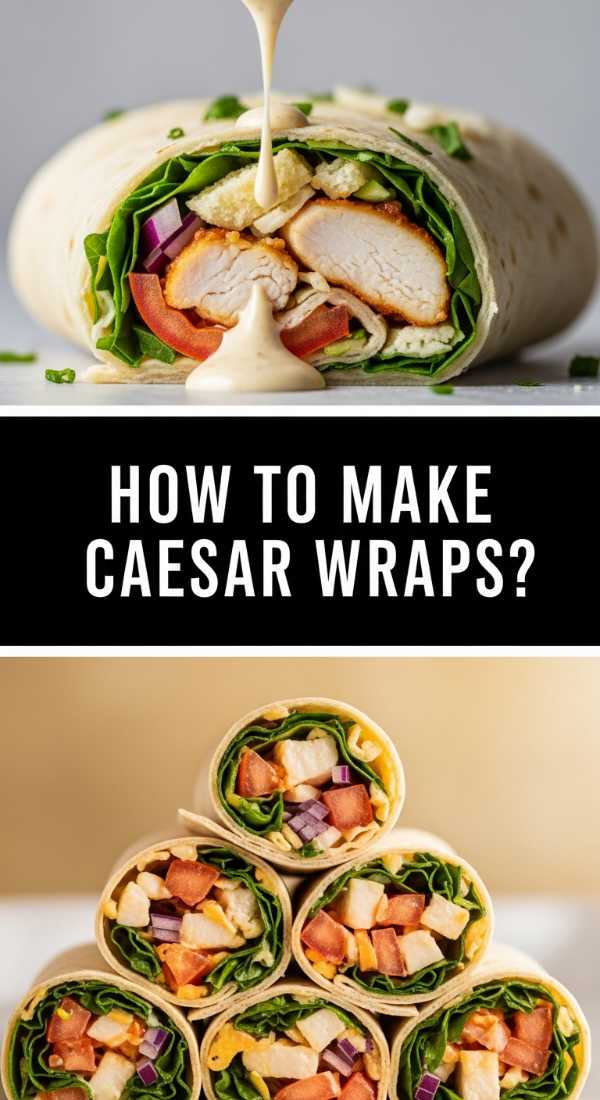
How to make chicken caesar wraps?
Why we love this
There is a reason the Caesar wrap is a perennial favorite; it provides the ultimate harmony between the warm, savory notes of grilled chicken and the cool, refreshing crunch of romaine lettuce. Imagine the silky, garlic-heavy dressing clinging to every leaf, punctuated by the sharp, salty bite of aged parmesan and the satisfying snap of a toasted tortilla. It is a handheld masterpiece that feels like a gourmet deli lunch but tastes like a summer afternoon in the backyard, offering a textural playground of creamy, crispy, and savory in every single bite.
Ingredients
- 2 large flour tortillas
- 1.5 lbs chicken breast, sliced into strips
- 2 cups chopped romaine lettuce
- 1/2 cup Caesar dressing (high-quality or homemade)
- 1/4 cup shaved Parmesan cheese
- 1/2 cup garlic croutons, slightly crushed
- 1 tbsp olive oil, salt, and cracked black pepper
How to make it
- Season the chicken strips generously with salt, pepper, and a touch of garlic powder. Heat olive oil in a heavy-bottomed skillet over medium-high heat.
- Place the chicken in the skillet, ensuring not to crowd the pan. Sear for 4-5 minutes per side until a deep golden-brown crust forms and the internal temperature reaches 165°F. Remove from heat and let rest for 5 minutes to keep the juices locked in.
- While the chicken rests, toss the chopped romaine lettuce in a large bowl with the Caesar dressing, shaved Parmesan, and crushed croutons until every piece is evenly coated.
- Lightly toast your flour tortillas over an open flame or in a dry pan for 30 seconds to make them pliable and fragrant.
- Place a generous heap of the salad mixture in the center of the tortilla, top with the warm chicken strips, and fold the sides inward before rolling tightly from the bottom.
- Slice on a diagonal to reveal the layers and serve immediately while the chicken is still warm and the lettuce is perfectly crisp.
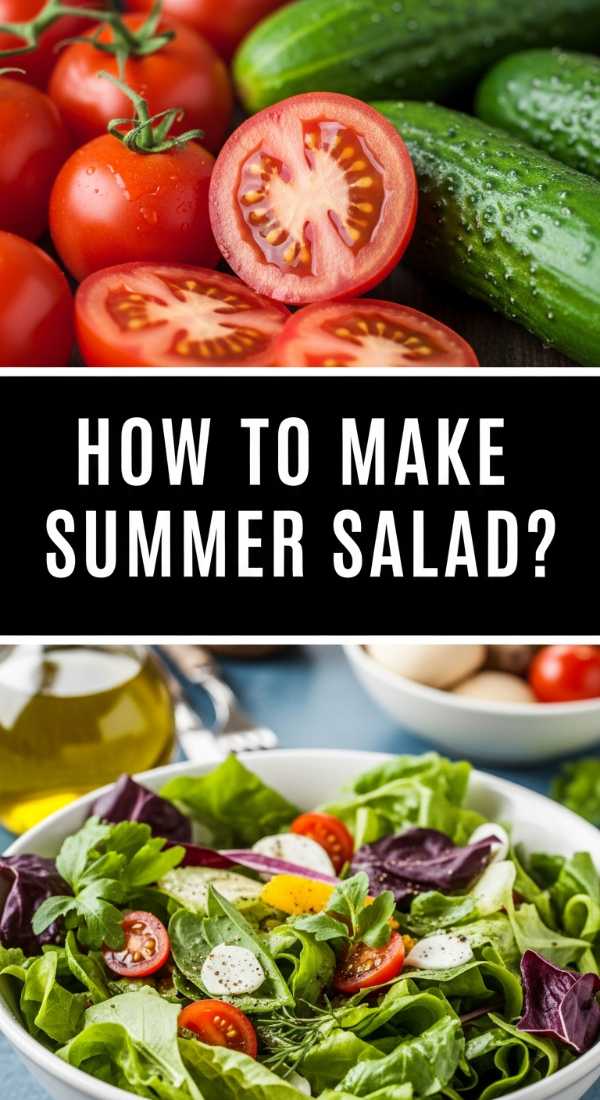
How to make tomato cucumber salad?
Why we love this
This salad is the very essence of a garden in a bowl, radiating a brightness that can wake up any palate. The tomatoes offer a soft, juicy sweetness that pairs perfectly with the cool, aquatic crunch of Persian cucumbers, all tied together by the pungent aroma of fresh red onion. It’s the kind of dish that smells like rain on hot pavement and tastes like pure sunshine, leaving a refreshing aftertaste of herb-infused vinaigrette that makes it the perfect palate cleanser for a rich food board spread.
Ingredients
- 3 large heirloom tomatoes or 2 cups cherry tomatoes
- 2 large English or Persian cucumbers
- 1/2 small red onion, thinly sliced
- 1/4 cup fresh parsley, chopped
- 3 tbsp extra virgin olive oil
- 1 tbsp red wine vinegar
- Flaky sea salt and black pepper
How to make it
- Begin by washing all vegetables thoroughly. For the cucumbers, leave the skin on for extra crunch but slice them into uniform 1/4-inch rounds or half-moons for a consistent mouthfeel.
- Core the tomatoes and cut them into bite-sized wedges or halves. If using heirloom tomatoes, try to keep the pieces chunky so they don’t break down too quickly.
- Place the cucumbers, tomatoes, and thinly sliced red onions into a large glass mixing bowl. Sprinkle with a generous pinch of flaky sea salt to help the vegetables release their natural juices.
- In a small jar, whisk together the olive oil and red wine vinegar until emulsified. Pour the dressing over the vegetables.
- Gently fold in the fresh parsley using a spatula, being careful not to bruise the tomatoes.
- Let the salad sit at room temperature for at least 15 minutes before serving. This allows the salt to draw out the tomato water, which mixes with the oil and vinegar to create a flavorful natural broth at the bottom of the bowl.
How to bake crunchy top pound cake?

Why we love this
A classic pound cake is a study in buttery perfection, but it’s the crunchy, sugar-dusted top that elevates this to a viral sensation. As it bakes, the surface develops a delicate, crackling crust that shatters under the fork, revealing a dense, velvety interior that melts on the tongue like a dream. The aroma of warm vanilla and toasted butter will fill your entire home, creating a sense of cozy nostalgia that makes this the ultimate anchor for any dessert-themed food board.
Ingredients
- 1 cup unsalted butter, softened to room temperature
- 1.5 cups granulated sugar (plus 2 tbsp for the topping)
- 3 large eggs
- 1.5 cups all-purpose flour
- 1/2 tsp salt
- 1/2 cup sour cream
- 2 tsp pure vanilla extract
How to make it
- Preheat your oven to 325°F (165°C). Lower temperatures are crucial for pound cake to ensure the center cooks through without burning the exterior. Grease and flour a 9×5 inch loaf pan meticulously.
- In a large stand mixer, cream the softened butter and 1.5 cups of sugar on medium-high for at least 5 minutes. The mixture should become pale, almost white, and very fluffy.
- Add eggs one at a time, beating well after each addition to ensure the emulsion doesn’t break. Stir in the vanilla extract.
- Sift the flour and salt together. Gradually add the dry ingredients to the butter mixture, alternating with the sour cream. Begin and end with the flour, mixing only until just combined to avoid a tough cake.
- Pour the batter into the prepared pan and smooth the top. Sprinkle the remaining 2 tablespoons of sugar evenly across the surface—this is the secret to that signature crunch.
- Bake for 60 to 75 minutes. Check for doneness by inserting a long wooden skewer into the center; it should come out clean or with a few moist crumbs. Let cool in the pan for 20 minutes before transferring to a wire rack.
How to make dandelion jelly?

Why we love this
Dandelion jelly is a hidden gem of the culinary world, often described as ‘sunshine in a jar’ because of its vibrant golden hue and delicate honey-like flavor. It carries a subtle floral scent that is reminiscent of a spring meadow, with a light sweetness that isn’t as heavy as traditional fruit jams. Spreading this onto a piece of warm bread is a sensory experience that connects you to the earth, offering a unique, conversation-starting element to your food board that guests will be talking about for weeks.
Ingredients
- 2 cups dandelion petals (yellow parts only)
- 4 cups boiling water
- 1/4 cup lemon juice
- 1 box (1.75 oz) powdered pectin
- 4 cups granulated sugar
How to make it
- Harvest fresh dandelions from a clean area. Carefully pull the yellow petals away from the green base (the green part is bitter and will ruin the jelly). You need 2 cups of packed yellow petals.
- Place the petals in a heat-proof jar and pour 4 cups of boiling water over them. Let this steep for at least 2 hours, or overnight in the fridge, to create a strong ‘dandelion tea.’
- Strain the liquid through a fine-mesh sieve or cheesecloth, squeezing the petals to get every drop of flavor. You should have about 3 to 3.5 cups of golden liquid.
- Pour the dandelion tea into a large pot. Add the lemon juice and the powdered pectin. Bring the mixture to a full rolling boil over high heat, stirring constantly.
- Add the sugar all at once. Return the mixture to a full rolling boil and boil hard for exactly one minute, stirring continuously.
- Remove from heat and skim off any foam. Ladle the hot jelly into sterilized jars, leaving 1/4 inch of headspace. Process in a water bath for 10 minutes if you plan to store it long-term, or simply let it cool and set in the fridge for immediate use.
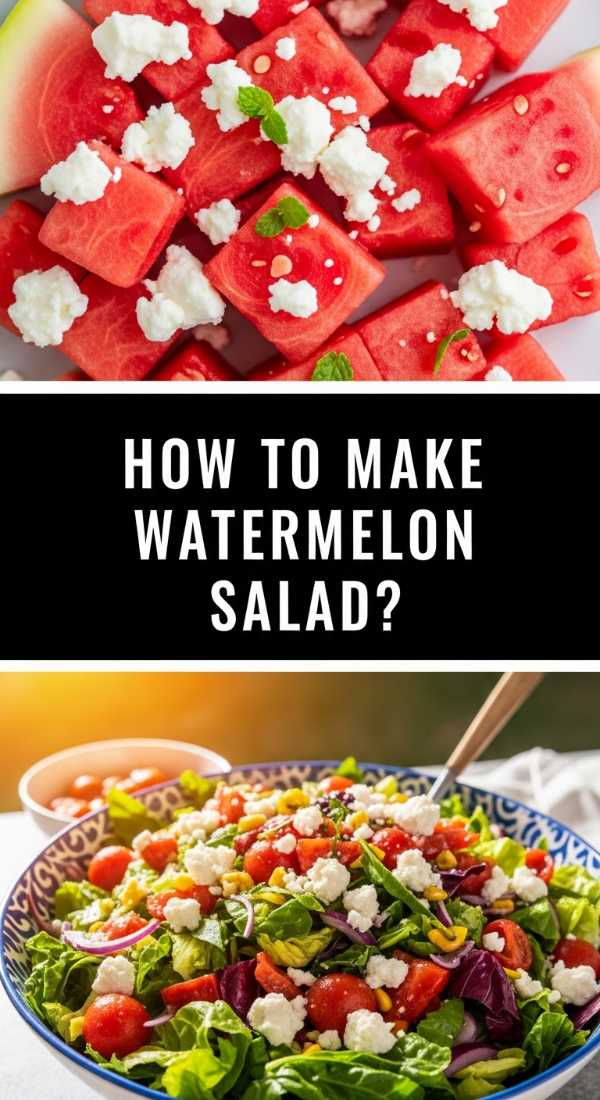
How to make watermelon salad?
Why we love this
The combination of sweet, ice-cold watermelon with savory, crumbly feta cheese is a revelation that defies logic until you taste it. Each bite is an explosion of hydration and contrast, where the fruit’s sugary juice meets the saltiness of the cheese and the peppery finish of fresh mint leaves. It is a visually stunning dish that looks like a mosaic of pink, white, and green, making it the perfect centerpiece for a summer board that aims to be both chic and incredibly refreshing.
Ingredients
- 4 cups seedless watermelon, cubed
- 1/2 cup feta cheese, crumbled
- 1/4 cup fresh mint leaves, torn
- 1/2 red onion, very thinly sliced
- 2 tbsp extra virgin olive oil
- 1 tbsp balsamic glaze (optional)
- A pinch of sea salt
How to make it
- Start with a cold watermelon. Cut the fruit into uniform 1-inch cubes, discarding the rind. If you want a more rustic look, use a melon baller for varied shapes.
- Soak the thinly sliced red onions in a bowl of ice water for 10 minutes. This removes the harsh ‘bite’ and keeps them incredibly crisp. Drain and pat dry.
- In a large, shallow serving platter (rather than a deep bowl), spread the watermelon cubes in a single layer. This prevents the weight of the fruit from crushing the pieces at the bottom.
- Scatter the chilled red onions and the crumbled feta cheese evenly over the top of the watermelon.
- Just before serving, drizzle the olive oil and the optional balsamic glaze over the salad. The glaze adds a depth of acidity that cuts through the sweetness.
- Garnish with the freshly torn mint leaves and a tiny sprinkle of sea salt to make the watermelon flavors pop. Serve immediately to maintain the temperature contrast.
How to marinate grilled chicken?
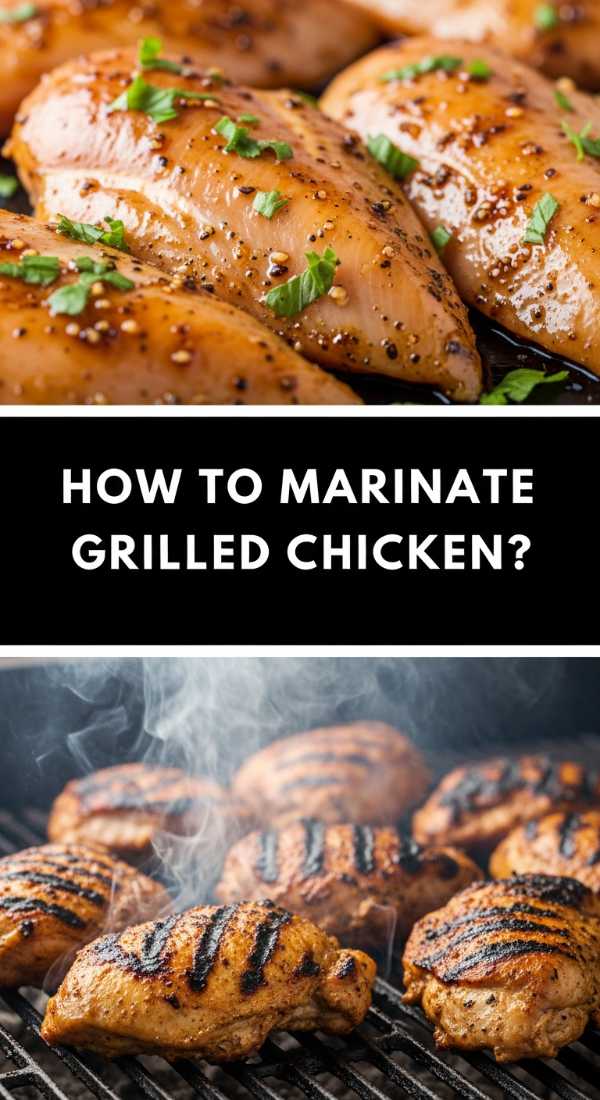
Why we love this
Properly marinated grilled chicken is the backbone of a great food board, providing a smoky, protein-packed anchor that satisfies the soul. When done right, the meat is incredibly tender and infused with layers of citrus, herbs, and garlic that penetrate deep beyond the surface. The char from the grill adds a bitter, caramelized complexity that balances the juicy interior, making it a versatile component that pairs just as well with a salad as it does on its own with a dip.
Ingredients
- 2 lbs chicken thighs or breasts
- 1/2 cup olive oil
- 1/4 cup soy sauce
- 1/4 cup lemon juice
- 3 cloves garlic, minced
- 1 tsp dried oregano
- 1/2 tsp red pepper flakes
How to make it
- In a medium bowl, whisk together the olive oil, soy sauce, lemon juice, minced garlic, oregano, and red pepper flakes until the marinade is fully combined.
- Place the chicken in a large resealable plastic bag or a shallow glass dish. Pour the marinade over the chicken, ensuring every piece is thoroughly coated.
- Seal the bag or cover the dish and refrigerate. For best results, marinate for at least 4 hours, though 12-24 hours will yield the most tender and flavorful meat. Avoid marinating longer than 24 hours as the acid in the lemon juice can start to break down the proteins too much.
- Preheat your grill to medium-high heat (about 400°F). Clean the grates and lightly oil them to prevent sticking.
- Remove the chicken from the marinade and let the excess drip off. Place on the grill and cook for 6-8 minutes per side. Use a meat thermometer to ensure the internal temperature reaches 165°F.
- The key professional tip: Let the chicken rest on a cutting board for at least 8 minutes before slicing. This allows the fibers to relax and reabsorb the juices, ensuring every slice is moist.
How to make tortellini pasta salad?
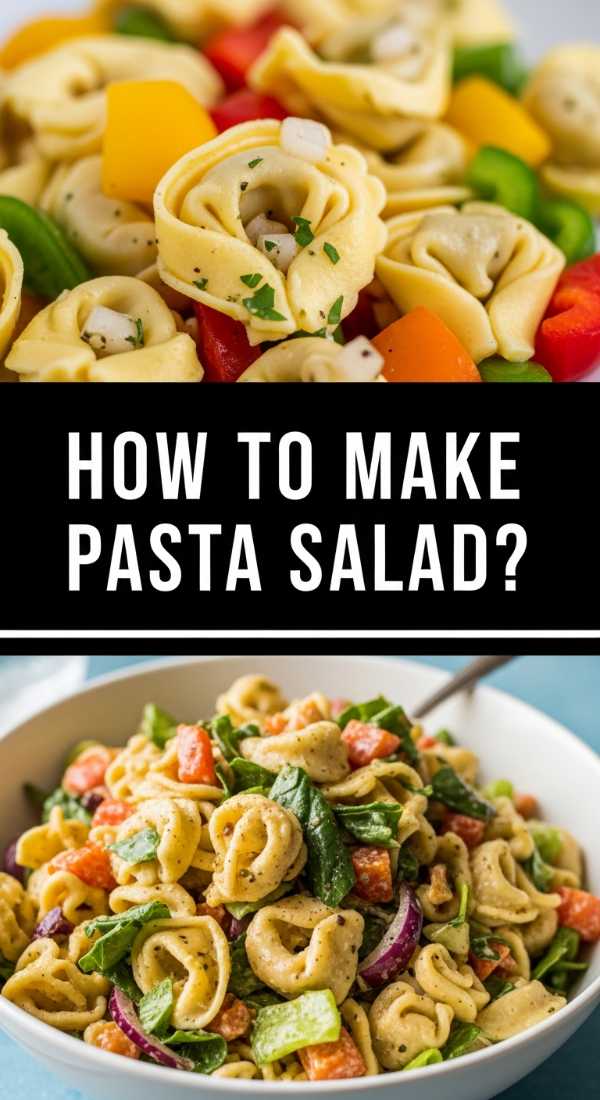
Why we love this
Tortellini pasta salad is the ultimate ‘glow-up’ for traditional pasta dishes, offering little pillows of cheese-filled joy in every mouthful. The texture is what makes this stand out; the chewy pasta contrasts beautifully with the crunch of fresh peppers and the silkiness of marinated artichokes. Dressed in a zesty Italian vinaigrette, it becomes a vibrant, colorful addition to a food board that feels substantial and sophisticated while remaining incredibly easy to prep ahead of time.
Ingredients
- 1 lb refrigerated cheese tortellini
- 1 cup cherry tomatoes, halved
- 1/2 cup cucumber, diced
- 1/2 cup black olives, sliced
- 1/4 cup red onion, finely diced
- 1/2 cup Italian vinaigrette dressing
- 1/4 cup grated Parmesan cheese
- Fresh basil for garnish
How to make it
- Bring a large pot of salted water to a boil. Cook the refrigerated tortellini according to the package directions, but aim for ‘al dente’—usually about 2-3 minutes. Overcooking will make them fall apart in the salad.
- Drain the tortellini and immediately rinse them under cold running water. This stops the cooking process and prevents the pasta from becoming gummy.
- In a large mixing bowl, combine the cooled tortellini with the cherry tomatoes, cucumber, olives, and red onion.
- Pour the Italian vinaigrette over the mixture. Toss gently with a large spoon to ensure every nook and cranny of the tortellini is coated in dressing.
- Add the grated Parmesan cheese and toss once more. The cheese will help the dressing cling to the pasta.
- Cover and refrigerate for at least one hour before serving. This allows the pasta to absorb the flavors. Garnish with fresh basil leaves just before placing it on your food board for a pop of color and aroma.
How to bake banana bread?
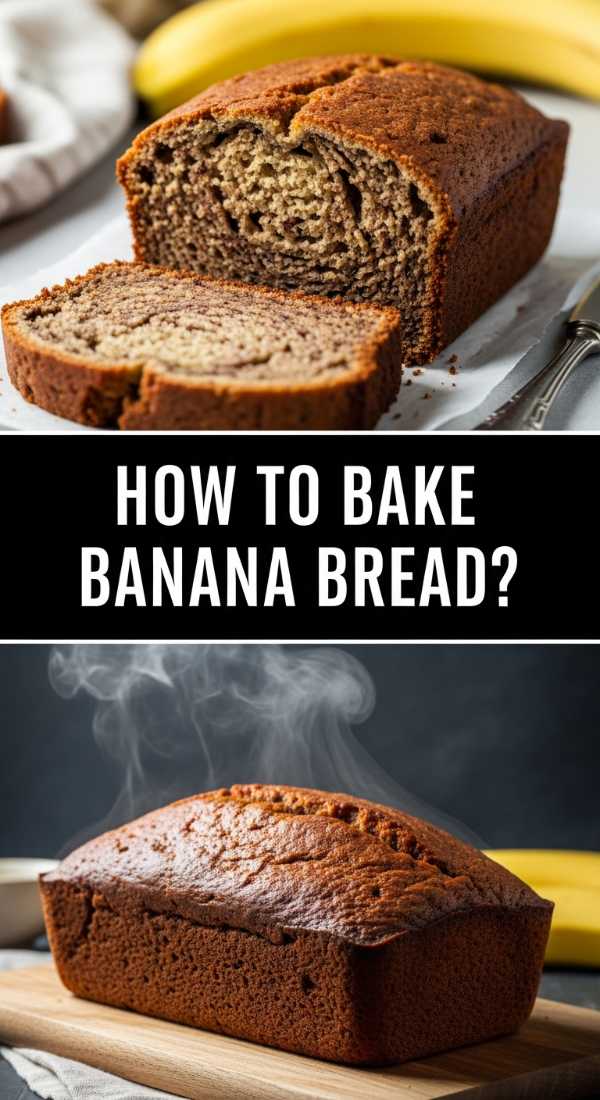
Why we love this
There is nothing quite like the smell of banana bread wafting through a kitchen to make a house feel like a home. This version is prized for its ultra-moist crumb and the deep, caramelized sweetness that only comes from using bananas that are past their prime. It’s a comforting, rustic addition to a food board that bridges the gap between snack and dessert, offering a dense, cake-like texture that pairs beautifully with a smear of salted butter or a drizzle of honey.
Ingredients
- 3 very ripe bananas, mashed
- 1/3 cup melted butter
- 1/2 cup sugar (brown sugar adds more depth)
- 1 egg, beaten
- 1 tsp vanilla extract
- 1 tsp baking soda
- Pinch of salt
- 1.5 cups all-purpose flour
How to make it
- Preheat your oven to 350°F (175°C) and grease a 4×8 inch loaf pan.
- In a large bowl, mash the ripe bananas with a fork until they are smooth with just a few small chunks remaining. The riper the bananas (brown spots are good!), the better the flavor.
- Stir the melted butter into the mashed bananas. Mix in the sugar, beaten egg, and vanilla extract until the mixture is cohesive.
- Sprinkle the baking soda and salt over the wet mixture and stir.
- Slowly fold in the flour. Use a spatula and stop as soon as you see no more white streaks of flour. Over-mixing at this stage will activate the gluten and result in a rubbery loaf.
- Pour the batter into your prepared loaf pan. Bake for 50 to 60 minutes. Use the toothpick test: insert it into the center; if it comes out clean or with dry crumbs, it’s done. Let it cool in the pan for 10 minutes before sliding it out onto a rack to cool completely.
How to make pina coladas?

Why we love this
A pina colada is more than just a drink; it is a vacation in a glass. The combination of velvety coconut cream and tart, acidic pineapple creates a frozen symphony that is both indulgent and incredibly refreshing. The texture is key—it should be smooth as silk, thick enough to hold a straw upright, and ice-cold. Serving these alongside a food board instantly elevates the mood, bringing a tropical, festive energy that makes every guest feel like they’ve been transported to a beachside cabana.
Ingredients
- 2 cups frozen pineapple chunks
- 1/2 cup pineapple juice
- 1/2 cup cream of coconut (like Coco Lopez)
- 4 oz white rum (optional)
- 1 cup ice
- Pineapple wedges and maraschino cherries for garnish
How to make it
- Place your serving glasses in the freezer for 10 minutes before you start. A chilled glass is essential for keeping a frozen drink from melting too quickly.
- In a high-powered blender, combine the frozen pineapple chunks, pineapple juice, and cream of coconut. If you are making a cocktail, add the white rum now.
- Add the cup of ice to the blender. The frozen pineapple provides most of the texture, but the ice ensures it reaches that signature ‘slushy’ consistency.
- Blend on high until the mixture is completely smooth. You should not see any ice crystals or fruit chunks. If it’s too thick, add a splash more pineapple juice; if too thin, add more frozen fruit.
- Taste the mixture. The sweetness can vary based on the ripeness of the pineapple, so adjust with a teaspoon of agave if needed.
- Pour into your chilled glasses and garnish with a fresh pineapple wedge and a cherry. Serve immediately with a wide straw.
How to cook blackstone dinner?
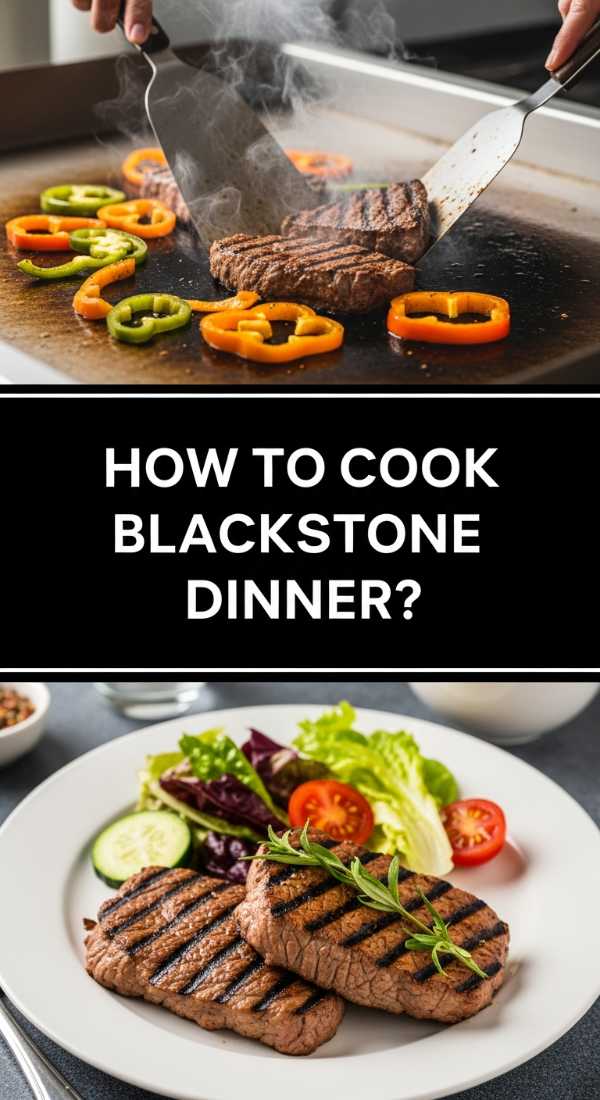
Why we love this
Cooking on a Blackstone or flat-top griddle is a theatrical experience that brings the kitchen outdoors. There is a specific, addictive sound of the metal spatula clinking against the surface and the roar of the sizzle as fresh ingredients hit the hot oil. This method allows for incredible caramelization across large batches of food, ensuring that your steak, onions, and peppers all get that perfect ‘hibachi-style’ sear while remaining tender and juicy. It’s communal, fast, and produces a flavor profile that a standard stove simply cannot replicate.
Ingredients
- 1 lb flank steak or chicken breast, sliced thin
- 2 large bell peppers, sliced
- 1 large onion, sliced
- 2 cups sliced mushrooms
- 3 tbsp vegetable oil
- Salt, pepper, and garlic butter for finishing
How to make it
- Preheat your Blackstone griddle. You want to establish heat zones: turn two burners to medium-high and one to low. This allows you to move cooked food to a cooler area so it stays warm without overcooking.
- Once the surface is smoking slightly, apply a thin layer of vegetable oil across the hot zones using a squeeze bottle.
- Start with the vegetables. Toss the onions, peppers, and mushrooms onto the griddle. Use your spatulas to keep them moving. Cook for 5-7 minutes until they are softened and have charred edges. Move them to the ‘low heat’ zone.
- Apply a bit more oil and lay the sliced meat in a single layer on the hottest part of the griddle. Season immediately with salt and pepper. Let it sear undisturbed for 2-3 minutes to get a deep crust.
- Flip the meat and cook for another 2 minutes. Add a dollop of garlic butter over the meat in the final minute of cooking for a rich, glossy finish.
- Mix the vegetables and meat together on the griddle for one final toss to marry the flavors. Use the large spatulas to scoop the entire meal onto a serving platter in one swift motion.
Conclusion
Creating a viral-worthy food board isn’t about perfection; it’s about the abundance of simple, well-prepared dishes that invite people to dig in and enjoy. Whether you’re whipping up a batch of dandelion jelly for a rustic touch or searing a Blackstone dinner for a crowd, the key is to focus on fresh ingredients and beautiful presentation. Remember, the best boards are the ones that disappear the fastest, leaving behind nothing but crumbs and great memories. So grab a board, pick a few of these recipes, and start your own hosting tradition today!