
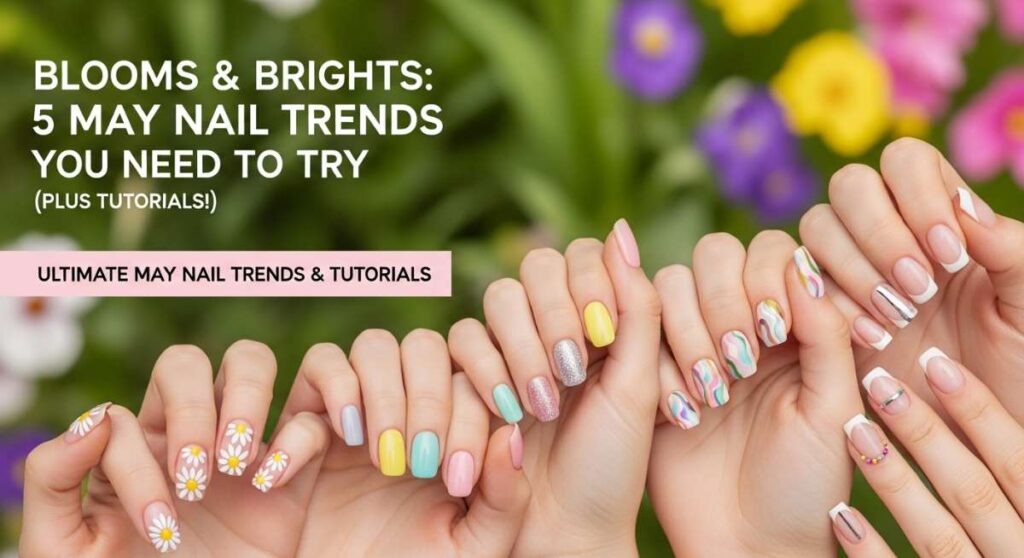
Blooms & Brights: 5 May Nail Trends You Need to Try (Plus Tutorials!)
Hi loves, can you feel that shift in the air? The world is finally waking up in a riot of soft pastels and golden sunshine, and honestly, it feels like a warm, cloud-soft embrace. May is all about renewal, and what better way to celebrate this beautiful season than by giving our hands a little extra love? Your nails are like tiny canvases for your soul’s spring awakening, and I’ve been dreaming up ways to bring that garden-fresh magic right to your fingertips.
Today, I’ve gathered my absolute favorite looks that are trending right now. Whether you’re heading to a garden party, preparing for graduation, or just want to feel a bit more polished while sipping your iced lavender latte, I’ve got you covered. Grab a cozy blanket and your favorite polish—let’s dive into these tutorials together, heart to heart.
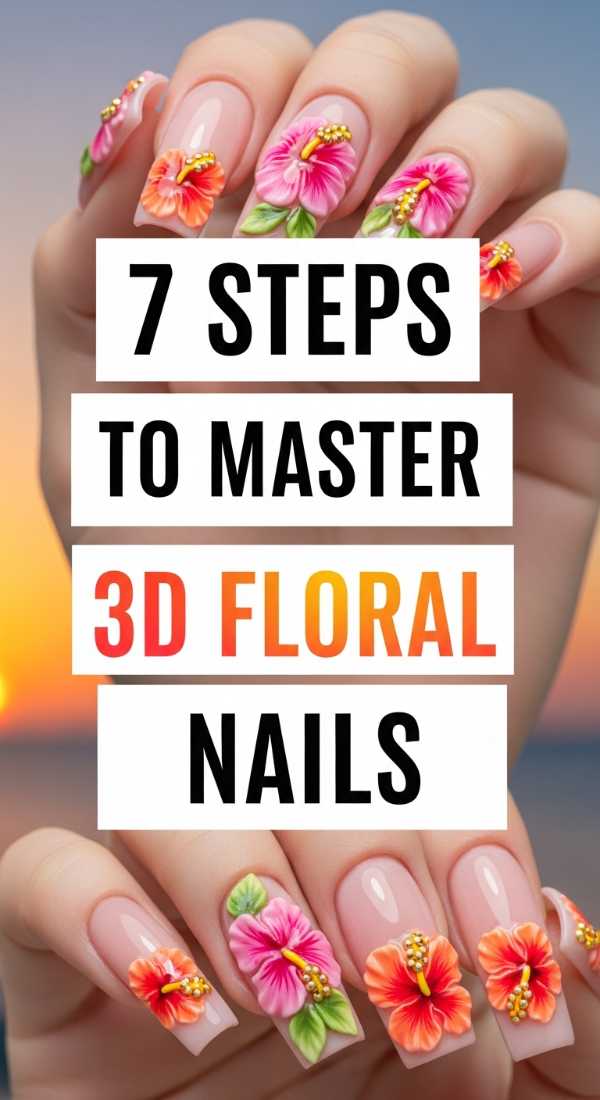
7 Steps to Master 3D Floral Nails
Why to love this recipe:
This look is pure romance. It’s like wearing a delicate garden on your fingertips, giving your hands a tactile, artistic quality that catches every bit of light. It’s the ultimate way to feel feminine and whimsical this May.
Essential Ingredients:
- Thick builder gel (clear or white)
- Fine liner brush
- Dotting tool
- Pastel base polish
- UV/LED lamp
How to Prepare:
- Apply your base color and cure.
- Pick up a small bead of builder gel with your dotting tool.
- Place the bead where you want a petal to start.
- Use the liner brush to drag the gel toward the center to create a petal shape.
- Repeat for five petals to form a flower.
- Add a tiny gold stud or yellow gel dot in the center.
- Flash cure for 30 seconds and apply a final top coat around the flowers.
Budget Range
- Modelones 3D Sculpture Gel – $8.99
- Beetles Liner Brushes – $6.99
- Essie ‘Soothe Bolt’ Pastel Blue – $10.00
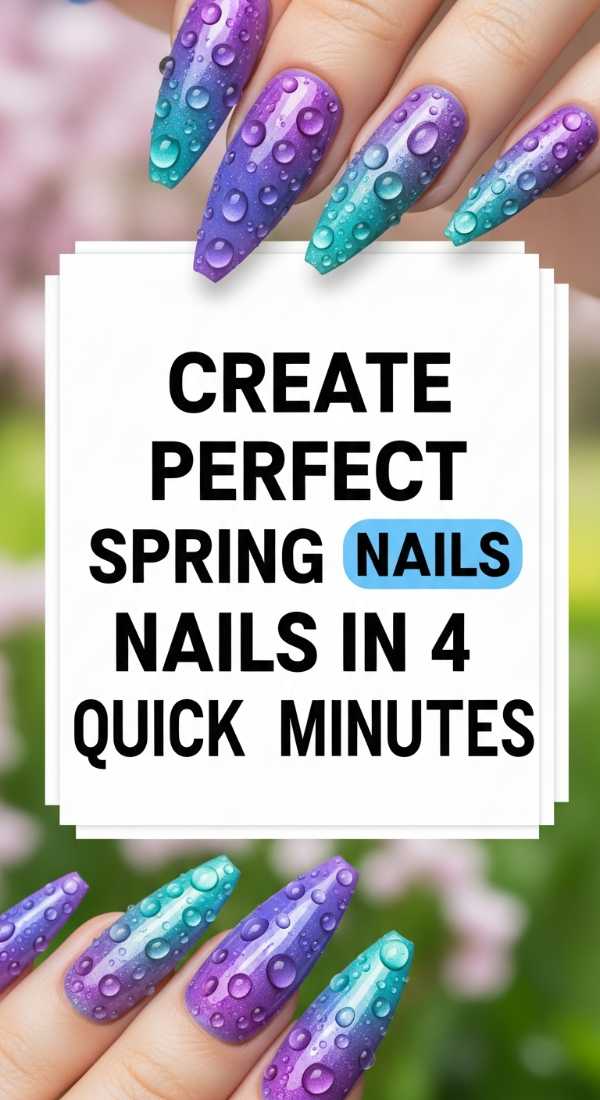
Create Perfect Spring Aura Nails in 4 Quick Minutes
Why to love this recipe:
Aura nails are all about radiating your inner energy. This soft, gradient look creates a dreamy glow that looks professional but is surprisingly easy to achieve at home when you’re in a pinch for time.
Essential Ingredients:
- Two contrasting pastel polishes
- Small makeup sponge or eyeshadow applicator
- Matte or glossy top coat
How to Prepare:
- Apply your main base color and let it dry completely.
- Dab a small amount of your second color onto the center of the makeup sponge.
- Lightly press the sponge onto the center of your nail, diffusing the edges outward.
- Apply a top coat to blend the gradient seamlessly.
Budget Range
- Sally Hansen Insta-Dri Polishes – $5.50 each
- Wedge Makeup Sponges (Bulk) – $4.00
5 Secrets to Long-Lasting May Press On Nails

Why to love this recipe:
For my loves who are always on the go, press-ons are a lifesaver. These secrets ensure your manicure stays flawless through every spring hike and brunch date without the salon price tag.
Essential Ingredients:
- High-quality press-on kit
- Nail dehydrator or alcohol pads
- Buffer block
- Professional grade nail glue
How to Prepare:
- Secret 1: Thoroughly push back cuticles to ensure the nail sits flush against the skin.
- Secret 2: Gently buff the surface of your natural nail to create ‘grip’.
- Secret 3: Use an alcohol wipe to remove all natural oils.
- Secret 4: Apply glue to both your natural nail and the back of the press-on.
- Secret 5: Hold firm pressure for 30 seconds to prevent air bubbles.
Budget Range
- Static Nails Reusable Pop-Ons – $16.00
- NYK1 Nail Bond Glue – $12.00
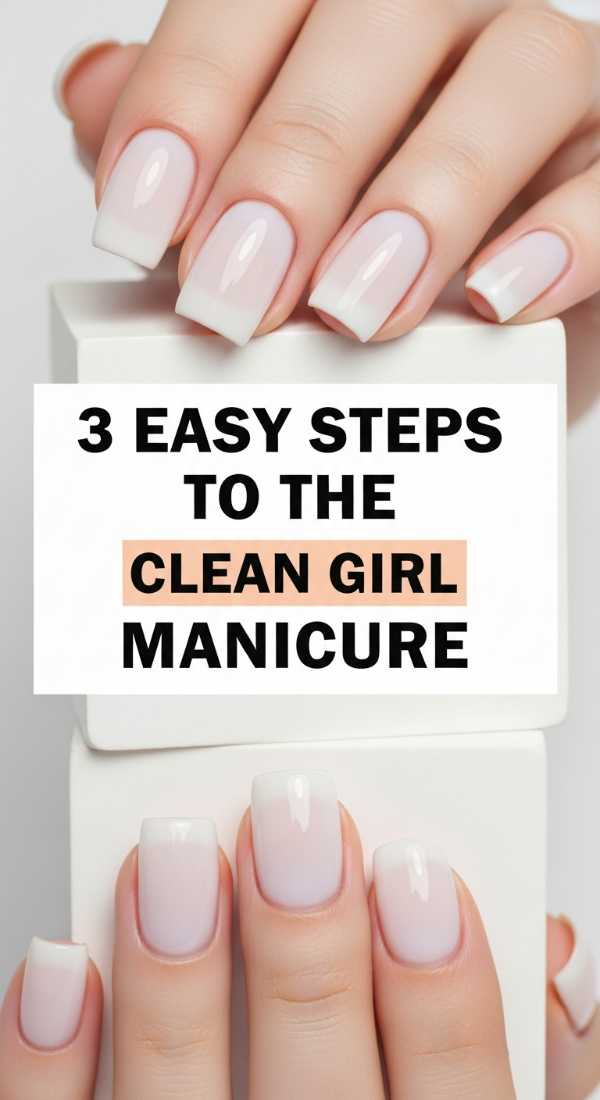
3 Easy Steps to the Clean Girl Manicure
Why to love this recipe:
Sometimes, less is so much more. This ‘clean girl’ aesthetic is the equivalent of a crisp white linen shirt—it’s polished, healthy-looking, and effortlessly chic for any occasion.
Essential Ingredients:
- Sheer ‘your nails but better’ pink polish
- Glass nail file
- Cuticle oil
How to Prepare:
- File nails into a soft, uniform almond or square shape.
- Apply two thin coats of sheer pink polish for a translucent finish.
- Finish with a high-shine top coat and a generous drop of cuticle oil.
Budget Range
- OPI ‘Bubble Bath’ – $11.49
- Glass Nail File – $7.00
9 Steps to Design Trendy Botanical Nails

Why to love this recipe:
If you love a more earthy, grounded vibe, botanical nails are your soulmate. Think sage greens and delicate leafy vines that celebrate the greenery of late spring.
Essential Ingredients:
- Sage green polish
- White and dark green acrylic paint or gel
- Ultra-fine detail brush
How to Prepare:
- Apply sage green base.
- Draw a thin, curved line for the stem using dark green.
- Add tiny teardrop shapes along the stem for leaves.
- Highlight the leaves with a touch of lighter green or white.
- Add tiny dots to represent ‘buds’.
- Let the design dry completely.
- Add a matte top coat for an organic feel.
- Clean up edges with acetone.
- Seal with a final thin layer of clear coat.
Budget Range
- Zoya ‘Sage’ Polish – $12.00
- Detail Paint Brush Set – $9.00
Prep Your Hands for May Graduation in 10 Minutes

Why to love this recipe:
You’ve worked so hard for that diploma! This quick routine ensures your hands look hydrated and radiant for those close-up ‘holding the degree’ photos.
Essential Ingredients:
- Sugar scrub
- Hand cream with SPF
- Nail brightener
How to Prepare:
- Exfoliate with sugar scrub for 2 minutes.
- Rinse with lukewarm water.
- Pat dry gently.
- Push back cuticles with a towel.
- Apply a nail brightener to clean nails.
- Massage hand cream into every knuckle.
- Apply SPF to protect against outdoor ceremony sun.
- Clean under nail tips with an orange stick.
- Buff nails to a natural shine.
- Apply a quick-dry top coat.
Budget Range
- Tree Hut Shea Sugar Scrub – $8.00
- Eucerin Daily Hydration SPF 30 – $11.00
Arrange Your Classy Vacation Nails in 6 Steps

Why to love this recipe:
Vacation nails should be durable yet sophisticated. This look is designed to survive the pool and the beach while still looking stunning for a sunset dinner.
Essential Ingredients:
- Gel base and top coat
- Neutral tan or bright coral polish
- Cuticle remover gel
How to Prepare:
- Clean the nail plate thoroughly.
- Apply a gel base coat to prevent lifting.
- Apply two coats of a ‘vacation-proof’ gel color.
- Cap the free edge of the nail with polish to prevent chipping.
- Cure under the lamp.
- Finish with a non-wipe top coat for maximum gloss.
Budget Range
- Gelish Mini Starter Kit – $30.00
- CND Vinylux Long Wear Polish – $11.00
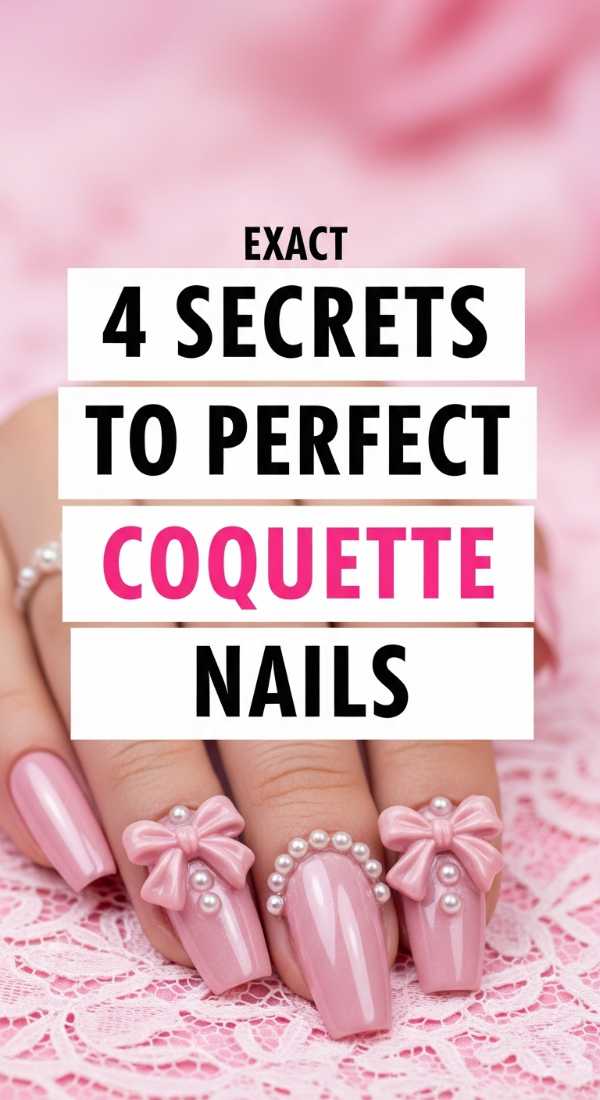
4 Secrets to Perfect Coquette Nails
Why to love this recipe:
The coquette aesthetic is all about bows, pearls, and vintage charm. It’s sweet, playful, and perfect for the dreamer who wants to add a little ‘extra’ to her daily life.
Essential Ingredients:
- Tiny 3D bow charms
- Pearl accents
- Pale pink or milky white base
How to Prepare:
- Secret 1: Use a thick gel ‘glue’ to secure charms so they don’t snag.
- Secret 2: Place bows at the base or the very tip for the best visual balance.
- Secret 3: Surround bows with tiny pearls to create a ‘jewelry’ effect.
- Secret 4: Use a thin brush to apply top coat around the charms, not over them, to keep their detail sharp.
Budget Range
- Nail Art Bow Charms (100pcs) – $6.00
- Makartt Rhinestone Glue – $9.99
Paint Colorful French Tips in 5 Easy Steps

Why to love this recipe:
A modern twist on a classic! Using bright, seasonal colors for your tips instead of white makes your manicure pop with personality and fun.
Essential Ingredients:
- French tip guide stickers or a silicone stamper
- Vibrant neon or pastel polishes
- Nude base coat
How to Prepare:
- Apply a sheer nude base and let dry.
- Place a guide sticker or use a silicone stamper with polish on it.
- Press the tip of your nail into the color.
- Peel the sticker back slowly while the polish is still wet.
- Clean up the ‘smile line’ with a brush dipped in remover.
Budget Range
- Silicone Nail Stamper – $7.00
- Orly Neon Heat Collection – $12.00
Conclusion
There you have it, my loves! Whether you choose the whimsical 3D flowers or the effortless clean girl look, I hope these tutorials inspire you to take a moment for yourself this May. Remember, your nails are just a reflection of the beauty you already carry inside. Go forth and bloom brilliantly!