
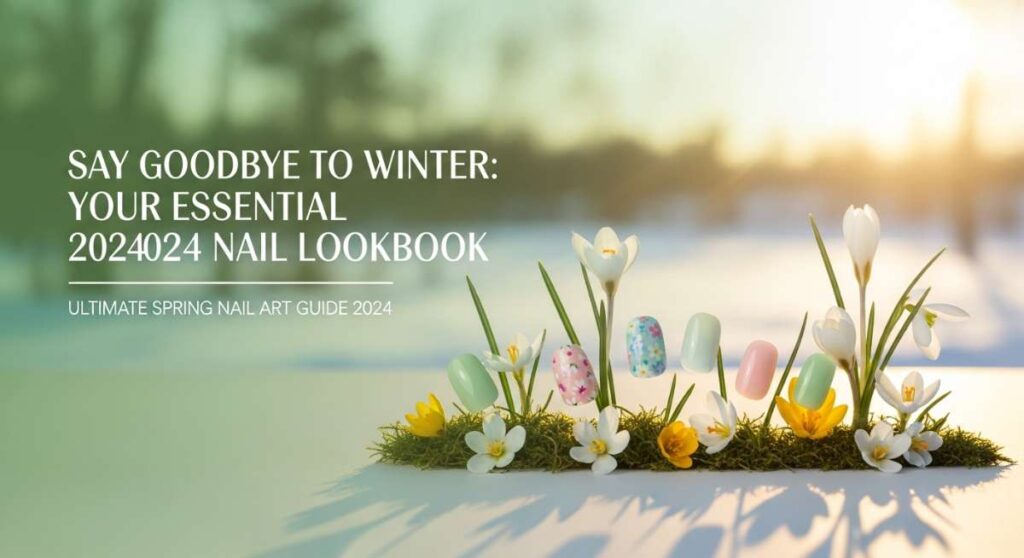
Say Goodbye to Winter: Your Essential Spring 2024 Nail Lookbook
Hi loves! Can you feel it? That first whisper of a warm breeze is finally dancing through the air, and I couldn’t be more thrilled. After months of heavy coats and dark, moody colors, it’s finally time to shed those layers and let our spirits—and our manicures—bloom. There is something so restorative about that first spring morning when the sun hits your hands just right, reminding us that renewal is always possible.
This season, I’ve been dreaming of soft textures, whimsical details, and colors that feel like a cloud-soft embrace. I’ve curated the ultimate guide to the trends that are going to define our Spring 2024. Whether you’re a DIY queen or looking for inspiration to take to your favorite tech, these looks are designed to make you feel like the main character of your own soft-life story. Let’s dive into our spring nail sanctuary together.
Ultimate Spring Nail Art Guide 2024
Fairy Garden Whimsy

Why to love this recipe:
This look is like carrying a tiny, enchanted meadow right on your fingertips. It captures the essence of spring growth and the delicate beauty of hidden forest nooks, making every gesture feel like a bit of magic.
Essential Ingredients:
- Sheer pink base coat
- Miniature dried pressed flowers
- Fine gold leaf flakes
- Tweezers
- Glossy top coat
How to Prepare:
- Apply two thin coats of your sheer pink base and let dry slightly until tacky.
- Using tweezers, carefully place individual dried flowers onto the nail bed.
- Gently press gold leaf flakes around the edges of the flowers for a sun-dappled effect.
- Seal the design with a thick layer of glossy top coat to encapsulate the flowers.
- Finish with cuticle oil to make the skin around the ‘garden’ glow.
Budget Range
- Dried Flower Kit ($8 – Amazon)
- Essie Sugar Daddy Polish ($10)
- Seche Vite Dry Fast Top Coat ($9)
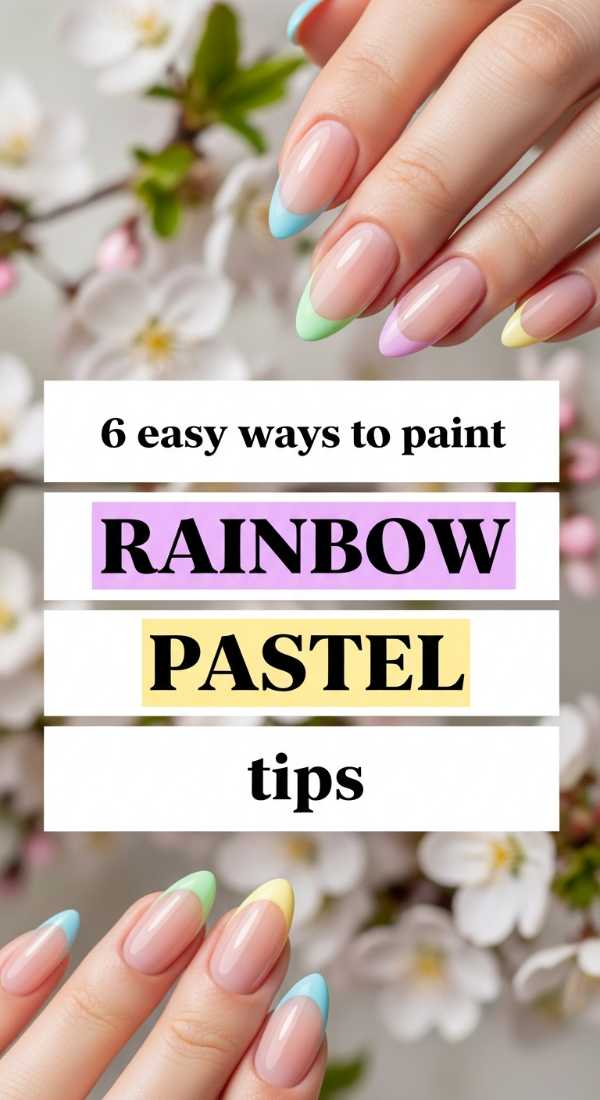
Rainbow Pastel French Tips
Why to love this recipe:
Why choose one color when you can have the whole spectrum? These rainbow tips are the ultimate mood-booster, offering a playful yet sophisticated take on the classic French manicure that goes with every spring outfit in your closet.
Essential Ingredients:
- Nude or clear base polish
- 5 different pastel polishes (mint, lavender, baby blue, lemon, peach)
- Thin detail brush
- French tip guides (optional)
- Top coat
How to Prepare:
- Start with a clean, prepped nail and apply your nude base.
- Dip your detail brush into the first pastel shade and outline the tip of your thumb.
- Fill in the tip carefully, ensuring a smooth curve.
- Repeat for each finger using a different pastel shade to create the rainbow sequence.
- Use a clean brush dipped in remover to sharpen any uneven edges.
- Apply a high-shine top coat to marry the colors together.
Budget Range
- Holo Taco Pastel Bundle ($50) or individual Beetles Pastel Gel Set ($15)
- Detail Brush Set ($6 – Target)
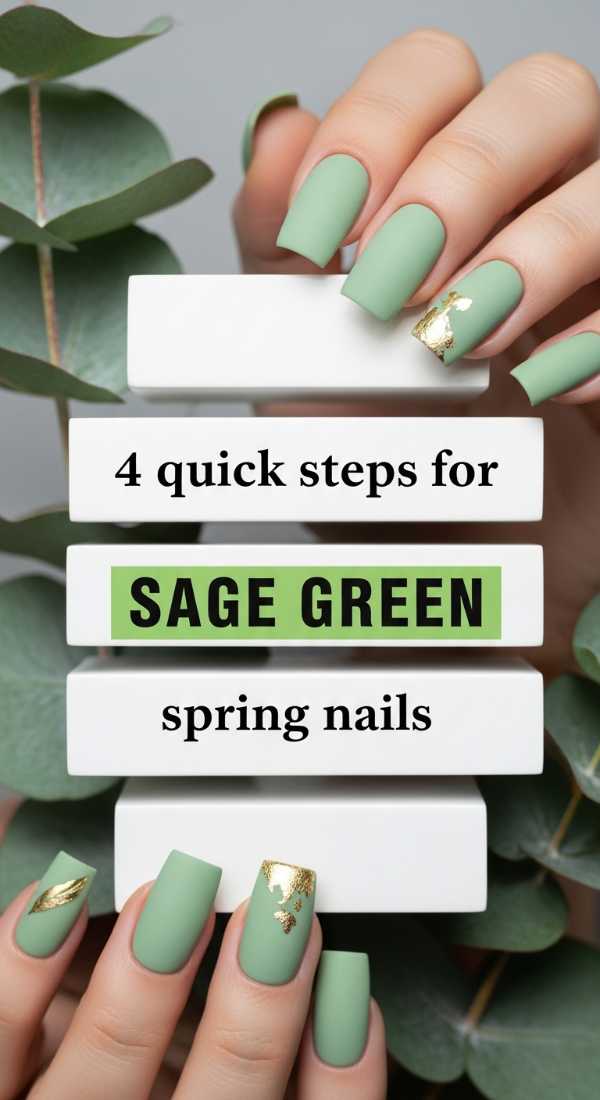
Sage Green Serenity
Why to love this recipe:
Sage green is the ultimate neutral for spring. It’s calming, earthy, and feels incredibly fresh against all skin tones. It’s the perfect way to transition from the deep greens of winter into the light of the new season.
Essential Ingredients:
- Muted sage green polish
- Cream white polish for accents
- Matte top coat
- Dotting tool
How to Prepare:
- Paint all nails with two coats of your favorite sage green shade.
- On the ring finger, use a dotting tool to create three small white daisy petals near the cuticle.
- Add a tiny dot of sage in the center of the daisies for a reverse-botanical look.
- Apply a matte top coat for a soft, velvet-like finish that feels modern.
Budget Range
- OPI ‘Sage You Love Me’ ($11)
- Sally Hansen Matte Top Coat ($7)
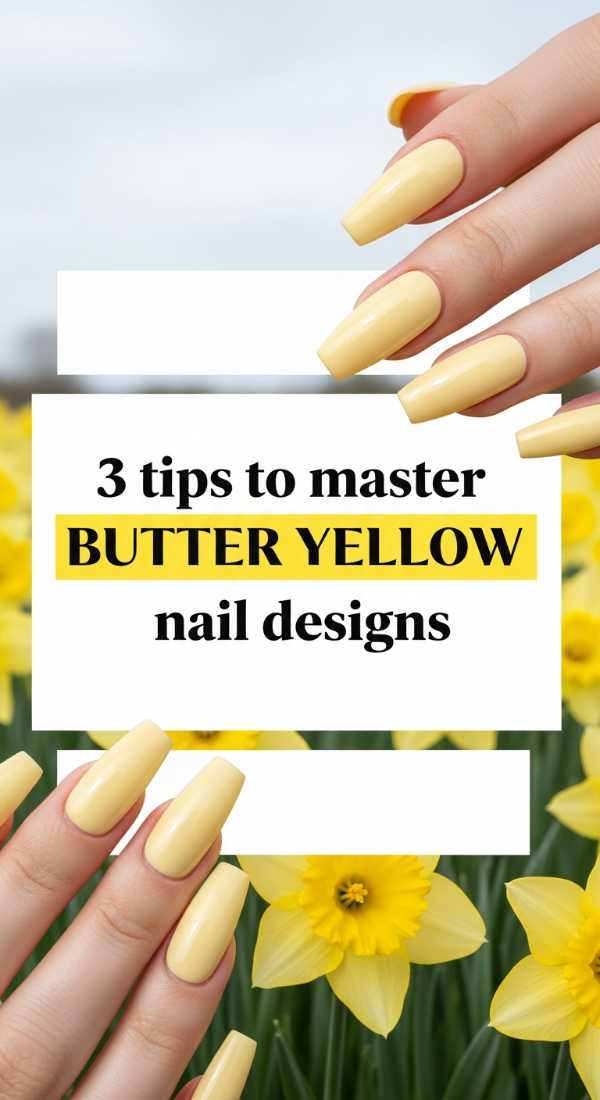
Butter Yellow Bliss
Why to love this recipe:
Butter yellow is officially the ‘it’ color of 2024. It’s softer than lemon and warmer than cream, giving your hands a sunny, cheerful glow that isn’t too overpowering for the office or daily errands.
Essential Ingredients:
- Butter yellow cream polish
- White shimmer powder (optional)
- Base coat
How to Prepare:
- Apply a strong base coat to prevent staining from the yellow pigment.
- Apply two coats of butter yellow, ensuring the layers are thin to avoid streaks.
- If you want extra dimension, lightly dust a white shimmer over the ring finger before the polish fully sets.
Budget Range
- Essie ‘Silly Billy’ or ‘Feeling Wellies’ ($10)
- Zoya ‘Daisy’ ($12)
The Coquette Pink Aesthetic
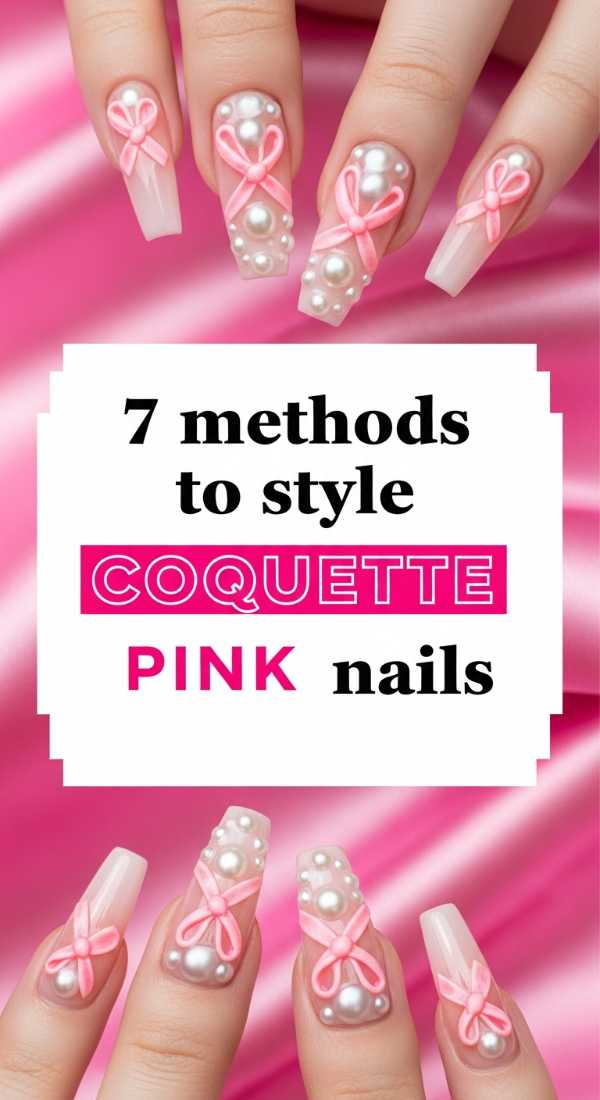
Why to love this recipe:
Embrace your inner romantic with the coquette trend. This look is all about hyper-femininity, bows, and pearls. It feels like a love letter to yourself, wrapped in the softest shades of ballet slipper pink.
Essential Ingredients:
- Soft ballet pink polish
- 3D nail bows (white or pink)
- Small flat-back pearls
- Nail glue
- Fine liner brush
- White acrylic paint
- Glossy top coat
How to Prepare:
- Paint your nails with a soft, translucent pink.
- On the middle finger, use the liner brush and white paint to draw a delicate ribbon bow.
- Apply a drop of nail glue to the ring finger and secure a 3D resin bow.
- Place tiny pearls at the base of your other nails for a jewelry-like effect.
- Seal the hand-painted art with top coat (avoiding the 3D charms to keep their texture).
- Add a second layer of top coat around the base of the charms for extra security.
- Finish with a light dusting of silver fairy dust glitter if desired.
Budget Range
- Zoya ‘Bela’ Pink ($12)
- Nail Art Bow & Pearl Charm Box ($9 – Shein/Amazon)
Glazed Sky Blue
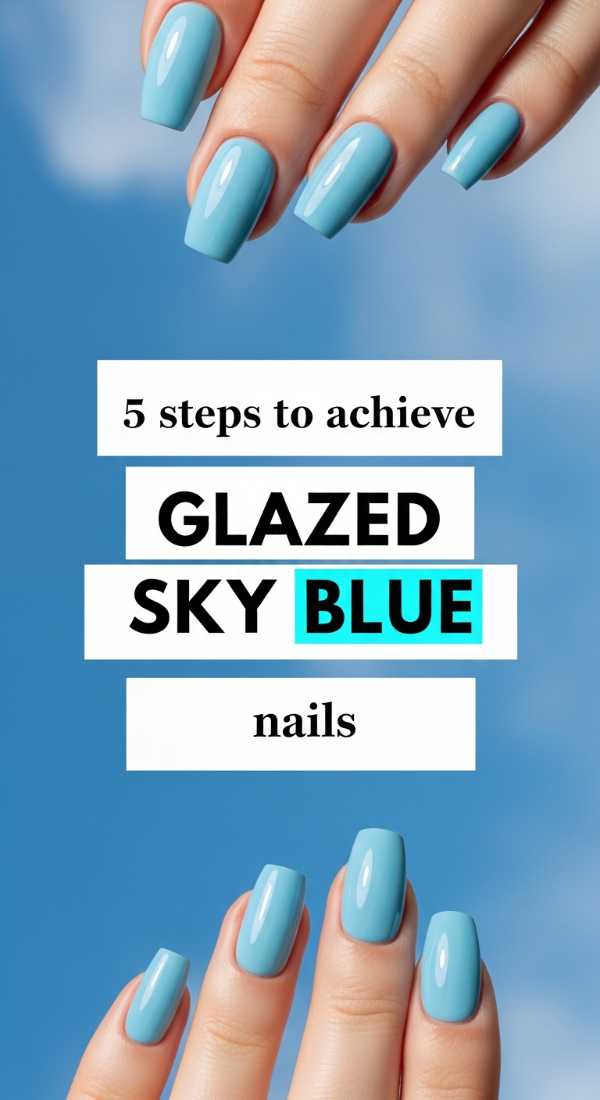
Why to love this recipe:
Take the ‘glazed donut’ trend into 2024 by adding a dreamy blue tint. It looks like the sky on a clear April morning and has an ethereal, holographic finish that catches the light beautifully.
Essential Ingredients:
- Baby blue polish
- White pearl chrome powder
- Sponge applicator
- No-wipe top coat
How to Prepare:
- Apply two coats of baby blue polish and let dry (or cure if using gel).
- Apply a no-wipe top coat and cure for half the recommended time so it stays slightly ‘grabby’.
- Use the sponge to rub the chrome powder over the nail until a mirror-like pearl finish appears.
- Brush off excess powder with a soft brush.
- Seal with a final layer of no-wipe top coat.
Budget Range
- Lights Lacquer ‘Paper Snow’ or similar blue ($13)
- Artdone Chrome Powder Kit ($10)
Peach Soft Glam
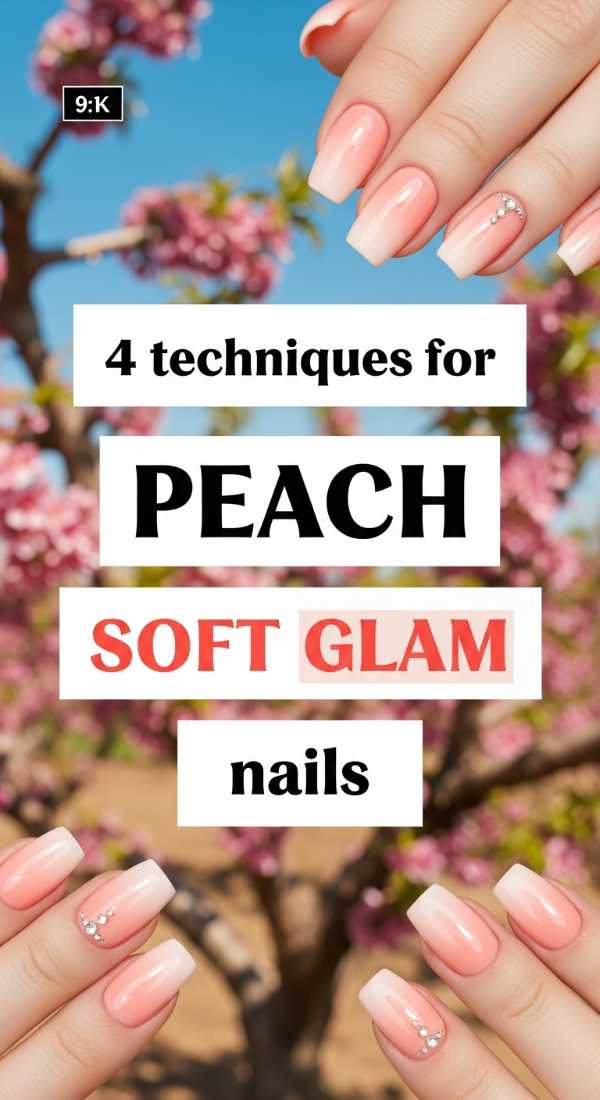
Why to love this recipe:
Inspired by the Pantone Color of the Year, Peach Fuzz, this look is warm and inviting. It’s the bridge between spring florals and summer sunsets, offering a sophisticated glow that looks amazing with gold jewelry.
Essential Ingredients:
- Creamy peach polish
- Gold foil
- Fine shimmer top coat
How to Prepare:
- Apply two coats of peach polish to all nails.
- While the second coat is still slightly wet, use a toothpick to place small flecks of gold foil near the tips.
- Apply a fine shimmer top coat only to the tips for a ‘gradient’ sparkle effect.
- Finish with a high-gloss sealer.
Budget Range
- Olive & June ‘Sweet & Gracious’ ($9)
- Gold Leaf Flakes ($6 – Craft store)
Milky White Perfection
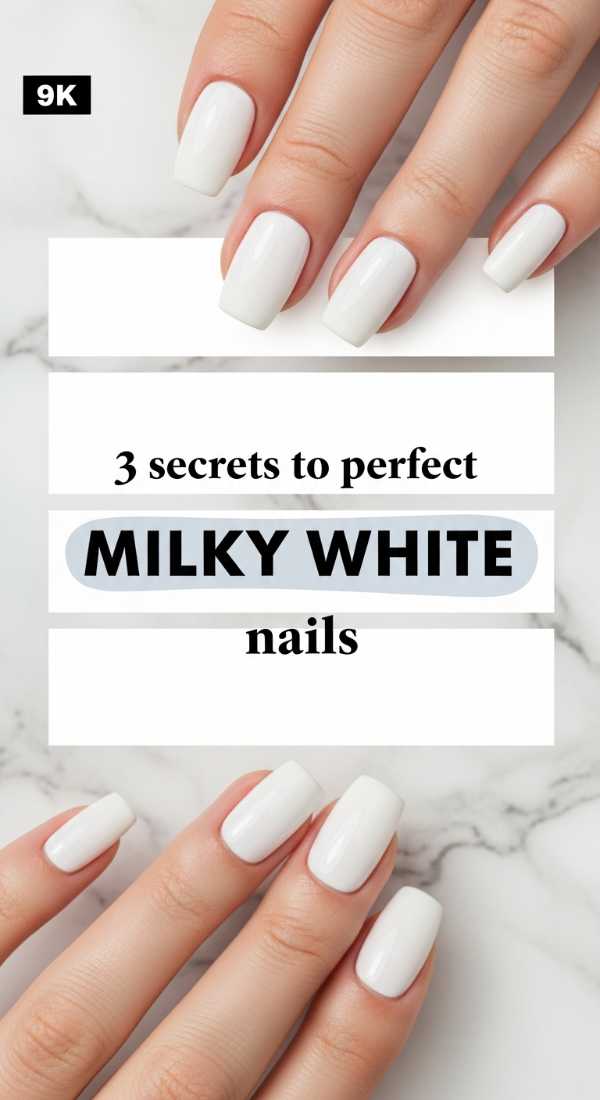
Why to love this recipe:
Clean, crisp, and timeless. Milky white nails are the ‘clean girl’ aesthetic realized for spring. They look expensive, polished, and make your hands look incredibly tan and healthy.
Essential Ingredients:
- Sheer milky white polish
- Ridge-filling base coat
- High-gloss top coat
How to Prepare:
- Apply a ridge-filling base coat to ensure a perfectly smooth canvas.
- Apply three very thin coats of milky white polish (thin coats prevent streaking!).
- Finish with a thick, ‘plumping’ top coat to give that gel-like depth.
Budget Range
- DND ‘Milky White’ ($10)
- Orly ‘Barely There’ ($12)
Korean 3D Jelly Art
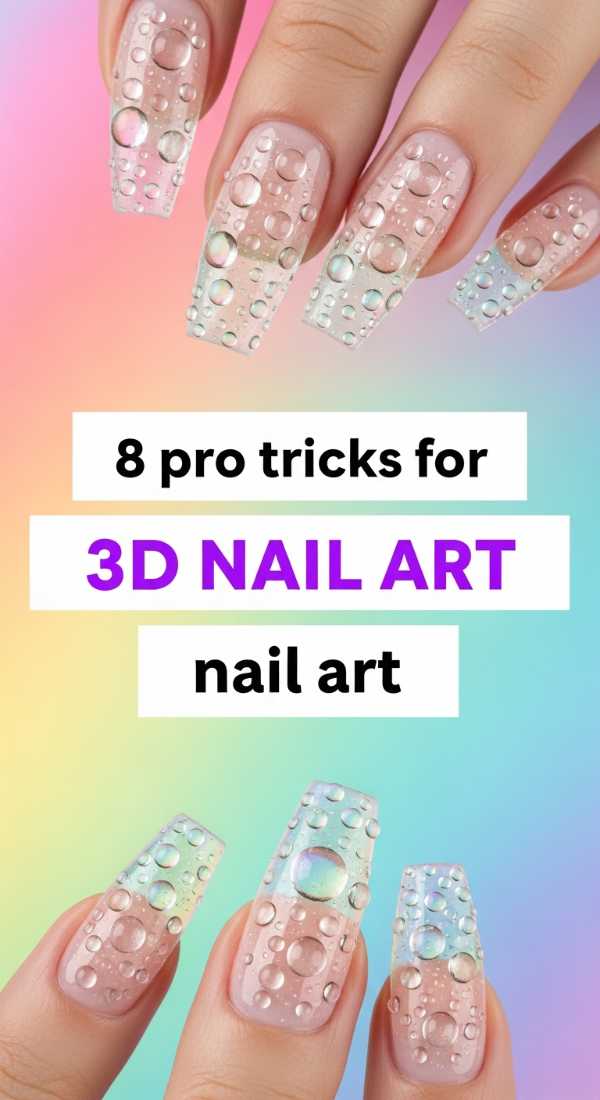
Why to love this recipe:
Korean nail trends are all about ‘jelly’ textures and 3D shapes. This is for the girl who wants her nails to look like literal candy. It’s tactile, fun, and a major conversation starter.
Essential Ingredients:
- Translucent ‘jelly’ polishes
- 3D Builder gel (hard gel)
- UV lamp
- Small rhinestones
- Chrome pigment
- Mixing palette
- Nail spatula
- Buffer
How to Prepare:
- Apply a sheer jelly base in a soft lavender or pink.
- On a palette, mix a bit of builder gel with a drop of jelly polish for a tinted 3D effect.
- Use a spatula or thick brush to drop ‘blobs’ of the mixture onto the nail to create water droplets or heart shapes.
- Cure immediately in the UV lamp to set the 3D shape.
- Rub a little chrome powder only onto the 3D shapes for a ‘liquid metal’ look.
- Apply a tiny rhinestone into a wet drop of gel and cure.
- Seal the entire nail (around the 3D parts) with a glossy top coat.
- Wipe with alcohol for a squeaky-clean, non-sticky finish.
Budget Range
- Makartt Rhinestone Glue/Builder Gel ($10)
- Gaoy Jelly Polish Set ($16)
Classy Nude with a Twist
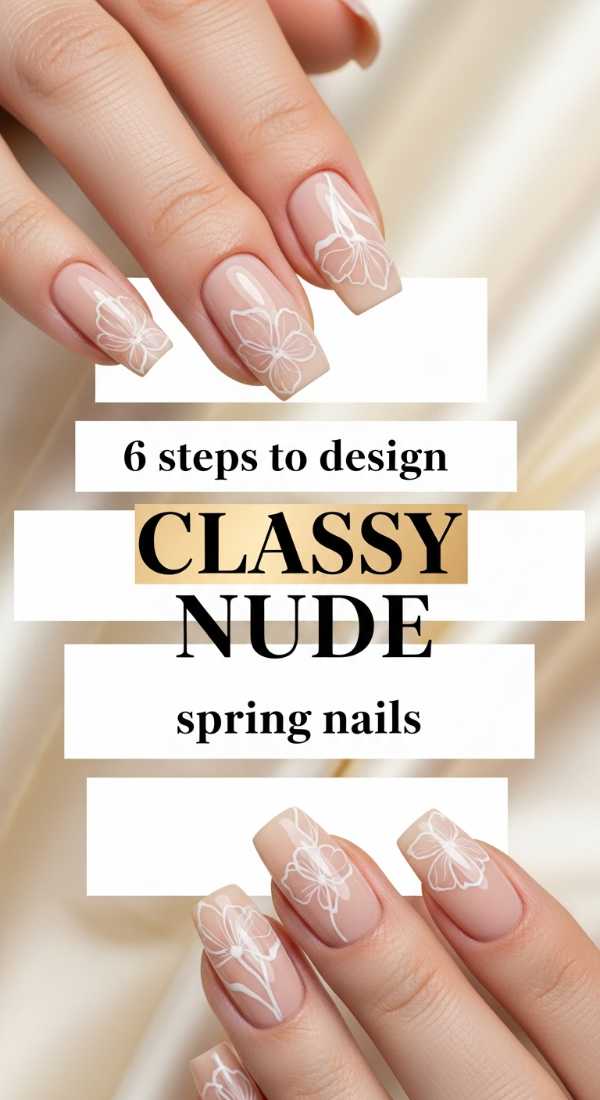
Why to love this recipe:
If you love a ‘your nails but better’ look, this is for you. It’s a classic nude base elevated with subtle spring elements, making it perfect for weddings, graduations, or just feeling put-together.
Essential Ingredients:
- Skin-tone matching nude polish
- White liner gel
- Gold stud decals
- Matte and Glossy top coats
How to Prepare:
- Paint nails with your perfect nude shade.
- On the pinky and index fingers, apply a matte top coat.
- On the middle fingers, use a white liner to draw a single, ultra-thin vertical line down the center.
- Place a tiny gold stud at the base of the lined nail.
- Apply a glossy top coat to the remaining nails.
- Massage in a floral-scented cuticle oil for the full spa experience.
Budget Range
- Cirque Colors ‘Chiffon’ ($12)
- Nail Art Studs ($5 – Amazon)
Embrace Your Spring Glow
I hope these looks inspire you to take a little moment for yourself this week. Doing our nails isn’t just about the aesthetic; it’s a ritual of self-care, a way to slow down and appreciate the beauty in the details. Whether you go for the bold 3D jelly look or the soft serenity of sage green, remember that your hands do so much for you—they deserve to be celebrated! Tag me in your recreations, loves. I can’t wait to see your spring transformations!