
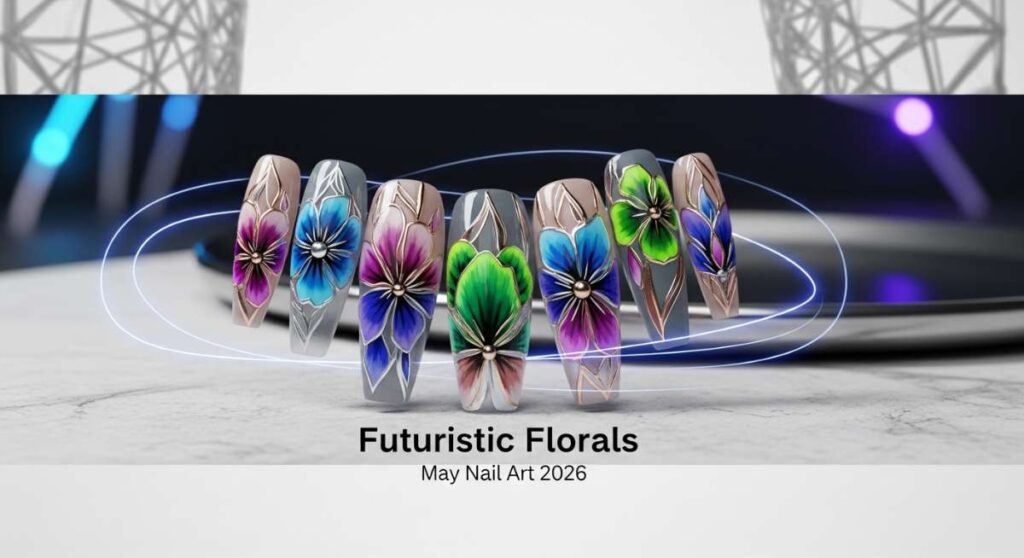
Futuristic Florals: Why 2026 May Nail Designs Are Changing the Game
Hi loves! Can you believe we’ve already bloomed into May 2026? There is something so incredibly special about this month; it feels like the world is finally exhaling a long, fragrant breath of springtime magic. As the morning mist clings to the petals in my garden, I find myself reaching for colors that hum with life and textures that feel like a soft, digital dream. This season, we aren’t just wearing polish; we are wearing art that tells a story of rebirth and technological elegance.
My heart has been so full lately, experimenting with these new trends in my little sun-drenched studio. I want your fingertips to feel like a cloud-soft embrace every time you catch a glimpse of them. Whether you’re sipping a lavender latte or typing away at your latest passion project, these futuristic florals are here to remind you that you are a masterpiece in progress. Let’s dive into the botanical bliss together, shall we?
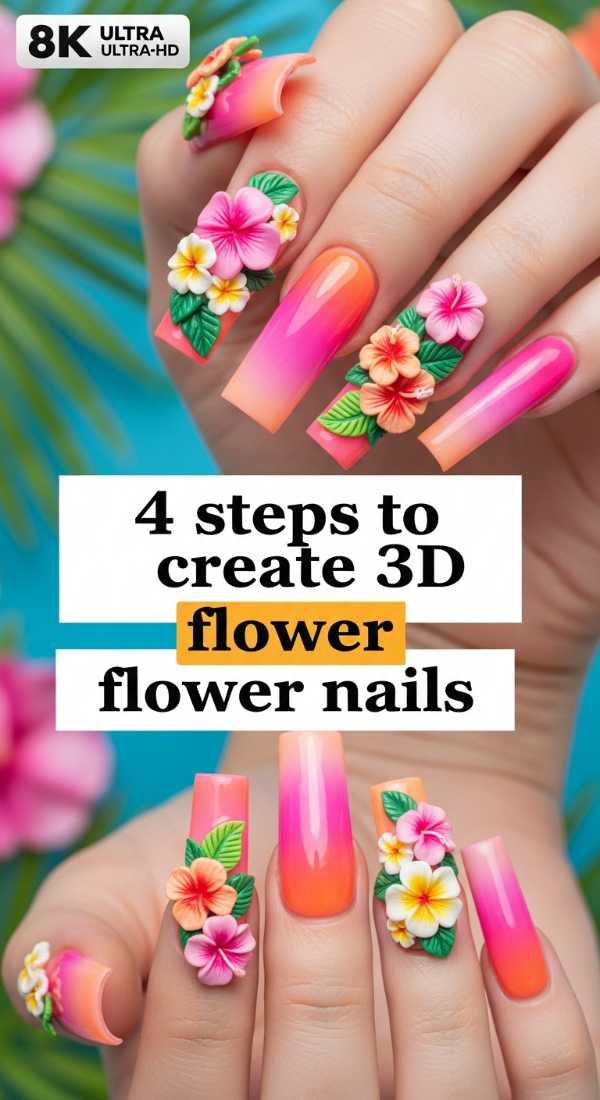
The Blooming Dimension: 4 Steps to Create 3D Floral Nails
Why to love this recipe:
There is an ethereal depth to 3D florals that a flat polish just can’t capture. It’s like carrying a tiny, secret garden on your fingertips that dances whenever the light hits it. This look feels personal, tactile, and deeply romantic—perfect for those May afternoons when you want to feel a little extra whimsical.
Essential Ingredients:
- High-viscosity 5D Builder Gel
- Fine-liner brush
- Matte top coat (for the base)
- Chrome petal dust in ‘Rose Quartz’
How to Prepare:
- Apply your base color and cure with a matte top coat to create a canvas.
- Use your liner brush to bead a small amount of builder gel into a petal shape.
- Flash cure each petal for 10 seconds to keep the 3D structure from leveling.
- Rub a tiny bit of chrome dust over the raised petals and seal with a gloss detailer.
Budget Range
- Savvy: Beetles 5D Sculpting Gel ($8)
- Mid-Range: Makartt Rhinestone Glue & Gel Kit ($15)
- Luxury: Aprés Nail Sculpture Gel ($25)
Pastel Dreams: 5 Ways to Blend Pastel Ombre Tips

Why to love this recipe:
Ombre tips are the softest way to transition into the warmth of May. It’s a gradient of emotions, starting with a grounded neutral and fading into a hopeful, sky-blue or minty whisper. It softens the hands and gives off that ‘clean girl’ aesthetic with a futuristic, holographic twist.
Essential Ingredients:
- Makeup wedge sponges
- Latex nail tape (for easy cleanup)
- Three coordinating pastel shades
- A milky white ‘blurring’ polish
How to Prepare:
- Apply the latex tape around your cuticles to save on cleanup time later.
- Paint your three colors in horizontal stripes directly onto the makeup sponge.
- Dab the sponge onto the tip of your nail, moving slightly up and down to blend.
- Apply a coat of ‘milky white’ over the entire nail to soften the transition.
- Finish with a high-shine top coat for a glass-like finish.
Budget Range
- Savvy: Sally Hansen Insta-Dri Pastels ($5 each)
- Mid-Range: Cirque Colors Speckled Collection ($12)
- Luxury: Holo Taco Pastel Bundle ($60)
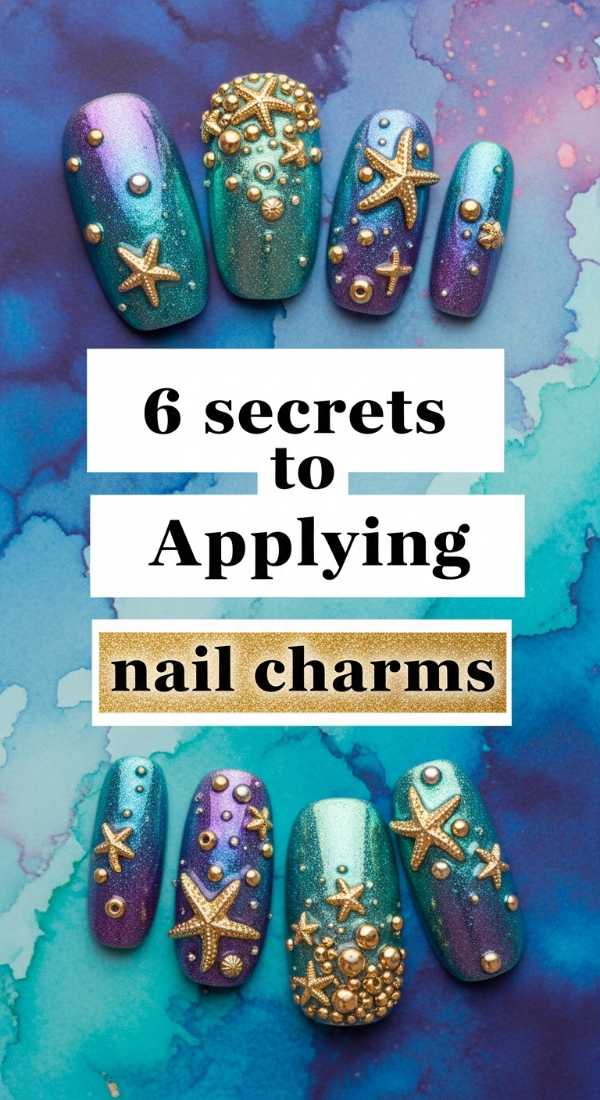
Gilded Whispers: 6 Secrets to Applying Gold Nail Charms
Why to love this recipe:
Charms are the jewelry of the nail world, darlings. In 2026, we are seeing a move toward molten gold shapes that look like they were poured directly onto the nail. It’s a touch of opulence that feels grounded and sophisticated, not cluttered.
Essential Ingredients:
- UV-curable jewelry resin
- Curved gold bar charms
- Pointy-back tweezers
- Alcohol wipes
How to Prepare:
- Clean the surface of your finished color with an alcohol wipe to remove oils.
- Apply a small dot of jewelry resin exactly where you want the charm.
- Place the gold charm using tweezers, pressing firmly but gently.
- Cure under a UV lamp for a full 60 seconds to lock it in place.
- Use a tiny brush to ‘frame’ the charm with top coat to prevent snagging.
- Wipe away any residue for a sparkling, professional finish.
Budget Range
- Savvy: Amazon Bulk Gold Charm Mix ($7)
- Mid-Range: Daily Charme Kawaii Parts ($12)
- Luxury: Swarovski Crystal & Gold Accents ($30+)
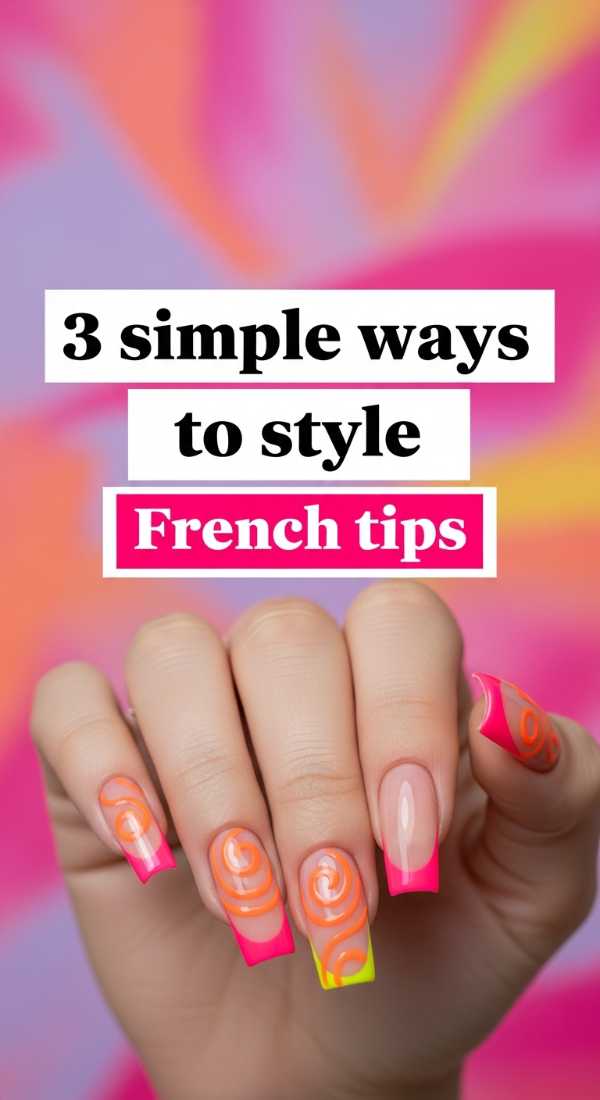
The Modern Edge: 3 Simple Ways to Style French Tips
Why to love this recipe:
The French manicure is a timeless hug, but this May, we are giving it a futuristic glow-up. By playing with width and finish, we make the classic look feel entirely new and daringly soft.
Essential Ingredients:
- French tip guide stickers
- Neon-pastel liners
- Iridescent top coat
How to Prepare:
- The Micro-Tip: Use a thin liner brush to paint only the very edge of the free edge for a minimalist look.
- The Double-V: Paint two intersecting diagonal lines at the tip for a geometric, futuristic feel.
- The Velvet Tip: Use a magnetic polish only on the tips to create a shimmering, 3D effect.
Budget Range
- Savvy: Wet n Wild French Manicure Kit ($4)
- Mid-Range: Orly French Tip Guides & Polish ($15)
- Luxury: Dior Vernis French Manicure Set ($30)
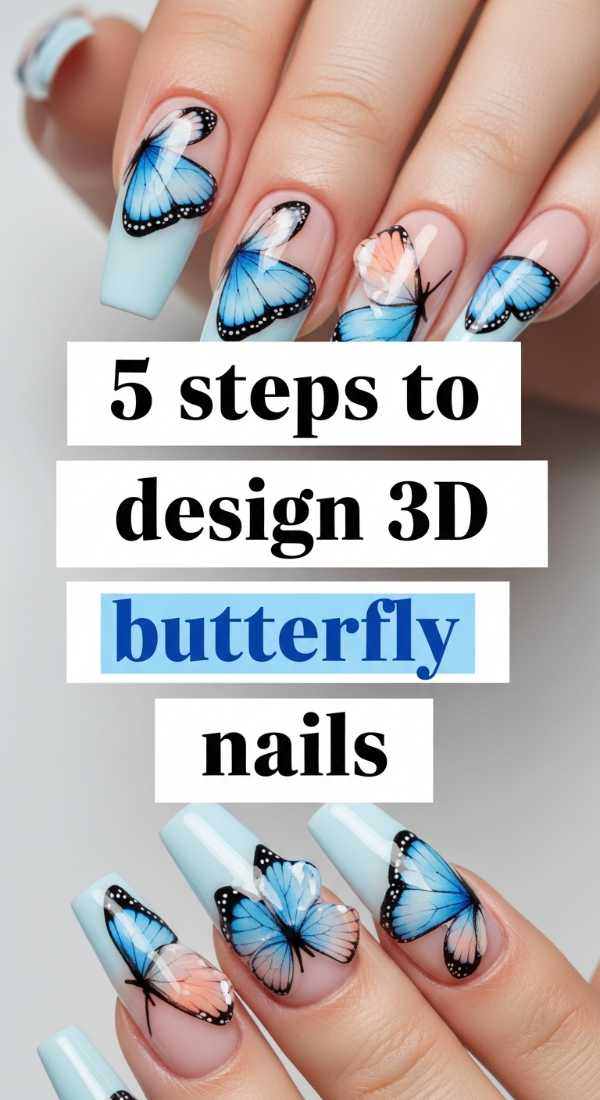
Flutter Glow: 5 Steps to Design 3D Butterfly Nails
Why to love this recipe:
Butterflies are the ultimate symbol of transformation, and in May 2026, they are taking flight in 3D. These designs catch the air and the light, making your hands feel like they belong in a fairytale meadow. It’s a bold, beautiful statement of joy.
Essential Ingredients:
- Pre-molded resin butterfly wings
- Clear builder gel
- Iridescent flake toppers
- Fine tweezers
How to Prepare:
- Apply a base of iridescent flakes to mimic the shimmer of a butterfly’s habitat.
- Place a bead of clear gel in the center of the nail.
- Carefully set the resin wings into the gel at an angle so they appear to be lifting off.
- Cure for 90 seconds to ensure the ‘flight’ is secure.
- Add tiny dots of silver polish as the ‘body’ of the butterfly.
Budget Range
- Savvy: SHEIN 3D Nail Art Butterflies ($2)
- Mid-Range: Kiara Sky Gelly Tips Charms ($14)
- Luxury: Custom Hand-Painted Acrylic Butterflies ($40+)
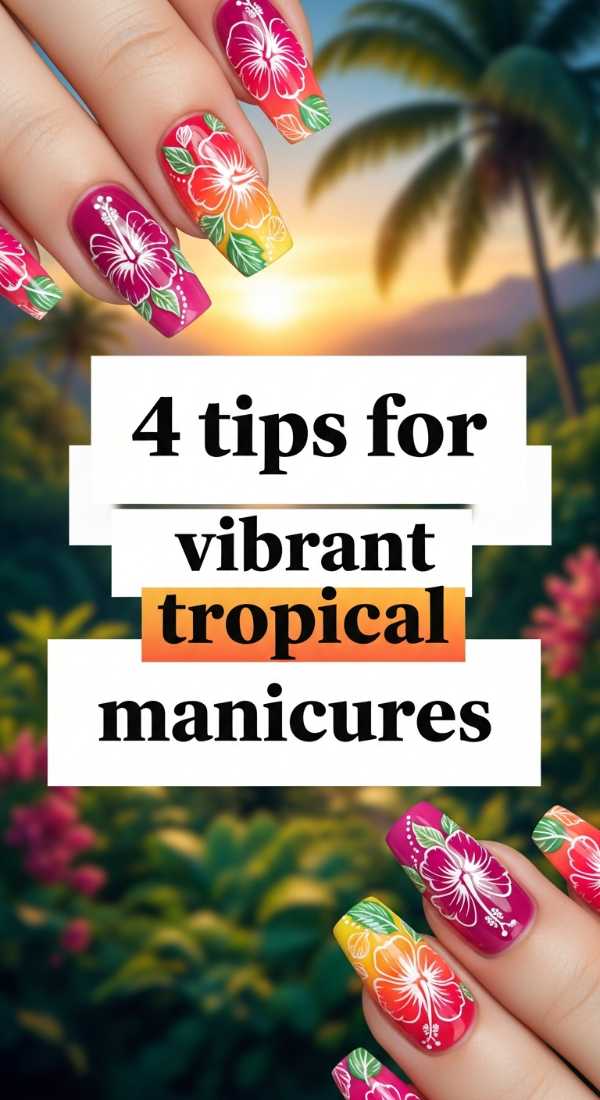
Island Soul: 4 Tips for Vibrant Tropical Manicures
Why to love this recipe:
Even if you’re not at the beach, your nails can be a vacation for your soul. Vibrant tropicals bring a burst of energy and vitamin D to your mood. Think saturated corals and leafy greens that pop against May’s soft sunlight.
Essential Ingredients:
- Neon-cream polishes
- Hibiscus nail decals
- Stamping plate (Tropical theme)
How to Prepare:
- Start with a bright, opaque base color like electric papaya.
- Apply a tropical leaf stamp using a deep forest green for contrast.
- Add a single hibiscus decal on the ring finger for a focal point.
- Seal with a matte top coat to make the neon colors feel sophisticated.
Budget Range
- Savvy: Sinful Colors Neon Collection ($3)
- Mid-Range: MoYou London Stamping Starter Kit ($18)
- Luxury: OPI Summer Make the Rules Collection ($11 each)
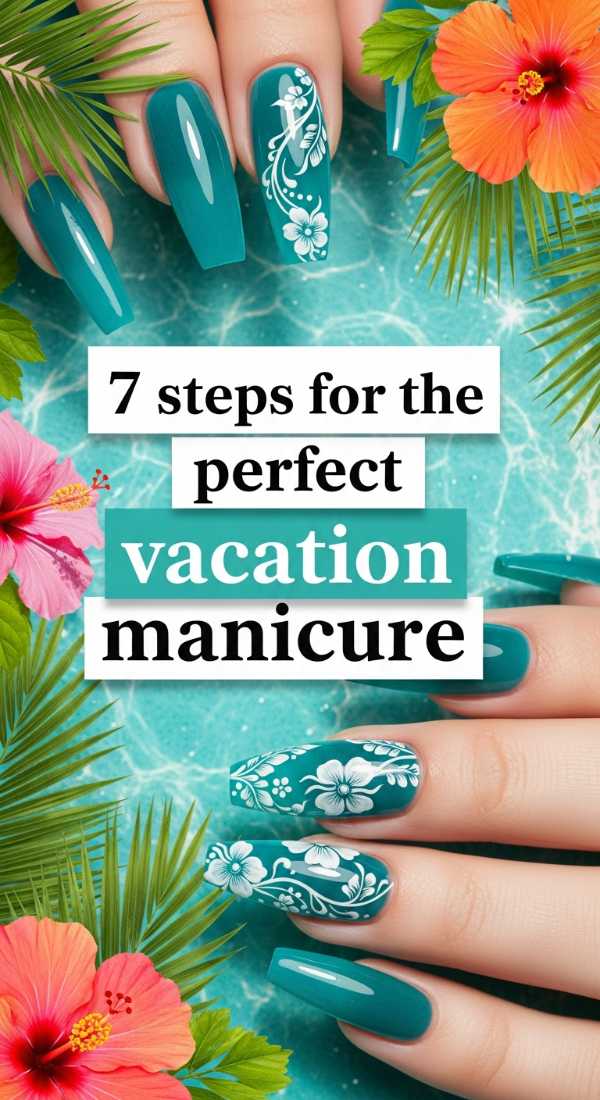
The Wanderlust Prep: 7 Steps for the Perfect Vacation Manicure
Why to love this recipe:
There’s nothing worse than a chipped nail when you’re exploring a new city or lounging by the pool. This routine is all about longevity and resilience, so your nails stay as beautiful as your travel photos.
Essential Ingredients:
- Dehydrator/Primer
- Rubber base coat
- Long-wear gel polish
- Cuticle oil pen (for the plane!)
How to Prepare:
- Push back cuticles and gently buff the nail surface to remove shine.
- Apply a nail dehydrator to ensure a perfect bond.
- Layer a ‘rubber’ base coat, which flexes with your natural nail to prevent cracking.
- Apply two thin layers of your chosen May shade.
- Cap the free edge (the very tip of the nail) with every layer.
- Apply a non-wipe top coat for maximum durability.
- Finish with a hydrating oil to keep the skin glowing through travel stress.
Budget Range
- Savvy: Modelones Gel Polish Starter ($20)
- Mid-Range: Gelish Dynamic Duo ($25)
- Luxury: Bio Seaweed Gel Unity Set ($45)
Season Shift: 5 Ways to Transition to Summer Nails
![]()
Why to love this recipe:
May is the bridge between the shy blossoms of spring and the roaring heat of summer. Transitioning your manicure allows you to slowly dial up the intensity while keeping that soft, cloud-like May aesthetic we love.
Essential Ingredients:
- Sheer ‘jelly’ polishes
- Glitter toppers
- Nude base shades
How to Prepare:
- Start with a nude base and add a ‘jelly’ French tip in a bright summer shade.
- Mix textures: Try a matte thumb and index finger with glossy, bright pinkies.
- Layer a sheer shimmer over your pastel spring shades to give them a summer ‘glow’.
- Use negative space designs to keep the look airy and light.
- Gradually move from cool tones (blues/purples) to warm tones (oranges/yellows) throughout the month.
Budget Range
- Savvy: Essence Shine Last & Go ($3)
- Mid-Range: Zoya Jelly Drink Collection ($12)
- Luxury: Chanel Le Vernis ($32)
The Foundation: 8 Steps to Prep Your May Gel Nails

Why to love this recipe:
A house is only as strong as its foundation, loves! Proper prep ensures your futuristic florals don’t just look good, but stay healthy. This is the ultimate self-care ritual for your hands.
Essential Ingredients:
- Glass nail file
- Cuticle remover cream
- Lint-free wipes
- 70% Isopropyl Alcohol
How to Prepare:
- Shape your nails using a glass file to prevent splitting.
- Apply cuticle remover and wait 30 seconds.
- Gently push back the eponychium with a wooden stick.
- Wash hands thoroughly to remove all chemicals.
- Lightly buff the nail plate in one direction.
- Wipe each nail with alcohol and a lint-free wipe.
- Apply a pH balancer or primer.
- Ensure no product touches the skin during the first base coat layer.
Budget Range
- Savvy: Blue Cross Cuticle Remover ($6)
- Mid-Range: Tweezerman Manicure Kit ($25)
- Luxury: Deborah Lippmann Cuticle Lab ($45)
Nature’s Tech: 4 Ways to Master 3D Botanical Nails

Why to love this recipe:
Combining real organic elements with futuristic gel tech is the peak 2026 vibe. It’s a harmony of the natural and the man-made. It feels grounding, earthy, and incredibly high-fashion.
Essential Ingredients:
- Dried mini-pressed flowers
- Clear encapsulation gel
- Tweezers
- Gold leaf flakes
How to Prepare:
- Apply a thin layer of clear gel but do not cure.
- Use tweezers to place a tiny dried flower into the wet gel.
- Tuck small bits of gold leaf around the flower for a ‘botanical luxury’ feel.
- Cure for 60 seconds, then encapsulate the entire design with a thicker layer of clear builder gel.
Budget Range
- Savvy: Etsy Pressed Nail Flowers ($5)
- Mid-Range: Born Pretty Botanical Set ($12)
- Luxury: Kupa Inc. Gels & Professional Decor ($35)
A Soft Farewell to Spring
As we wrap our fingertips in these futuristic florals, remember that beauty is a form of self-expression that starts from within. These May 2026 trends are more than just colors on a nail; they are a celebration of how far we’ve come and the bright, blooming future ahead of us. Wear these designs with a smile, loves, and let your hands tell the story of your beautiful, soft life. I can’t wait to see which look you choose to embrace this month!