
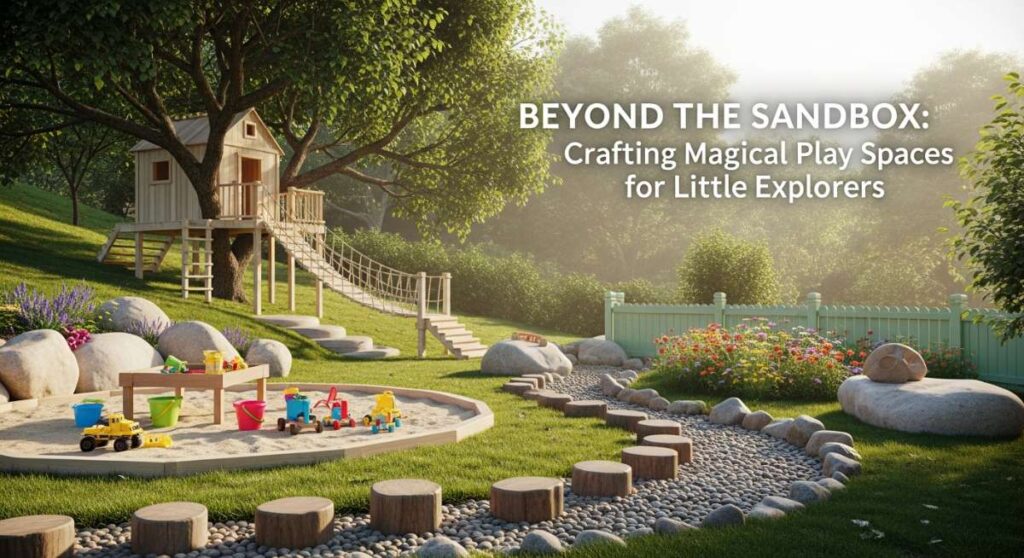
I remember the long, golden afternoons of my own childhood, where a simple overturned cardboard box wasn’t just recycling—it was a starship, a castle, or a hidden cave beneath the sea. There’s something truly sacred about the spaces where children play; they are the incubators for imagination, the gymnasiums for growing limbs, and the quiet sanctuaries where little souls learn who they are. Today, we are moving far beyond the plastic sandbox and the lonely swing set to create immersive, dreamy environments that beckon our little explorers into the sunlight.
Creating a magical play space isn’t just about aesthetics (though a beautiful cedar playhouse certainly doesn’t hurt!); it’s about intentionality. It’s about crafting a landscape that whispers ‘come and see’ and ‘yes, you can climb that.’ Whether you have a sprawling backyard or a cozy corner of a sunroom, the goal is the same: to foster a sense of wonder that competes with any screen. Join me as we dive into the textures, colors, and construction secrets of building the ultimate childhood haven.
How to Build a DIY Kids Playground for Endless Summer Fun
Why we love this
There is an unparalleled sense of satisfaction in the scent of fresh-cut cedar and the smooth, sun-warmed finish of hand-sanded timber that only a DIY project can provide. This playground becomes a living monument to your family’s growth, echoing with the rhythmic ‘thwack’ of a swing and the pitter-patter of bare feet on sturdy decking. We love the tactile contrast between the rugged ropes and the cool metal of the slide, creating a multi-sensory environment that smells of sawdust and summer grass while offering a safe, stable foundation for years of memories.
Essential Elements:
- Pressure-treated or cedar 4×4 posts
- Heavy-duty galvanized swing hangers
- High-density polyethylene (HDPE) slide
- Outdoor-rated climbing rocks
- Stainless steel deck screws
- Leveling gravel or rubber mulch base
How to make it
- Begin by surveying your land; use a string level and stakes to identify the flattest area, ensuring a 6-foot safety perimeter around the entire build site.
- Dig post holes to a depth of 24 inches (or below the frost line), filling the bottom with 3 inches of gravel for drainage before setting your 4×4 uprights in fast-setting concrete; check for perfect plumbness before the mix hardens.
- Construct the main tower frame by bolting horizontal 2×6 joists to the posts at the desired deck height; use a speed square to ensure every corner is a crisp 90 degrees.
- Lay the decking boards with a 1/8-inch gap between them to allow for wood expansion and water drainage; pre-drill every hole to prevent the wood from splitting under the torque of the impact driver.
- Install the swing beam by securing a 4×6 timber across two heavy-duty A-frame brackets; check the horizontal level meticulously to ensure the swings hang straight and do not exert uneven force on the hardware.
- Sand every exposed edge with 80-grit followed by 120-grit sandpaper until the wood feels like silk to the touch, then apply a non-toxic, UV-resistant wood sealer to protect the structure from the elements.
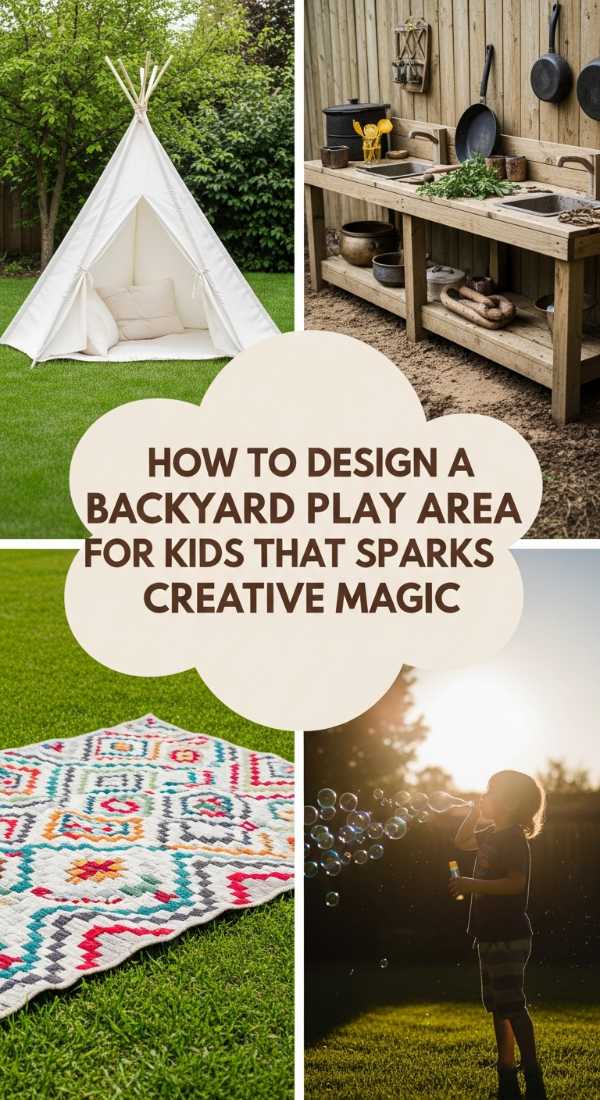
How to Design a Backyard Play Area for Kids that Sparks Creative Magic
Why we love this
This design philosophy transforms a standard yard into a theater of the mind, where every corner holds a prompt for a new story. We adore the inclusion of a weather-proof chalkboard that captures the dusty, vibrant streaks of rainbow chalk and the soft rustle of a velvet outdoor curtain used for backyard performances. The space feels alive with the aroma of blooming jasmine and the visual delight of mismatched, whimsical textures—from smooth river stones to woven willow screens—that encourage children to see art in the everyday.
Essential Elements:
- Outdoor chalkboard paint on marine-grade plywood
- Low-profile wooden stage platform
- Weather-resistant storage trunks for costumes
- Acoustic elements like outdoor xylophones
- Washable outdoor rugs in bold patterns
- Solar-powered fairy lights for evening ambiance
How to make it
- Identify ‘zones’ within your space: a quiet zone for reading, a loud zone for performance, and a messy zone for art; use low-lying hedges or stone paths to subtly define these boundaries.
- Mount a large sheet of marine-grade plywood to a fence or wall and apply three coats of high-quality outdoor chalkboard paint, allowing 24 hours of drying time between layers for a professional, durable finish.
- Build a simple 4×4 foot stage by framing 2x4s and topping them with composite decking; this provides a rot-resistant surface that remains cool to the touch even in direct sunlight.
- Install a heavy-duty tension rod between two posts or trees to hang outdoor curtains, creating a ‘backstage’ area; ensure the fabric is solution-dyed acrylic like Sunbrella to prevent fading and mold.
- Incorporate sensory ‘sound stations’ by hanging upcycled metal pots or professionally tuned outdoor bells; mount them at varying heights to accommodate children of different ages.
- Finish the space with a ‘creation station’—a sturdy table with built-in bins for natural loose parts like pinecones, shells, and smooth glass pebbles to inspire three-dimensional art.
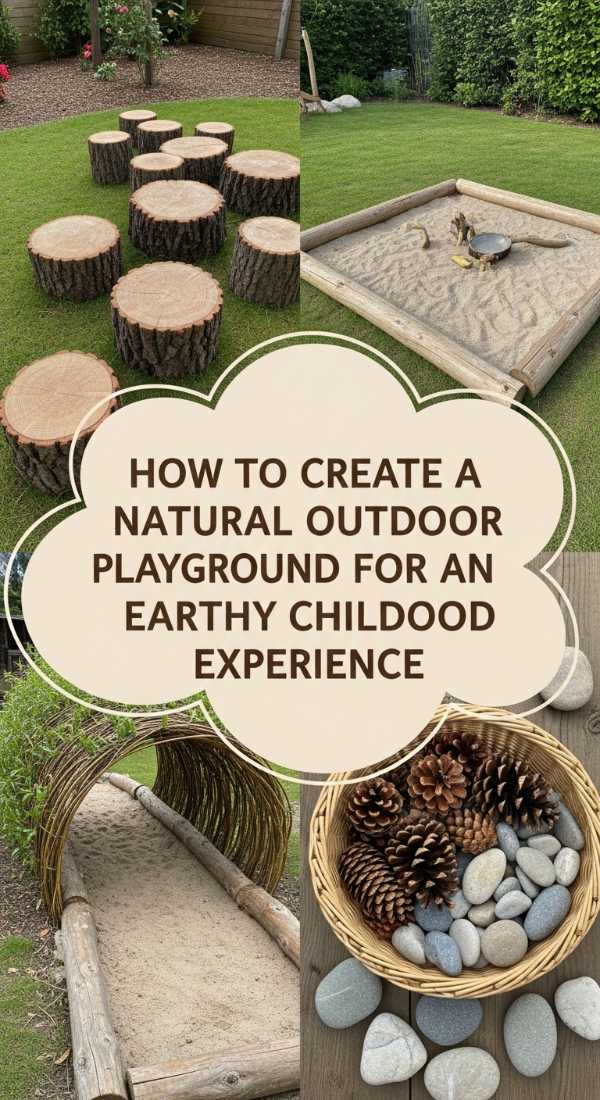
How to Create a Natural Outdoor Playground for an Earthy Childhood Experience
Why we love this
There is a profound, grounding peace found in a natural playground that mimics the wild beauty of a forest floor. We love the damp, loamy scent of wood chips underfoot and the cool, grainy texture of a mud kitchen where ‘pinecone soup’ is the specialty of the day. This approach celebrates the imperfect beauty of moss-covered logs and the architectural wonder of a willow tunnel, providing a sanctuary that feels deeply connected to the seasons and the gentle rhythm of the earth.
Essential Elements:
- Sanded tree stumps (steppers)
- A mud kitchen with a functional hand pump
- Hollowed-out logs for crawling and hiding
- Live willow whips for a living tunnel
- River rock dry creek bed
- Native, non-toxic plants for sensory exploration
How to make it
- Source fallen hardwood logs (like oak or locust) and debark them using a drawknife to prevent rot and remove hiding places for unwanted insects.
- Arrange stumps of varying heights in a ‘S’ curve to create a balance beam path; bury the bottom third of each stump in the ground and pack with crushed stone to prevent wobbling.
- Construct a mud kitchen using reclaimed cedar pallets; install a stainless steel sink basin and a simple gravity-fed water jug to allow for ‘cooking’ without wasting water.
- Dig a shallow trench for a dry creek bed, lining it with landscape fabric before filling it with a mix of pea gravel and large river stones; this provides a textural play area that also helps with yard drainage.
- Plant a living willow tunnel by pushing long willow whips 10 inches into moist soil in late winter; weave the tops together and secure with twine to create a natural archway that will leaf out in spring.
- Create a ‘digging pit’ by excavating a 3×3 foot area and filling it with a mix of topsoil and play sand, shielding it with a simple wooden lid to keep the neighborhood cats away when not in use.
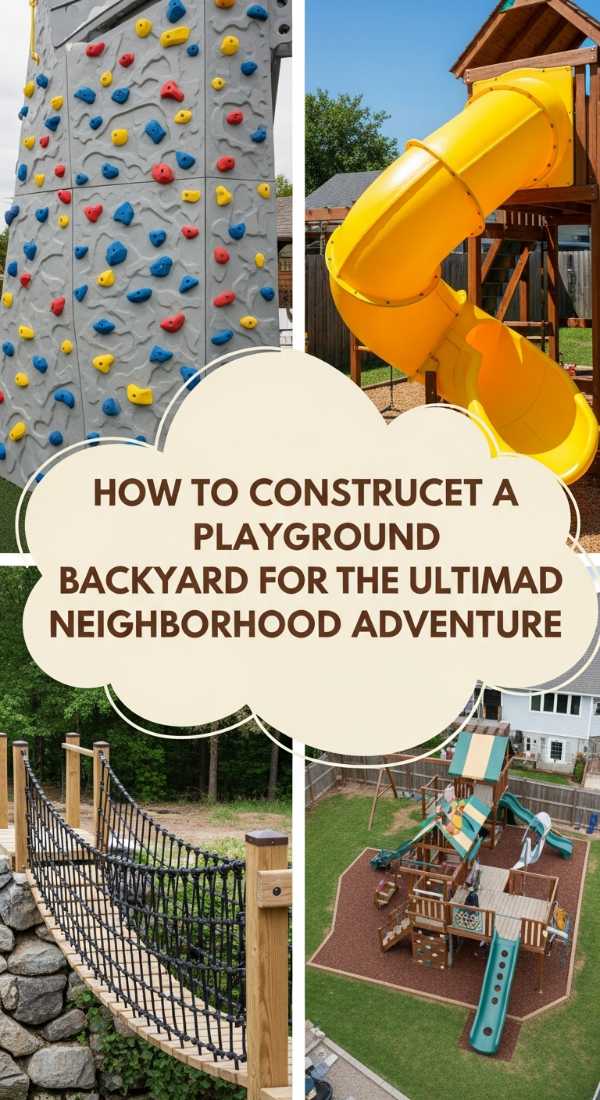
How to Construct a Playground Backyard for the Ultimate Neighborhood Adventure
Why we love this
This is the high-energy heart of the neighborhood, where the air is filled with the thrill of flight and the ‘clink-clink’ of carabiners on a zipline. We love the industrial-cool aesthetic of galvanized steel poles paired with the organic grip of a professional climbing wall, offering a physical challenge that smells of fresh air and victory. It’s a space that scales with the child, providing a ‘big kid’ haven that feels like a private adventure park right outside the kitchen window.
Essential Elements:
- Professional-grade zipline kit with trolley
- Plywood climbing wall with textured grip paint
- Cargo net climbing station
- Steel monkey bars with powder coating
- Engineered wood fiber (EWF) for impact surfacing
- Heavy-duty ground anchors
How to make it
- Select two healthy, mature trees or install 6×6 pressure-treated poles encased in 3 feet of concrete to act as the anchors for your zipline; ensure a slight 3-6% grade for a safe but exciting speed.
- Build the climbing wall by attaching 3/4-inch ACX plywood to a sturdy 2×4 frame; pre-drill holes for T-nuts in a grid pattern before painting the wood with a sand-infused ‘grip’ paint for a rock-like texture.
- Install the climbing holds using Allen-head bolts, ensuring they are tightened to a torque that prevents spinning; vary the colors to indicate different ‘routes’ of difficulty.
- Mount the cargo net by securing a heavy-duty timber across two posts and using eye-bolts to tension the net at the bottom; check that the mesh openings are either smaller than 3.5 inches or larger than 9 inches to prevent head entrapment.
- Install monkey bars at a height where the child can just reach them while standing; use through-bolts rather than lag screws for maximum shear strength.
- Spread a 9-inch deep layer of engineered wood fiber across the entire ‘fall zone’ to provide a certified impact-absorbing surface that meets safety standards.
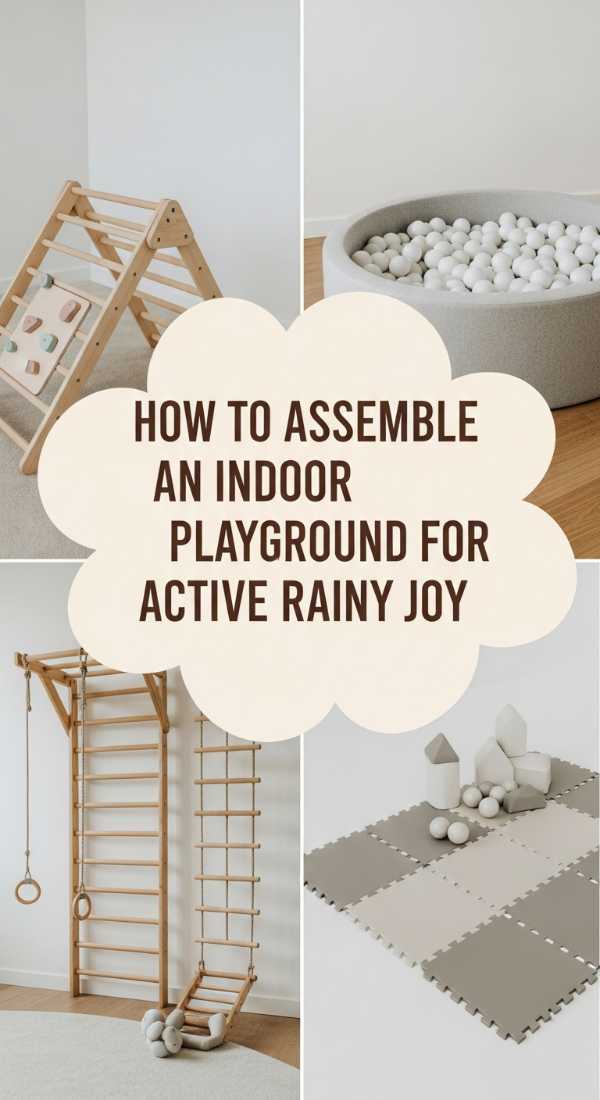
How to Assemble an Indoor Playground for Active Rainy Day Joy
Why we love this
When the clouds roll in, the indoor playground becomes a vibrant, cozy sanctuary of movement and soft landings. We love the clean, modern look of birch plywood gym equipment and the plush, velvet feel of high-density foam mats that turn a spare bedroom into a rainy-day paradise. There’s a wonderful ‘hush’ to this space, where the sound of laughter is muffled by soft textiles and the air smells of beeswax-finished wood, providing a safe outlet for ‘big energy’ without ever leaving the house.
Essential Elements:
- Pikler triangle or Swedish ladder
- Wall-mounted climbing holds (indoor rated)
- Gymnastics crash mats
- Ceiling-mounted sensory swing
- Birch plywood slide attachment
- Felt-lined storage cubbies
How to make it
- Locate the wall studs in your play area using a high-quality stud finder; any wall-mounted equipment like Swedish ladders or climbing holds *must* be anchored directly into the structural studs with 3-inch lag bolts.
- Assemble the Pikler triangle by ensuring all rungs are glued and screwed into the side rails; sand the entire unit with fine-grit sandpaper and finish with a food-safe beeswax and jojoba oil polish.
- If installing a ceiling swing, use a heavy-duty swivel hanger rated for at least 500 lbs; drill into the center of a ceiling joist and use a through-bolt if the space above is accessible, or a massive lag eye-bolt if not.
- Lay down 2-inch thick folding gymnastic mats to cover the ‘landing zones’ around any climbing equipment; ensure the mats have Velcro connectors to prevent them from sliding apart during play.
- Create a ‘cozy nook’ beneath the climbing structure using a felt teepee or soft floor cushions, providing a low-stimulation contrast to the high-activity equipment.
- Check all hardware weekly for loosening due to the natural expansion and contraction of the indoor climate; keep a dedicated hex key nearby for quick tightening.
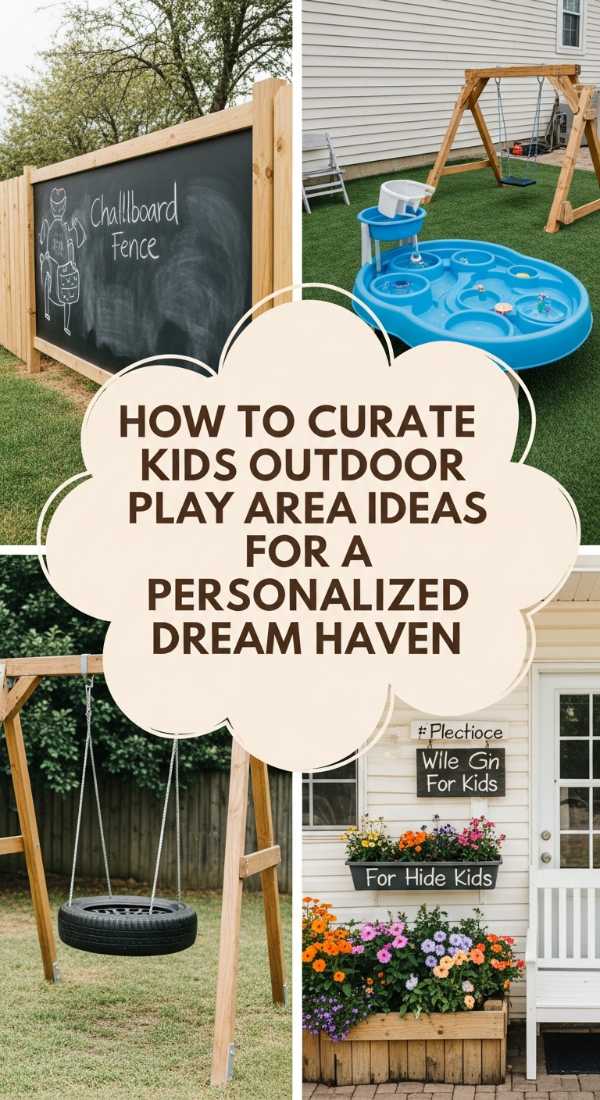
How to Curate Kids Outdoor Play Area Ideas for a Personalized Dream Haven
Why we love this
This is the bespoke approach to childhood, where the space is a curated reflection of a child’s specific passions, from budding botanist to master storyteller. We love the gentle sway of a cotton macramé hammock and the pops of personalized color in hand-painted birdhouses that line the perimeter. It’s a space that feels curated rather than manufactured, smelling of lavender and fresh linen, offering a sophisticated but whimsical aesthetic that integrates seamlessly with a grown-up landscape design.
Essential Elements:
- Custom-built reading nook or ‘book nook’
- Macramé or canvas pod swings
- Personalized garden plots with labels
- Weatherproof outdoor shelving for treasures
- A collection of ‘loose parts’ in woven baskets
- String lights with shatterproof bulbs
How to make it
- Interview your child to discover their ‘dream’ feature—is it a place to hide, a place to build, or a place to rest? Design the anchor piece of the haven around this specific desire.
- Build a simple A-frame reading nook using outdoor-rated 2x2s and a canvas cover; provide weather-resistant floor pillows and a small basket for ‘outside books.’
- Install a pod swing from a sturdy tree branch using a tree-saver strap; this protects the tree’s bark while providing a cocoon-like space for sensory regulation.
- Construct 2×2 foot raised garden beds at a ‘toddler-friendly’ height of 12 inches; fill with organic potting soil and let the child choose ‘magical’ plants like giant sunflowers or sensitive Mimosa pudica.
- Add a ‘treasure wall’—a simple set of cedar shelves where the child can display found objects like interesting rocks, abandoned nests, or colorful leaves.
- Layer in lighting; use warm-white LED string lights to define the space and provide a sense of security and magic as the sun begins to set.
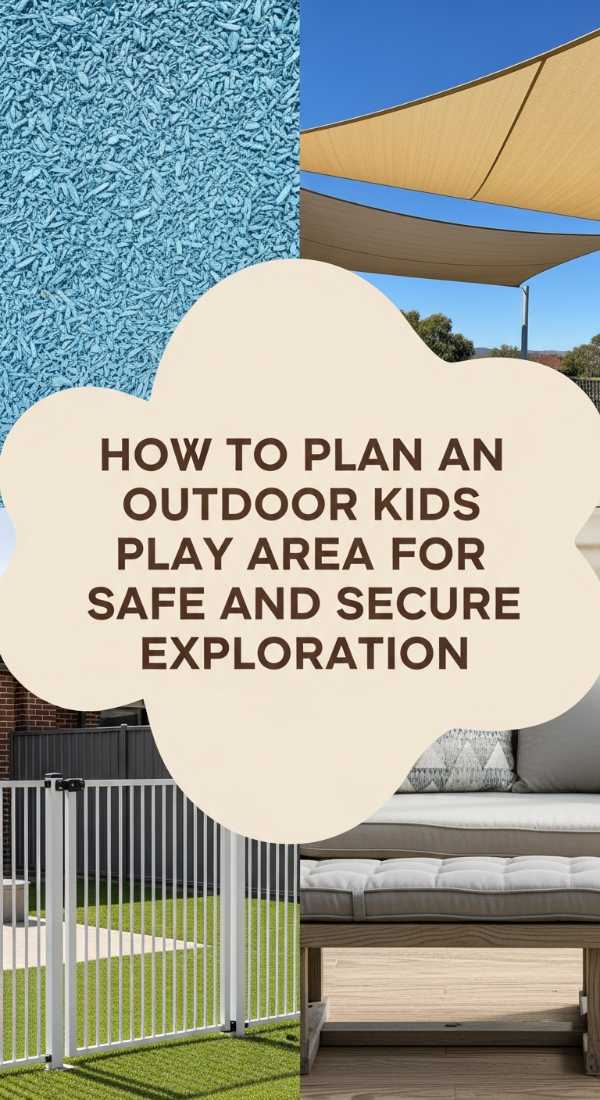
How to Plan an Outdoor Kids Play Area for Safe and Secure Exploration

Why we love this
Peace of mind is the ultimate luxury, and we love how a well-planned, safe play area allows parents to step back and let the magic happen. The sight of soft, rounded edges on every wooden surface and the ‘squish’ of deep rubber mulch provides a visual and physical reassurance of safety. This space feels orderly and secure, characterized by clear sightlines and the absence of sharp corners, allowing the air to be filled with the sounds of confident, independent play rather than cautious warnings.
Essential Elements:
- Rubber mulch or pour-in-place safety surfacing
- Rounded-over edges on all timber (3/8″ radius)
- Non-toxic, lead-free stains and paints
- Enclosed perimeter fencing with child-proof latches
- Shade sails for UV protection
- Clear-view layout with no blind spots
How to make it
- Draw a ‘site map’ of your yard to ensure the play area is visible from the main windows of the house; avoid placing play equipment near thorny bushes, AC units, or steep drops.
- Use a router with a 3/8-inch round-over bit on every single edge of the playground’s lumber; this eliminates sharp corners and significantly reduces the risk of splinters or scrapes.
- Excavate the play area to a depth of 6 inches and install a commercial-grade weed barrier; fill with IPEMA-certified rubber mulch, which provides superior fall protection compared to wood chips.
- Install a triangle or rectangle shade sail over the highest point of the playground; anchor the corners to the house or dedicated 4×4 posts using turnbuckles to keep the fabric taut and wind-resistant.
- Check all bolts for ‘flushness’; use carriage bolts where possible so the smooth head faces the child, and countersink any hex bolts so they don’t snag on loose clothing.
- Verify that all openings (like ladder rungs or fence slats) are either less than 3.5 inches or greater than 9 inches to strictly follow CPSC safety guidelines for head entrapment prevention.
How to Encourage Kids Outdoor Play for Healthy and Happy Development
Why we love this
This space is designed as a ‘yes’ environment, where the very layout of the yard invites movement and curiosity. We love the incorporation of ‘stealth’ exercise, like a zig-zag balance beam that feels like a game but builds core strength, and the inclusion of bug-hunting stations that turn a simple afternoon into a biology lesson. The environment smells of sun-warmed pine and wild mint, vibrating with the energy of discovery and the sheer, unadulterated joy of a child who has been given the freedom to get a little bit dirty.
Essential Elements:
- Magnifying glass stations and bug jars
- Balance beams made of natural cedar
- Obstacle course markers or cones
- Portable ‘adventure kits’ (binoculars, maps)
- Tricycle or scooter paths in smooth concrete
- Water play features like a ‘river’ table
How to make it
- Create ‘destinations’ in the yard that are far apart to encourage running and walking; place the ‘mud kitchen’ in one corner and the ‘climbing wall’ in the opposite corner.
- Build a low-profile balance beam by securing a 4×4 cedar post to three low-profile ‘feet’ made of 2×6 scraps; keep it only 4 inches off the ground to encourage confidence in younger children.
- Install a ‘nature station’—a sturdy outdoor desk equipped with magnifying glasses tethered by string and a small identification guide for local birds and insects.
- Use ‘loose parts’ play; provide a bin of lightweight planks, tires, and crates that children can use to build their own obstacle courses, fostering problem-solving skills and physical exertion.
- Install a simple outdoor shower or ‘feet-washing station’ near the back door; this removes the ‘mess’ barrier for parents, making it easier to say yes to muddy play.
- Incorporate ‘edible landscaping’ like thornless blackberries or cherry tomatoes along the edges of the play area, so children can snack on healthy, fresh produce while they play.
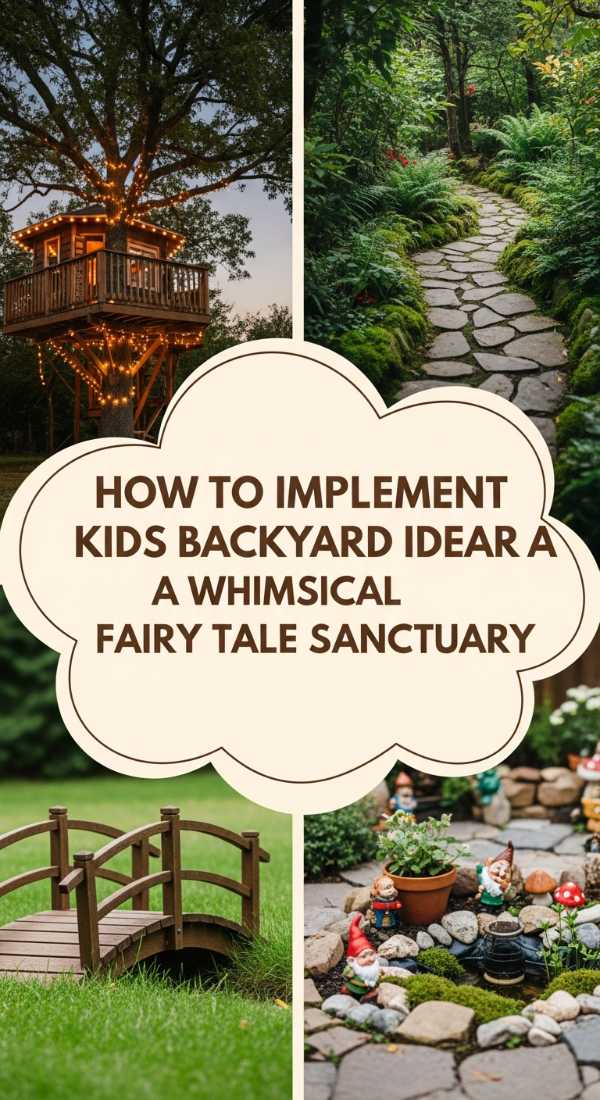
How to Implement Kids Backyard Ideas for a Whimsical Fairy Tale Sanctuary
Why we love this
Stepping into this sanctuary feels like falling into the pages of a classic storybook, where every detail is touched with a bit of magic. We adore the tinkling sound of brass wind chimes hidden in the trees and the ethereal glow of solar lanterns that look like captured fireflies. The space is defined by soft, organic shapes—willow branches, curved paths, and tiny ‘fairy doors’ tucked into the roots of trees—creating an atmosphere that smells of roses and mystery, inviting children to believe in the impossible.
Essential Elements:
- Arched wooden bridges or walkways
- Solar-powered ‘firefly’ lanterns
- Woven willow ‘dens’ or wigwams
- Fairy doors and miniature stone furniture
- A ‘wishing well’ or circular stone feature
- Fragrant, ‘magical’ flowers like Foxglove (look-but-don’t-touch) or Lamb’s Ear
How to make it
- Design a winding path using flagstones or wood slices; avoid straight lines, as ‘fairies prefer curves,’ and tuck small clumps of creeping thyme between the stones for a fragrant footstep.
- Construct a ‘willow den’ by pushing flexible willow branches into the ground in a circle and tying them together at the top; weave thinner branches horizontally to create a basket-weave wall.
- Tuck ‘fairy doors’ at the base of trees or against the house foundation; use weatherproof resin doors or make your own from cedar scraps painted in pastel hues.
- Hang solar-powered teardrop lanterns from the branches of a large tree at varying heights; these will automatically illuminate at dusk, extending the magic into the twilight hours.
- Create a ‘miniature garden’ in a large terra cotta pot, complete with moss ‘grass,’ pebble paths, and a tiny bench; this allows for fine-motor play and imaginative storytelling.
- Install a gentle wind chime with a deep, melodic tone; avoid high-pitched metallic clanging to maintain the serene, ‘secret garden’ atmosphere of the sanctuary.
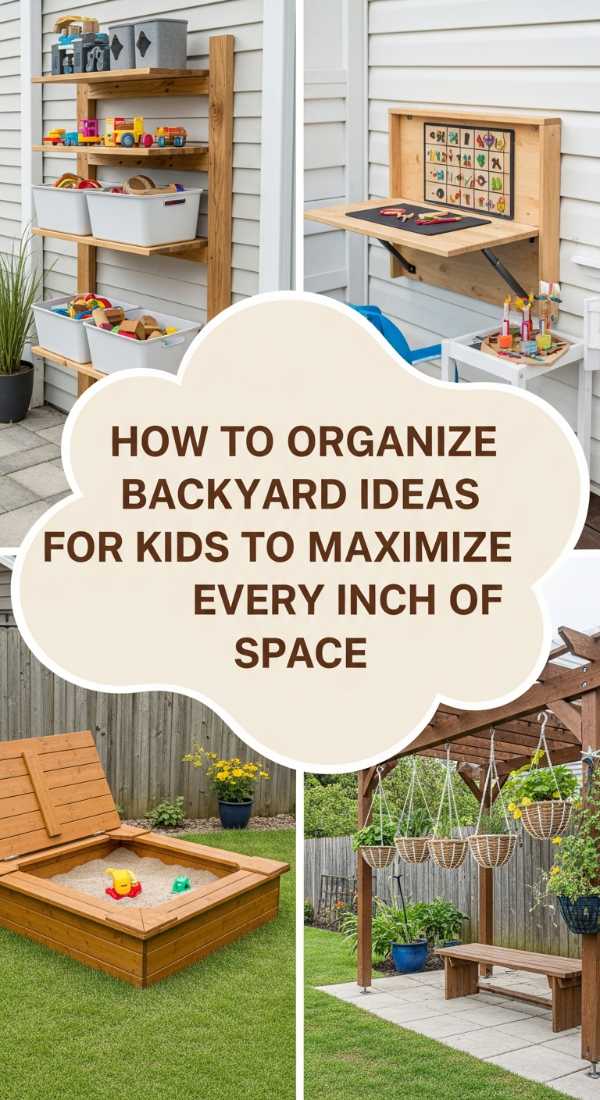
How to Organize Backyard Ideas for Kids to Maximize Every Inch of Space
[IMAGE_10]
Why we love this
Even the smallest urban patio can become a wonderland when space is treated with architectural cleverness. We love the efficiency of vertical play walls and the ‘secret’ storage compartments hidden beneath benches that keep the yard from feeling cluttered. This organized approach has a clean, refreshing aroma of cedar and citrus-scented cleaning spray, proving that you don’t need an acre of land to provide a rich, multi-layered experience for a growing child.
Essential Elements:
- Vertical ‘Lego’ or activity walls
- Folding wall-mounted workbenches
- Hinged bench seating with interior storage
- Magnetic ‘toy rails’ for metal cars or tools
- Corner-mounted sandboxes with lids
- Multi-use turf or rubber tiles
How to make it
- Utilize your vertical space by mounting a large ‘base plate’ for building blocks or a pegboard for outdoor tools onto a fence or exterior wall; ensure it is under an eave or has a small ‘roof’ to protect it from rain.
- Build a corner sandbox with a built-in lid that unfolds to become two benches; this keeps the sand clean and provides seating without taking up extra square footage.
- Install ‘under-deck’ storage if you have an elevated porch; use heavy-duty plastic bins on rollers to keep large toys tucked away but easily accessible.
- Mount a folding ‘murphy desk’ to the fence; it provides a surface for art or snacks and can be tucked away flush against the fence when the kids need more running room.
- Use ‘multi-functional’ landscaping; a low stone wall can be a balance beam, a seat for parents, and a boundary for a flower bed all at once.
- Implement a ‘toy rotation’ system using labeled bins; only keep one or two ‘zones’ worth of toys out at a time to keep the small space from feeling overwhelmed and to maintain the novelty of the play items.
Conclusion
Crafting a magical play space is an investment in the architecture of childhood. Whether you are building a massive neighborhood adventure hub or a tiny, whimsical fairy sanctuary, the true magic lies in the intention you pour into every sanded edge and every hidden nook. These spaces become the backdrop for the most important work a child can do: playing, dreaming, and discovering the world. So, grab your hammer, your seeds, or your paintbrushes, and start building the haven your little explorers deserve. The memories you create today will be the stories they tell for a lifetime.