
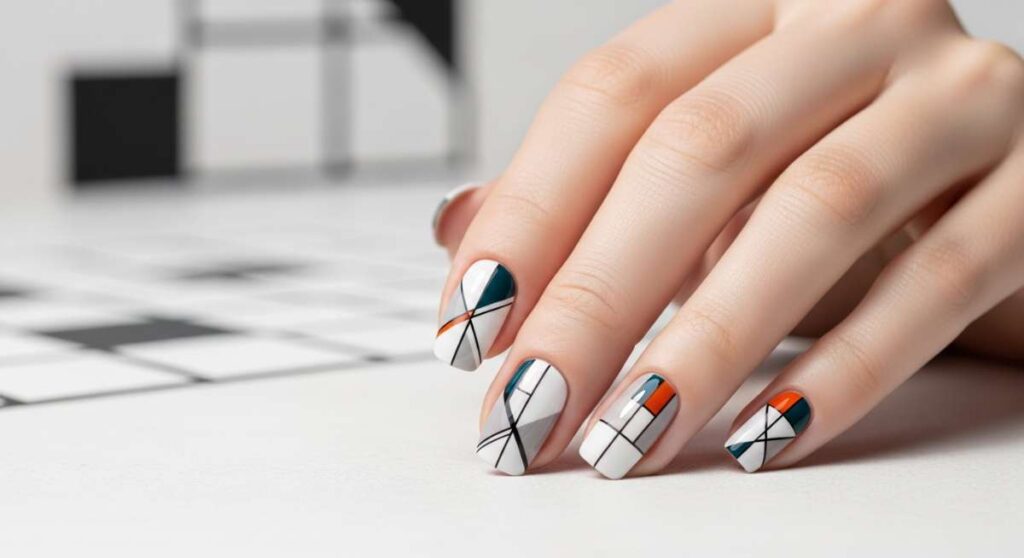
Beyond the Polish: Masterclasses in Contemporary Nail Geometry
Hello, my loves. Welcome back to our little corner of the world, where the tea is always warm and the inspiration is always flowing. Lately, I’ve been thinking so much about the magic we hold in our hands—the way a simple stroke of color can shift our entire mood, like a soft cloud drifting across a sunset. Self-care isn’t just about the finished look; it’s about that quiet, meditative rhythm of creating something beautiful just for you.
In this masterclass, we’re stepping beyond the basic bottle of polish and diving into the art of geometry and design. Whether you’re a seasoned artist or picking up a detail brush for the first time, I want you to feel a cloud-soft embrace of encouragement. We are going to explore textures, shapes, and colors that ground us and make our spirits sing. So, grab your favorite cozy blanket, light a candle, and let’s create some wearable art together.
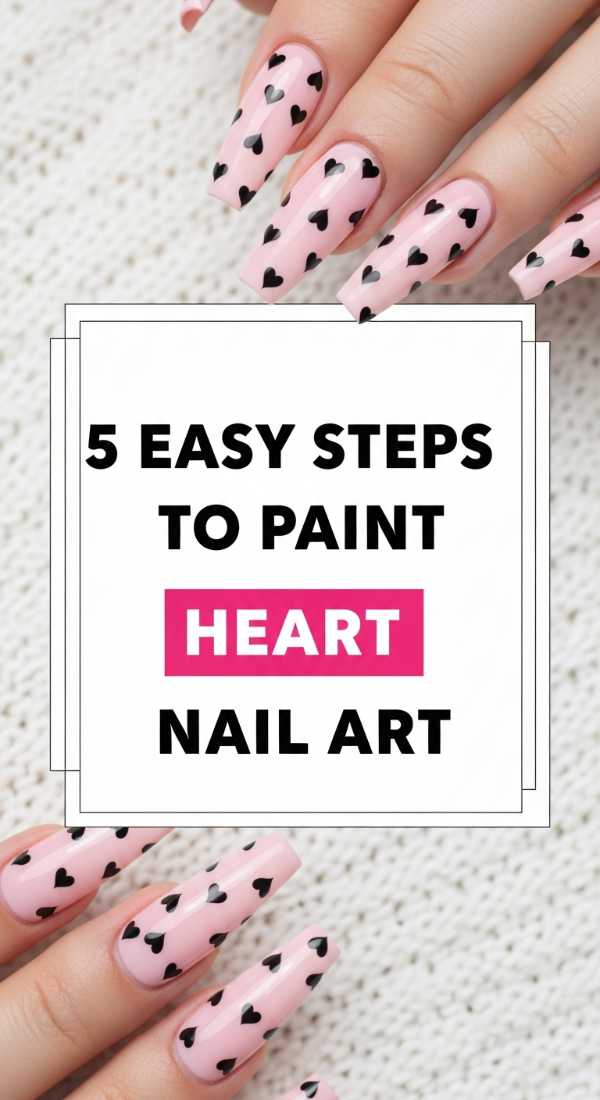
Sweet Simplicity: 5 Easy Steps to Paint Heart Nail Art
Why to love these Nails:
There is something so tender about wearing your heart on your fingertips. These sweet little accents are a reminder to be kind to yourself throughout the day, catching the light as you type or sip your coffee. They are playful, timeless, and effortlessly romantic.
Essential Items:
- Nude or pale pink base polish
- Red or white detail polish
- A dotting tool or a simple toothpick
- Clear top coat
How to Prepare:
- Apply two thin coats of your base color and let them dry completely.
- Dip your dotting tool into the heart color and place two small dots side-by-side.
- Using the tip of the toothpick, drag the bottom of each dot downward to meet in a ‘V’ shape.
- Refill the center of the heart if needed for a smooth finish.
- Seal the love with a glossy top coat.
Budget Range
- Essie ‘Sugar Daddy’ ($10)
- Beetles Nail Art Liner Set ($8)
- Sally Hansen Insta-Dri Top Coat ($6)
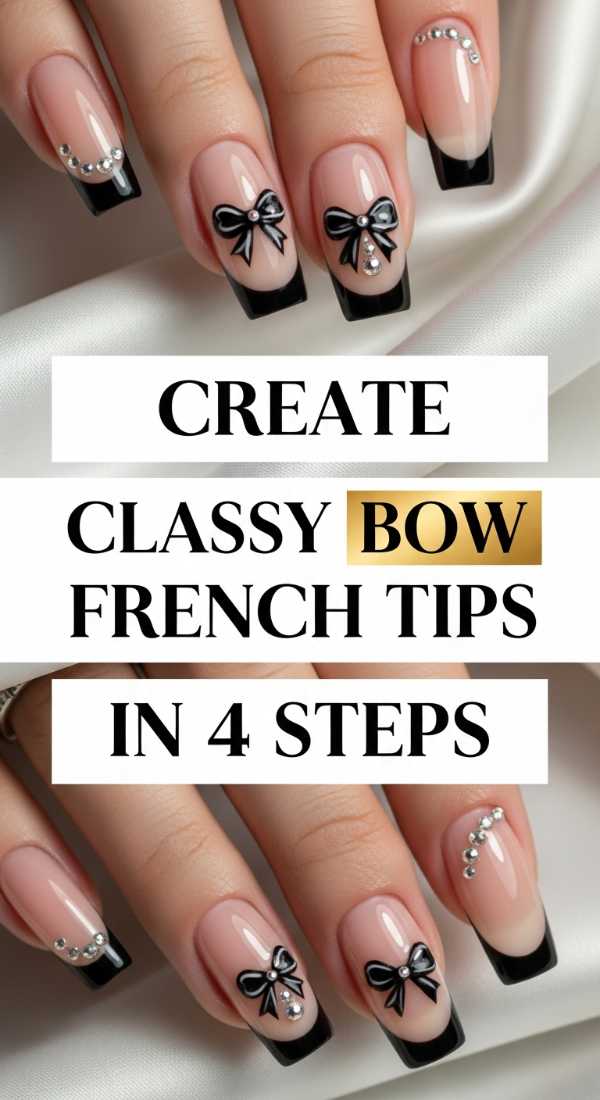
Coquette Dreams: Create Classy Bow French Tips in 4 Steps
Why to love these Nails:
This design is for the dreamers, my loves. It combines the structured elegance of a French manicure with the soft, whimsical charm of the coquette aesthetic. It’s like wrapping your nails in a tiny silk ribbon, perfect for those days you want to feel a little more polished.
Essential Items:
- White tip polish
- Fine-line detail brush
- Sheer pink base coat
- Tiny pearls (optional)
How to Prepare:
- Paint a classic French tip across the edge of each nail.
- Using your fine brush, draw two small triangles meeting at their points in the center of the tip line.
- Add two delicate ‘tails’ dropping from the center of the bow.
- Add a tiny dot or pearl in the center and finish with a high-shine top coat.
Budget Range
- OPI ‘Bubble Bath’ ($11)
- Zoya ‘Purity’ White ($12)
- Nail Art Brushes from Amazon ($7)
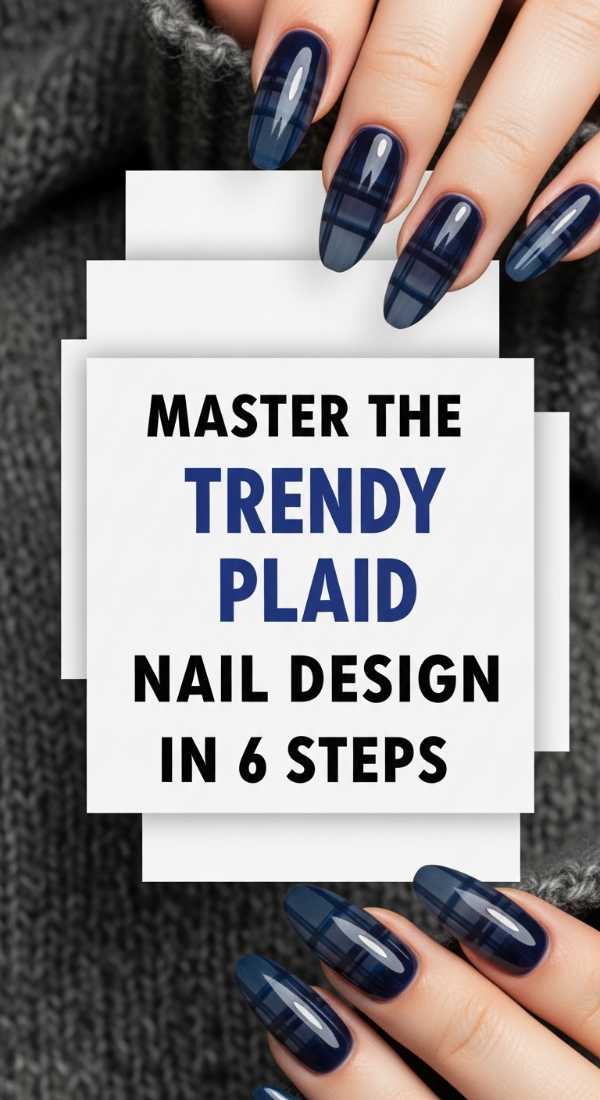
The Architect: Master the Trendy Plaid Nail Design in 6 Steps
Why to love these Nails:
Plaid is the ultimate cozy-season staple. It feels like a warm flannel shirt or a crisp autumn afternoon. Mastering this geometry gives your nails a sophisticated, ‘old-money’ vibe that looks incredibly high-end despite being done in your own living room.
Essential Items:
- Three contrasting polish colors (e.g., Cream, Tan, Black)
- Long striping brush
- Matte top coat
How to Prepare:
- Apply your base color (Cream) and let dry.
- Draw two thick vertical stripes using your second color (Tan).
- Draw two thick horizontal stripes crossing the vertical ones.
- Using your thinnest brush and the darkest color (Black), draw very thin lines through the centers of the tan stripes.
- Add thin crossing lines in the opposite direction.
- Apply a matte top coat for that soft, fabric-like texture.
Budget Range
- Orly Breathable ‘Pashmina’ ($10)
- Holler and Glow Nail Tapes ($5)
- Modelones Gel Liner Set ($15)
Caffeine Rush: 3 Simple Ways to Get Aesthetic Coffee Nails
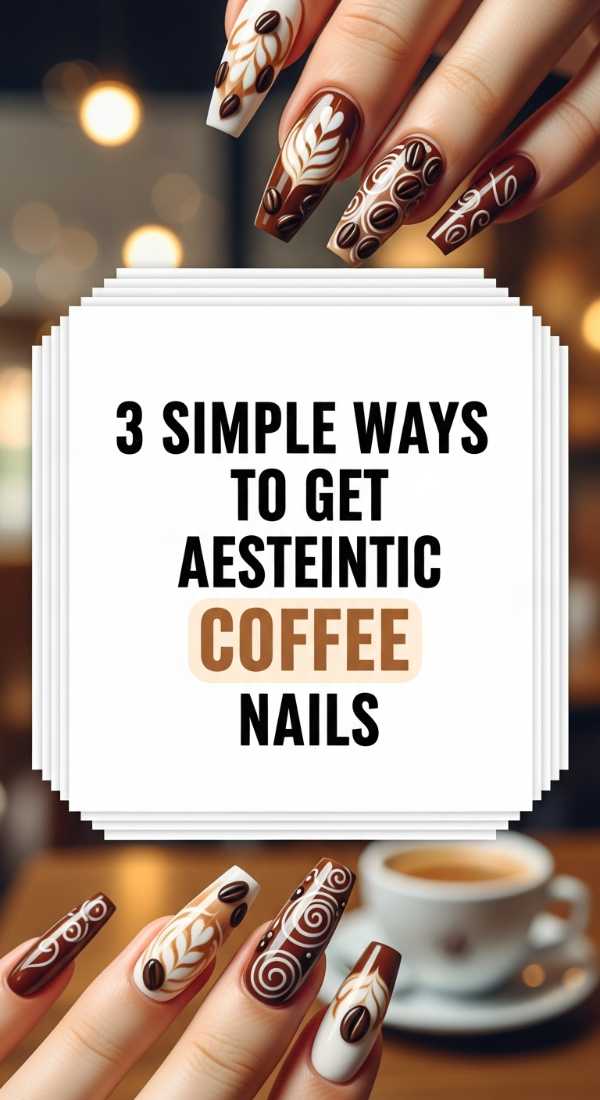
Why to love these Nails:
If you live for the aroma of a freshly brewed latte, these nails are your soulmate. From creamy swirls to deep espresso tones, coffee nails are the ultimate neutral with a twist. They are grounding, warm, and go with every single outfit in your closet.
Essential Items:
- Brown gradient polishes (Light to Dark)
- Mixing palette (or a piece of foil)
- Clear mixing gel
How to Prepare:
- For the Swirl: Drop one dot of cream and one dot of dark brown onto foil, swirl lightly with a brush, and scoop onto the nail.
- For the Gradient: Apply light tan to the thumb and darken the shade for each subsequent finger.
- For the Marble: Apply base brown, then use a brush dipped in acetone to ‘bloom’ drops of darker brown for a stone effect.
Budget Range
- Cirque Colors ‘Coffee Talk’ Collection ($12/each)
- Elf Cosmetic Brushes ($3)
- Sally Hansen ‘Finishing Touch’ ($7)
The Mirror Effect: 4 Secrets to Applying Perfect Chrome Nails
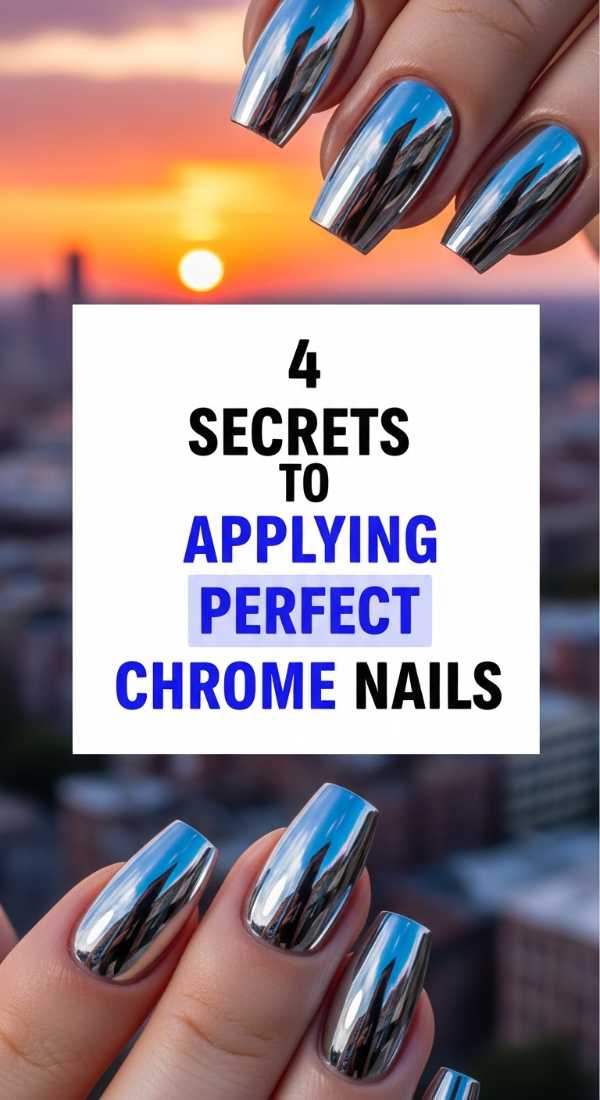
Why to love these Nails:
Chrome nails are pure futuristic magic. They reflect the world around you and make you feel like a literal celestial being. They are sleek, modern, and have that ‘glazed donut’ glow that we simply cannot get enough of.
Essential Items:
- Chrome powder (Silver or Pearl)
- No-wipe gel top coat
- Sponge applicator
- LED/UV lamp
How to Prepare:
- Apply your base color and a no-wipe top coat; cure for only 30 seconds (it must be slightly ‘grabby’).
- Use the sponge to rub the powder onto the nail until it turns into a mirror finish.
- Use a soft brush to dust off the excess powder around the cuticles.
- Seal with another layer of no-wipe top coat and cure fully for 60 seconds.
Budget Range
- Artdone Chrome Powder Set ($9)
- SUNUV LED Lamp ($25)
- Born Pretty No-Wipe Top Coat ($7)
Pure Elegance: 5 Steps to Design Elegant Bridal Nails

Why to love these Nails:
Even if you aren’t walking down the aisle, bridal nails represent the pinnacle of grace. They are soft, ethereal, and clean. This look is about enhancing your natural beauty rather than hiding it, like a gentle whisper of lace.
Essential Items:
- Milky white polish
- Fine silver glitter
- Tweezers
- Flat-back rhinestones
How to Prepare:
- Apply two coats of milky white for a semi-sheer, cloud-like finish.
- Apply a tiny bit of silver glitter only at the base of the nail (the moon).
- Use tweezers to place one small rhinestone at the center of the cuticle line.
- Use a fine brush to draw a single, thin white line vertically down the center.
- Finish with a high-gloss top coat.
Budget Range
- DND ‘Milky White’ ($9)
- Swarovski Nail Crystals ($12)
- Seche Vite Dry Fast Top Coat ($9)
Sun-Kissed: Craft Vibrant Summer Nails in 3 Minutes
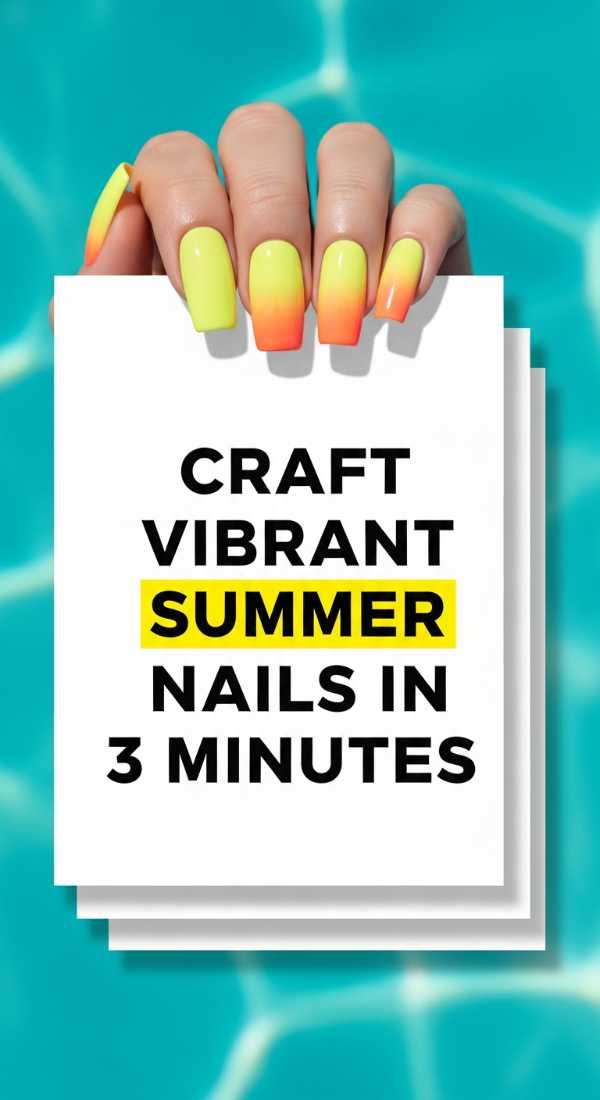
Why to love these Nails:
Summer is for living, not for sitting hours at a desk! This look is all about high-impact color with minimal effort. It’s vibrant, energetic, and screams ‘vacation mode,’ even if you’re just heading to the backyard with a book.
Essential Items:
- Neon yellow or coral polish
- Pre-made nail decals (flowers or fruit)
- Quick-dry top coat
How to Prepare:
- Paint all nails with two coats of your brightest neon shade.
- While slightly tacky, press a fruit or flower decal onto your ring finger.
- Apply a quick-dry top coat over everything to seal the design and add shine.
Budget Range
- China Glaze Neon Collection ($8)
- Nail Decals from Etsy ($4)
- Revlon Quick Dry Base ($6)
Quiet Sparkle: 4 Ways to Style Minimalist Glitter Nails
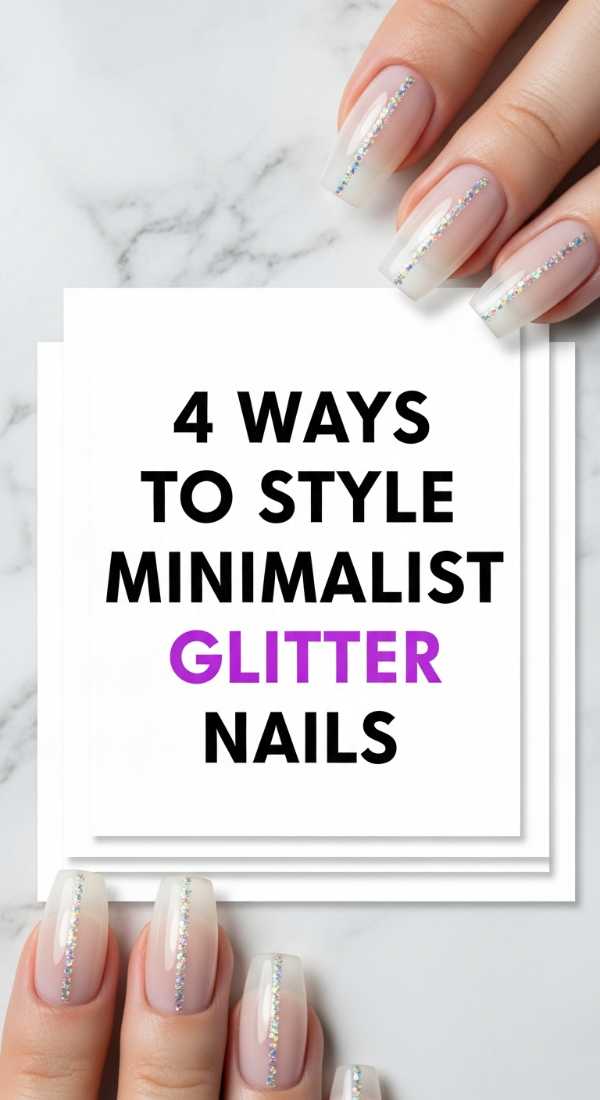
Why to love these Nails:
We often think glitter has to be loud, but it can be so incredibly quiet and sophisticated. Minimalist glitter is like stardust—subtle, magical, and sophisticated. It’s the perfect way to add a bit of joy to your routine without feeling over-the-top.
Essential Items:
- Chunky glitter polish
- Sponge wedge
- Clear base
How to Prepare:
- The Cuticle Dip: Apply glitter only to the bottom 1/4th of the nail.
- The Single Stripe: Use a thin brush to draw one vertical glitter line.
- The Tips: Sponge glitter onto the tips for a soft ‘faded’ gradient.
- The Accent: Only apply full glitter to the pinky nail for a surprise sparkle.
Budget Range
- ILNP Holographic Polish ($10)
- Makeup Sponges from Target ($3)
- OPI ‘Start-to-Finish’ ($15)
The Edge: Sculpt Long Coffin Nails in 6 Easy Steps
Why to love these Nails:
Coffin nails (or ballerina nails) are for my loves who want to feel powerful. They elongate the fingers and provide a large canvas for all that beautiful geometry we’ve been talking about. They are the ultimate ‘it-girl’ shape.
Essential Items:
- 180-grit nail file
- Nail buffer
- Nail tips or extensions (if starting short)
- Strong nail glue
How to Prepare:
- Glue your tips on and cut them to your desired long length.
- File the sides of the nail straight up, tapering slightly toward the end.
- File the very tip of the nail perfectly flat/squared off.
- Smooth the ‘shoulders’ of the nail where the tip meets your natural nail.
- Buffer the surface until it’s seamless.
- Dust off and apply your favorite color.
Budget Range
- Makartt Coffin Nail Tips ($10)
- NYK1 Nail Bond Glue ($12)
- Tropical Shine Nail Files ($2)
The Long Game: 7 Tips for Long-Lasting Gel Nails at Home

Why to love these Nails:
There is nothing more frustrating than spending time on your art only for it to chip the next day. These tips are the secrets to a manicure that lasts through gardening, dishes, and life’s adventures. It’s about respecting the work you put in.
Essential Items:
- Dehydrator or Alcohol
- Cuticle pusher
- Quality Gel System
How to Prepare:
- Push back cuticles thoroughly; gel won’t stick to skin.
- Dehydrate the nail plate with alcohol to remove all oils.
- Apply very thin coats; thick coats peel easily.
- ‘Cap the edge’—run the brush along the very tip of the nail.
- Avoid getting gel on the skin or cuticles before curing.
- Cure for the full recommended time.
- Apply cuticle oil daily to keep the nail flexible.
Budget Range
- Gelish Mini Basix Kit ($30)
- 99% Isopropyl Alcohol ($5)
- Cuccio Revitalize Oil ($10)
Wrapping You in Color
Oh, my loves, I hope you feel inspired to take a moment for yourself today. These designs are more than just geometry; they are a way to express the beautiful, multifaceted person you are. Remember, it doesn’t have to be perfect—it just has to be yours. Every stroke of the brush is a step toward self-love. I can’t wait to see what you create. Until next time, stay soft, stay bright, and keep shining.