
From Bare to Buffed: The Ultimate Beginner’s Roadmap to Flawless Manicures
Hello, my loves! Welcome back to our cozy little corner of the internet. There is something so incredibly grounding about taking a slow Sunday afternoon to sit with a cup of tea, some soft acoustic music playing in the background, and focusing entirely on the ritual of self-care through our hands. Our hands do so much for us—they hold our loved ones, type out our dreams, and embrace the world every single day. They deserve a little bit of that cloud-soft magic, don’t they?
I remember when I first started my nail journey; I felt so overwhelmed by the rows of bottles and the complex designs. But darlings, beauty isn’t about perfection—it’s about the joy of the process. Today, I’ve curated a roadmap that feels like a warm hug, guiding you from simple bare nails to the buffed, beautiful masterpieces you see on your favorite mood boards. Let’s dive into these modern nail art guides together, one gentle stroke at a time.
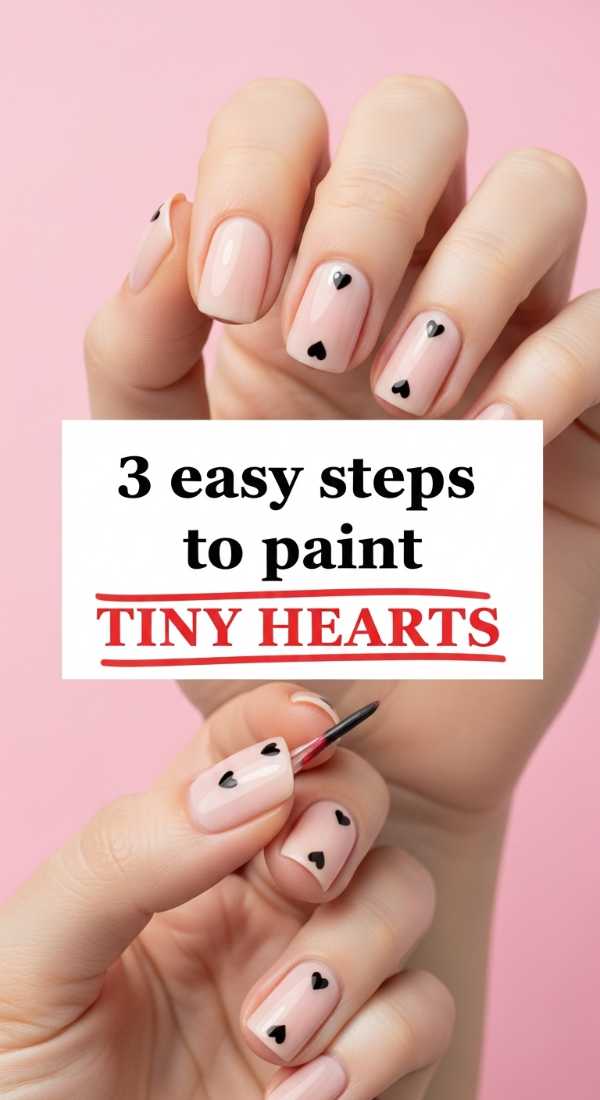
3 Easy Steps to Paint Tiny Hearts
Why to love these Nails:
Tiny hearts are like little whispers of love on your fingertips. They are incredibly sweet, romantic, and provide that perfect pop of personality without being too loud. Whenever I look down at my keyboard and see these little darlings, my heart does a tiny happy dance. They remind us to be kind to ourselves in the simplest ways.
Essential Items:
- A neutral base coat
- A vibrant red or soft pink polish
- A toothpick or a professional dotting tool
- Clear top coat
How to Prepare:
- Apply two thin layers of your neutral base and let them dry completely.
- Using your dotting tool, place two small dots side-by-side where you want the top of the heart to be.
- Drag each dot down into a ‘V’ shape to meet at the bottom point, filling in the center gently.
Budget Range
- Essie ‘Sugar Daddy’ ($10)
- Wet n Wild ‘Red Red’ ($2)
- Generic Nail Art Dotting Tools ($5 for a set)
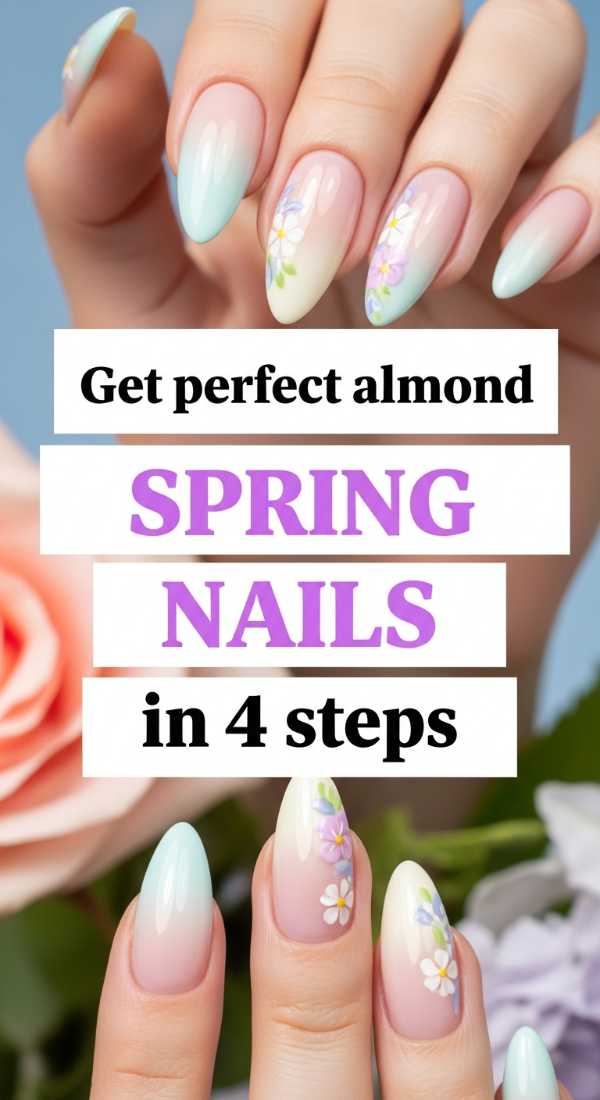
Get Perfect Almond Spring Nails in 4 Steps
Why to love these Nails:
Almond nails are the ultimate elegant silhouette. They elongate the fingers and provide such a sophisticated canvas for spring’s pastel awakening. It feels like wearing a silk gown on your hands—effortless, graceful, and oh-so-chic for those garden parties and brunch dates we have planned.
Essential Items:
- Medium-grit nail file
- Pastel sage or lavender polish
- Cuticle oil
- Nourishing base coat
How to Prepare:
- Find the center of your nail tip and file from the sides toward that center at a soft angle.
- Round off the peak to create a smooth, nut-like ‘almond’ shape.
- Apply a nourishing base coat to protect the nail plate.
- Sweep on two coats of your chosen spring pastel, sealing the edges for longevity.
Budget Range
- OPI ‘Sage You Love Me’ ($11)
- Sally Hansen Hard as Nails ($4)
- Revlon Emery Boards ($3)
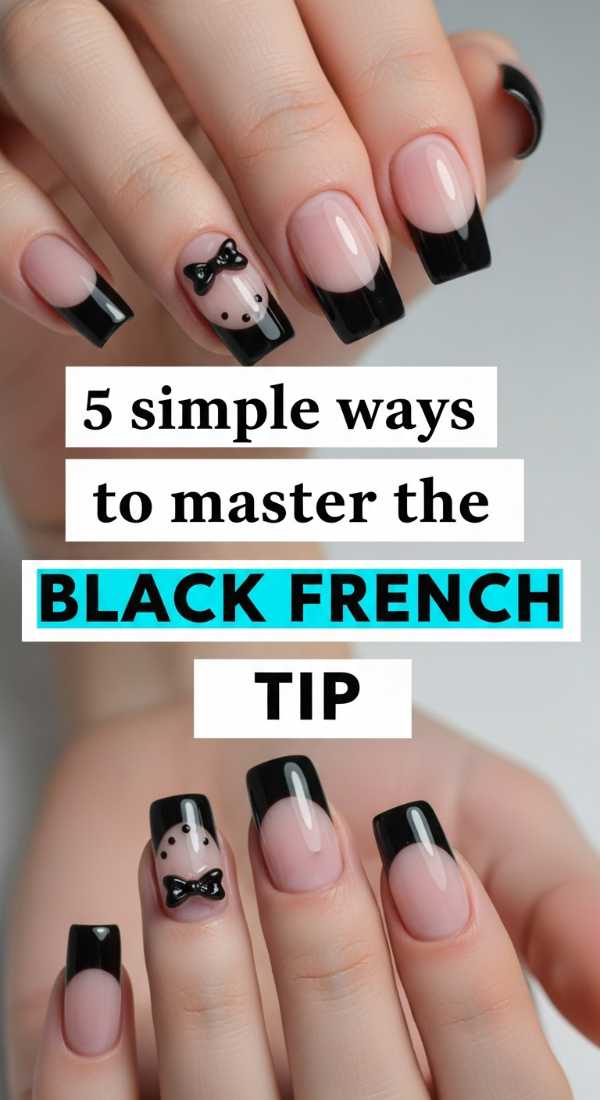
5 Simple Ways to Master the Black French Tip
Why to love these Nails:
The black French tip is the moody, cool-girl sister of the classic white tip. It’s edgy yet refined, perfect for those of us who love a bit of a ‘dark academia’ vibe. It’s a statement of confidence that pairs beautifully with a chunky gold ring and a dark roast coffee.
Essential Items:
- Sheer ‘nude’ or pinkish base
- Opaque black polish
- Fine liner brush
- French manicure guide stickers (optional)
How to Prepare:
- Prep with a sheer base to even out the nail bed color.
- Use a thin liner brush to outline the ‘smile line’ from one side of the free edge to the other.
- Fill in the tip with the black polish, ensuring the layer is thin to avoid bulk.
- Clean up any stray marks with a brush dipped in acetone.
- Seal with a high-shine top coat to give the black that glass-like finish.
Budget Range
- Orly ‘Liquid Vinyl’ ($15)
- Zoya ‘Naked Manicure’ Base ($12)
- Nail Art Fine Brushes ($6)
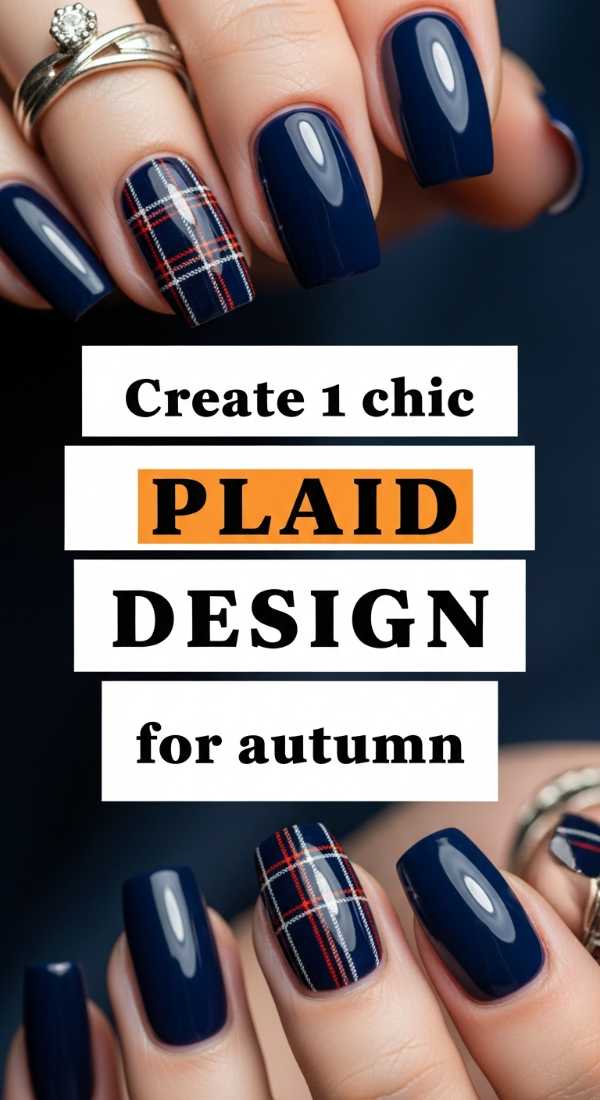
Create 1 Chic Plaid Design for Autumn
Why to love these Nails:
Nothing says ‘cozy sweater weather’ like a classic plaid pattern. It’s like wrapping your nails in a tiny flannel blanket. This design is timeless and adds such a wonderful texture to your autumn aesthetic, making every pumpkin spice latte moment feel curated and special.
Essential Items:
- Deep forest green or burgundy polish
- Gold metallic striper polish
- Matte top coat
- Steady hand!
How to Prepare:
- Paint your nails with two coats of your deep autumn color and let dry.
- Paint two horizontal lines and two vertical lines in a slightly darker shade or black.
- Add a single thin gold metallic line crossing through the center of your grid.
Budget Range
- Essie ‘Off Tropic’ ($9)
- Sally Hansen ‘Golden Mine’ ($5)
- OPI Matte Top Coat ($11)
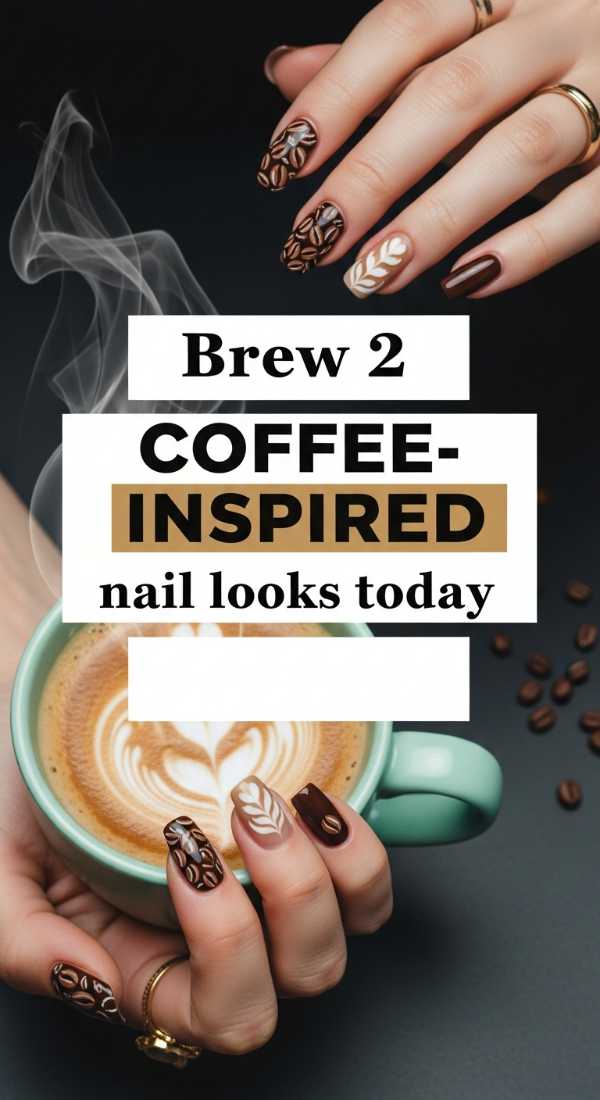
Brew 2 Coffee-Inspired Nail Looks Today
Why to love these Nails:
For my fellow caffeine lovers, these looks are pure heaven. Whether you prefer a creamy ‘Oat Milk Latte’ swirl or a ‘Deep Espresso’ solid, these warm brown tones are incredibly flattering on every skin tone. They feel grounded, earthy, and incredibly sophisticated for the office or a bookstore date.
Essential Items:
- Creamy beige polish
- Chocolate brown polish
- Mixing palette (a piece of foil works!)
- Detailing brush
How to Prepare:
- For the ‘Latte Swirl’: Drop beige and brown onto foil, swirl slightly with a brush, and drag onto the nail.
- For the ‘Espresso Solid’: Apply two coats of the deepest brown you own for a rich, monochromatic look.
Budget Range
- Holo Taco ‘Espresso Your Self’ ($13)
- Olive & June ‘MM’ ($9)
- Disposable Palette ($4)
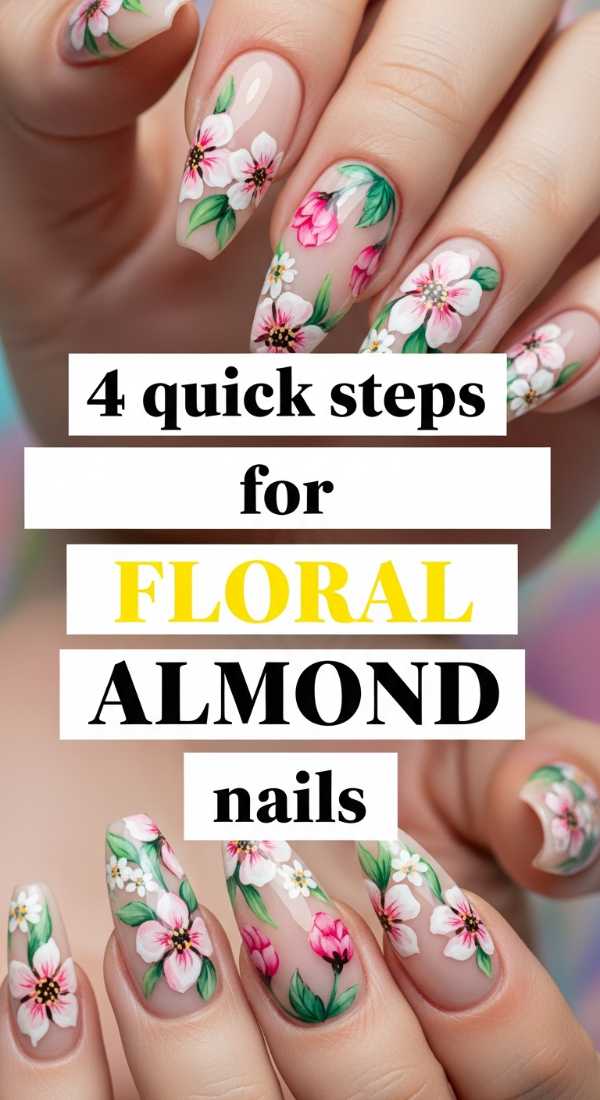
4 Quick Steps for Floral Almond Nails
Why to love these Nails:
Floral prints are like a meadow blooming right at your fingertips. They bring a sense of softness and whimsy to the structured almond shape. It’s a look that celebrates femininity and the gentle beauty of nature, perfect for any day you need an extra dose of sunshine.
Essential Items:
- Soft blue or white base
- Yellow and white polish for daisies
- Large and small dotting tools
- Glossy top coat
How to Prepare:
- Apply your soft base color and let dry.
- Place a tiny yellow dot in the center of where you want your flower.
- Use a smaller dotting tool to place five white petals around the yellow center.
- Add a few green leaves using a toothpick if you’re feeling extra fancy!
Budget Range
- Sinful Colors ‘Snow Me White’ ($2)
- OPI ‘It’s a Boy!’ ($11)
- Nail Art Sticker Sheet (Alternative) ($3)
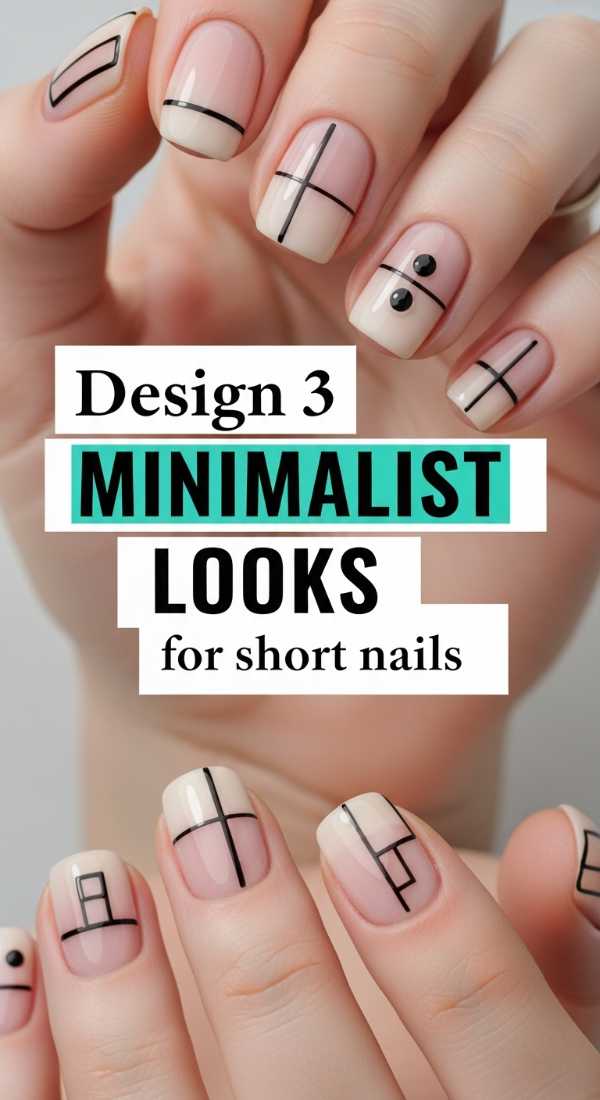
Design 3 Minimalist Looks for Short Nails
Why to love these Nails:
Short nails are practical, clean, and modern. You don’t need length to have style! Minimalist designs celebrate the natural nail, adding just a touch of ‘something extra’ that looks intentional and clean. It’s the ‘no-makeup makeup’ look of the nail world.
Essential Items:
- Clear strengthening base
- Black or gold polish for accents
- Striping tape
How to Prepare:
- Look 1: A single vertical dot at the base of each nail.
- Look 2: A thin horizontal gold line across the middle.
- Look 3: A ‘half-moon’ clear space at the cuticle with a solid color on the rest.
Budget Range
- Nails Inc. Back to Life Recovery ($15)
- Manucurist ‘Gold’ ($14)
- Striping Tape Rolls ($4)
Craft 5 Pastel Spring Styles in Minutes
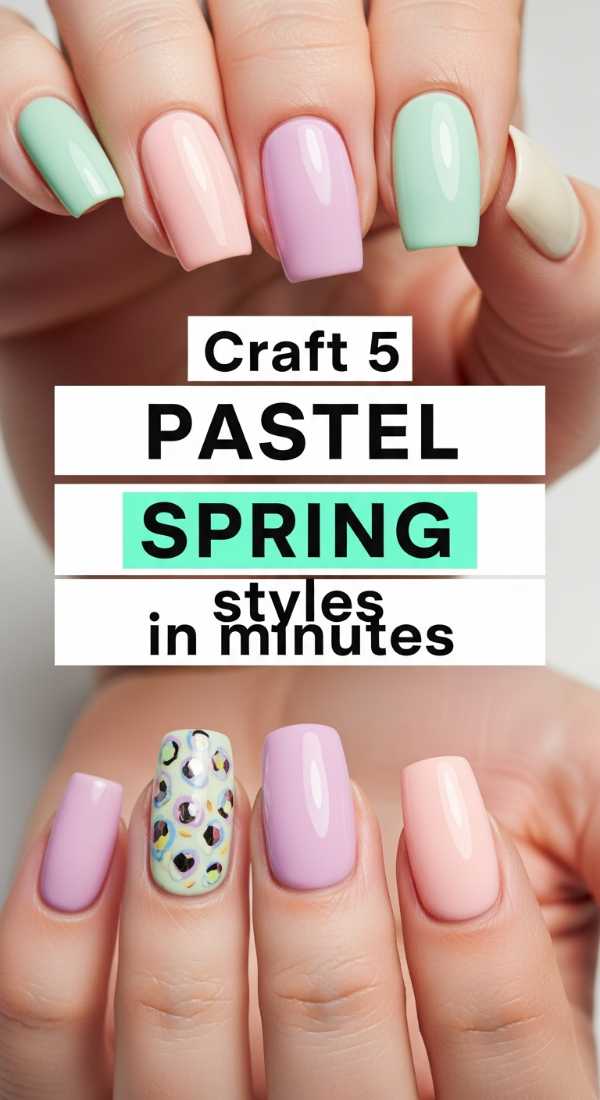
Why to love these Nails:
Can’t choose just one color? The ‘Skittle’ manicure—where every finger is a different pastel shade—is the ultimate joy-bringer. It’s playful, youthful, and reminds us not to take life too seriously. It’s like a bowl of Easter candies on your hands!
Essential Items:
- 5 different pastel polishes (Mint, Lemon, Lilac, Peach, Sky)
- White polish for ‘lightening’ shades
- Fast-dry top coat
How to Prepare:
- Style 1: The Gradient (One color per finger).
- Style 2: Pastel French (Color on tips only).
- Style 3: Polka dots using all 5 colors.
- Style 4: Side-tip (Color on just one side).
- Style 5: Pastel tips with a matte finish.
Budget Range
- Barry M Gelly Hi-Shine ($5 each)
- Seche Vite Fast Dry Top Coat ($9)
Make 2 Matte Almond Designs at Home
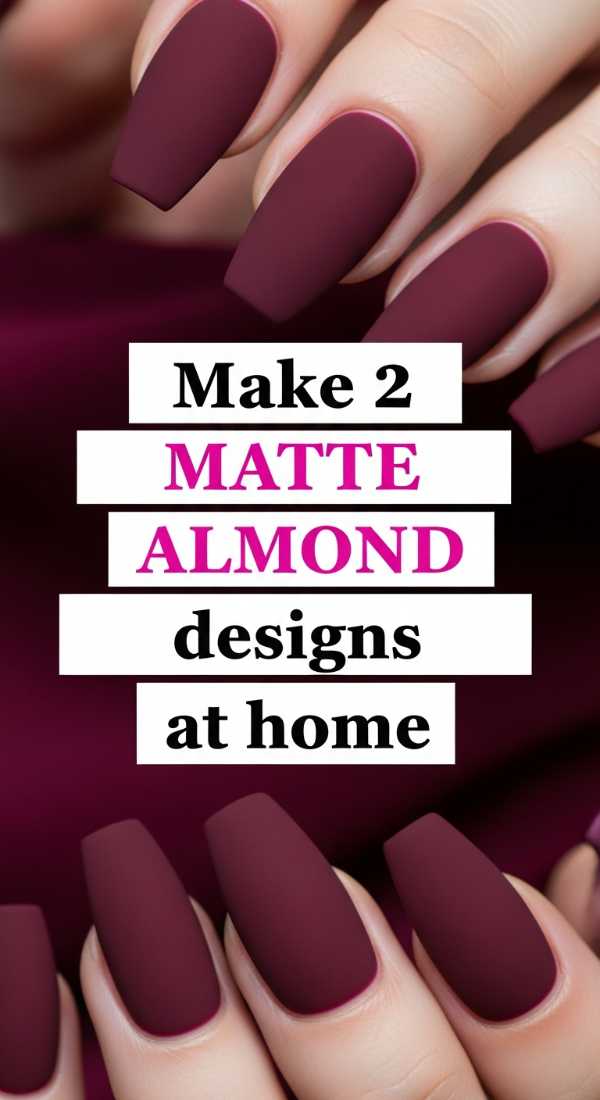
Why to love these Nails:
Matte finishes transform any color into something modern and velvety. On an almond shape, it feels incredibly high-end—like Italian leather or soft suede. It’s the perfect way to make a simple manicure look professionally ‘done’ without the salon price tag.
Essential Items:
- Deep navy or plum polish
- Matte finishing top coat
- Gold foil flakes (optional)
How to Prepare:
- Design 1: Solid Matte. Apply color, then the matte coat for a velvet look.
- Design 2: Mixed Textures. Paint the nail matte, then add a glossy French tip in the same color.
Budget Range
- Essie Matte About You ($10)
- OPI ‘Lincoln Park After Dark’ ($11)
- Gold Leaf Flakes ($6)
Follow 6 Steps for a Classic Bow Manicure
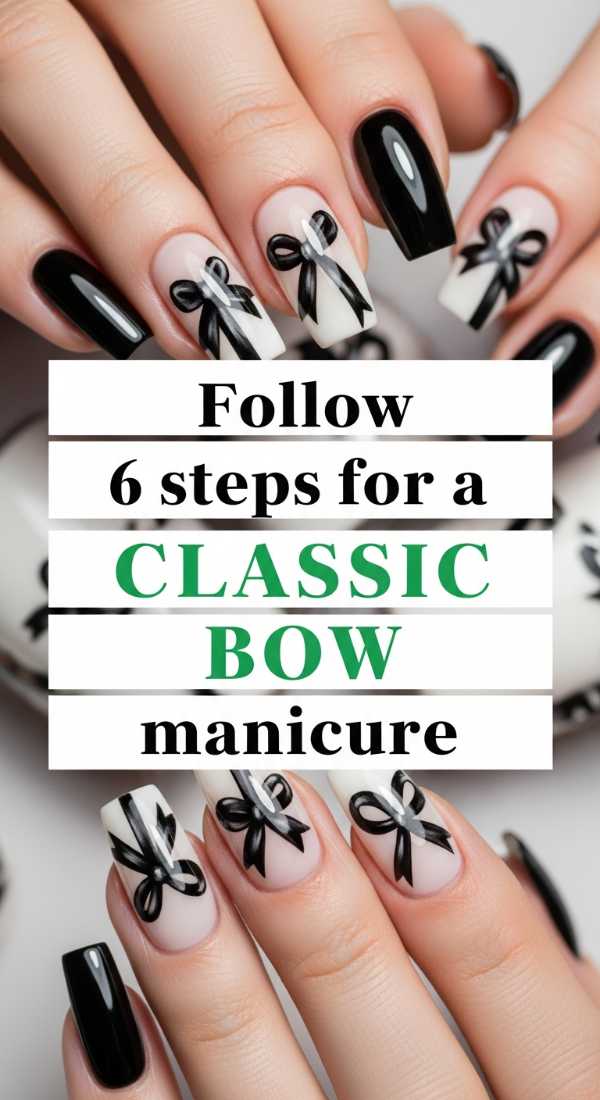
Why to love these Nails:
The ‘Coquette’ aesthetic is here to stay, and nothing fits the vibe better than dainty bows. They are the ultimate feminine accessory, making your hands look like a gift. It’s soft, charming, and perfectly vintage-inspired for my old-soul loves.
Essential Items:
- Sheer pink base
- White or black thin-striper polish
- Small pearl stickers (optional)
- Top coat
How to Prepare:
- Apply your sheer base.
- Paint two tiny triangles meeting at the center point.
- Draw two small ‘ribbon’ tails coming down from that center.
- Place a tiny dot (or pearl) in the middle of the triangles.
- Smooth out the lines with a clean brush.
- Apply a generous top coat to secure any pearls.
Budget Range
- Dashing Diva Pearl Accents ($7)
- China Glaze ‘White on White’ ($7)
- Orly Bonder Base Coat ($12)
A Soft Note to Close
Darlings, I hope this guide leaves you feeling inspired to take a moment for yourself. Remember, your first heart might look like a blob, or your almond might be a little lopsided—and that is perfectly okay! The beauty is in the ritual, the scent of the polish, and the quiet time you spend honoring yourself. You are the artist, and your hands are the canvas. I can’t wait to see what you create! Stay soft, stay bright, and keep shining.
Manicure Magic: Frequently Asked Questions
Here are a few questions I hear often from my lovely community!